How to Rotate Page on Canva? (Portrait to Landscape Guide)


Learn how to rotate page on Canva by resizing your design. Discover how to change page orientation in Canva, switch between portrait and landscape, and rotate elements easily.
You cannot directly rotate a page on Canva because the platform doesn’t include a dedicated page rotation tool. Instead, you can change the page orientation by resizing your design from portrait to landscape (or vice versa) use Canva Magic Write feature, or manually rotate individual elements like images, text, and graphics.
Have you ever designed something in Canva and later realized it would look better in a different orientation? Whether you’re creating a presentation, flyer, worksheet, or document, knowing how to rotate page in Canva can save you from rebuilding your design from scratch.
Many users search for ways to rotate a Canva page, but Canva works differently from tools like Word or PowerPoint. Instead of providing a one-click page rotation button, Canva allows you to adjust the page and know how to change page orientation in canva by changing the design dimensions.
Canva is a versatile design tool that allows users to create stunning visuals with ease. One of the key features is the ability to rotate objects and even entire pages to fit your design vision. Whether you’re designing a flyer, social media post, or presentation, knowing how to rotate a page can help you achieve the perfect layout.
In this guide, you’ll learn how to change page orientation in Canva, how to change from portrait to landscape in Canva, and how to rotate individual elements without disrupting your design. We’ll also cover Canva Free and Canva Pro options, common issues you may encounter, and practical tips to keep your layouts looking polished after resizing.
Can You Rotate a Page in Canva?
The short answer is yes and no. If you’re wondering how to rotate an image in canva, it’s important to know that Canva does not currently have a dedicated button that rotates an entire page by 90 degrees. Instead, Canva lets you change the page orientation by adjusting the design dimensions.
For example:
- Portrait: 1080 × 1920
- Landscape: 1920 × 1080
By swapping the width and height values, you can effectively rotate the layout of your design.
Page Rotation vs. Page Orientation
These terms are often confused, but they mean different things:
- Rotate a page: Turns the entire canvas by 90°, 180°, or 270°.
- Change page orientation: Switches the design from portrait to landscape by swapping its width and height.
- Rotate elements: Rotates individual images, text, icons, or shapes.
In most cases, changing the page orientation is the solution users actually need.
When Should You Change Page Orientation?
You may need to change your Canva page layout when:
- Creating a landscape presentation
- Designing a wider flyer
- Formatting worksheets for printing
- Optimizing content for screens
Fortunately, Canva’s Resize feature makes this process relatively simple, especially for Canva Pro users.
How to Rotate Page on Canva? A Step-by-Step Guide
Step 1: Open Your Design in Canva
Start by logging into Canva and opening the design file you want to rotate.
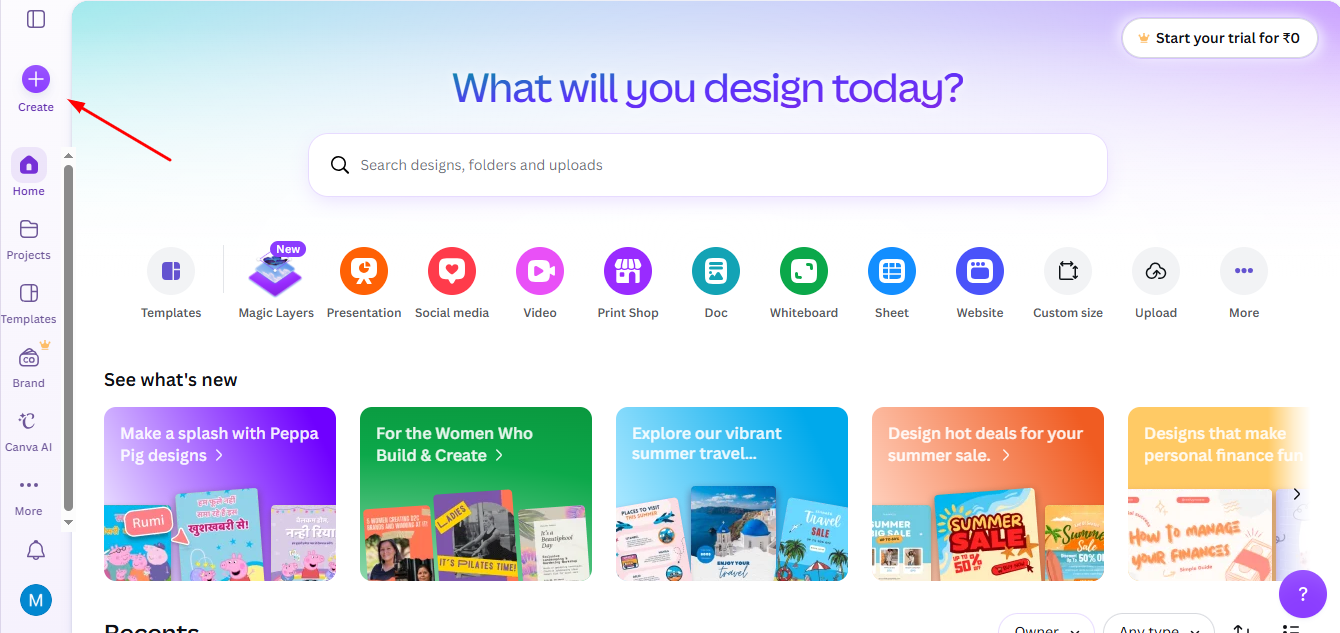
If you’re working on a new project, simply create a new design by clicking the “Create a design” button and selecting the dimensions or template that suits your needs.
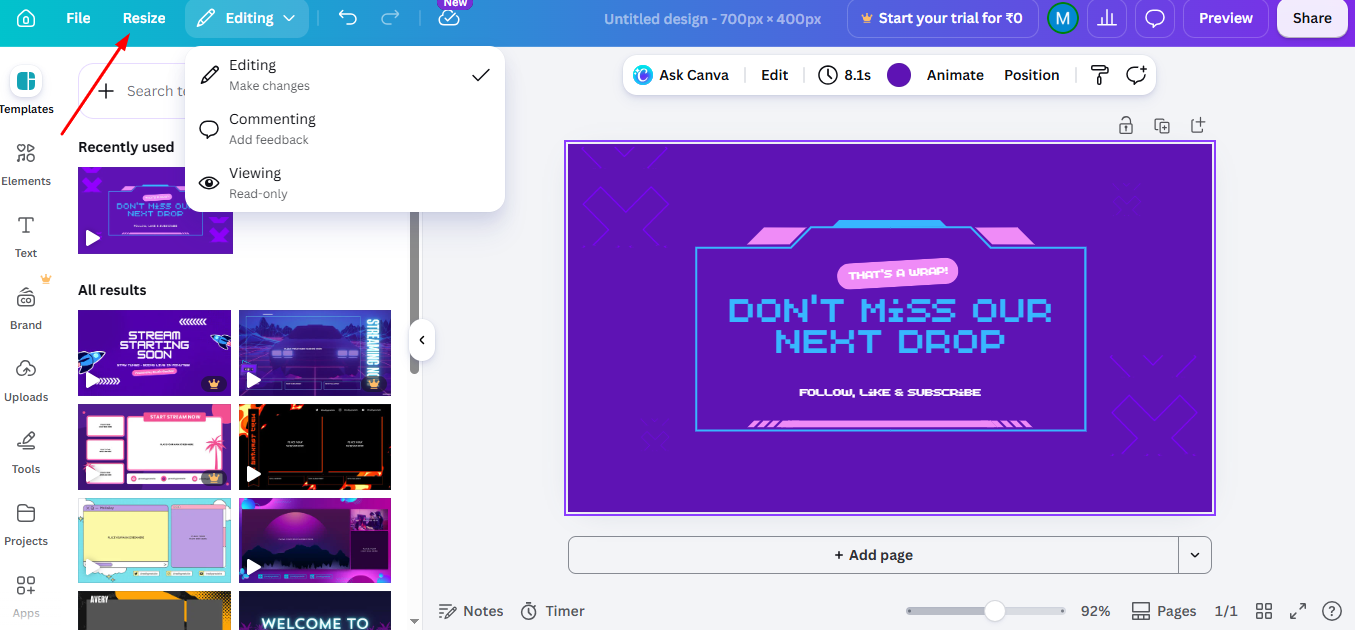
Step 2. Access the Page Rotation Feature (Magic Switch)
At the top of the Canva editor, click Resize. This feature allows you to change the dimensions of your design canvas without starting over.
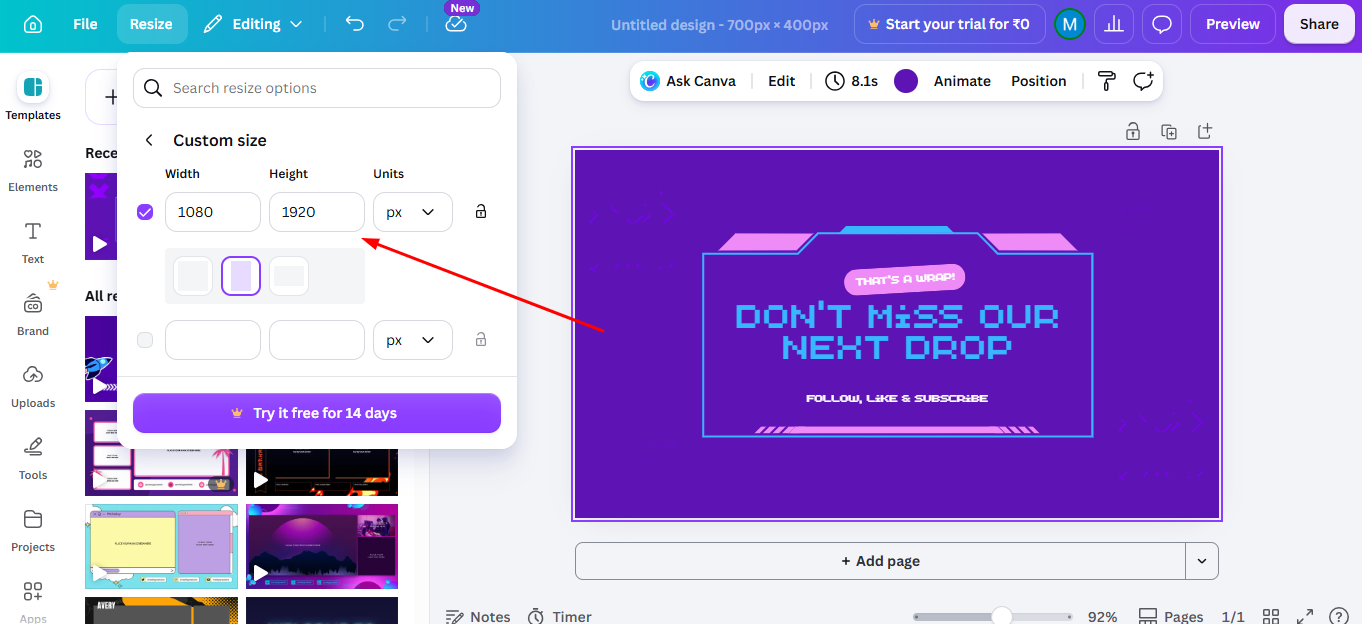
Step 3. Swap the Dimensions
To rotate page in Canva, switch the width and height values.
Example:
- Portrait: 1080 × 1920
- Landscape: 1920 × 1080
Simply reverse the numbers to understand how to change page orientation in canva.
Step 4. Choose Copy and Resize
Select Copy & Resize to create a new version of your design. This keeps the original file safe in case you need it later.
Step 5. Lock the Rotated Elements
Once you’ve rotated the elements or changed the page’s orientation, you might want to lock the position of certain items to prevent them from accidentally shifting while you’re designing.
To do this, select the element, click the three dots (ellipsis) in the toolbar above, and select “Lock.” This will freeze the element in place.
Step 6. Save or Share Your Design
Once you’re happy with the rotated page or elements, you can save or share your design.
Click on the “Share” button in the top-right corner to download your file or send it directly to collaborators.
Be sure to review your design to ensure the rotation fits your layout.
After rotating pages in Canva, step up your design game by learning how to change the background on Canva to add more visual appeal to your work
How to Change Page Orientation in Canva?
Changing the page orientation is the closest solution to how to rotate page on Canva. Instead of rotating the canvas, Canva lets you resize it by swapping the width and height.
Step 1. Open your design, click Resize (Magic Switch), and switch the width and height values. Then select Copy & Resize to create the new version.
Step 2. Follow the same steps, but swap the dimensions back to portrait. This is useful for documents, social media posts, and mobile-friendly designs.
Step 3. If the preset sizes don’t fit your needs, enter custom width and height values to create a design with the exact page orientation you want.
Note: The Resize feature is available in Canva Pro. If you’re using Canva Free, create a new design with the required dimensions and copy your content manually.
Whether you’re designing a presentation, flyer, resume, or poster, learning how to change page orientation in Canva helps you adapt your layouts without starting from scratch.
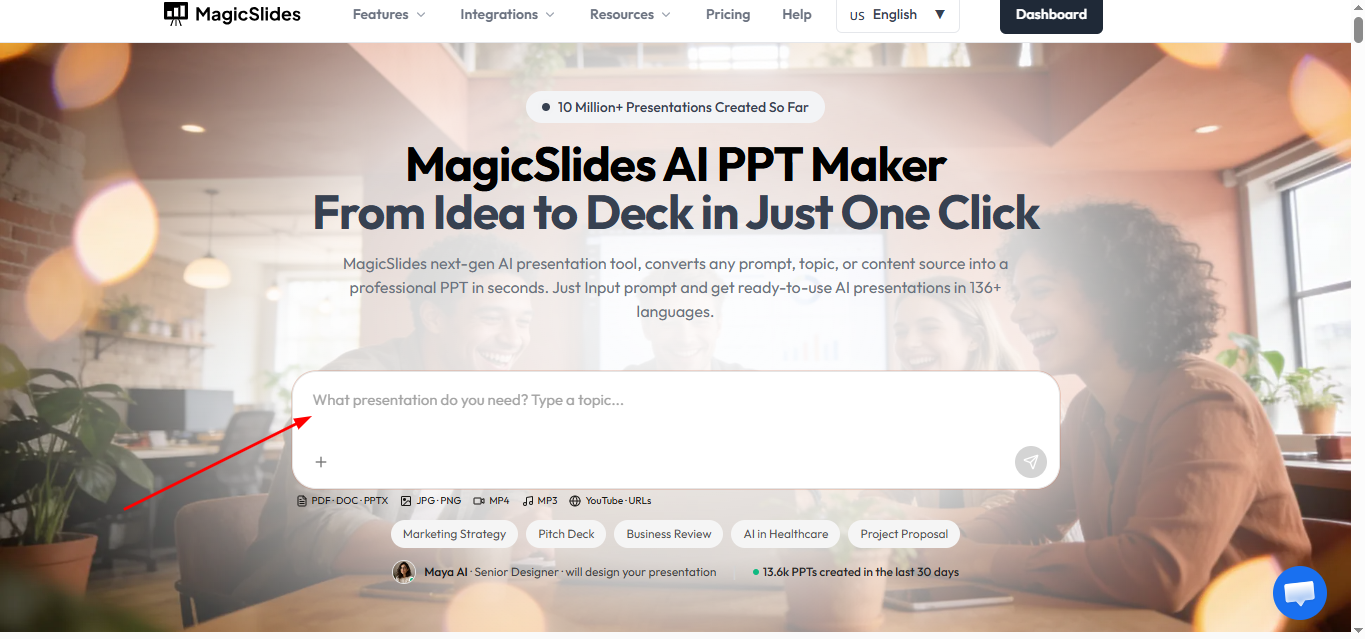
Pro Tip- Need a Faster Way to Create Presentations?
If you’re rotating a Canva page for a presentation, you can save even more time with MagicSlides AI Presentation maker. Instead of creating slides manually, MagicSlides uses AI to generate complete presentations in seconds, which you can then customize and adjust to your preferred layout or orientation.
Conclusion
Rotating a page in Canva is simple, whether you’re adjusting individual elements or changing the entire layout. By following these easy steps, you can bring more flexibility and creativity to your designs.
Explore Canva’s powerful features to achieve the perfect look for your project.
FAQs
Q. Can I rotate an entire page in Canva?
You can rotate individual elements, but you must manually adjust page orientation for a full rotation.
Q. how to change to landscape in canva?
Click the “Resize” button and swap the dimensions to change between portrait and landscape modes.
Q. Can I lock rotated elements in place?
Yes, after rotating elements, use the “Lock” option to prevent accidental movement.


