How to make text go around a picture in google slides


Elevate your Google Slides with text wrapping simple steps for a visually captivating presentation transformation awaits.
Looking to elevate your Google Slides presentation with a touch of creativity? Incorporating text wrapping around images is a simple yet impactful way to enhance your slides. While Google Slides doesn't have a built-in tool for this, fear not we have a step-by-step guide to help you achieve this visually appealing effect effortlessly.
Step-by-Step Guide: How to make text go around a picture in google slides
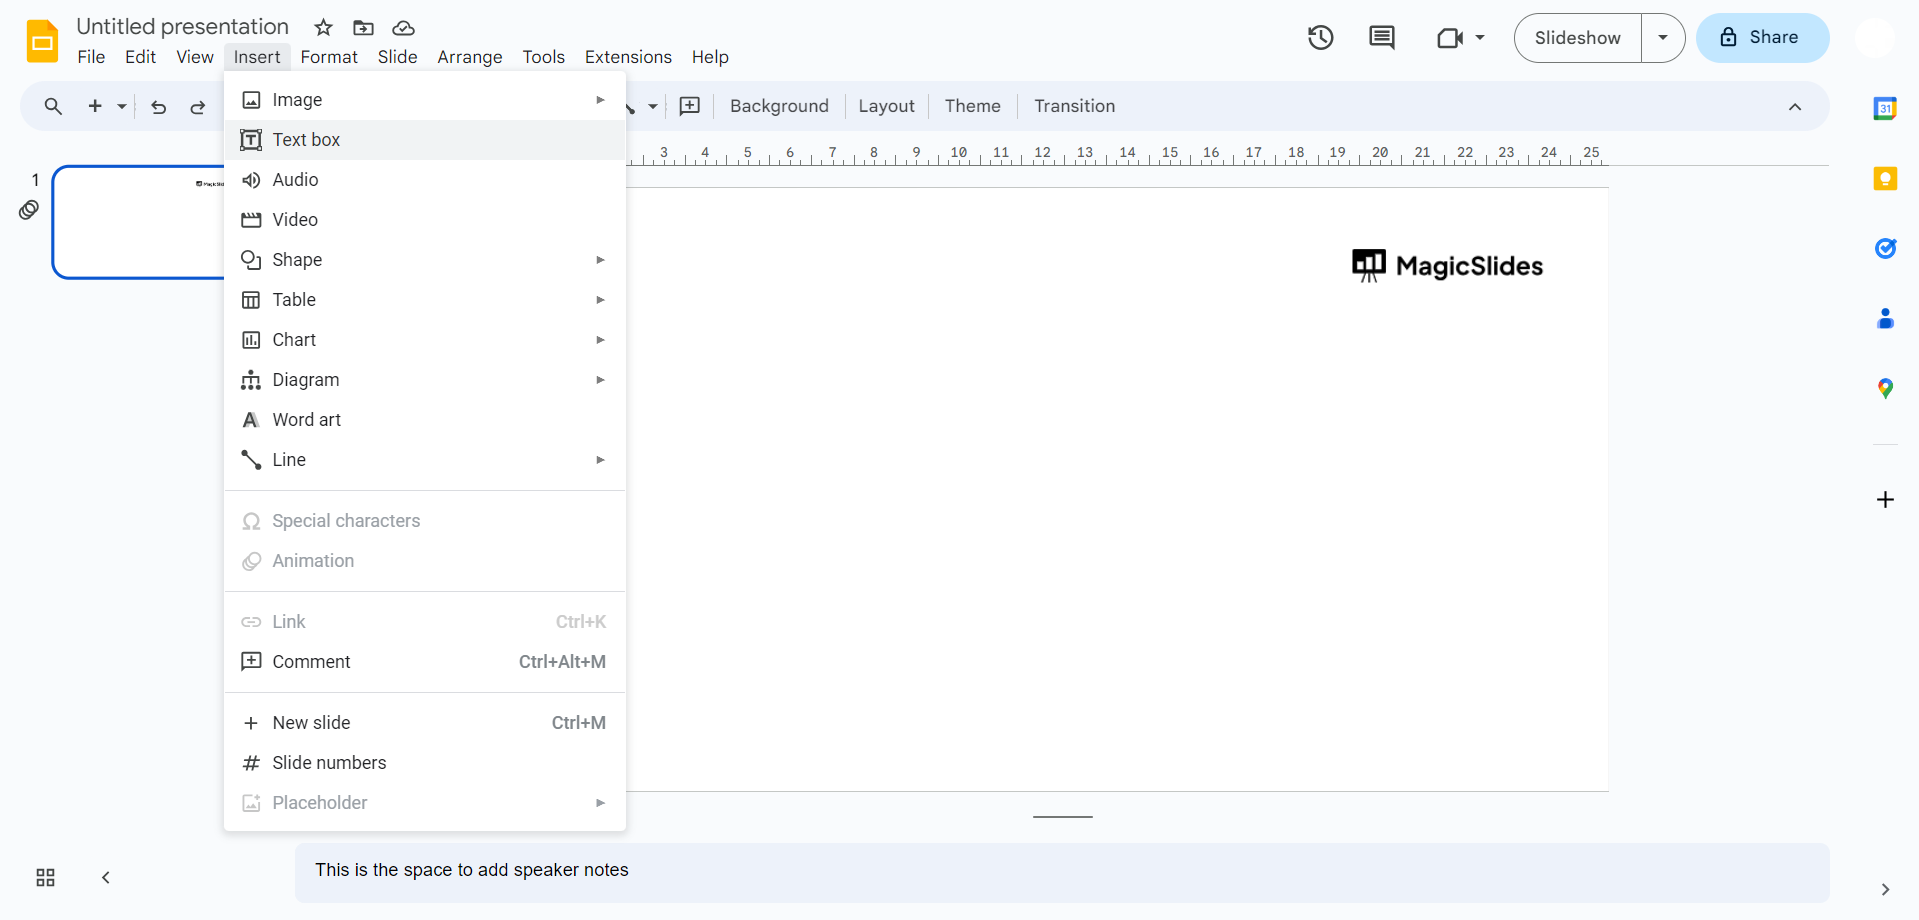
1. Accessing Text Box:
To initiate the transformation of your presentation, open your Google Slides file and locate the 'Text Box' feature. This versatile tool is your gateway to unleashing the power of text wrapping.
2. Positioning Your Text Box:
Place your mouse pointer precisely where you envision the text box. Think strategically about the placement to ensure an aesthetically pleasing and cohesive composition.

3. Crafting Your Message:
As the text box materializes, seize the opportunity to infuse your presentation with impactful content. Type in your message, ensuring it aligns with your overall narrative and complements the visuals.
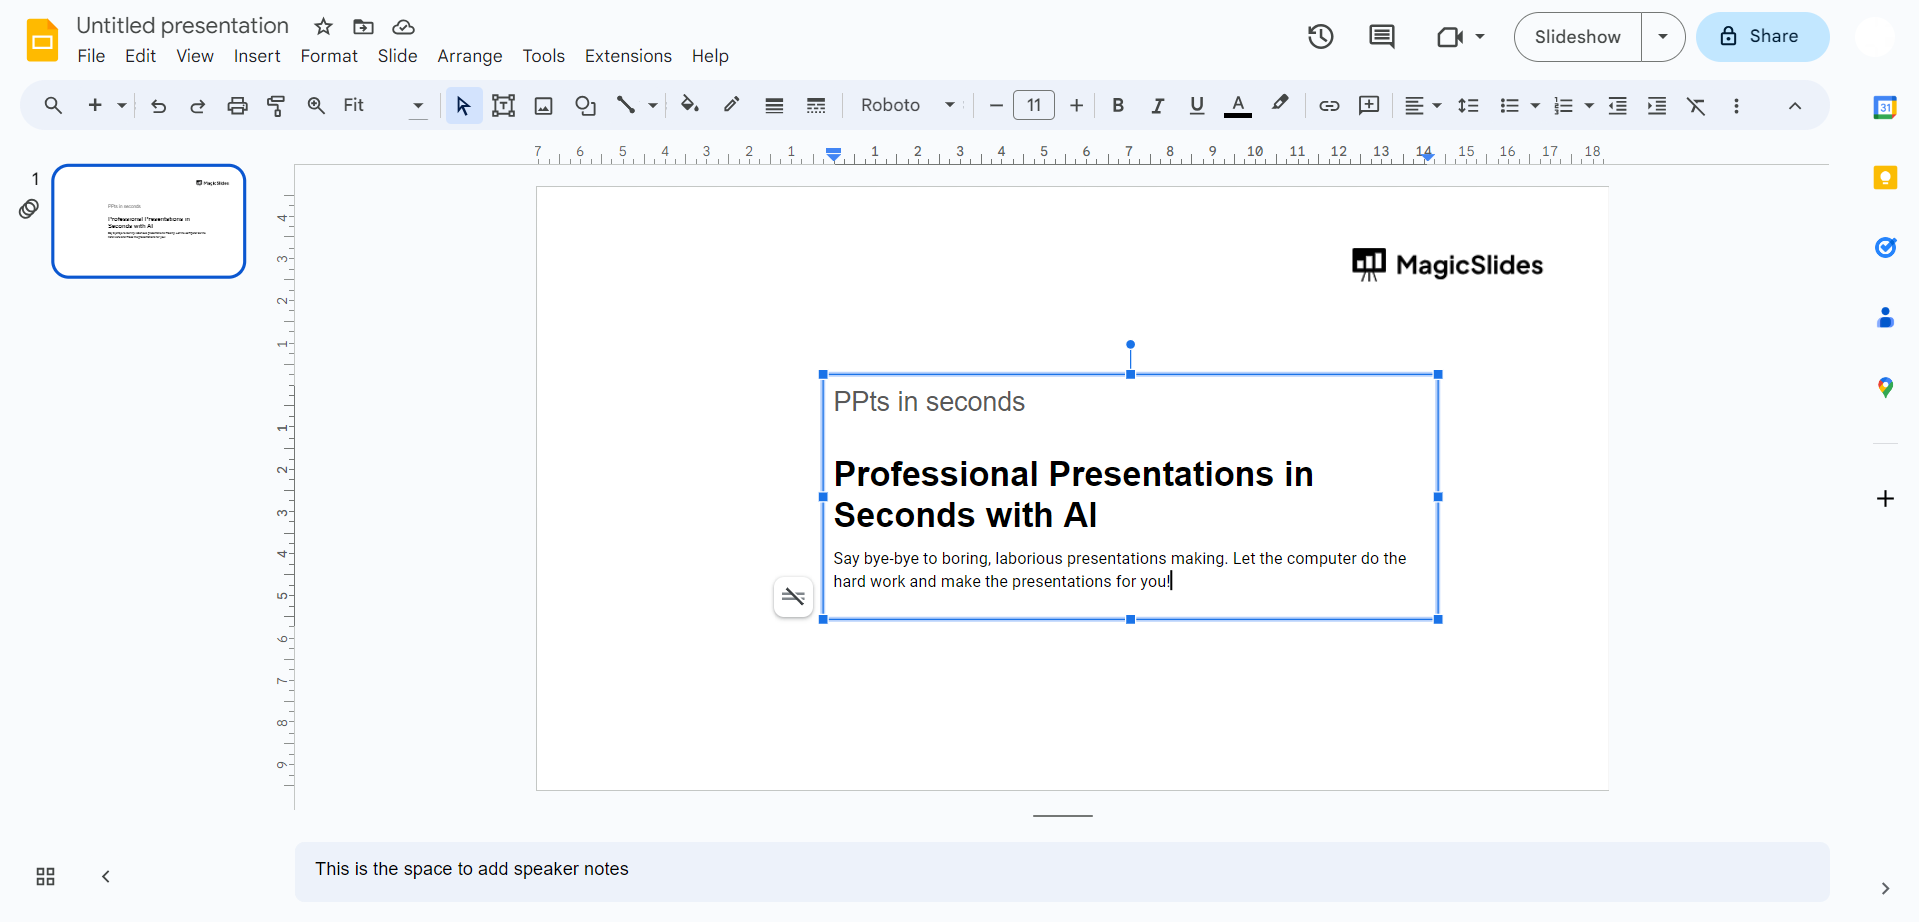
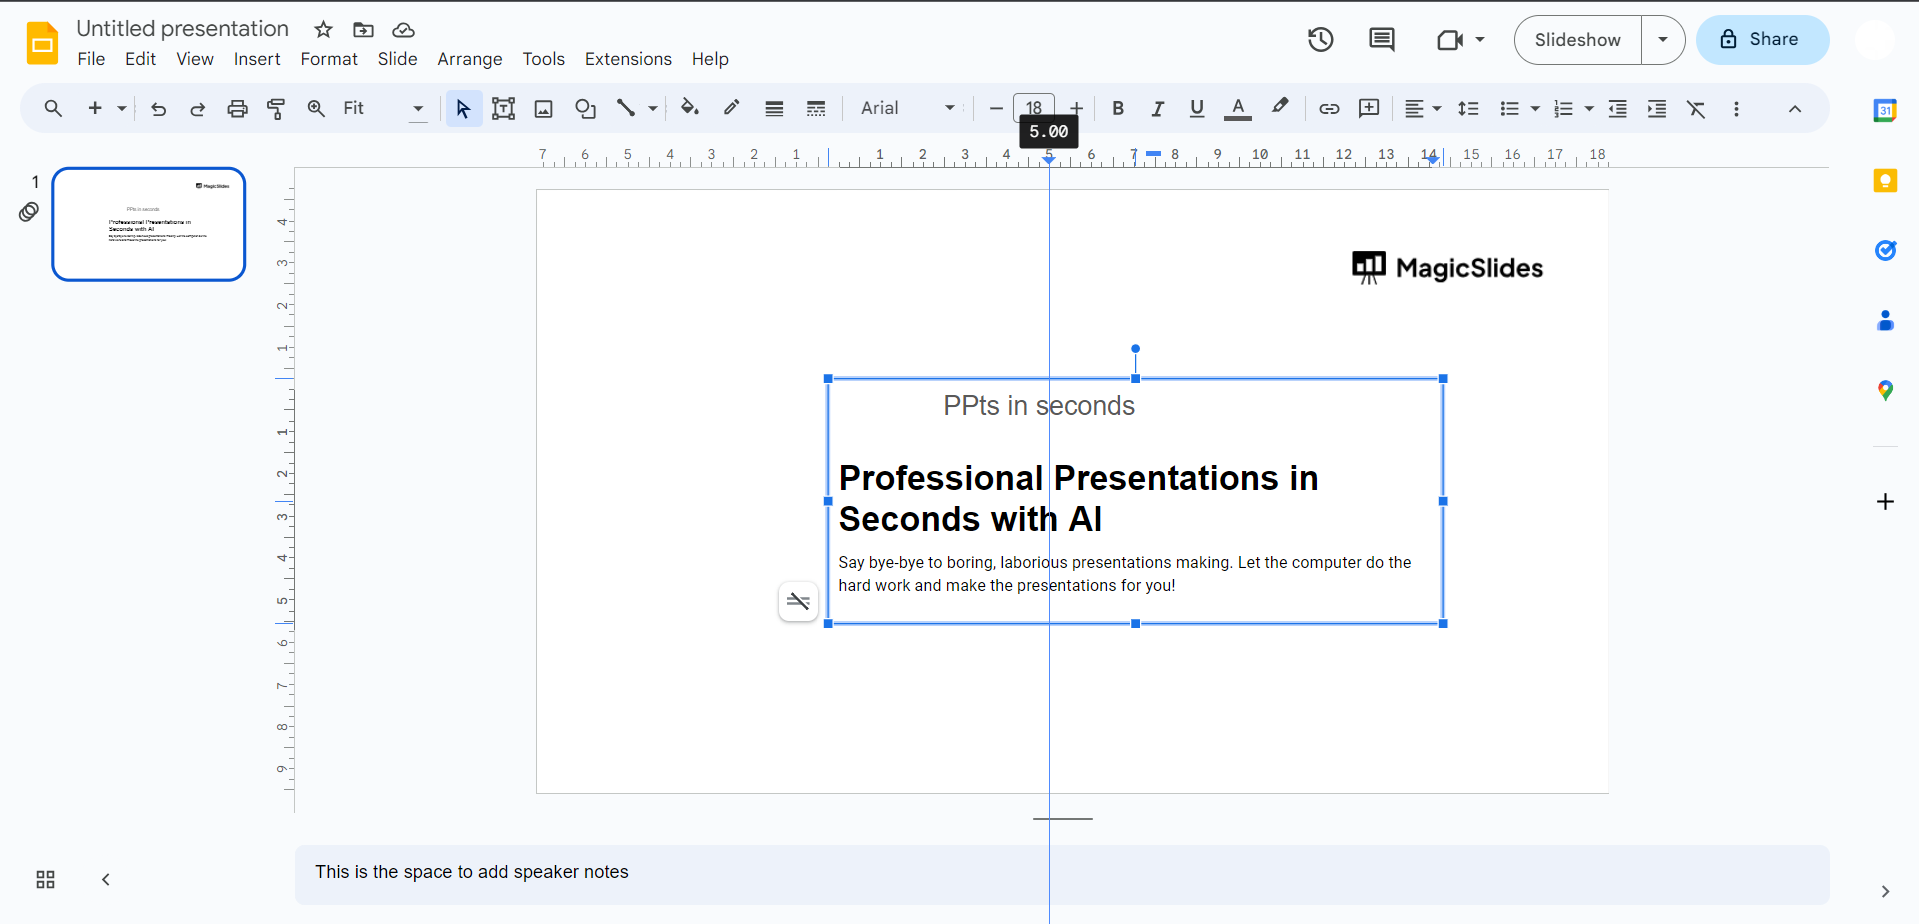
4. Resizing for Precision:
To fine-tune the layout, identify the subtle blue lines along the sides of your text box. Skillfully drag and adjust the dimensions until it seamlessly aligns with the contours of your chosen image. This step ensures a polished and professional appearance.
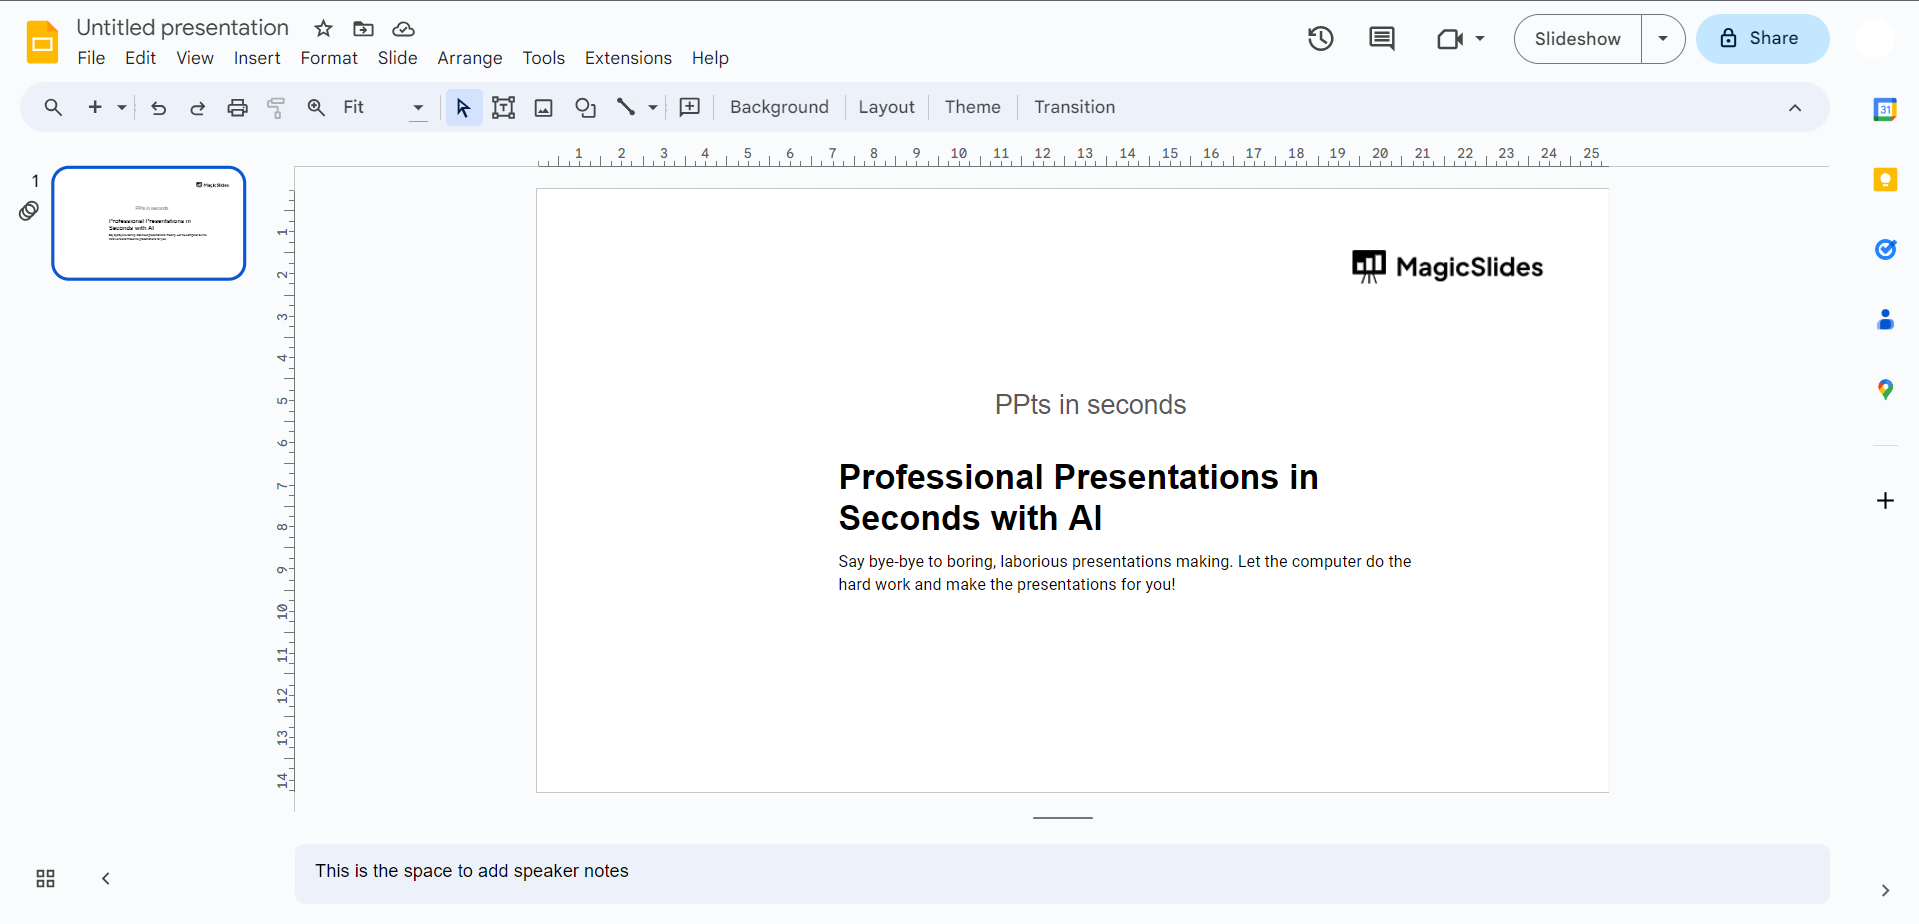
5. Align & Save:
Now that your text box is in place, it's crucial to align it seamlessly with the accompanying image. Achieve the desired wrapping effect by ensuring that the text flows harmoniously around the image, creating a visually optimized experience for your audience.
Conclusion:
By following these simple steps, you've unlocked the secret to adding a touch of sophistication to your Google Slides presentations. The strategic integration of text wrapping not only enhances the visual appeal but also elevates the overall impact of your message. Experiment with different layouts, embrace creativity, and captivate your audience with presentations that truly stand out.
Frequently Asked Questions:
Q: Can I apply text wrapping to any image in Google Slides?
Ans: Absolutely! Once you've added a text box, you can position and resize it to seamlessly wrap text around any image in your Google Slides presentation. Experiment with different layouts to find what suits your content best.
Q: Is text wrapping suitable for all types of presentations?
Ans: While text wrapping adds a dynamic visual element, its suitability depends on your presentation's theme and content. It works exceptionally well for creative or narrative-focused presentations, offering a unique and engaging layout.
Q: Can I customize the text box further for a more polished look?
Ans: Certainly! After adding your text box, explore additional formatting options within Google Slides. Adjusting font styles, colors, and box borders can further enhance the overall aesthetics, ensuring your text-wrapped images leave a lasting impression.
Have a look @these info blogs:
how to make an image transparent in powerpoint: https://www.magicslides.app/blog/how-to-make-an-image-transparent-in-powerpoint
How To Insert A Word Document Into Powerpoint: https://www.magicslides.app/blog/How-to-insert-a-word-document-into-powerpoint
How To Conclude A Presentation | End Your Presentation On A Good Note: https://www.magicslides.app/blog/how-to-end-your-presentation
How To Open Google Slides In Powerpoint: https://www.magicslides.app/blog/How-to-open-google-slides-in-powerpoint


