How to Add a timer to Google Slides


It is important to know how to add a timer to google slides while creating presentations this article explains the same.
Creating dynamic presentations that automatically advance from one slide to another can be a powerful way to engage your audience and streamline your content delivery.
In Google Slides, you can achieve this by setting up auto-advance slides with just a few simple steps.
Whether you're giving a timed pitch, a self-running kiosk display, or a seamless photo slideshow, this feature can enhance your presentations.
In this blog post, we'll guide you through the process in four easy steps.
How to Add a timer to Google Slides
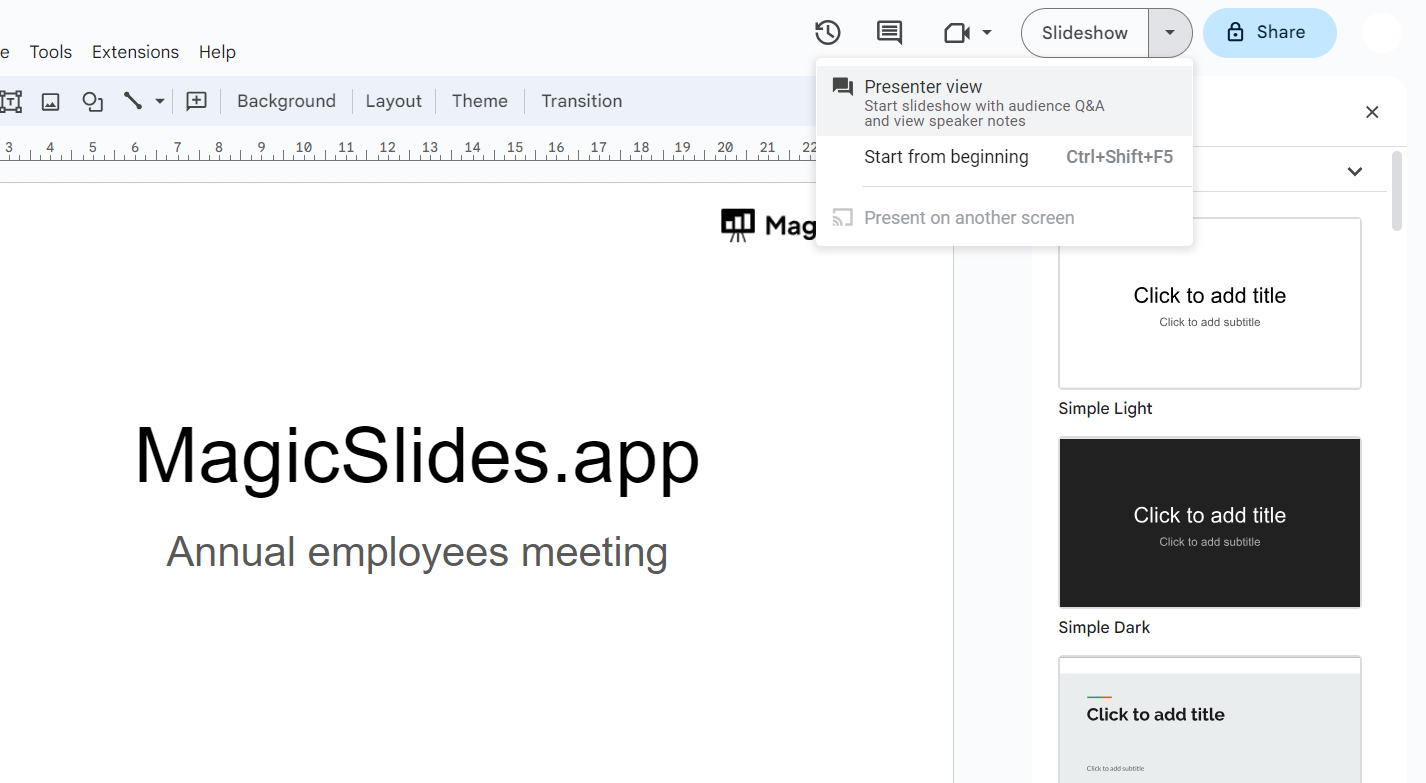
Step 1: Open Your Presentation in Google Slides
Begin by opening your Google Slides presentation.
If you're starting from scratch, you can create a new presentation by navigating to Google Slides in your web browser.
Step 2: Access Slide Transition Settings
Click on the slide for which you want to enable auto-advance or select multiple slides if you want them all to auto-advance.
To access the slide transition settings, click on "Slide" in the top menu.
We have done learning adding timer to PowerPoint, it’s time to do the same for Google Slides from this simple tutorial.
Step 3: Configure Auto-Advance Options
In the "Slide" menu, click on "Transition." Within the transition options, locate the "Auto-Advance" section.
Here, you can choose your preferred time for auto-advancement. For example, set it to "5 seconds" to automatically move to the next slide every 5 seconds.
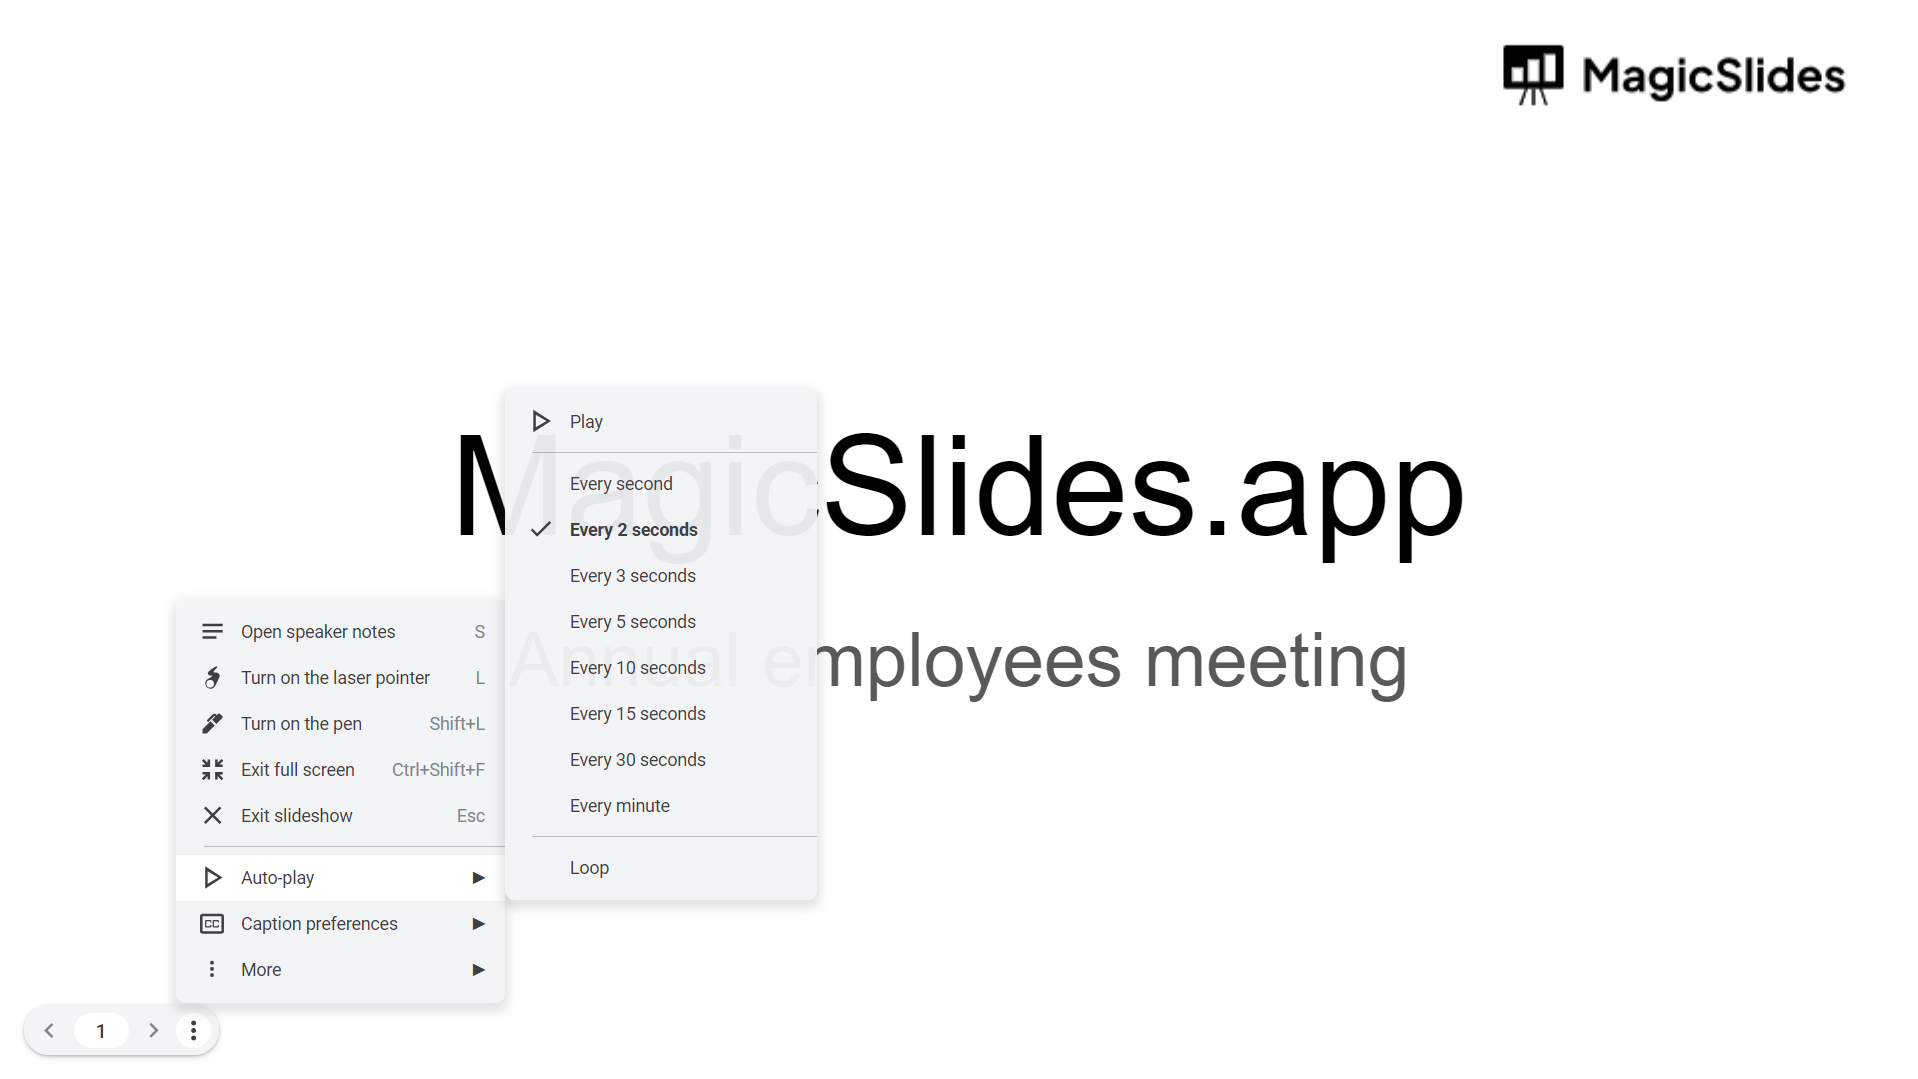
Step 4: Enable Loop and Play
To ensure your presentation loops continuously, click on the "Loop" option.
This will make the presentation start over from the beginning once it reaches the end.
To begin your auto-advance presentation, click the "Play" button, and Google Slides will take care of the rest.
Conclusion:
With just a few clicks, you can enable auto-advance slides in Google Slides, allowing you to create seamless and engaging presentations that run automatically.
Whether you're using this feature for a timed presentation, a self-playing kiosk display, or any other scenario, it's a convenient way to captivate your audience and ensure a smooth presentation experience.
Tired of making presentations? what if we tell you you can make a presentation with just a prompt, convert YouTube videos to PPTs, convert website content to PPTs? Yes! checkout magicslides.app that does all and enjoy the free credits to make presentations in seconds.
FAQs can come handy!
How can I add a countdown timer to Google Slides?
You can add a countdown timer to Google Slides by embedding a timer video from YouTube, using a third-party timer tool, or creating a manual timer using shapes and animations.
Can I customize the timer to fit my presentation's theme?
Yes, if you're using a manual timer or certain third-party tools, you can customize the timer's colors, fonts, and style to match your presentation theme.
Will the timer automatically start when I begin my presentation?
If you use a video timer or a manually created timer with animations, the timer will start automatically when you reach the slide where it's embedded.


