How to Animate Text in PowerPoint


Animating text in PowerPoint brings slides to life, making presentations more engaging, dynamic, and visually appealing
Adding animations to text in PowerPoint is a great way to make your presentations more engaging and visually dynamic.
Whether you want to highlight important points, create a narrative flow, or simply add flair, PowerPoint’s animation tools allow you to customize text movement, effects, and timing to fit your style.
Follow these steps to animate text in PowerPoint effectively.
How to Animate Text in PowerPoint: A Step-by-Step Guide
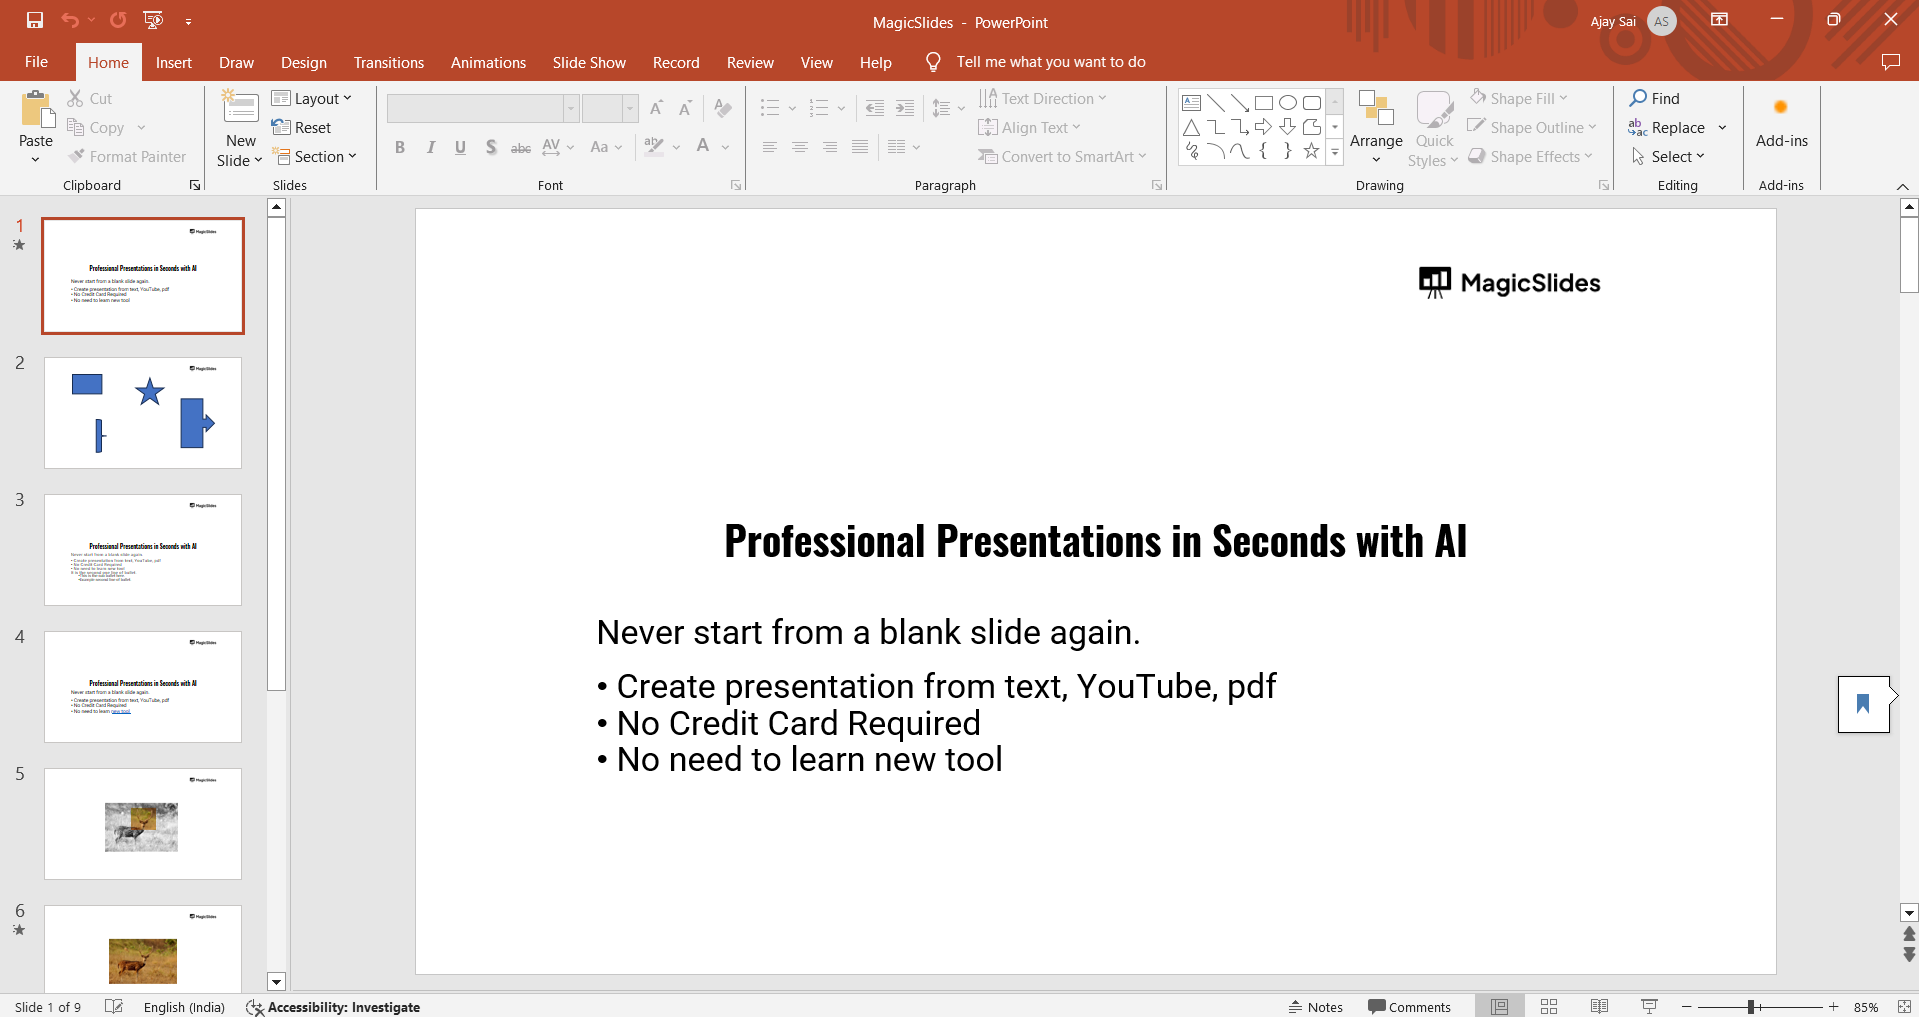
Step 1: Open PowerPoint and Select Your Slide
Open your PowerPoint presentation and navigate to the slide with the text you’d like to animate.
If you need to add text, select the "Insert" tab and click on "Text Box" to type in your content.
Step 2: Select the Text You Want to Animate
Click on the text box containing the text you want to animate.
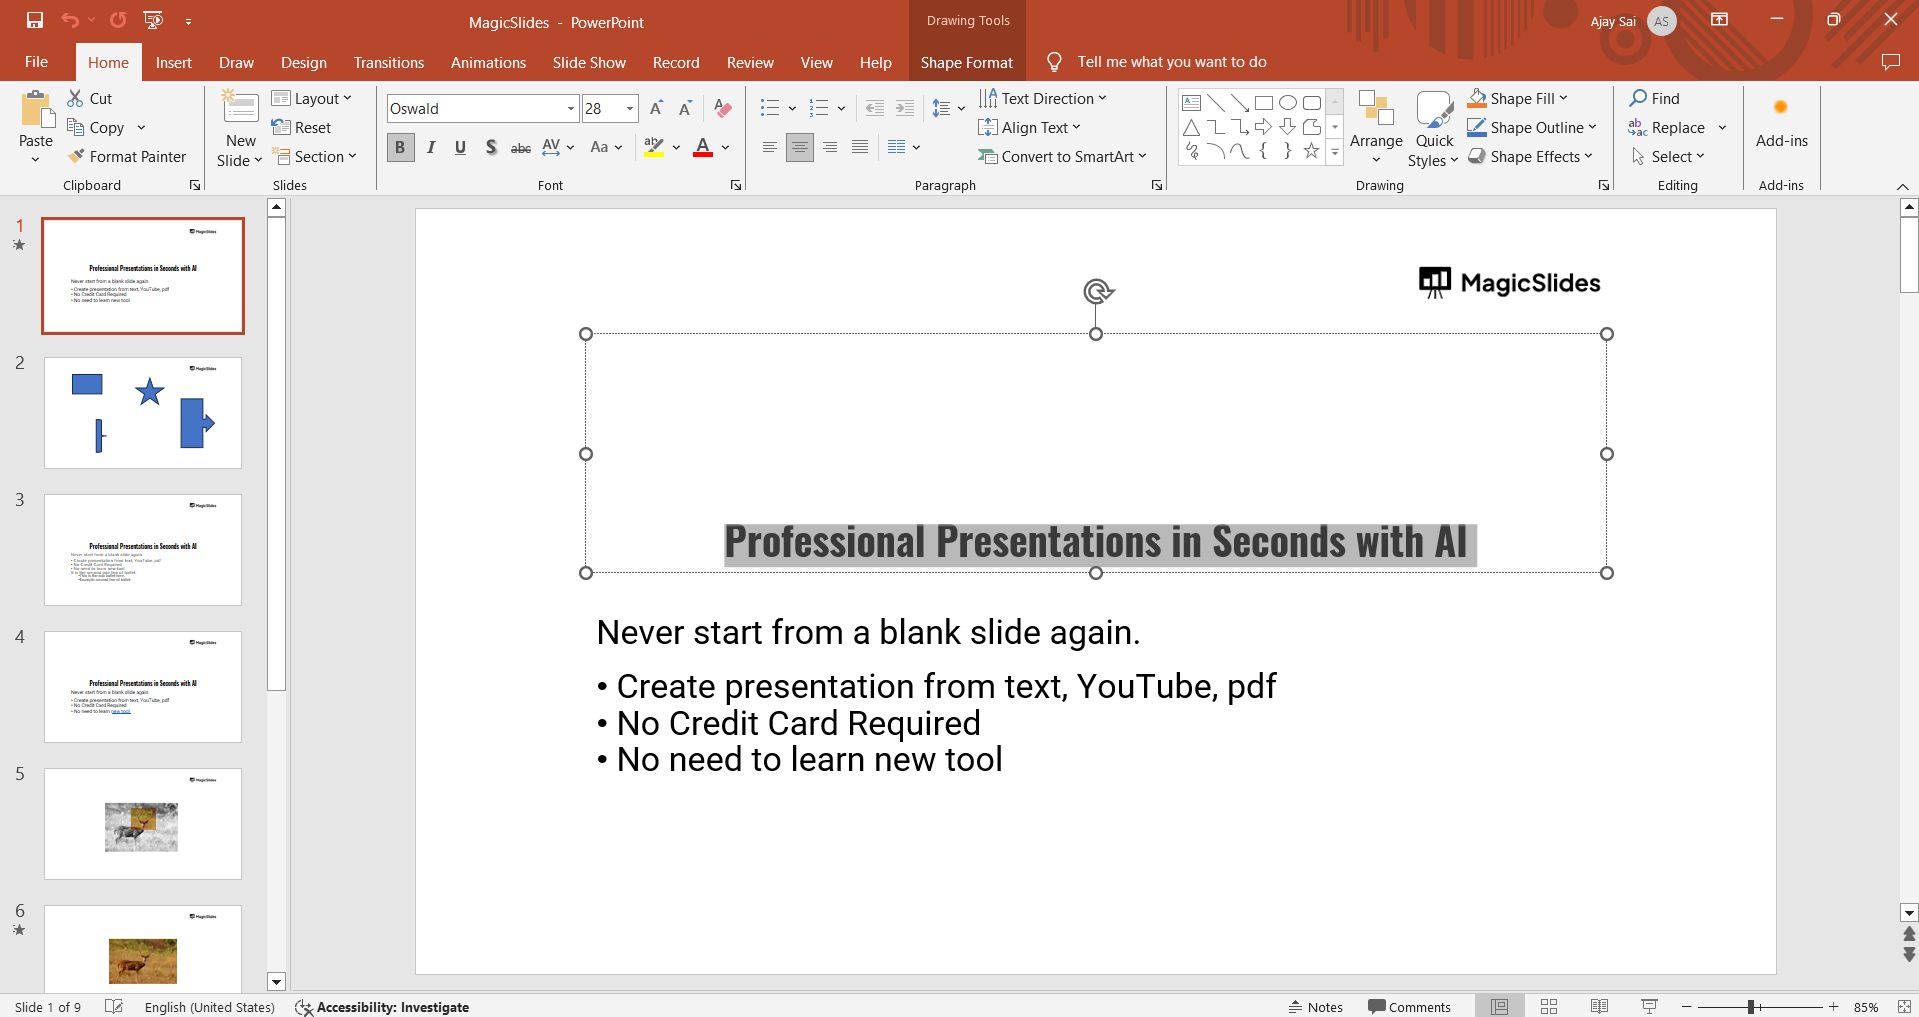
Ensure that only the specific text or text box you wish to animate is selected before moving on to the animation step.
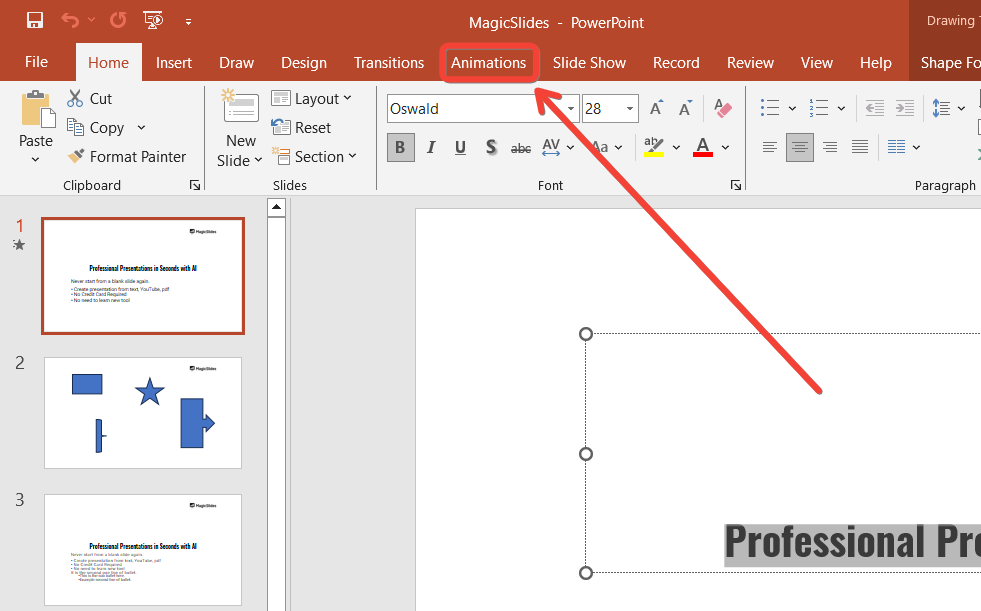
Step 3: Go to the "Animations" Tab
With the text box selected, navigate to the "Animations" tab at the top of the screen.
In this tab, you’ll find a variety of animation options under the "Animation" section, including "Entrance," "Emphasis," and "Exit" effects, each serving a different purpose in animating your text.
Step 4: Choose an Animation Effect
Click on the animation style you prefer, such as "Fade," "Fly In," or "Zoom."
PowerPoint will provide a quick preview of the effect on your text.
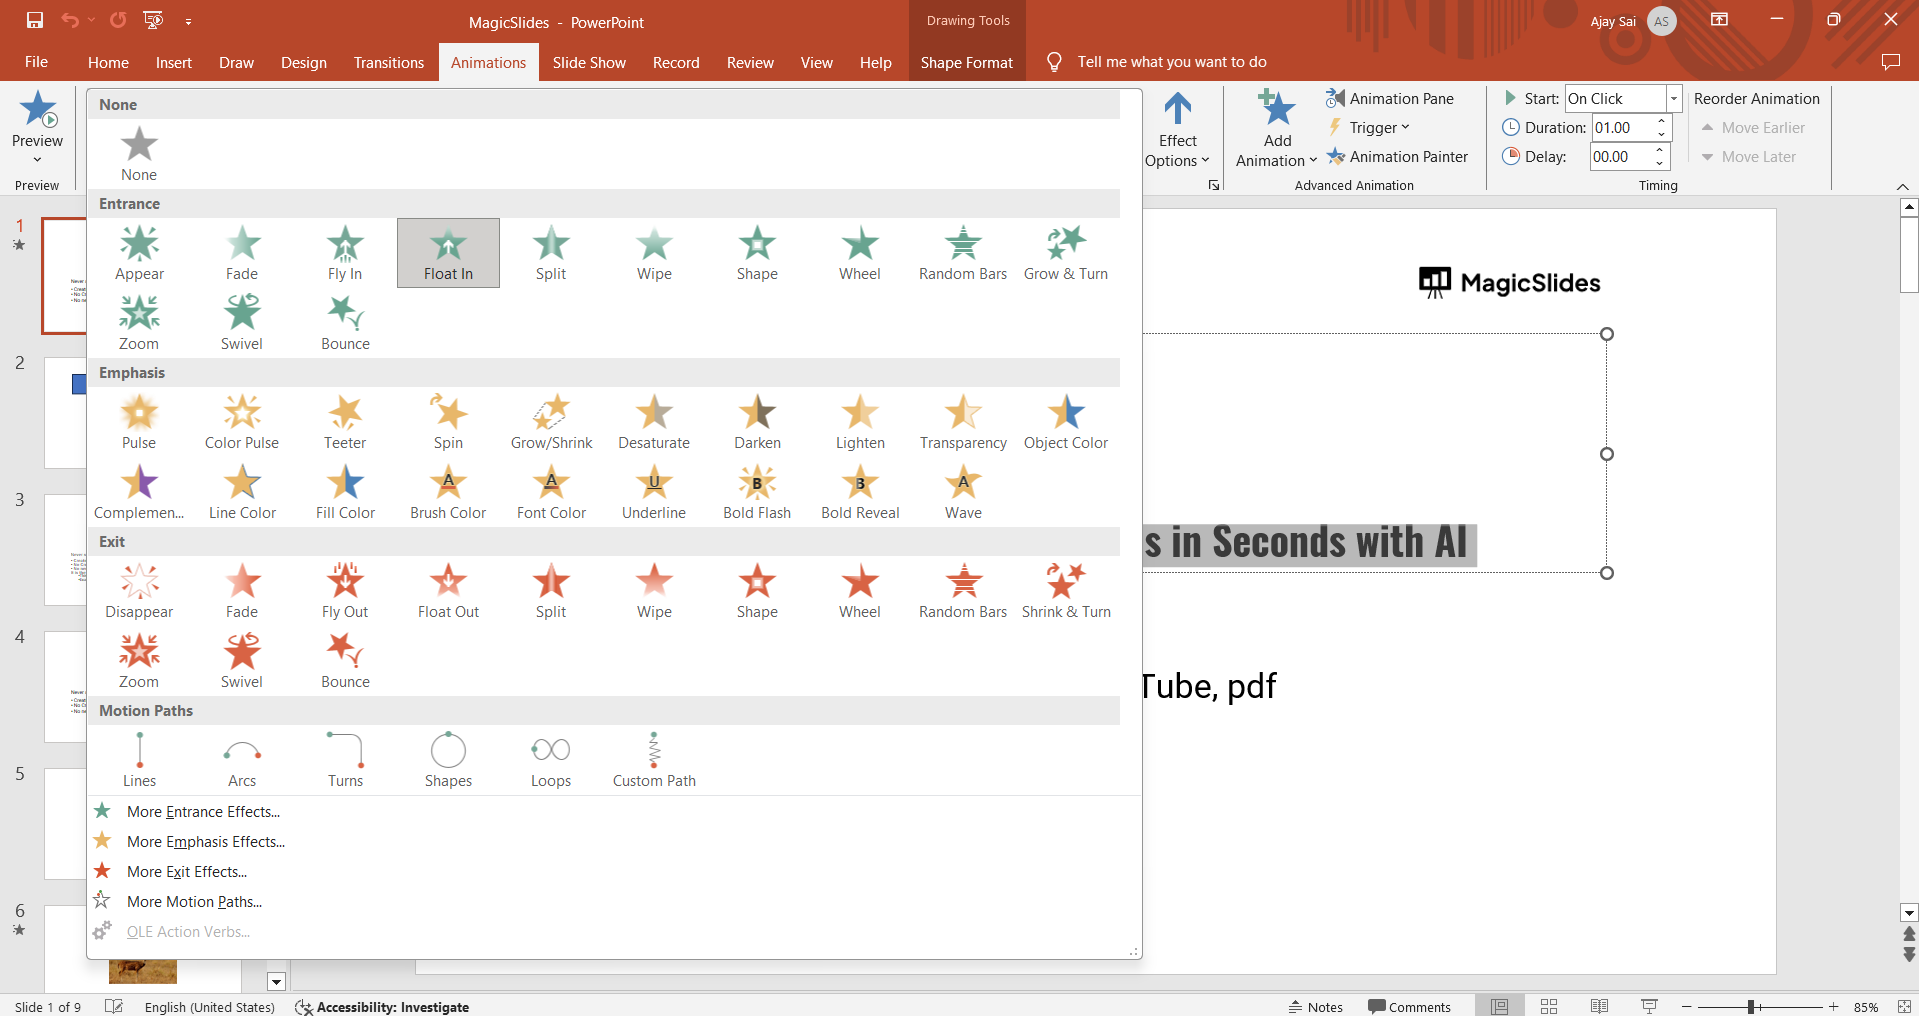
Experiment with different options until you find the one that best fits your presentation’s tone.
Step 5: Adjust Animation Timing and Options
After selecting your animation effect, go to the "Animation Pane" (found in the "Animations" tab) to adjust the timing, start options (such as "On Click," "With Previous," or "After Previous"), and duration of the animation.
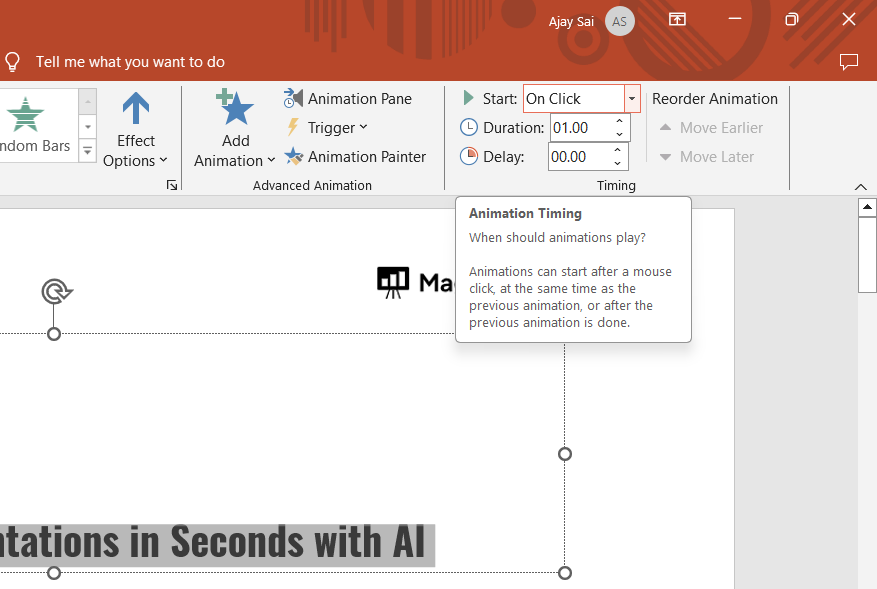
This control allows you to customize when and how the animation occurs for each text box.
Step 6: Add Additional Animations if Needed
If you want to apply more than one effect to the same text, select the text box again, go to "Add Animation," and choose a new effect.
Repeat these steps to layer multiple animations, such as an entrance and emphasis effect, for a more dynamic presentation.
Step 7: Preview the Animation
To see how your animations look, click "Preview" in the "Animations" tab.
This will play your animations in the order you've set them, allowing you to make adjustments as needed.
Once you've animated text in PowerPoint, learn how to set a picture as a background in PowerPoint to combine visuals and motion effectively.
Conclusion
Animating text in PowerPoint is a straightforward yet powerful way to make your presentations stand out.
With these steps, you can add movement and emphasis to your slides, creating a more engaging experience for your audience.
Experiment with various effects, timing, and layering to make each slide as dynamic as you need.
FAQs are here to help!
Can I add multiple animations to a single text box?
Yes, you can add multiple animations by selecting "Add Animation" after applying the first effect. This lets you layer effects, such as a "Fade In" followed by an "Emphasis" effect.
How do I make my text animation start automatically?
In the "Animation Pane," select "Start" and choose "With Previous" or "After Previous" to automate the animation.
Can I remove an animation if I change my mind?
Yes, go to the "Animation Pane," select the animation you wish to remove, and click "Delete." You can also click "None" under animations to clear all animations from the text box.


