How to Change Opacity in Google Slides? Easiest Guide


Do you want to know how to change opacity in Google Slides? Let’s discuss the trick behind how to change transparency in Google Slides here in simple steps
Google Slides is a powerful tool for creating visually captivating presentations. To add that extra layer of finesse and creativity to your slides, you can manipulate the opacity of objects, such as text, shapes, images, and more.
Most users search for how to change transparency in Google Slides. But Google Slides actually uses the term transparency instead of opacity. Once you understand how the two relate, everything becomes much easier to control.
Adjusting opacity can make your slides more visually appealing and help emphasize specific elements. It also highlights one of the key advantages and disadvantages of Google Slides, as while it offers simple and accessible design tools, some advanced customization options may feel limited compared to other presentation software.
In this guide, we will walk you through the steps to change opacity in Google Slides, allowing you to take your presentations to the next level.
What is Opacity in Google Slides and How Transparency Works
Before we learn how to change opacity in Google Slides, it’s important to understand what opacity actually means and why Google Slides labels it differently, especially if you regularly make Google Slides presentation decks for work, school, or clients.
Opacity controls how visible an element is on your slide. A fully opaque object is solid and clearly visible, while a low-opacity object appears faded or see-through. However, when you try to adjust transparency in Google Slides, you’ll notice the platform uses the term transparency instead of opacity.
Here’s the simple relationship:
- Higher transparency = Lower opacity
- Lower transparency = Higher opacity
Once you understand this, learning how to change transparency in Google Slides becomes much more intuitive.
In practice, this feature is widely used in professional presentation slides to optimize slide backgrounds, reduce visual clutter, and create a clean layout. For example, slightly fading a background image makes your text easier to read, something I consistently apply when designing client presentations.
Now that the concept is clear, let’s move on to exactly how to change opacity in Google Slides for images step by step.
How to change opacity in Google Slides?
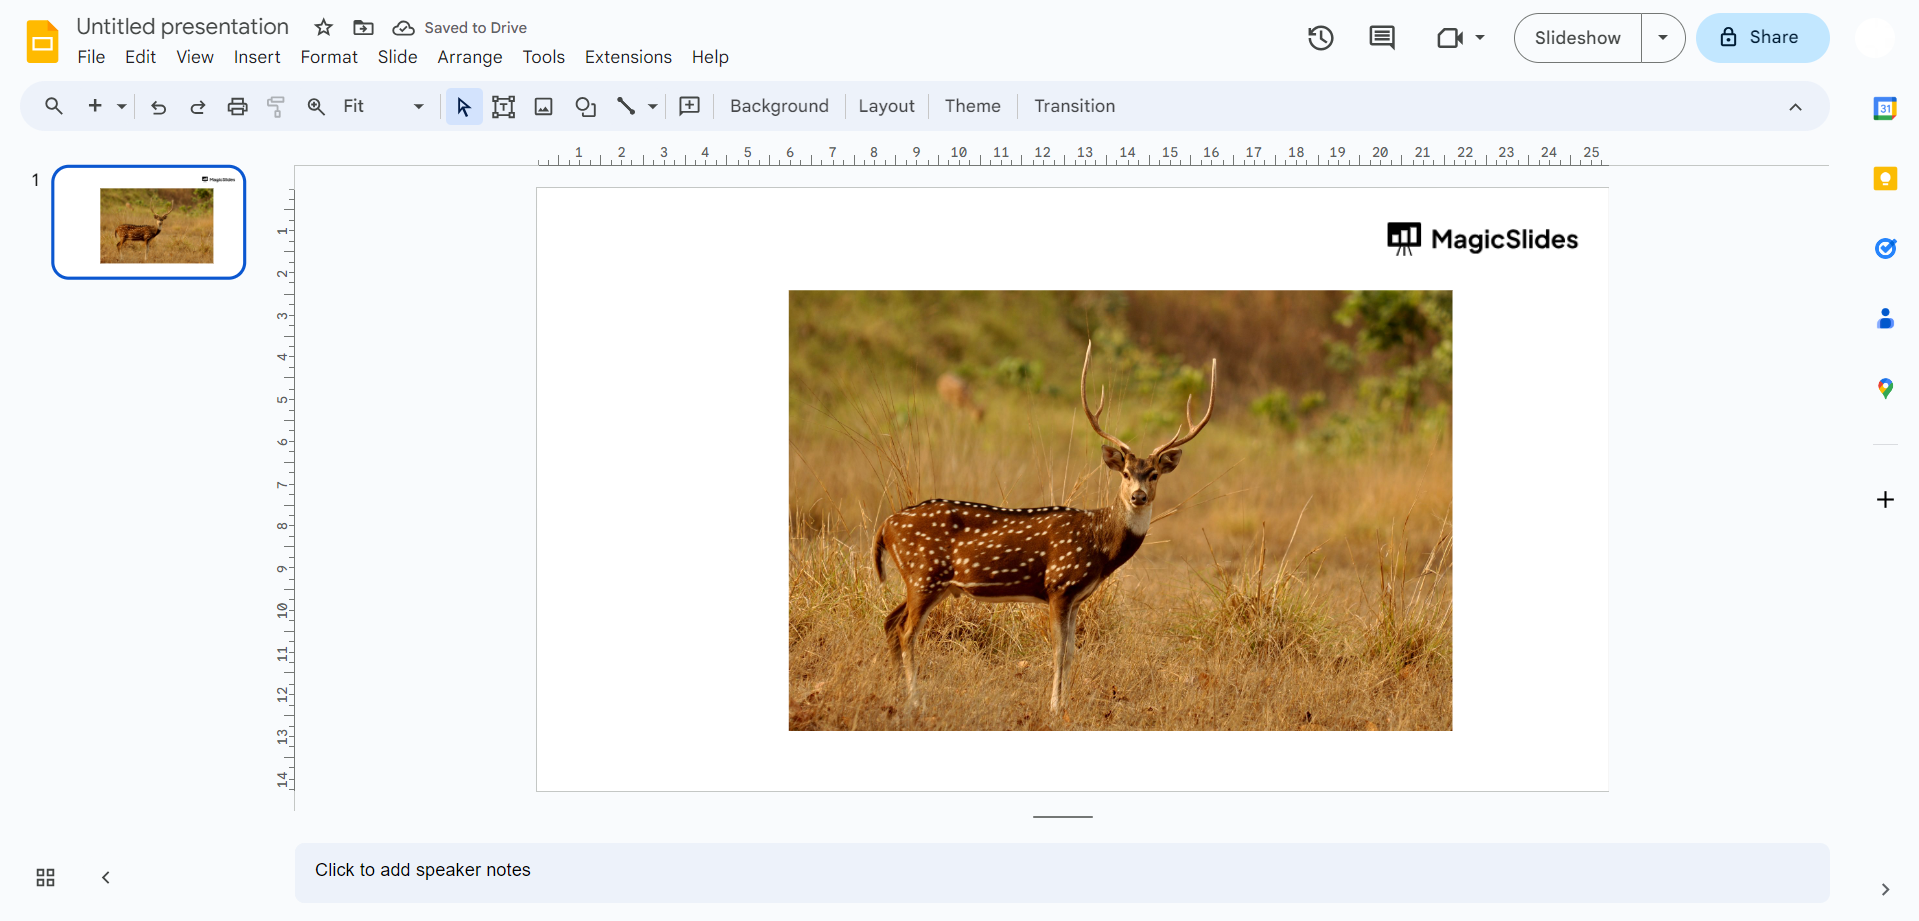
Step 1. Access Your Google Slides Presentation
Start by opening your Google Slides presentation.
If you haven't created one yet, you can easily start a new presentation by going to your Google Drive and selecting "Google Slides" from the "New" menu.

Step 2. Select the Object
Choose the object (text, shape, image, etc.) to which you want to change the opacity. Click on it to select it.
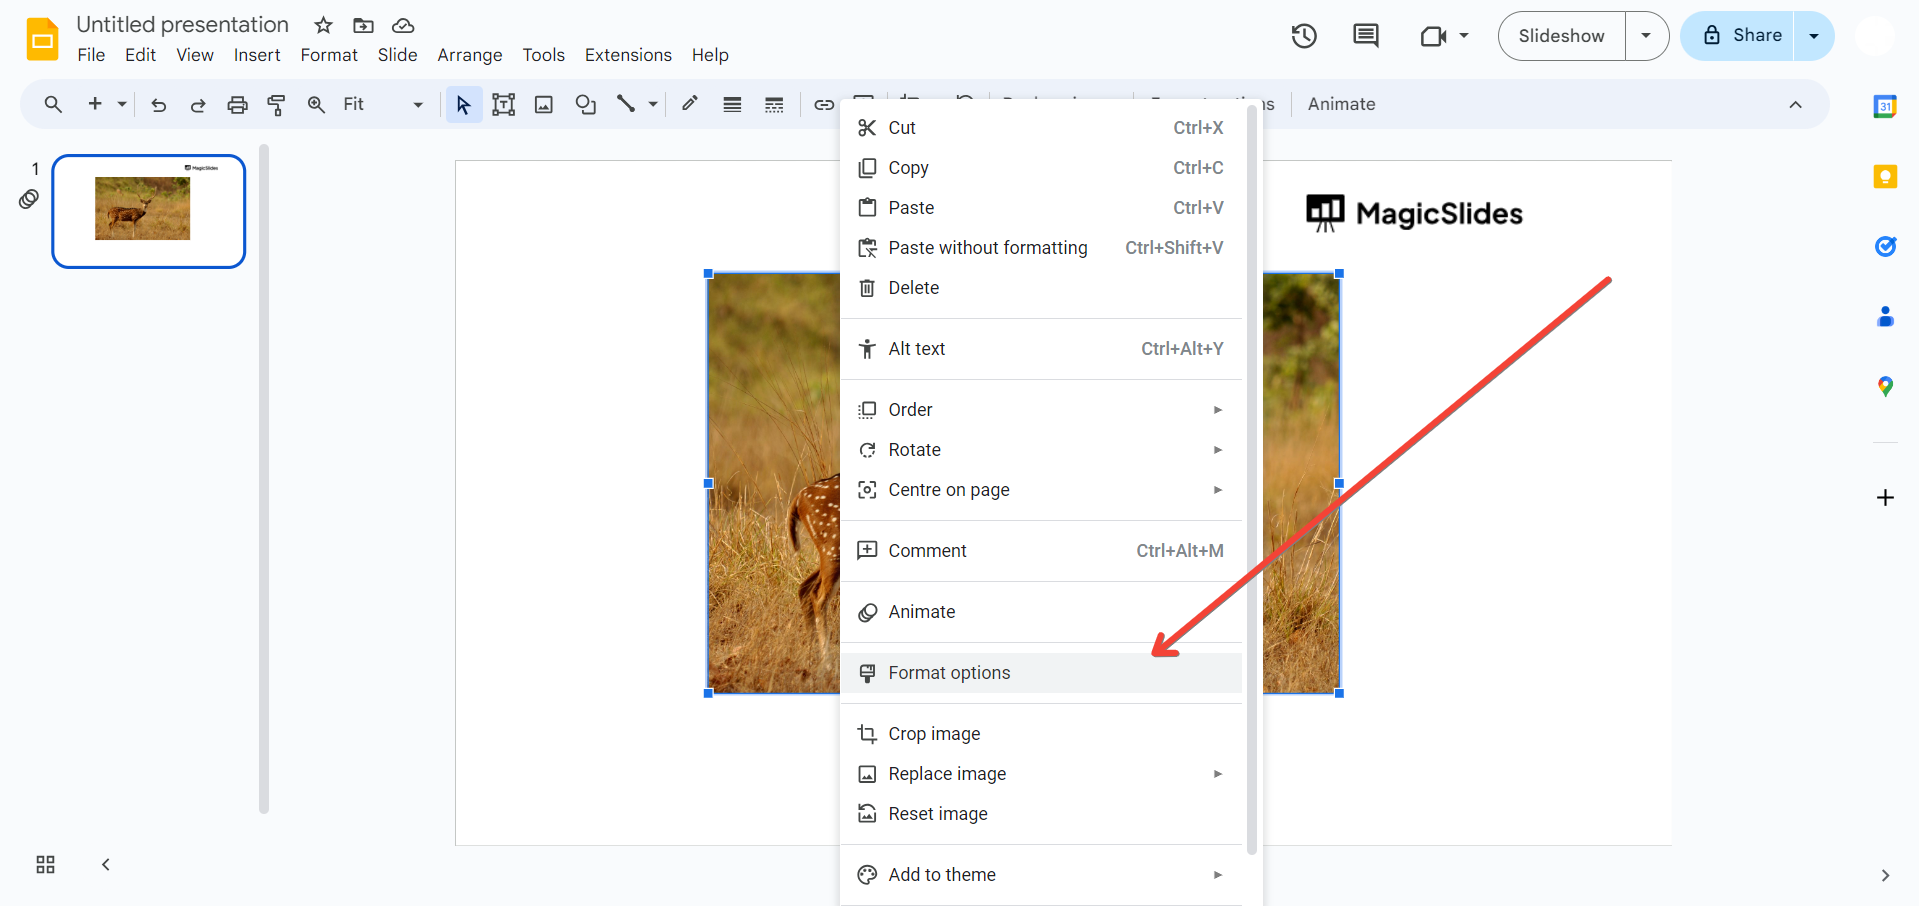
Step 3. Access the Format Options
With your object selected, click on the "Format" tab in the top menu bar. A drop-down menu will appear. Or simply right click and select format options.
Step 4. Adjust Transparency
In the "Format" menu, hover over "Transparency." A submenu will appear with a range of options, including "Transparency" and "Brightness." Select "Transparency."
Learn to craft a concise, impactful 5-minute presentation with tips on word count, structure, and delivery.
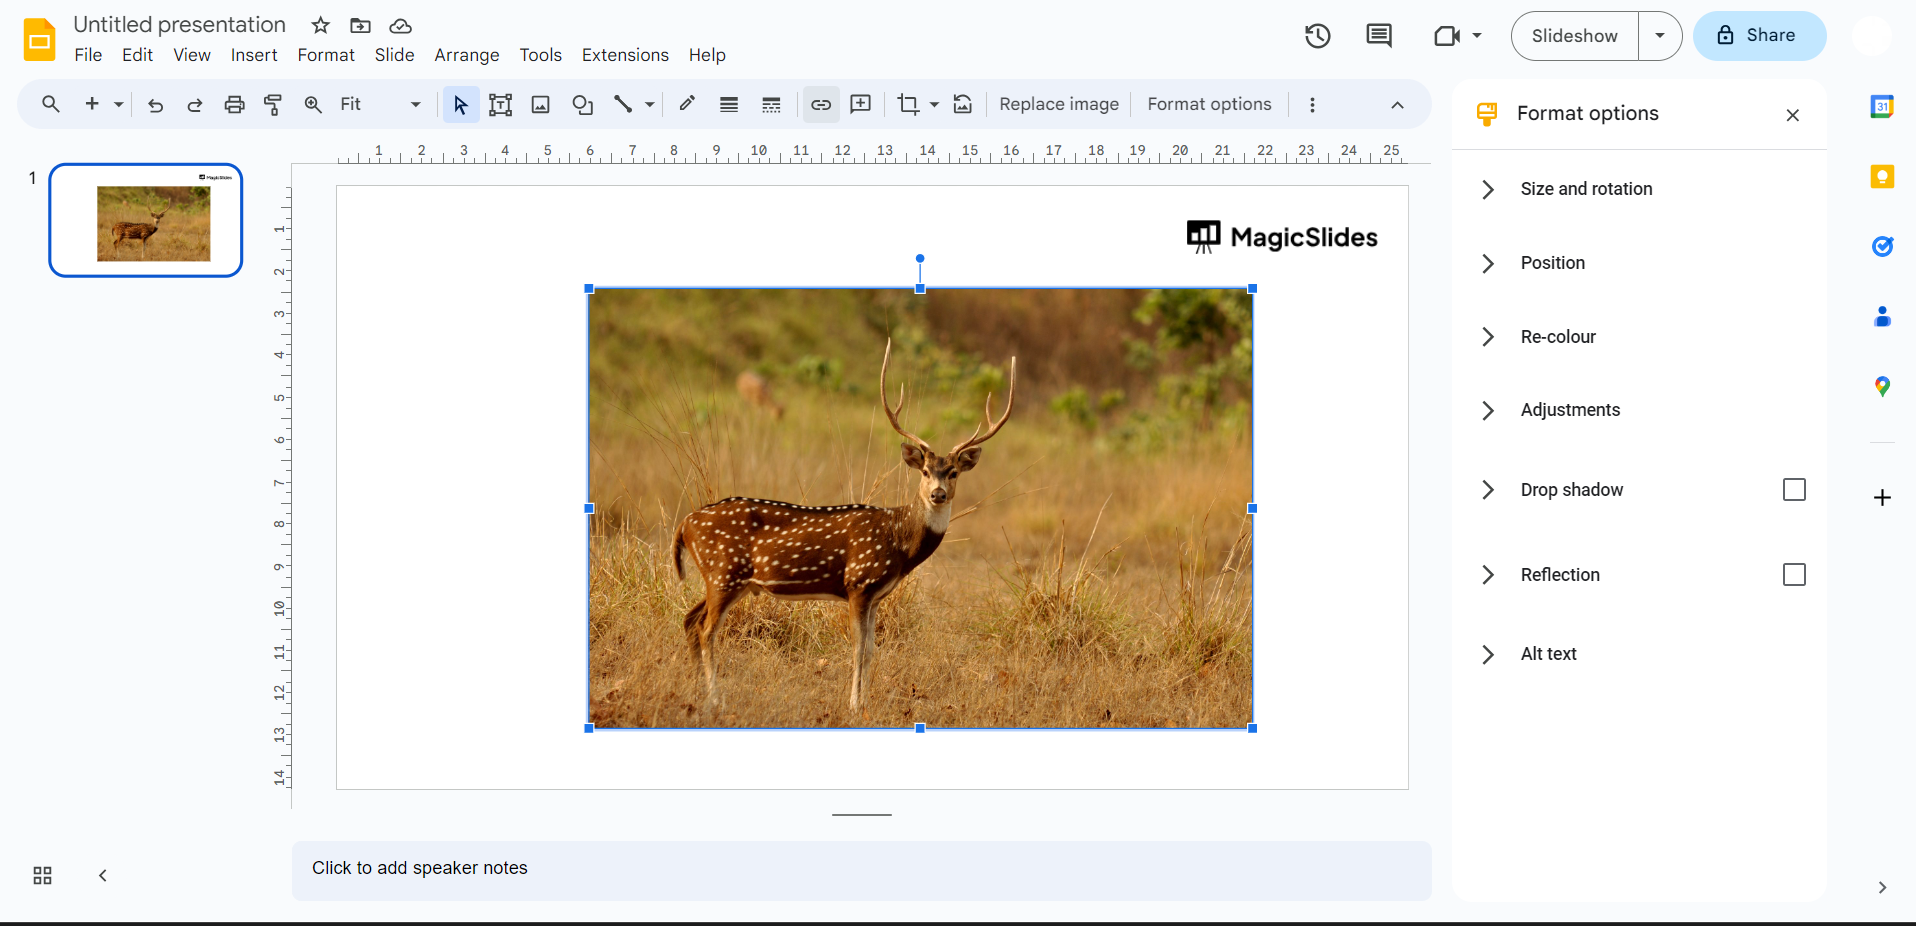
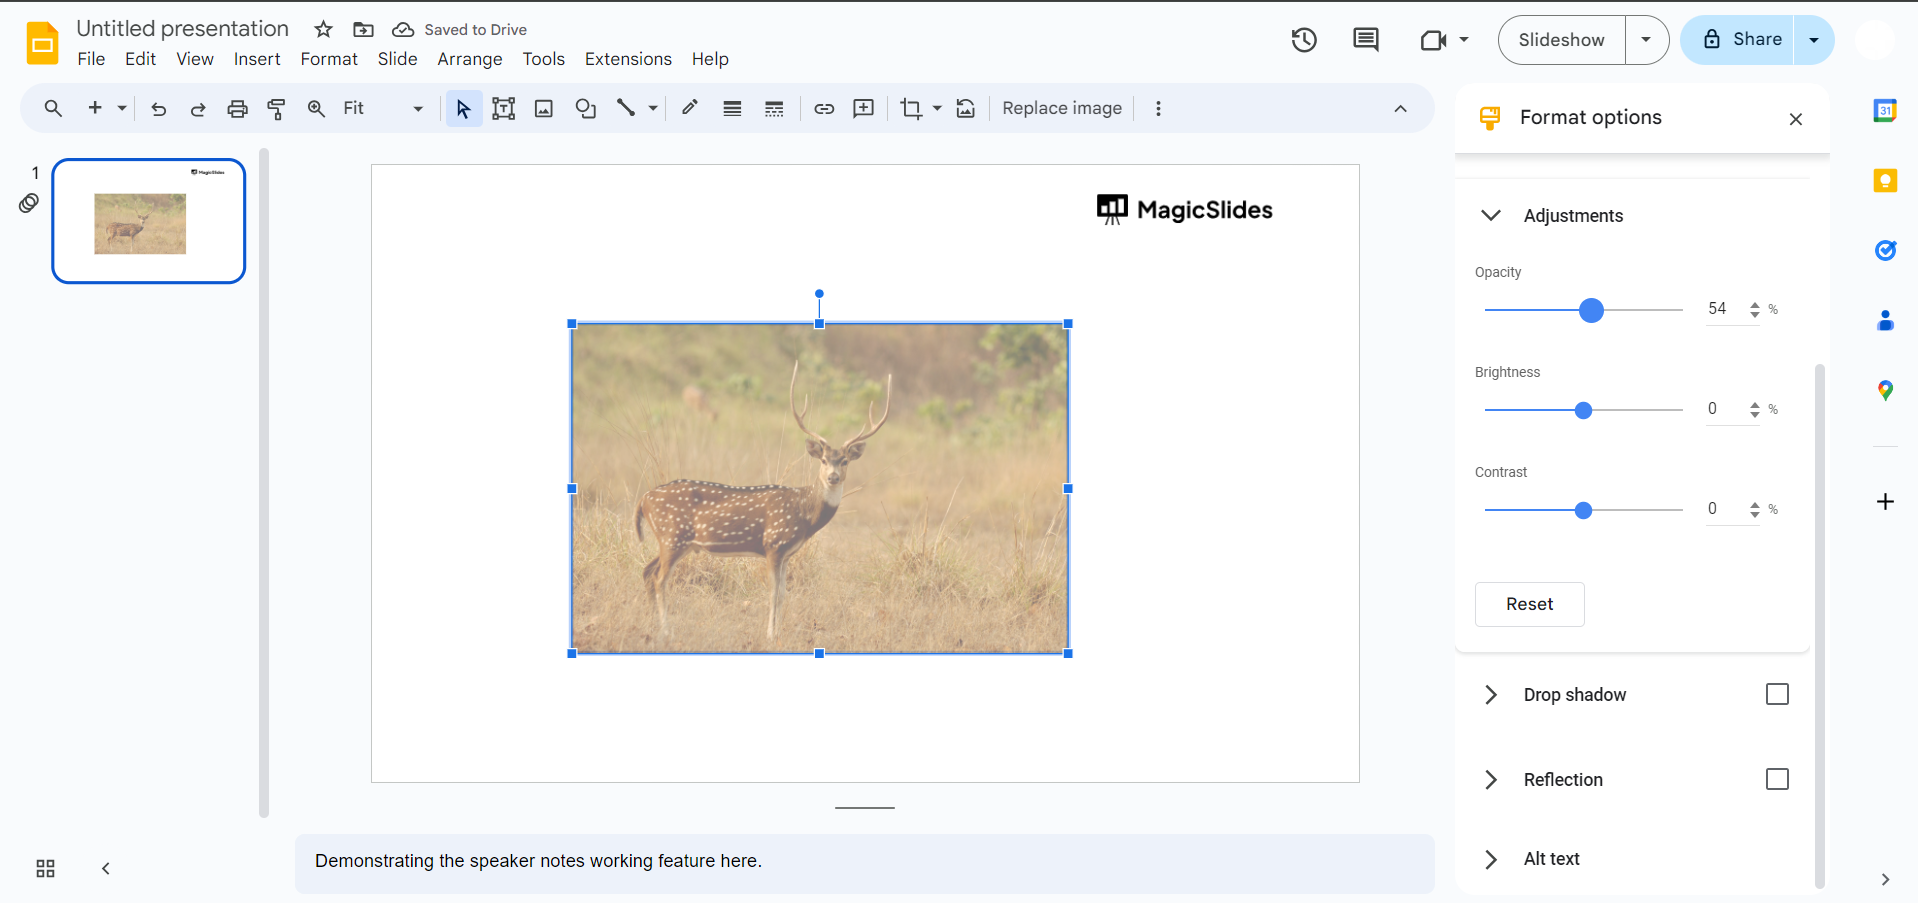
Step 5. Set the Opacity Level
A slider will appear, allowing you to change the opacity of the selected object. Slide the bar left or right to decrease or increase the opacity.
As you slide it, the object will become more or less transparent, depending on your preference.
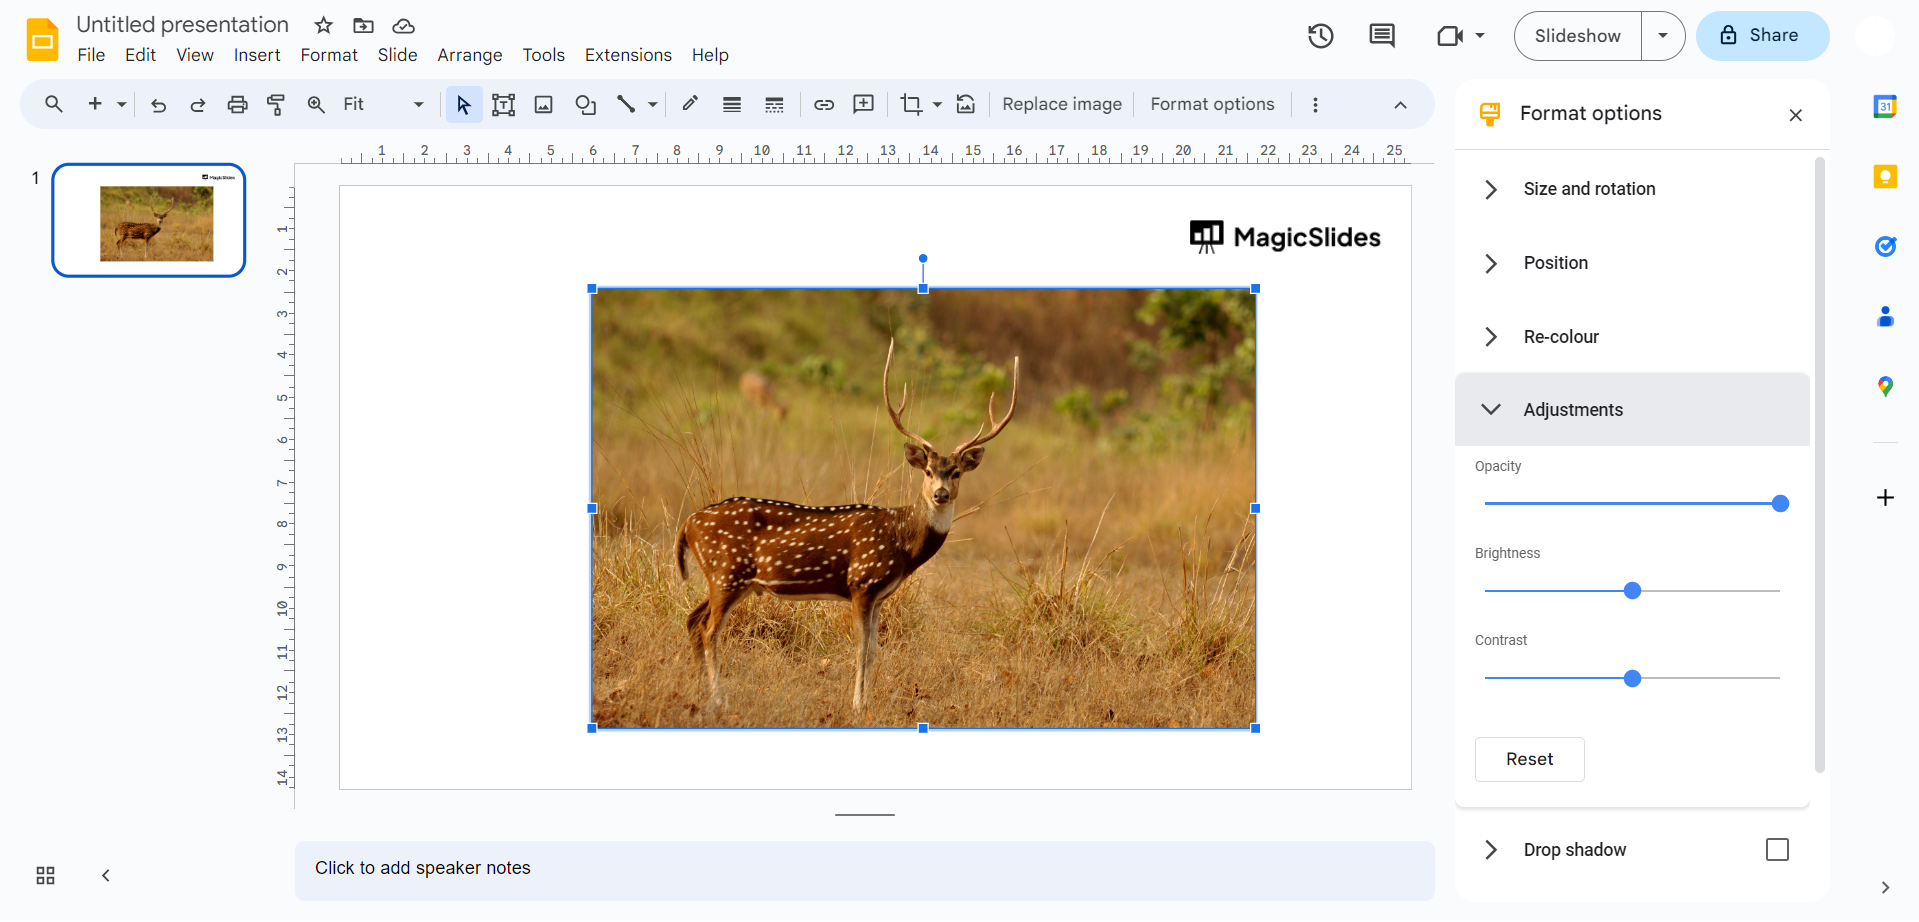
Step 6. Fine-Tune the Opacity
If you need precise control over the opacity, you can also manually enter a percentage value in the text box next to the slider.
This is helpful when you want to achieve a specific level of transparency.
As you can see the transparency/ opacity is changed from the picture above to the one you are seeing below.
Step 7: Review and Repeat
Once you're satisfied with the opacity level, review your slide to see how it looks.
If you wish to change the opacity of another object, simply repeat the steps above for that particular item.
Why Adjust Transparency in Google Slides?
Understanding how to change opacity in Google Slides is useful—but knowing why to use it is what actually improves your presentations.
When you adjust transparency in Google Slides, you’re not just changing how something looks. You’re controlling how your audience focuses on information. A well-balanced slide guides attention, while a poorly designed one can feel overwhelming.
Here are the following factors why transparency matters in Google Slides
- It improves the Readability context- Lowering the opacity of background images makes text easier to read. This is one of the most practical reasons people learn how to change transparency in Google Slides.
- Creates Visual Hierarchy- Transparency helps you highlight important elements while keeping secondary content subtle. This is key to building strong visual hierarchy in presentations.
- Reduces Visual Clutter- Slides with too many bold elements can feel messy. Adjusting opacity softens the design and creates a cleaner layout.
- Enhances Professional Design- Most professional presentation slides use transparency to create layered, modern designs. It’s a small detail that makes a big difference.
From experience, once you start using transparency intentionally, not randomly, you’ll notice your slides look more polished and easier to follow.
Improve the Appearance of Slides with an Advanced Online Tool
Even after learning how to change opacity in Google Slides, designing slides that look clean and professional can still take time. Adjusting transparency, aligning elements, and maintaining consistency across slides isn’t always easy, especially if you’re working on a deadline.
This is where tool like MagicSlides AI PPT Maker make a real difference.
Instead of manually searching every design element, this free online AI-generated application helps you create visually balanced slides automatically. This AI PPT enhancer handles most of the heavy lifting, whether you’re trying to improve layouts, apply the right transparency levels, or build a complete presentation from scratch.
How This Smart Solution helps
- Generates fully designed slides from a simple prompt, topic, or file
- Applies smart layouts, colors, and visual hierarchy automatically
- Saves time on formatting, including opacity and design adjustments
The biggest advantage? You can focus on your content while the tool takes care of design details like transparency, layering, and presentation aesthetics. These are the things that usually take the most time to perfect.
Conclusion
Learning how to change opacity in Google Slides is simple once you know where to look. Small changes can make a big difference. Changing the opacity of objects in Google Slides is a simple yet effective way to enhance your presentations.
By following the step-by-step guide outlined in this article, you can master the art of opacity adjustments and take your presentations to the next level.
Your slides look cleaner. Your content becomes easier to read. Keep it simple. Use transparency wisely. And your presentations will always feel more professional.
Frequently Asked Questions:
How can I change the opacity of an object in Google Slides?
To change an object's opacity in Google Slides, select the object, open "Format options," go to the "Adjustments" tab, and use the "Transparency" slider.
Can I change the opacity of text in Google Slides?
No, text opacity cannot be adjusted directly. Instead, create a text box, format it, and adjust its opacity as a whole.
What is the purpose of changing opacity in Google Slides?
Changing opacity can enhance visual effects, emphasize content, and improve slide design by controlling element prominence.
Can I animate objects with changing opacity in Google Slides?
Yes, after adjusting opacity, apply animation effects via "Insert" > "Animation" to animate objects in Google Slides.
Will changing the opacity affect the visibility of my presentation in presentation mode?
Yes, objects with lower opacity will appear more transparent in presentation mode, allowing background elements to show through.
Is it possible to revert the opacity changes in Google Slides?
Yes, simply select the object, access "Format options," and readjust the transparency slider or use the "Reset" option to revert changes.


