How to See Layers in Canva: Complete Guide to Canva Layers?


Find out how to see layers in Canva using the Position tool. Learn to manage layer order, group elements, lock objects, and edit designs more efficiently.
If you have ever had trouble selecting text that is hidden behind an image learning how to see layers in Canva will save you a lot of time. Every Canva design is made up of things like text and images and shapes and graphics that are stacked on top of each other in a specific order of layers, in Canva.
When you figure out how to look at layers in Canva it makes editing a lot simpler. You do not have to click over the place you can use the Canva Layers panel to look at layers in Canva move things around organize things that are on top of each other and keep your design looking nice and tidy. This is especially helpful when working on larger projects, such as how to create a presentation in Canva, where multiple design elements are used.
Canva is a versatile design tool that allows you to layer text, images, and other elements for a polished look. It also includes AI-powered features like how to use Canva magic write, making it easier to create content while designing.
While Canva doesn’t have a traditional “layers panel” like Photoshop, it offers intuitive ways to manage and view overlapping elements.
This guide will help you understand how to see and manage layers effectively in Canva.
What Are Layers in Canva?
It is important to understand what are layers before learning how to see layers in Canva. Think of layers as a stack of transparent sheets. The element on the top layer appears in front, while the elements below it stay behind. This layer order determines what is visible and what gets covered by other objects.
When you know how to see layers in Canva, you can easily select hidden objects, rearrange overlapping elements, and keep your design organized. Instead of moving items by trial and error, the Canva Layers panel lets you view every design element in one place.
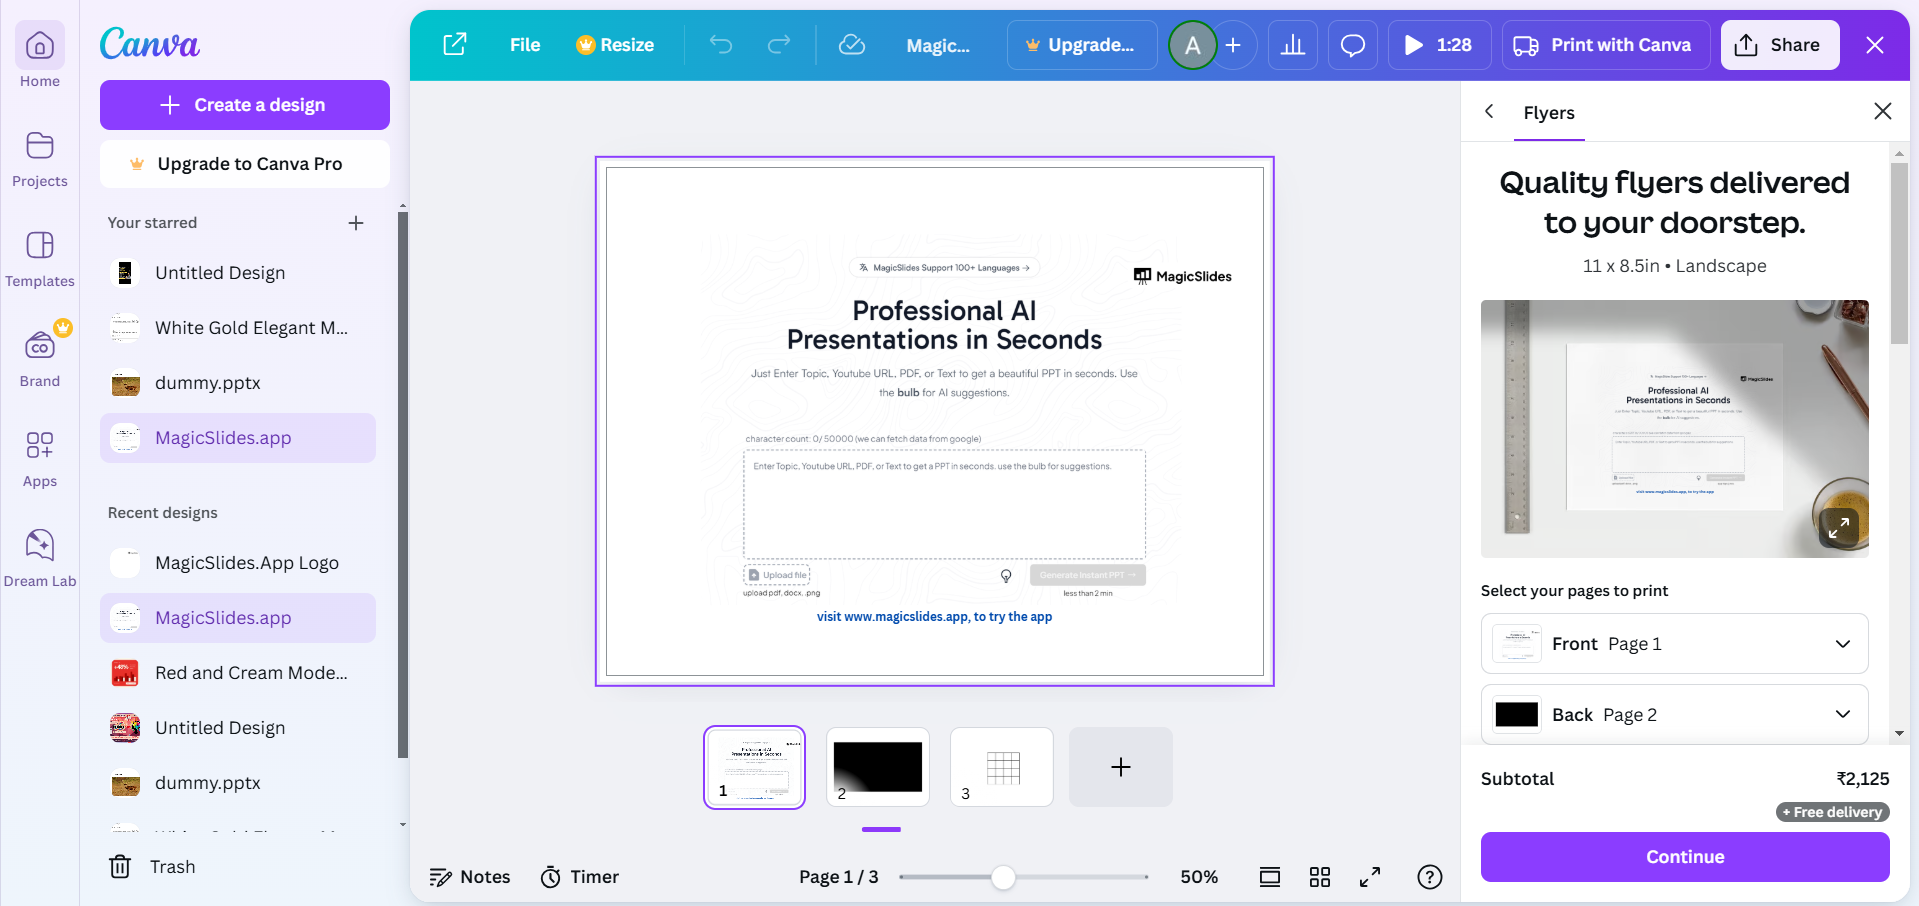
How to See Layers in Canva? Steps to See and Manage Layers in Canva
Step 1. Open Your Canva Design
Log in to your Canva account and open the design project you want to edit. Navigate to the page where you want to view and manage layers.
Step 2. Click on Individual Elements
Click on any element (text, shape, or image) in your design to select it.
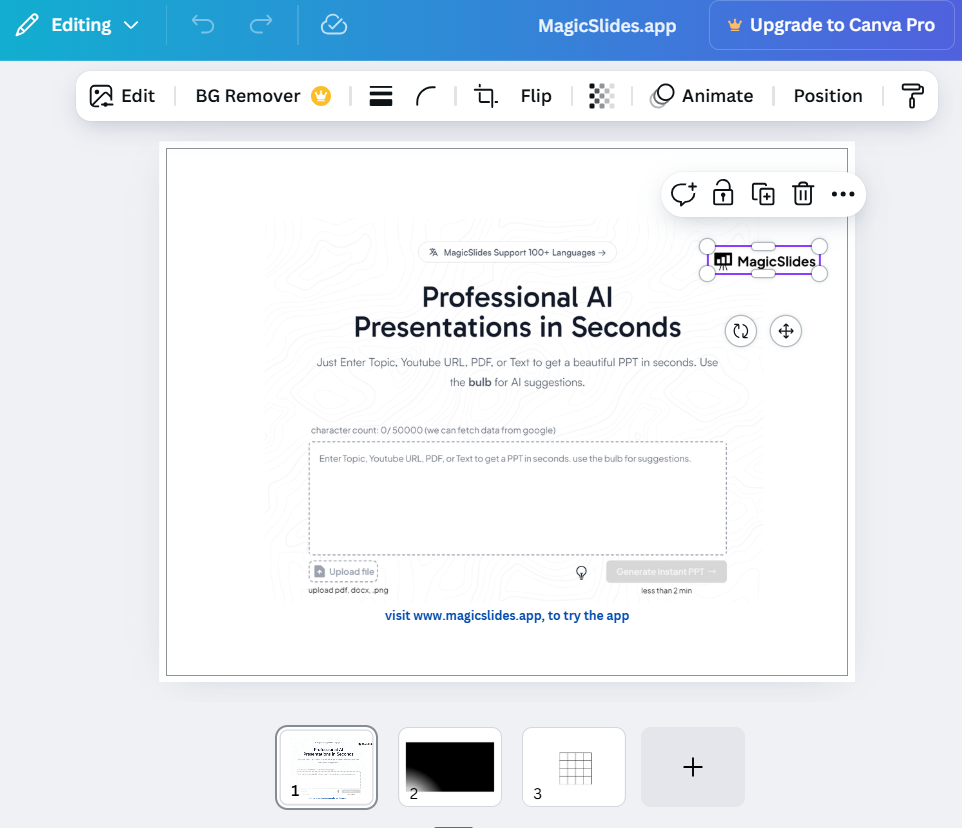
The selected element will be highlighted with a bounding box. You can identify overlapping elements by clicking on them one at a time.
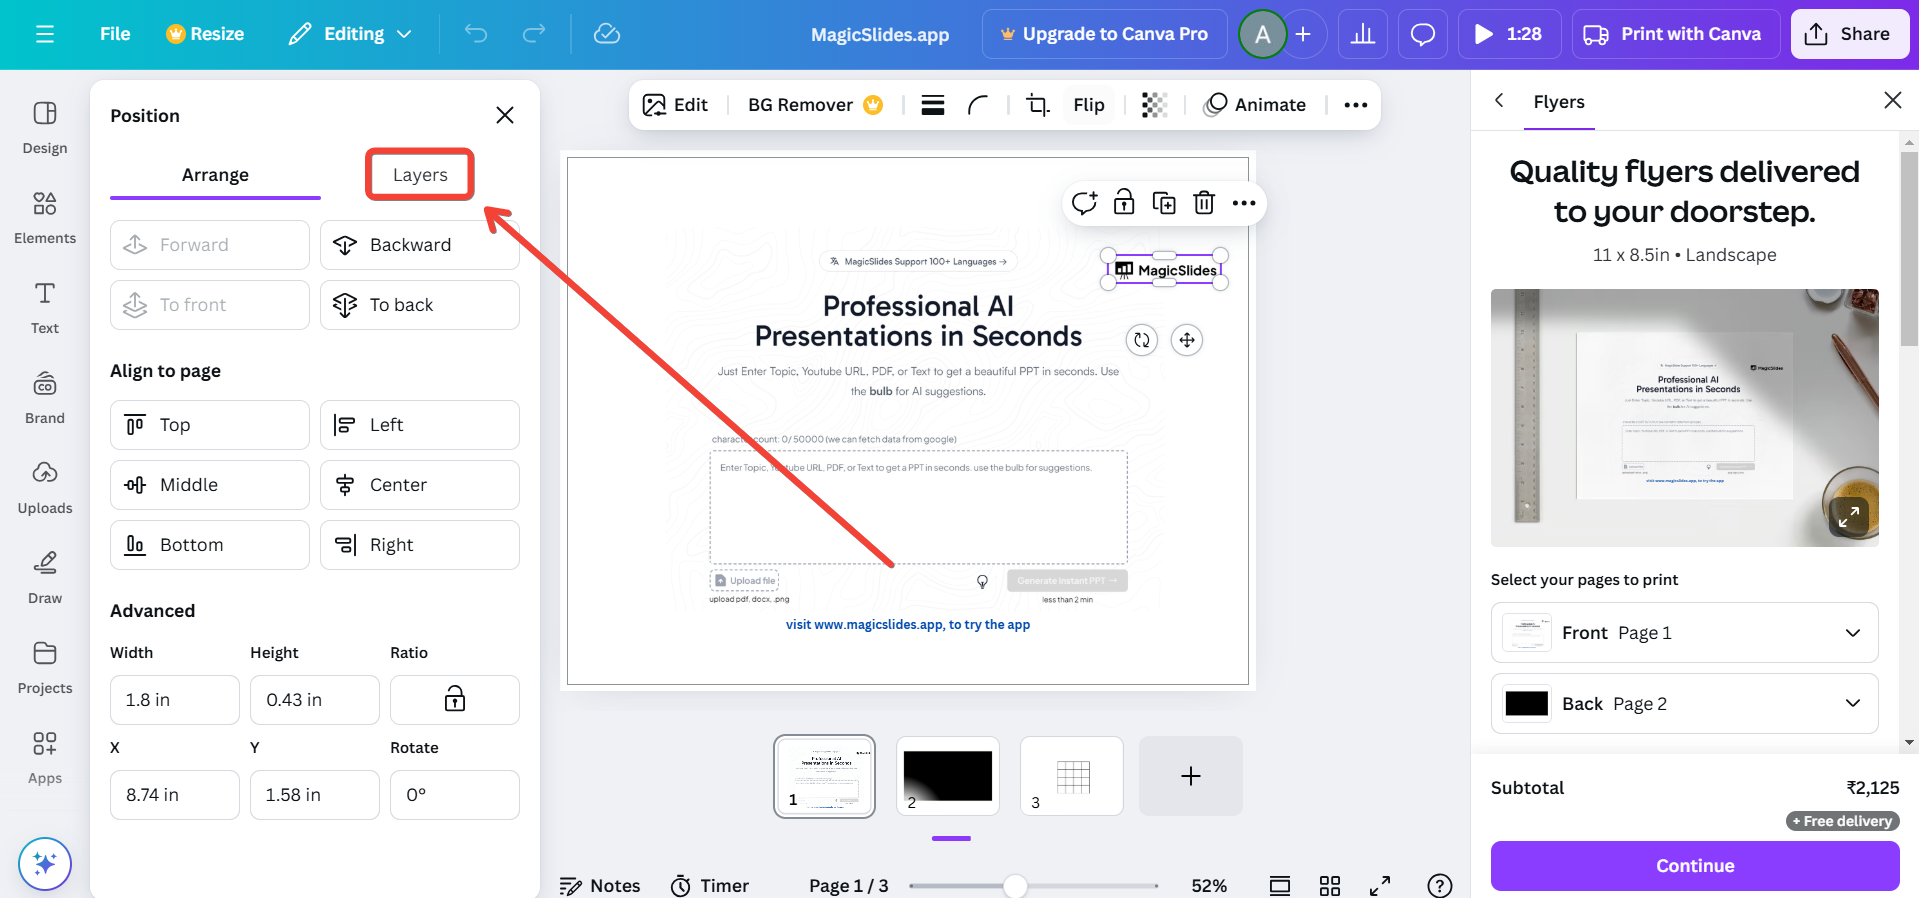
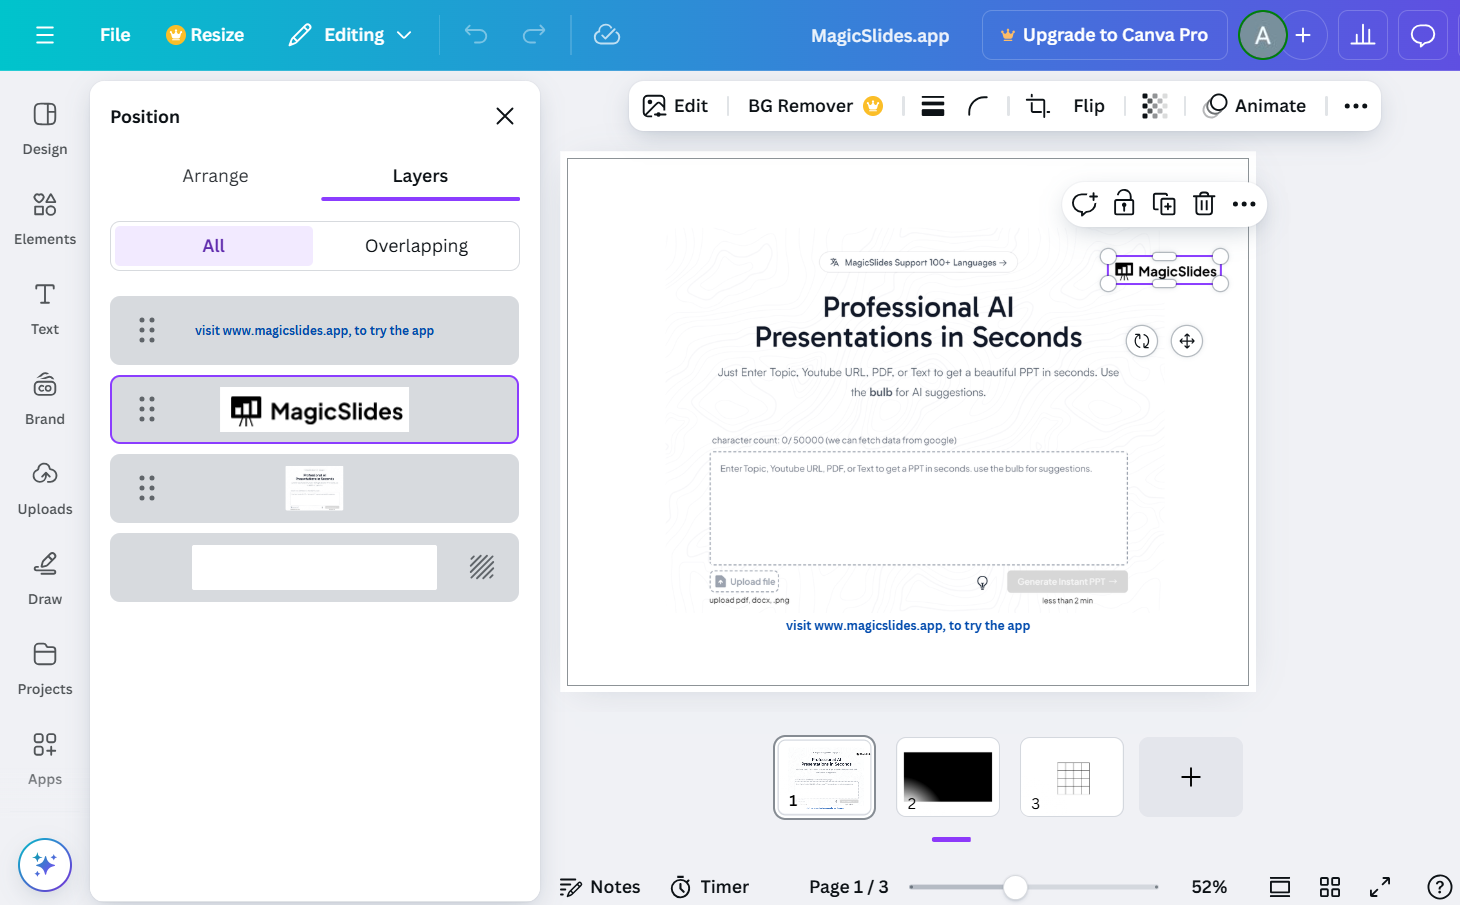
Step 3. Use the Position Tool
With an element selected, click on the “Position” button in the top toolbar.
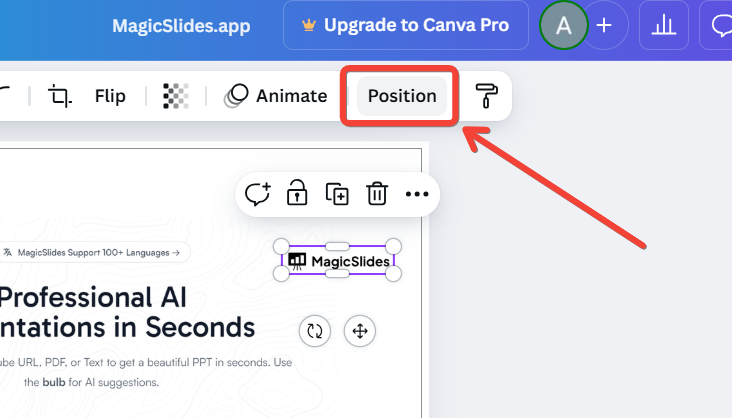
Options like “Forward,” “Backward,” “To Front,” and “To Back” will appear. Use these options to reorder layers and bring specific elements into view.
Step 4. Drag Elements to Rearrange Layers
Click and hold an element to move it across the canvas. Drag it over or under other elements to adjust its layer position.
Canva automatically adjusts the layer order as you move elements.
Step 5. Group or Ungroup Elements
If multiple elements are grouped, select the group and click “Ungroup” to edit individual layers. After adjusting, you can regroup elements by selecting them and clicking “Group.”
Step 6. Lock or Unlock Layers
To prevent accidental edits, select an element and click the “Lock” icon in the top toolbar. Locked elements remain fixed in place and cannot be moved or edited. To unlock, click the locked element and select the “Unlock” icon.
Step 7. Use the Layers Shortcut (If Available)
On certain Canva projects, use Ctrl + Click (Windows) or Cmd + Click (Mac) to cycle through overlapping layers. This method helps you select and manage deeply layered elements.
Improve Your Presentation Workflow with Artificial Intelligence
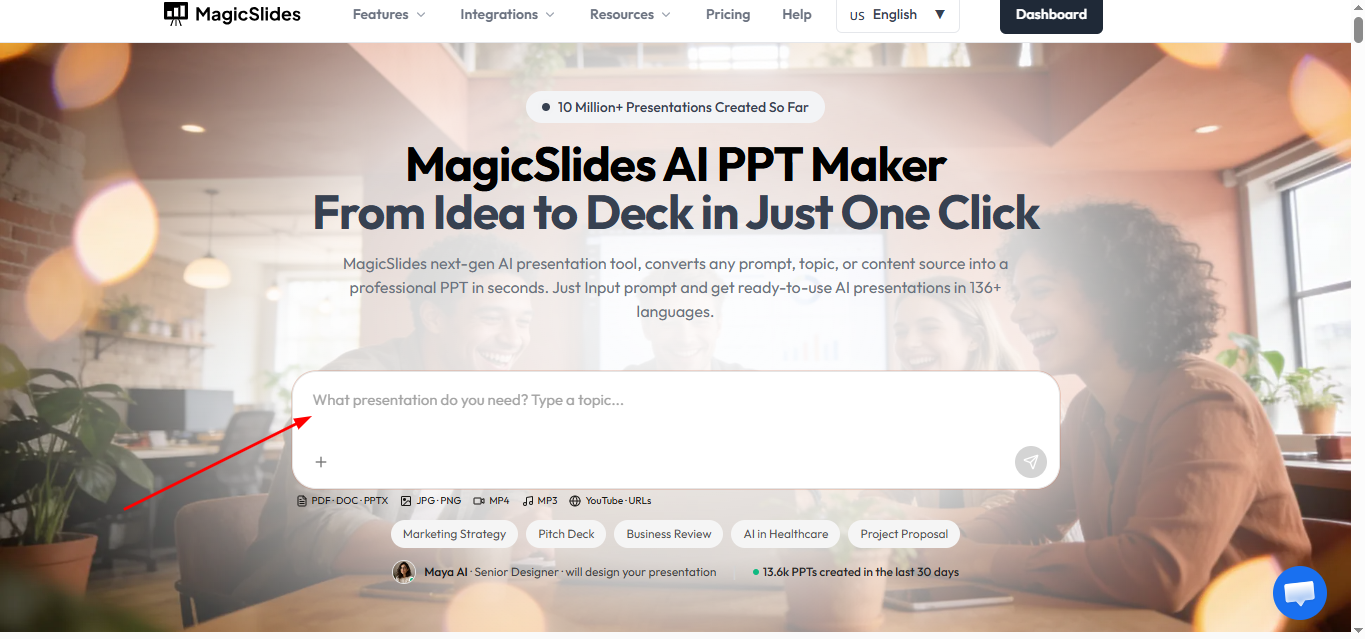
Once you know how to see layers in Canva, editing presentations becomes much easier. If you’re starting from scratch, MagicSlides AI presentation tool can help by generating presentation drafts from a topic, document, PDF, or URL in minutes.
Instead of manually designing every slide, Software automatically lets you generate presentation drafts from a topic, document, PDF, YouTube video, or even a webpage in just a few clicks. Once your slides are ready, you can customize them in Canva by adjusting the layer order, moving design elements, changing visuals, and refining the layout to match your style.
Canva Layer Shortcuts That Save Time
| Shortcut | Action |
|---|---|
Ctrl + G (Windows) / Cmd + G (Mac) |
Group selected elements |
Ctrl + Shift + G (Windows) / Cmd + Shift + G (Mac) |
Ungroup elements |
Ctrl + D (Windows) / Cmd + D (Mac) |
Duplicate the selected element |
Delete |
Remove the selected layer |
Arrow Keys |
Move an element one step at a time |
Shift + Arrow Keys |
Move an element a larger distance for quicker positioning |
Pro Tip- Keyboard shortcuts work best alongside the Canva layers panel. Once you know how to see layers in Canva, you can quickly select the right design element, adjust the layer order, and make edits with fewer clicks. This simple workflow saves time, especially when working on large presentations or graphics with many overlapping objects. The same approach is also useful when learning how to add a photo in Canva, as managing layers makes it easier to position images accurately within your design.
Conclusion
Although Canva doesn’t have a traditional layers panel, it provides intuitive tools for viewing and managing layers. By using the Position tool, locking layers, and cycling through elements, you can maintain control over your design and ensure a professional result. Explore these methods to enhance your layering skills in Canva!
FAQs on Seeing Layers in Canva
Can I view layers in canva at once?
No, Canva doesn’t display all layers in a panel, but you can manage them using the Position tool.
What’s the fastest way to reorder layers in Canva?
The Position tool is the quickest way to reorder layers by bringing elements forward or sending them backward.
Can I work with layers across multiple pages in Canva?
Yes! Canva allows you to copy and paste layered designs across pages while maintaining their layer order.
With these steps and tips, you can efficiently manage layers and create stunning designs in Canva!


