Creating a Thank You Slide in PPT | Step-by-Step Guide


How to add thank you slide in PPT with simple steps to create a professional closing slide for any presentation. Read now and make a thank you slide easily.
How to Add Thank You Slide in PPT for Professional PowerPoint Endings
Ending your presentation on a high note is just as important as starting it strong. A well-designed “Thank You” slide not only shows gratitude to your audience but also leaves a lasting impression.
Whether you’re wrapping up a business pitch, academic talk, or team meeting, this slide can serve as a cue for questions, appreciation, or final takeaways.
Why Always Add a Thank You Slide?
Including a Thank You slide at closing is necessary because it:
- Signals the end of the presentation
- Makes your presentation look professional
- Gives space for Q&A
- Shows your contact information
- Leaves a positive final impression
A presentation without a proper ending feels incomplete. That’s why a Thank You slide is needed at the end to ensure the PPT is unforgettable to your audience.
What to Write on a Thank You Slide
Before learning how to add thank you slide in PPT, decide what it should contain. A professional Thank You slide usually includes:
- Thank You or Thanks for Listening
- My name
- My company or brand
- My email or phone number
- Website or LinkedIn
- Any Questions?
Don’t overload it with text; clean and simple endings always look professional.
Let’s walk through the simple steps to create a professional-looking Thank You slide in PowerPoint. Plus, we’ll show you how to fast-track your design process using free templates from MagicSlides.
Step-by-Step Guide to Creating a Thank You Slide in PowerPoint
Step 1: Open Your PowerPoint Presentation
Start by launching PowerPoint and opening the existing presentation where you want to add your Thank You slide. Navigate to the last slide of your deck.

Step 2: Insert a New Blank Slide
Go to the “Home” tab and click on “New Slide” > “Blank” or “Title Slide” depending on the format you prefer.
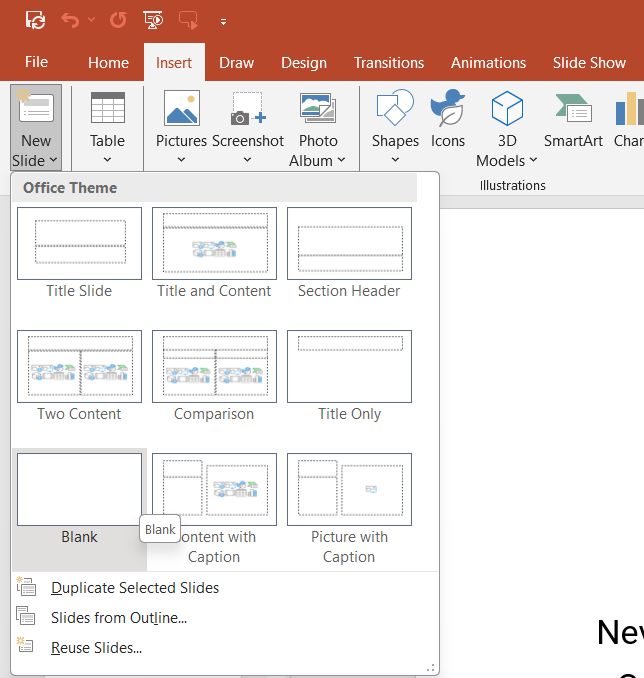
Step 3: A new slide appears at the end.
Now add content: Click on the text box, type Thank You, and increase the font size (usually 40–60), then center the text.
That’s it. Your Thank You slide is ready.
If your presentation still looks plain, I recommend following the advanced layout and spacing techniques from my guide on how to make engaging PowerPoint presentations to make your closing slide look more polished.
#Method 2. How to Add Thank You Slide in PPT Using PowerPoint Templates
Sometimes users want a more visual Thank You slide. For the same:
- Click Design in the top menu
- Select a theme
- Click Design Ideas (on the right side)
- PowerPoint suggests layouts
- Choose a Thank You style layout
This saves time and keeps the design consistent.
#Method 3. How to Add Thank You Slide in PPT Via Slide Library
PowerPoint already includes ready-made slides. So:
- Go to Home > New Slide > Reuse Slides
- Browse PowerPoint’s templates
- Search for Thank You
- Insert the slide
This is perfect if you want a professional look without designing anything.
#Method 4. Add a Thank You Slide in PowerPoint Online
If you work in PowerPoint Online, then the steps to add the last slide are slightly different, i.e.
- Open your presentation
- Click + New Slide
- Select Blank
- Add text that says Thank You
- Format it using the toolbar
- Add your contact info
How to Design a Professional Thank You Slide?
To make a polished Thank You slide, follow these rules every time:
- Keep the background simple
- Use your brand colors
- Avoid heavy images
- Keep text minimal
- Align everything properly
A Thank You slide should look clean and professional; don’t use multicolour. If you want the final slide to match your branding, you can also create a fully branded layout using a custom PowerPoint theme, which I explained in my guide on how to create a custom theme in PowerPoint.
Can I Add a Thank You Slide Automatically?
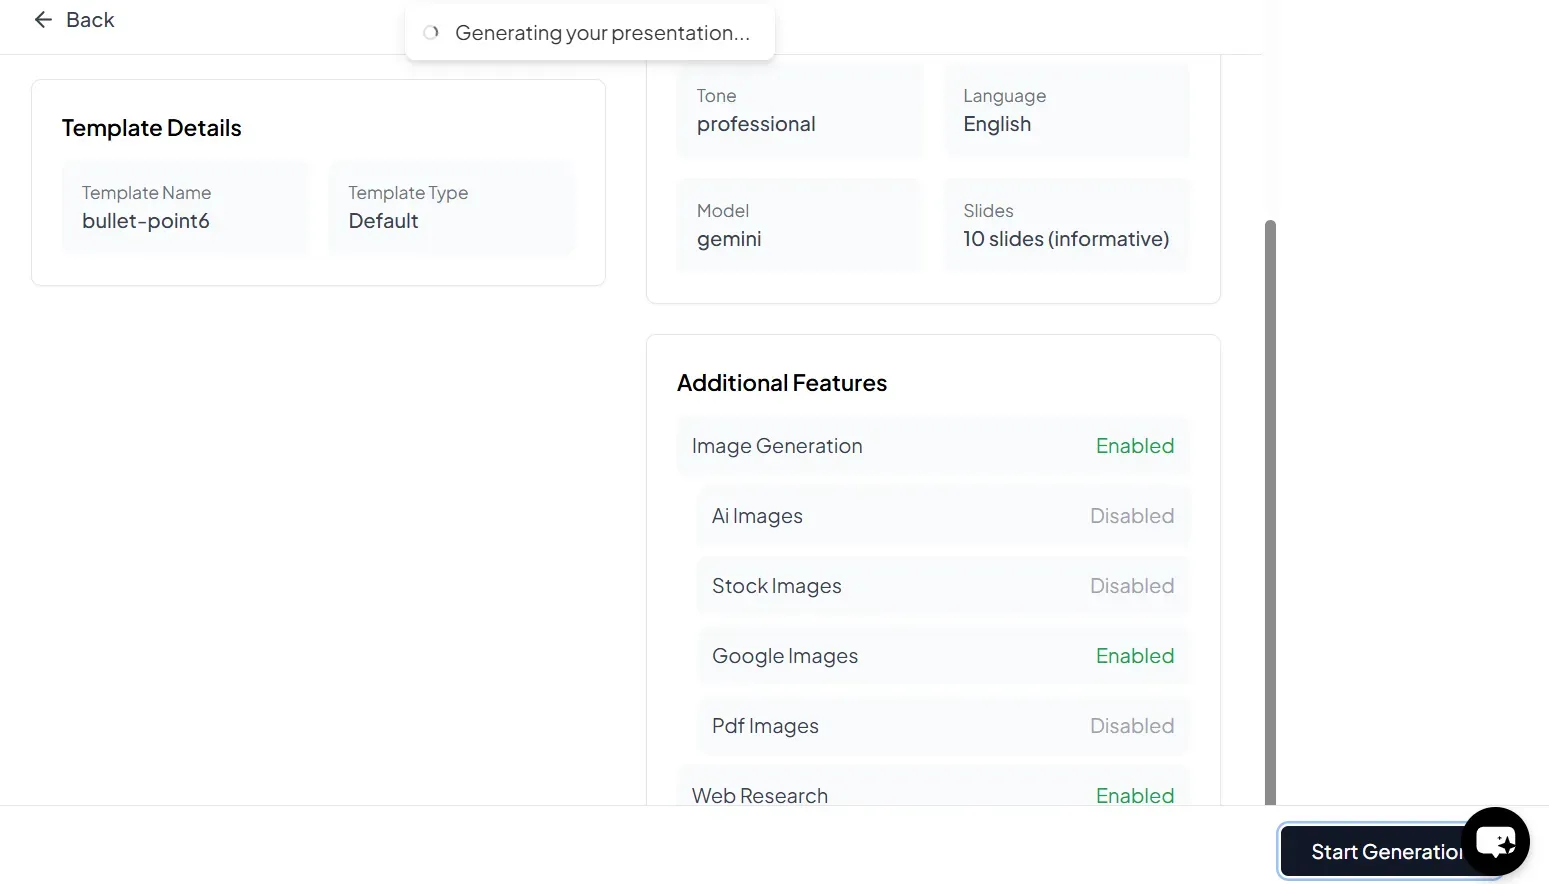
Yes. If you use AI presentation tools like MagicSlides AI PPT Creator, the Thank You slide is added automatically. You just need to give a prompt or detailed text, according to your needs, and the rest will be done automatically. So, if you’re wondering for a solution that handles everything itself, like content, structure, or visuals, then try this now for free, and get the expected results in minutes.
- Visit the Web App: Go to www.magicslides.app.

- Sign In: Log in with your Google account.
- Enter Your Topic: Type a topic like “How Solar Panels Work” or “The Future of AI in Education.” Here, write a “Thank You Slide” in the input.

- Click Generate: MagicSlides will use AI to generate the full slide deck title, content, visuals, and flow. In your case, it will make a beautiful Thank You slide.
- Download: Export the presentation as a .PPTX file and open it in PowerPoint, Google Slides, or any tool of your choice.

Author’s Verdict
Adding a clean Thank You slide is necessary as it’s the last thing your audience sees, so make sure it is useful.
If you follow the methods I shared above on how to add a Thank You slide in PPT, you can easily add a perfect closing slide on Windows, macOS, or any other device without any external help.
If your presentation will be shared on multiple platforms like Google Slides, make sure the final Thank You slide is preserved when exporting or embedding files, which I covered in how to insert PDF in Google Slides.
People Also Ask
Q1. Can I copy a Thank You slide from another presentation?
Yes. Open both files, copy the slide, and paste it into your PPT.
Q2. Should the Thank You slide be the last slide?
Yes. Always place it at the very end.
Q3. Should I include my email on the Thank You slide?
Yes. Always include at least one contact method.
Q4. Is “Thank You” better than “Questions?”
You can combine both: “Thank You & Any Questions?”


