How to create Images for Presentation Concepts


Create compelling visuals that simplify complex ideas and engage your audience using custom presentation images
Images are more than just decorative elements in a presentation they’re powerful communication tools.
A well-crafted image can clarify complex ideas, emphasize key points, and keep your audience engaged. Creating custom images tailored to your presentation concept can help you stand out and make a lasting impression.
Here’s a step-by-step guide to help you create images specifically designed to support your presentation content.
How to Create Images for Presentation Concepts | Step-by-Step Guide
Step 1: Understand Your Presentation Goals
Before designing any visuals, define the objective of your presentation. Are you trying to inform, persuade, explain a process, or inspire? Knowing this helps you decide what kind of images will support your message.
Example: For a data-driven report, charts and infographics work best. For storytelling, illustrations or real-life photos are more effective.
Step 2: Outline Key Concepts That Need Visual Support
Identify which parts of your presentation would benefit most from visuals. These could be statistics, workflows, comparisons, or abstract concepts that are hard to explain with text alone.
Tip: Make a list of 3–5 key slides that could use custom images.
Step 3: Choose the Right Tool for Image Creation
Use beginner-friendly tools like:
- Canva – For infographics, icons, and basic illustrations.
- PowerPoint Shapes/Icons – Great for quick diagrams.
- MagicSlides (AI Tools) – For auto-generating Presentations.
- Figma or Adobe Illustrator – For more advanced and scalable designs.
Tip: Use templates if you’re short on time.
Step 4: Design with Simplicity and Clarity
When designing, avoid clutter. Stick to a clean layout, limited color palette, and legible fonts. Make sure the visual aligns with the message of your slide.
Rule: One main idea per image. Let visuals support the narrative—not overshadow it.
Step 5: Use Icons and Symbols to Represent Ideas
Instead of using large blocks of text, replace words with universally understood icons. Icons are excellent for summarizing processes, benefits, or comparisons.
Tool Suggestion: Use free icon libraries like Flaticon or Noun Project.
Step 6: Add Labels and Text Sparingly
If your image needs explanation, include short labels or headings directly within or near the image. This provides context without overwhelming your audience with too much reading.
Tip: Use bold fonts for labels and maintain consistency across slides.
Step 7: Export in the Right Format and Resolution
Export your images in PNG for better quality with transparent backgrounds, or JPG for simpler, lighter images. Ensure they are at least 1280×720 pixels for good visibility on standard presentation screens.
Bonus Tip: Always preview your slides on a big screen before presenting to ensure clarity.
Tired of spending hours crafting a presentation? Here’s a smarter solution MagicSlides
Whether it’s for work, school, or a pitch deck, building a presentation from scratch can take hours from researching and organizing content to designing each slide. But what if you could skip all that and have your presentation ready in under a minute? That’s exactly what MagicSlides does for you.
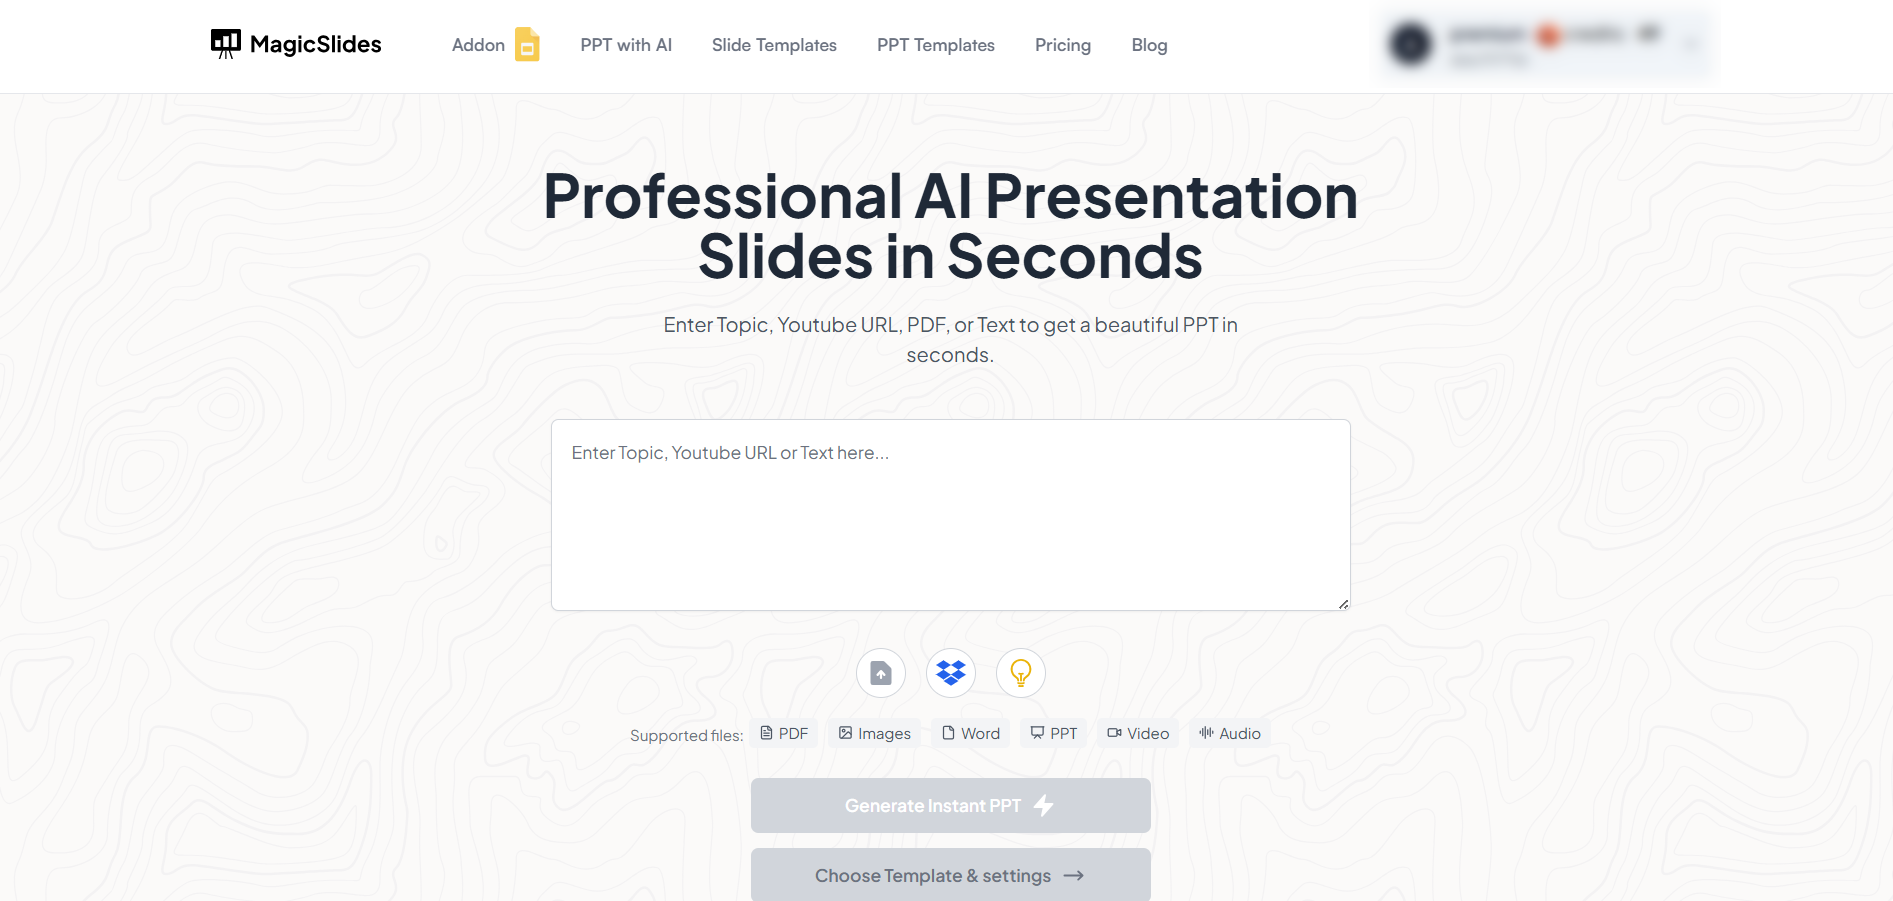
MagicSlides is an AI-powered tool that creates professional, engaging presentations with just one prompt. Simply enter your topic, and the platform will generate a full deck complete with structured content, design elements, and suggested visuals.
Here’s what you’ll love about MagicSlides:
- Instant slide generation with just one prompt
- Smart content organization and bullet points
- Visually polished designs, no design skills needed
- Multiple formats: Download as PowerPoint, use in Google Slides
- Supports customization, edits, and re-generation
- Converts YouTube videos, URLs, or text into full presentations
- Perfect for business, education, content creation, and more
Want to try it yourself? Click here to start creating your first presentation for free!
Conclusion:
Creating custom images for your presentation concept doesn’t require you to be a professional designer.
With the right tools and strategy, you can easily craft visuals that elevate your content, simplify complex ideas, and capture your audience’s attention.
The goal is to make your message more impactful and the right image can do exactly that.
FAQs can take you forward!
Do I need to be a designer to create good presentation images?
No! Tools like Canva, PowerPoint, and MagicSlides make it easy for non-designers to create stunning visuals.
How many images should I include in my presentation?
Use 1–2 strong images per slide and only where they add real value or clarity.
Where can I find free resources for creating images?
Try Canva, Flaticon, Unsplash, or Pexels for templates, icons, and high-quality photos.


