How to Insert a Table in Canva? Top 3 Methods Explained


How to Insert a Table in Canva: Easy Step-by-Step Guide on How to Insert a Table in Canva for Presentations, Reports, Pricing Tables & More
To insert table in Canva, open your design, click on the Elements tab, search for “Table,” and select a table layout to add it to your canvas. Once you’ve inserted the table, you can customize rows, columns, colors, borders, and text to fit your design. Whether you’re creating a presentation, report, planner, or comparison chart, learning how to insert a table in Canva helps you organize information clearly and professionally. It’s especially useful when you need to create a Presentation in Canva and present data in a structured format.
Inserting a table in Canva can help you organize information in a clear and structured way, whether for presentations, infographics, or reports.
Though Canva doesn’t have a dedicated “table” feature like some software, you can easily create tables using grids or custom shapes.
In this guide, Let’s discuss how to insert a table in Canva step by step.
Why Learn How to add a table in Canva?
Tables make information easier to read. They help you organize your data in a way. You can put your data into rows and columns.
This makes it easy for people to find the information they need quickly. Similar to learning how to make columns in Canva, tables help organize content into a clean and easy-to-read layout.
- Keep Your Designs Organized- A Canva table is a way to show information in a clean and neat format. You can use tables for lots of things like:
- Reports
- Presentations
- Schedules
- Content calendars
- Pricing tables
- Comparison charts
- Using tables saves time when you are designing- One big reason people want to learn how to add a table in Canva is that it is convenient. You can do everything you need to do right in the Canva workspace. You do not have to switch forth between different tools to get your information organized.
- Create Professional-Looking Layouts- The table feature in Canva lets you change lots of things to make your table look good.
- Change the colors of the tables.
- Able to change the borders around the cells.
- You can even change how the text looks.
- Make the rows taller or the columns wider.
This makes it easy to make a table in Canva that looks like it belongs with your brand or project.
Suitable for Projects
Once you learn how to make a table in Canva you can use that skill for lots of different designs. Tables are great for business presentations. They are great for worksheets, project planners and for infographics and marketing materials. A table that is designed looks professional and it helps people understand the information faster.
Canva tables are very useful. They make information easier to read. You can use Canva tables for things and they will always help you present your information in a clean and structured format.
How to Insert a Table in Canva: A Step-by-Step Guide
If you’re wondering how to make a table in Canva , the process only takes a few clicks. Canva has a built-in table feature that allows you to create and customize tables directly inside your design.
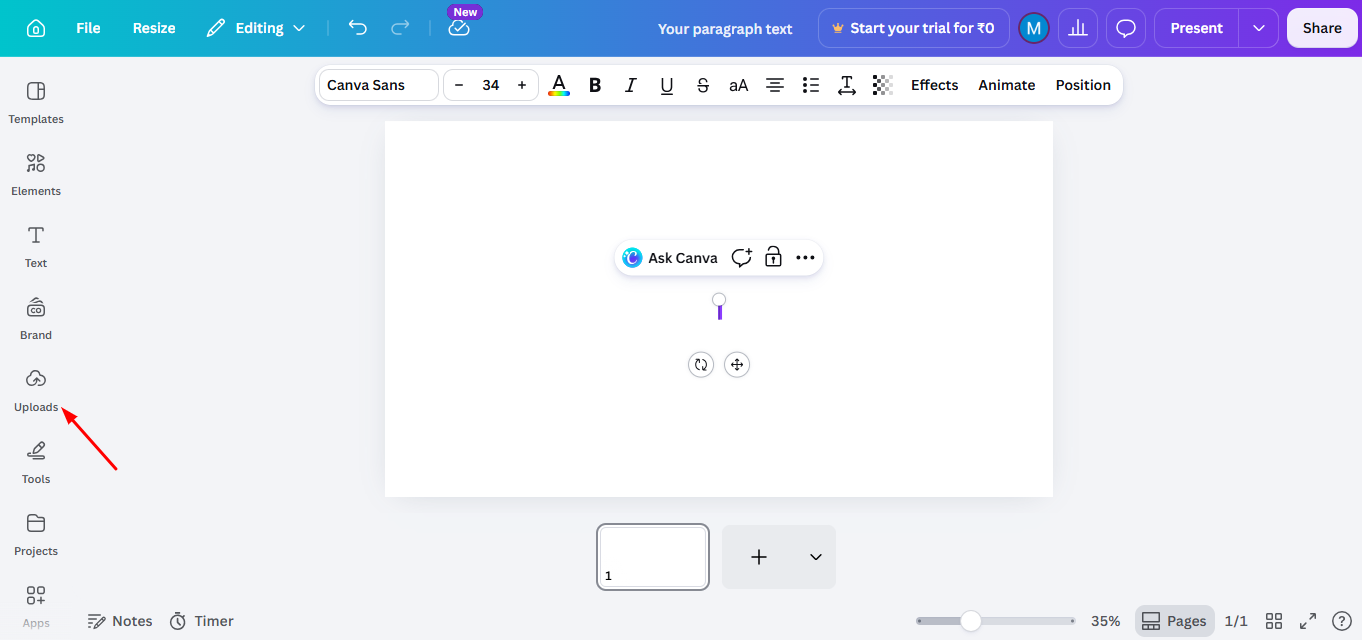
Step 1. Open Your Design in Canva
Start by logging into Canva and either opening an existing design or creating a new one.
Navigate to the project where you want to insert the table, ensuring that your canvas has enough space for the table to fit neatly within your design.
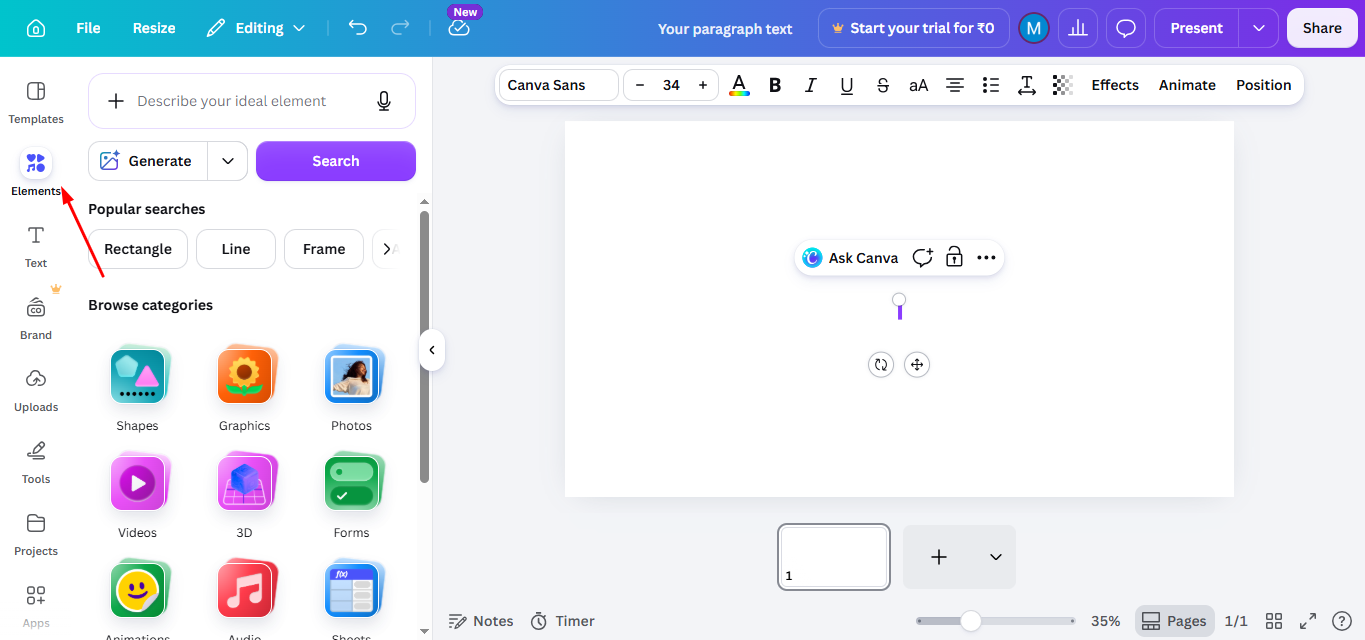
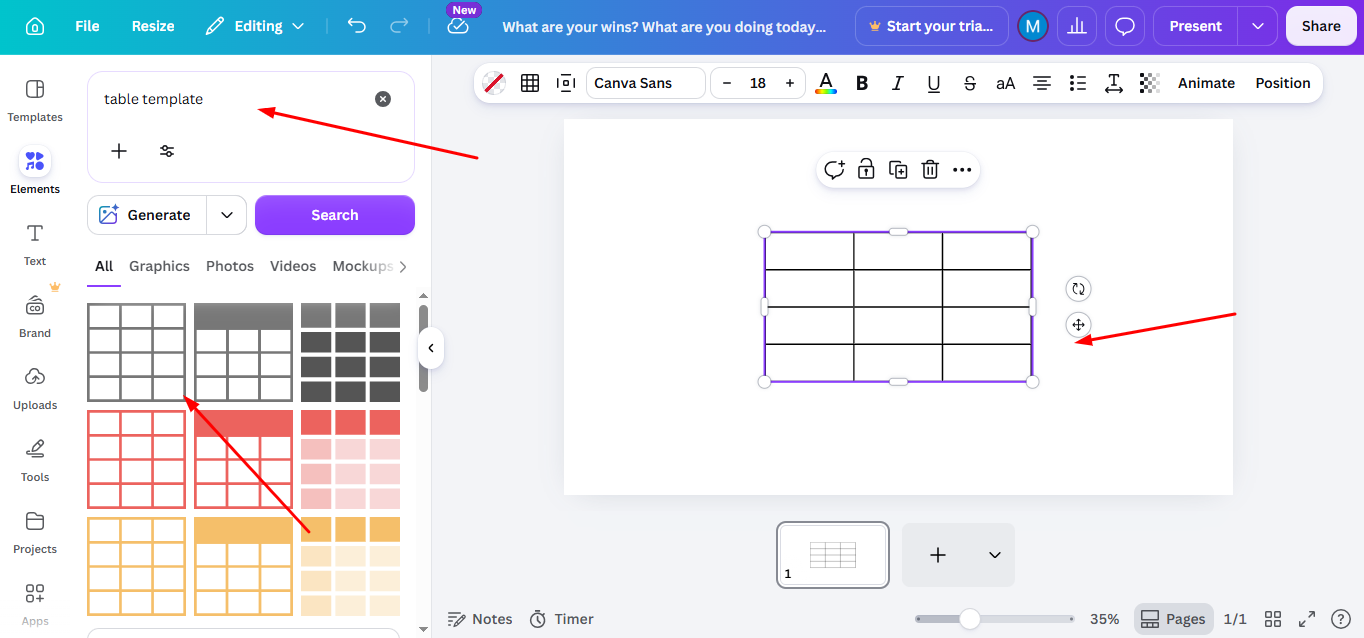
Step 2: Go to the “Elements” Tab
On the left side of the Canva editor, you’ll find the toolbar.
Click on the “Elements” tab, which contains a variety of shapes, lines, and grids that can be used to create tables.
This is where you’ll begin building your table.
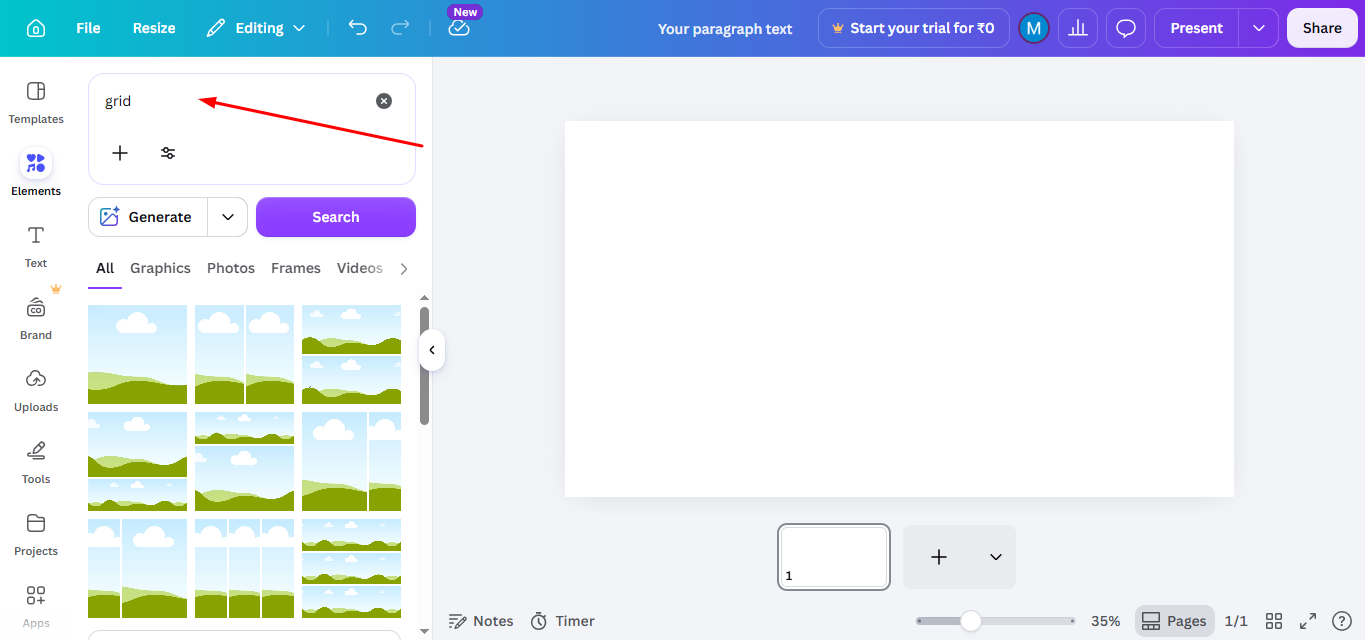
Step 3: Search for “Grids” or “Shapes”
In the search bar under “Elements,” type “Grid” to find pre-made layouts that resemble tables. You can also search for “Shapes” to manually construct your table using rectangles or squares. Grids are useful if you want a quick layout, while shapes allow more customization.
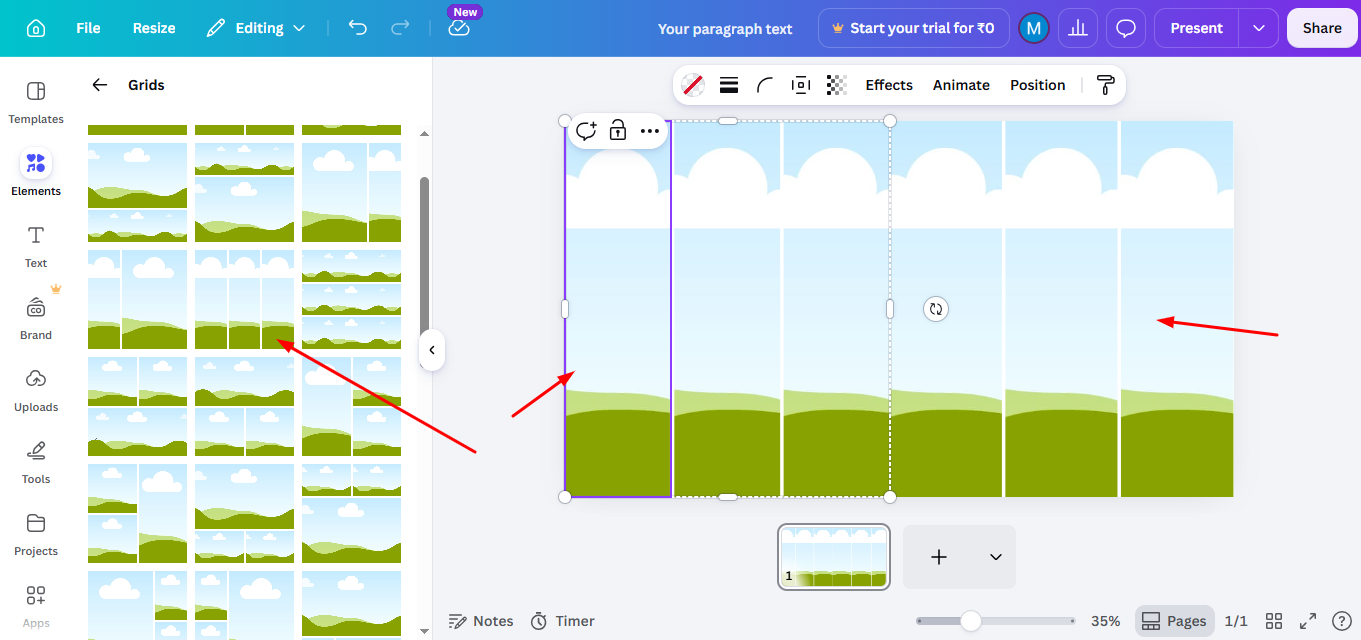
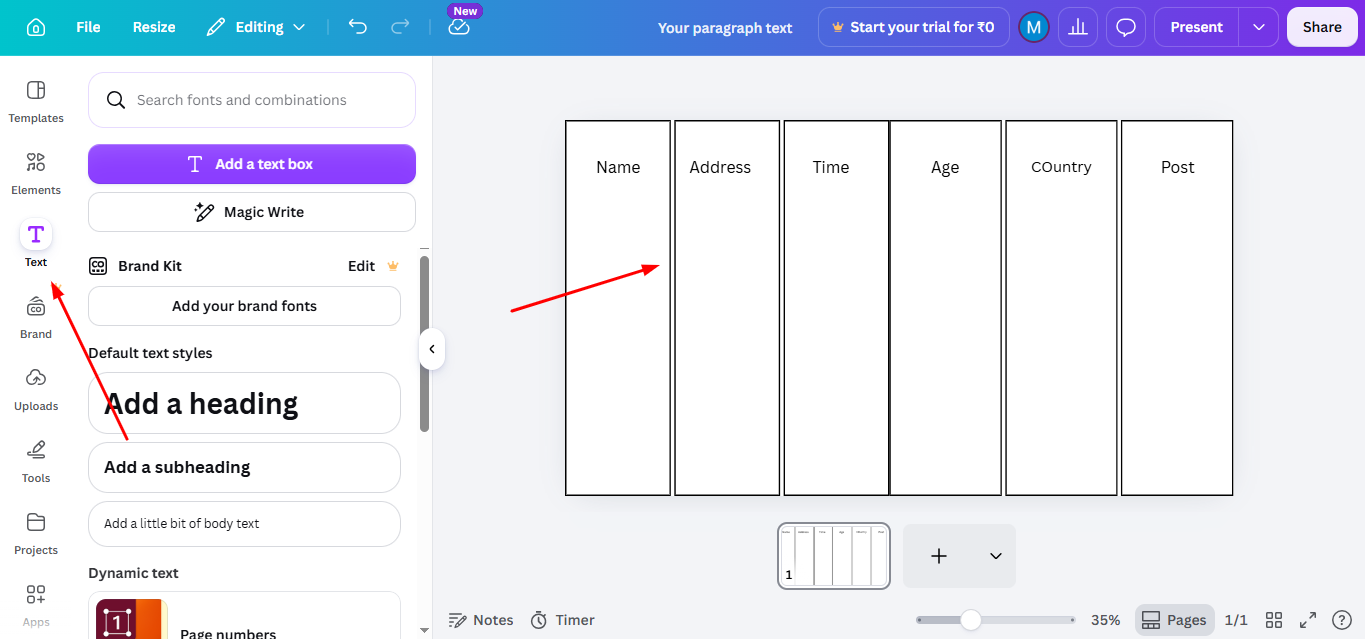
Step 4: Insert and Customize the Grid or Shapes
Once you find a grid or set of shapes that suit your needs, click on it to add it to your canvas. You can then resize the grid or shapes to match the dimensions you need. If you’re using shapes, align them manually to create rows and columns for your table.
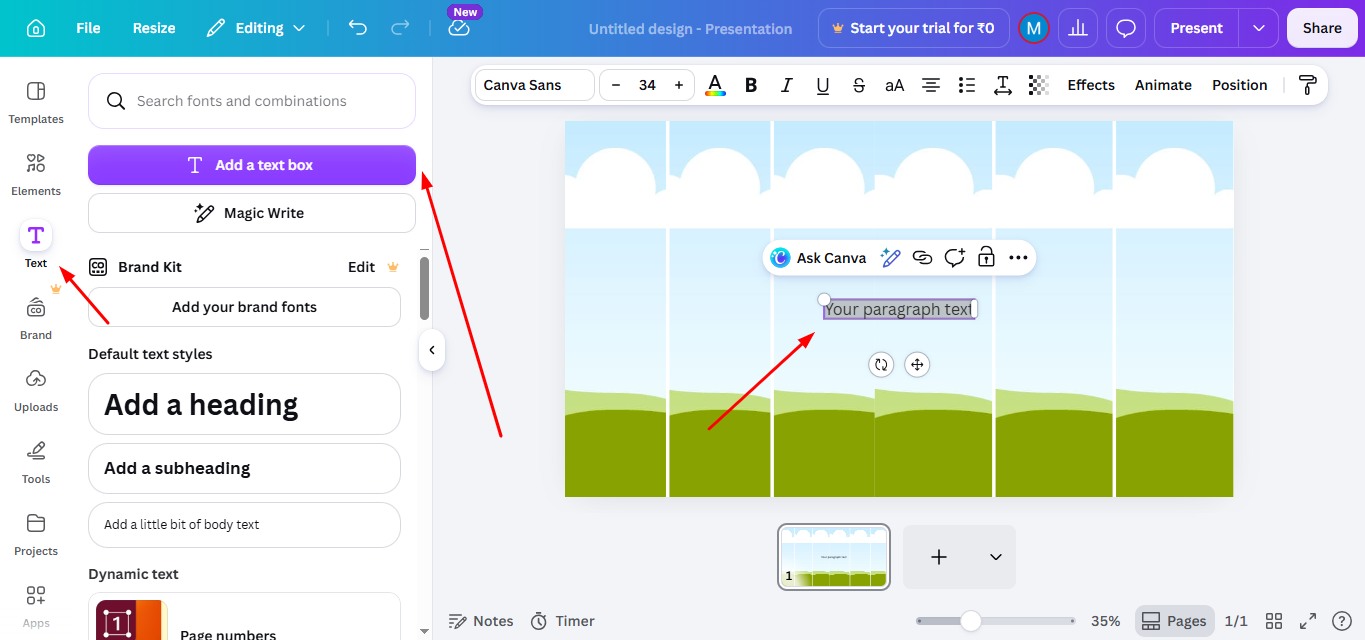
Step 5. Add Text to the Table
After positioning the table, you can start adding content. Click on any cell (or shape) in the table and go to the “Text” tab in the toolbar.
Choose the text style you prefer and start typing inside the cells.
Canva allows you to adjust text alignment, size, and color to make your table visually appealing. You can also how to Add a Photo in Canva within your design to make tables more engaging and informative.
Step 6. Customize the Table Design (Optional)
You can further customize the appearance of your table by adjusting colors, borders, and spacing.
Click on the grid or shapes and use Canva’s formatting options to change the fill color or add borders to separate cells.
This ensures that your table matches the overall design of your project. If you’re working with images, you may also want to learn how to remove background in Canva to create cleaner and more professional-looking visuals.
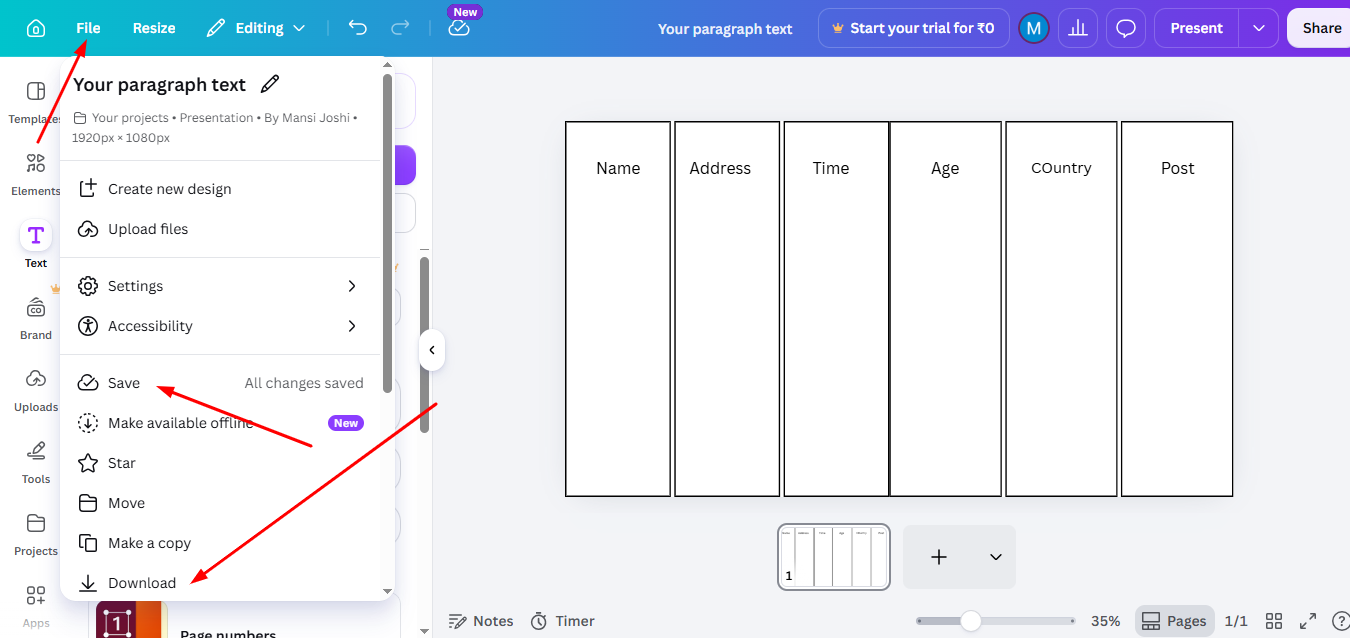
Step 7. Save and Download Your Design
Once your table is complete, make sure to save your design by clicking on the “File” tab and selecting “Save.”
To export your work, click the “Share” button and choose the appropriate file format, such as PDF or PNG, for downloading your Canva design with the inserted table.
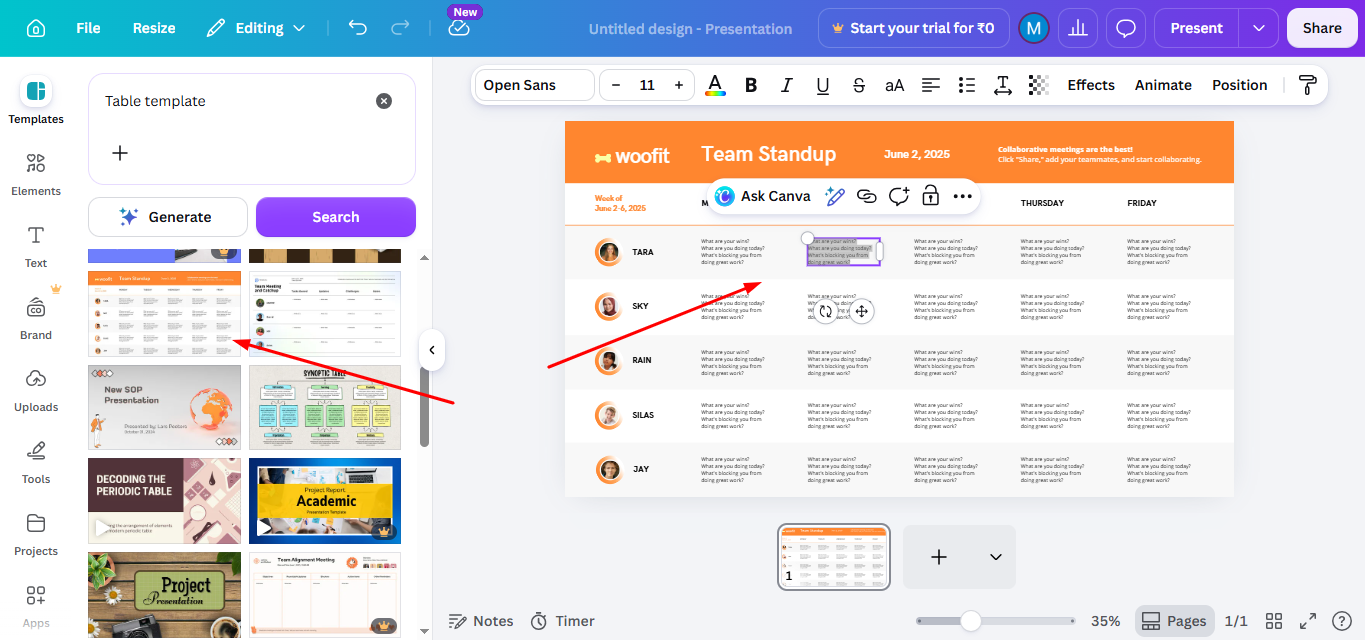
How to Add a Table in Canva Using Templates?
If you want a design thats already made Canva has table templates that can save you time.
You can pick a layout that someone else has designed and make it fit what you need of making one from scratch.
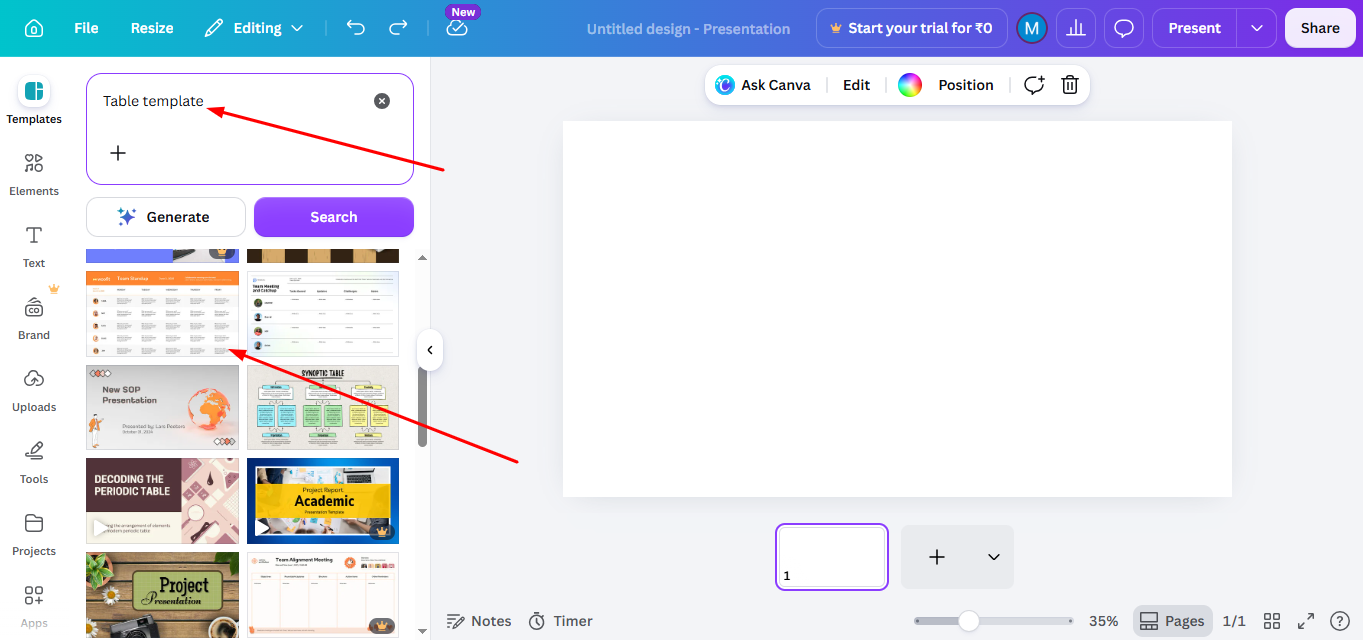
Step 1. Open Canva and use the search bar. Search for terms such as:
- Table template
- Comparison table
- Pricing table
- Schedule template
- Content calendar
You’ll find a variety of professionally designed options.

Step 2. Choose a template that fits your project. This will make things a lot easier for you.
For example a pricing table is really good for service packages while a comparison table is great, for showing products to each other in Canva.
This is one of the ways to add a table in Canva if you want a table that looks really nice and you want it quickly.
Step 3. After adding the template to your design, replace the sample content with your own information.
You can update:
- Text
- Colors
- Fonts
- Borders
- Row and column sizes
The result is a Canva table that looks custom-made without requiring extensive design work.
How to Insert a Table in Canva from Scratch?
Templates are easy to use. Sometimes you want total control over how things look. That’s where making a custom table comes in handy.
Step 1. The first thing to do when learning how to make a table in Canva is to add a table from the Elements panel. Pick a layout with enough rows and columns for what you want to say. You can always change it later.
Prior Tip- Before you start filling in information think about how you want your table to be set up.
Ask yourself:
- How columns do I need?
- How many rows will have information?
- Do I need rows at the top?
- Should some parts stand out?
Planning ahead makes your table easier to understand.
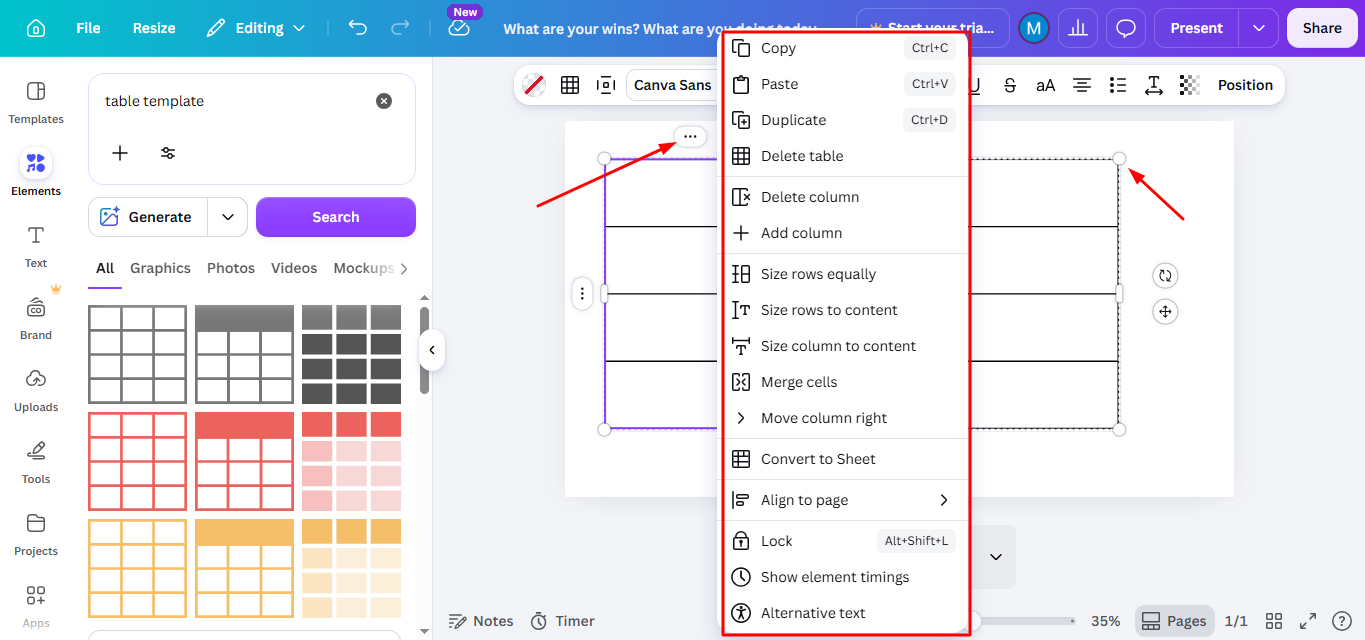
Step 2. Canva is really helpful because it lets you add rows and columns whenever you need to.
You can make individual columns bigger or smaller so they can hold text or bigger pieces of information.
This is great because it means you can make a table that’s just the right size, for the things you want to put in it instead of having to make your things fit into a table that is already a certain size. Canva gives you this flexibility with tables, which’s really nice.
Step 3. A clean table is usually more effective than an overly decorated one.
Use:
- Clear headings
- Consistent spacing
- Readable fonts
- Balanced alignment
Whether you’re creating a schedule, worksheet, project planner, or business report, a simple structure improves visual communication and helps readers find information faster.
Now that your table structure is ready, the next step is customizing its appearance to match your design style.
Creating Presentation Slides Faster with Smart AI
If you are making tables for presentations designing each slide one by one can take a lot of time. Canva helps you make and change tables easily. You still have to arrange the content set up the slides and format your presentation.
This is where MagicSlides comes in. It is an AI presentation tool that makes presentations for you. It can create a presentation from a topic, document, URL, YouTube video or text in just a few minutes. Of making each slide from scratch you can use AI to create the presentation structure first. Then you can customize things like tables, charts and pictures as needed.
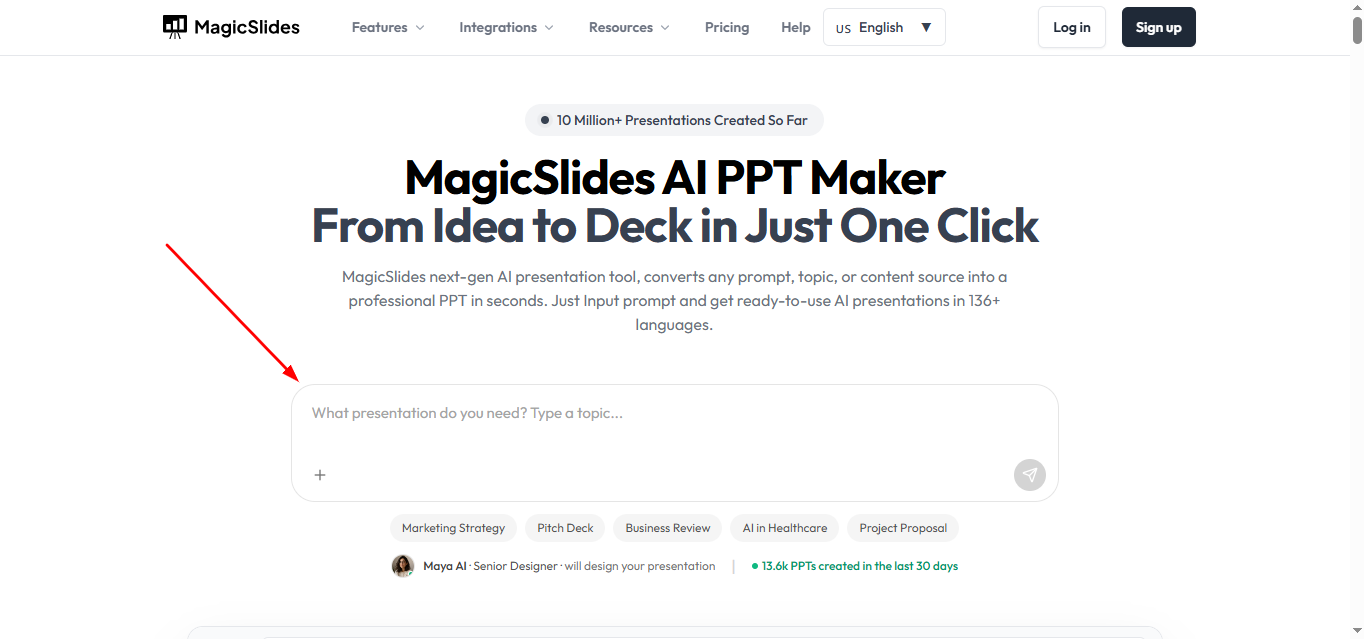
For people who make presentations often, like professionals, teachers, students and marketers using Canva and MagicSlides together can make creating presentations faster.
Conclusion
Although Canva doesn’t have a built-in table tool, you can easily create and customize tables using grids and shapes.
This feature allows you to organize data and present information effectively while maintaining Canva’s signature design flexibility.
By following these steps, you can create a functional and visually appealing table for any design project.
Frequently Asked Questions About How to Insert a Table in Canva
Does Canva have a dedicated table tool?
No, but you can create tables using grids or custom shapes.
Can I adjust the size of individual cells in Canva tables?
Yes, you can manually resize grids or shapes to customize your table dimensions.
How do I add text to a table in Canva?
Simply click on a cell or shape, go to the “Text” tab, and start typing.
Can I create pricing tables in Canva?
Yes. Canva tables are widely used for pricing charts and service comparisons. You can customize colors, borders, and text styles to make pricing information easier to read and more visually appealing.


