Making images transparent in Google Slides can be incredibly useful for creating visually appealing presentations. Transparency effects help you blend images into the background, create layered visuals, and make text stand out more clearly. In this guide, we’ll cover everything you need to know about making images transparent in Google Slides, complete with step-by-step instructions and additional tips to help you create stunning presentations.
Why Use Transparent Images in Google Slides?
Before diving into the steps, let's explore why you might want to use transparent images:
- Enhanced Readability: Transparent images can act as a subtle background, making text easier to read.
- Professional Look: Layering transparent images gives your slides a polished and professional appearance.
- Focus on Content: By reducing the opacity of an image, you ensure that the focus remains on the content and not the image itself.
- Creative Design: Using transparency creatively can help in highlighting specific elements or creating unique visual effects.
How to Make Images Transparent in Google Slides?
https://www.guidejar.com/embed/c6c2354a-0e52-43fb-b7ed-273880375fb1?type=1&controls=onStep-by-Step Guide to Making Images Transparent in Google Slides
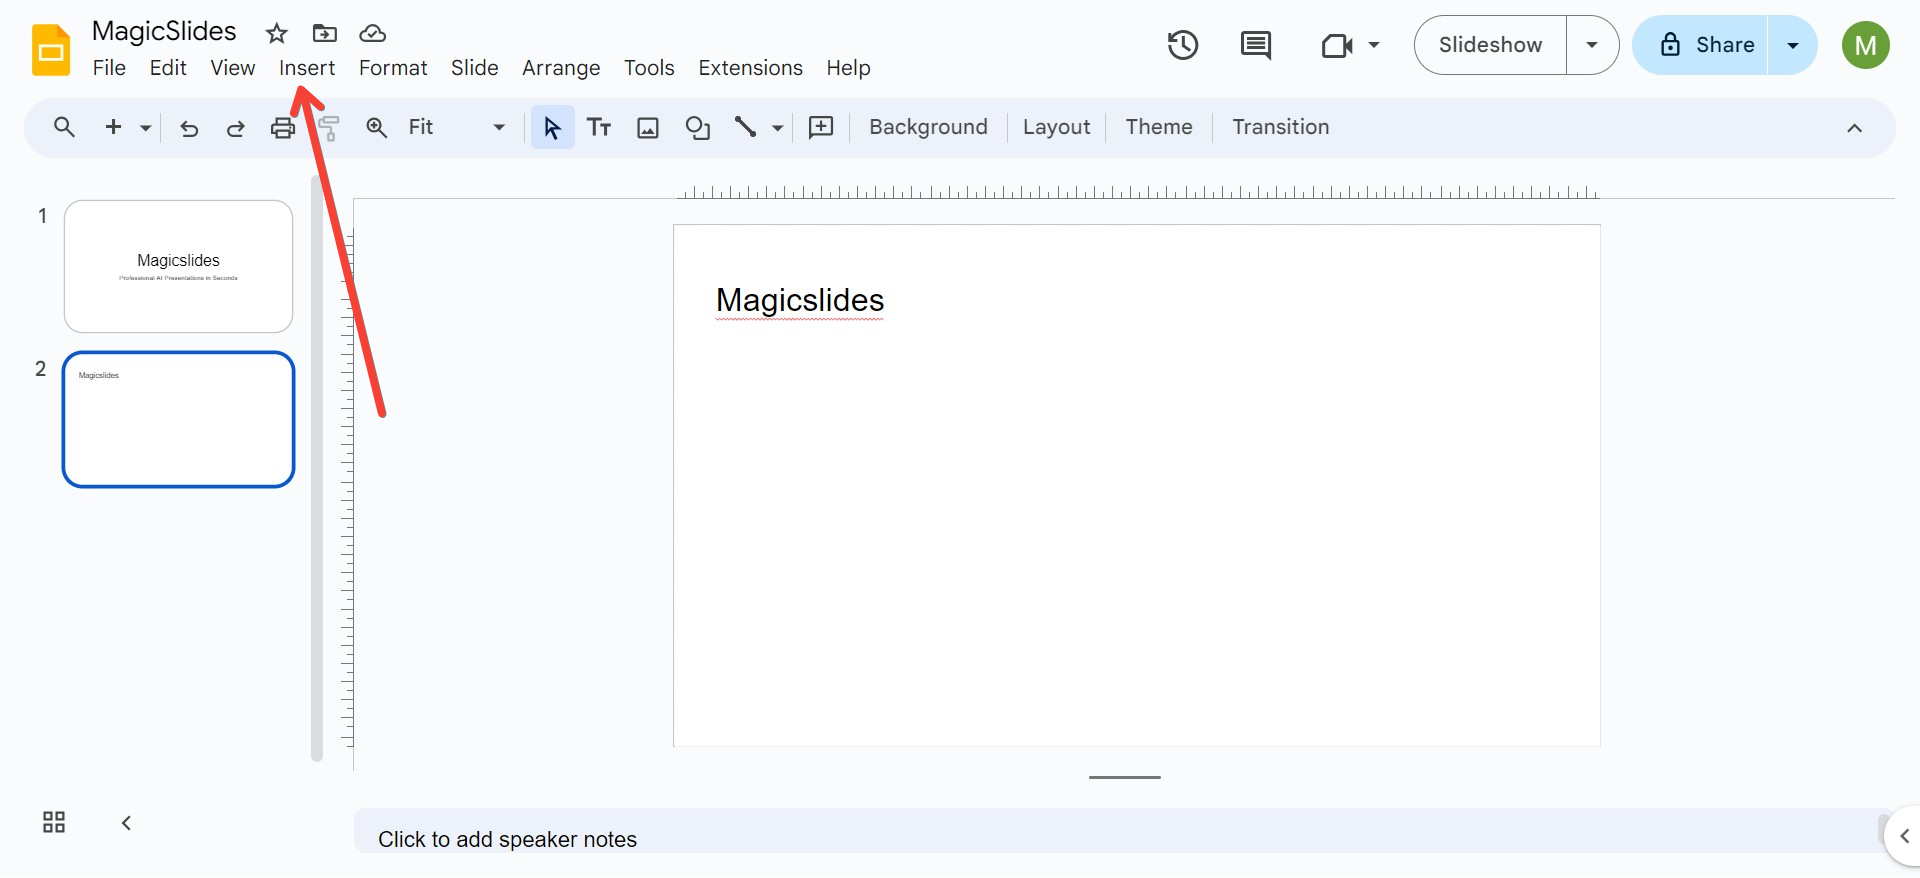
Step 1: Insert the Image
- Open your Google Slides presentation.
- Navigate to the slide where you want to add the image.
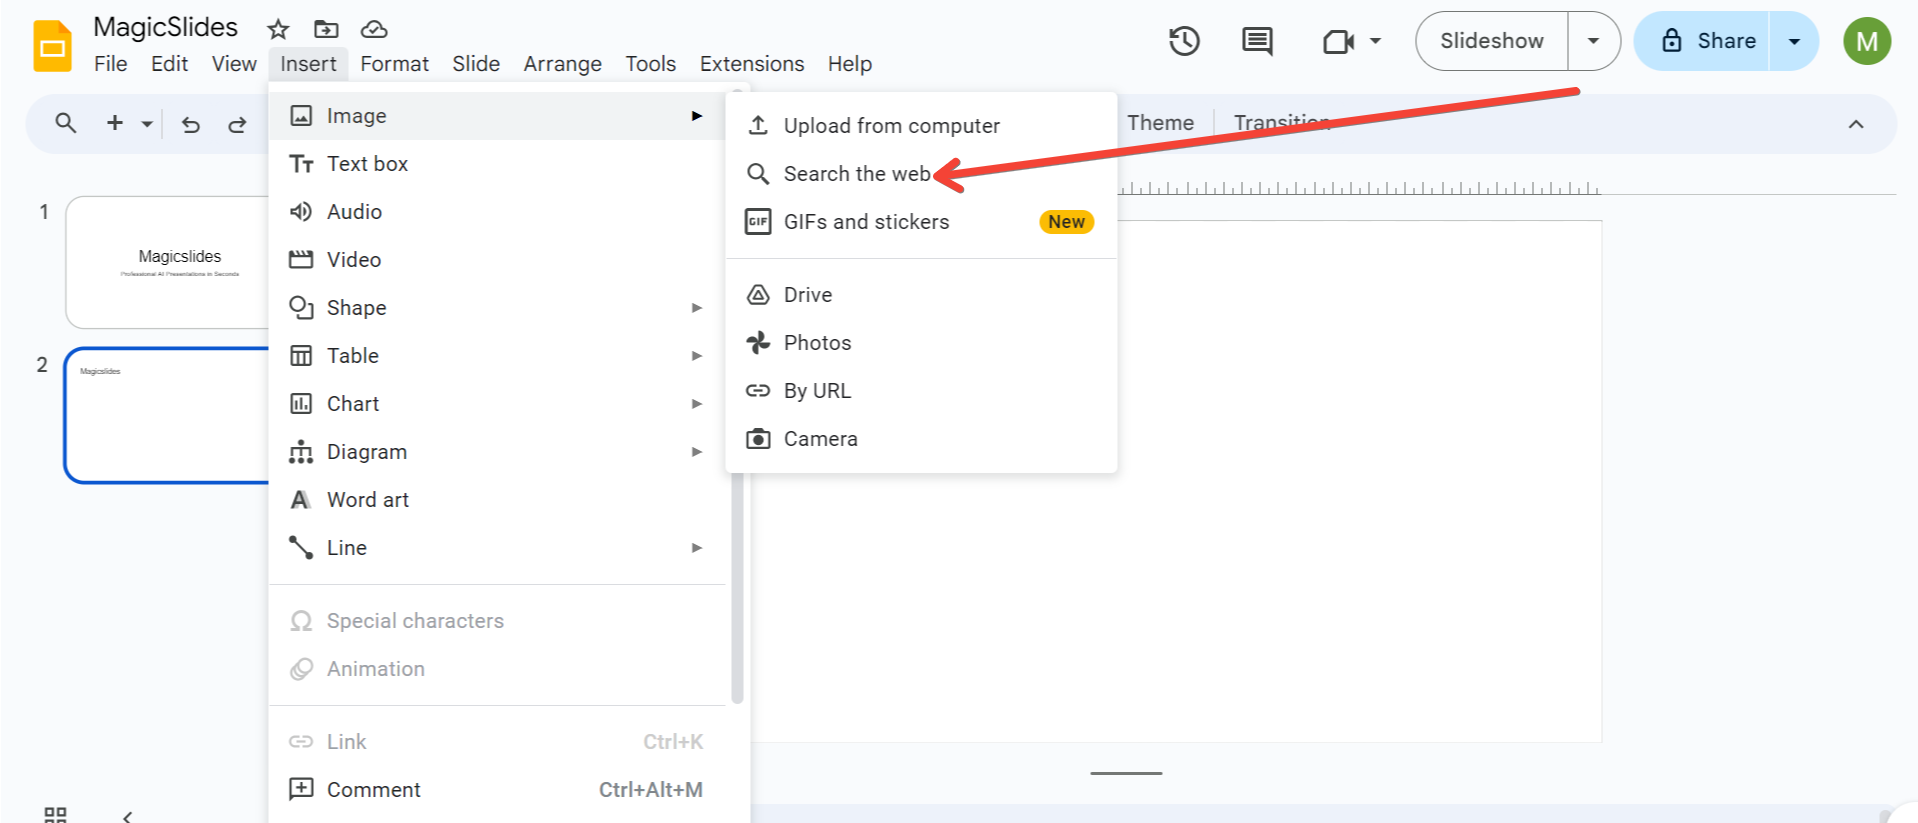
- Click on the Insert tab at the top of the screen.
- Select Image and choose your source (e.g., Upload from computer, Search the web, etc.).
- Once the image is inserted, adjust its size and position as needed.
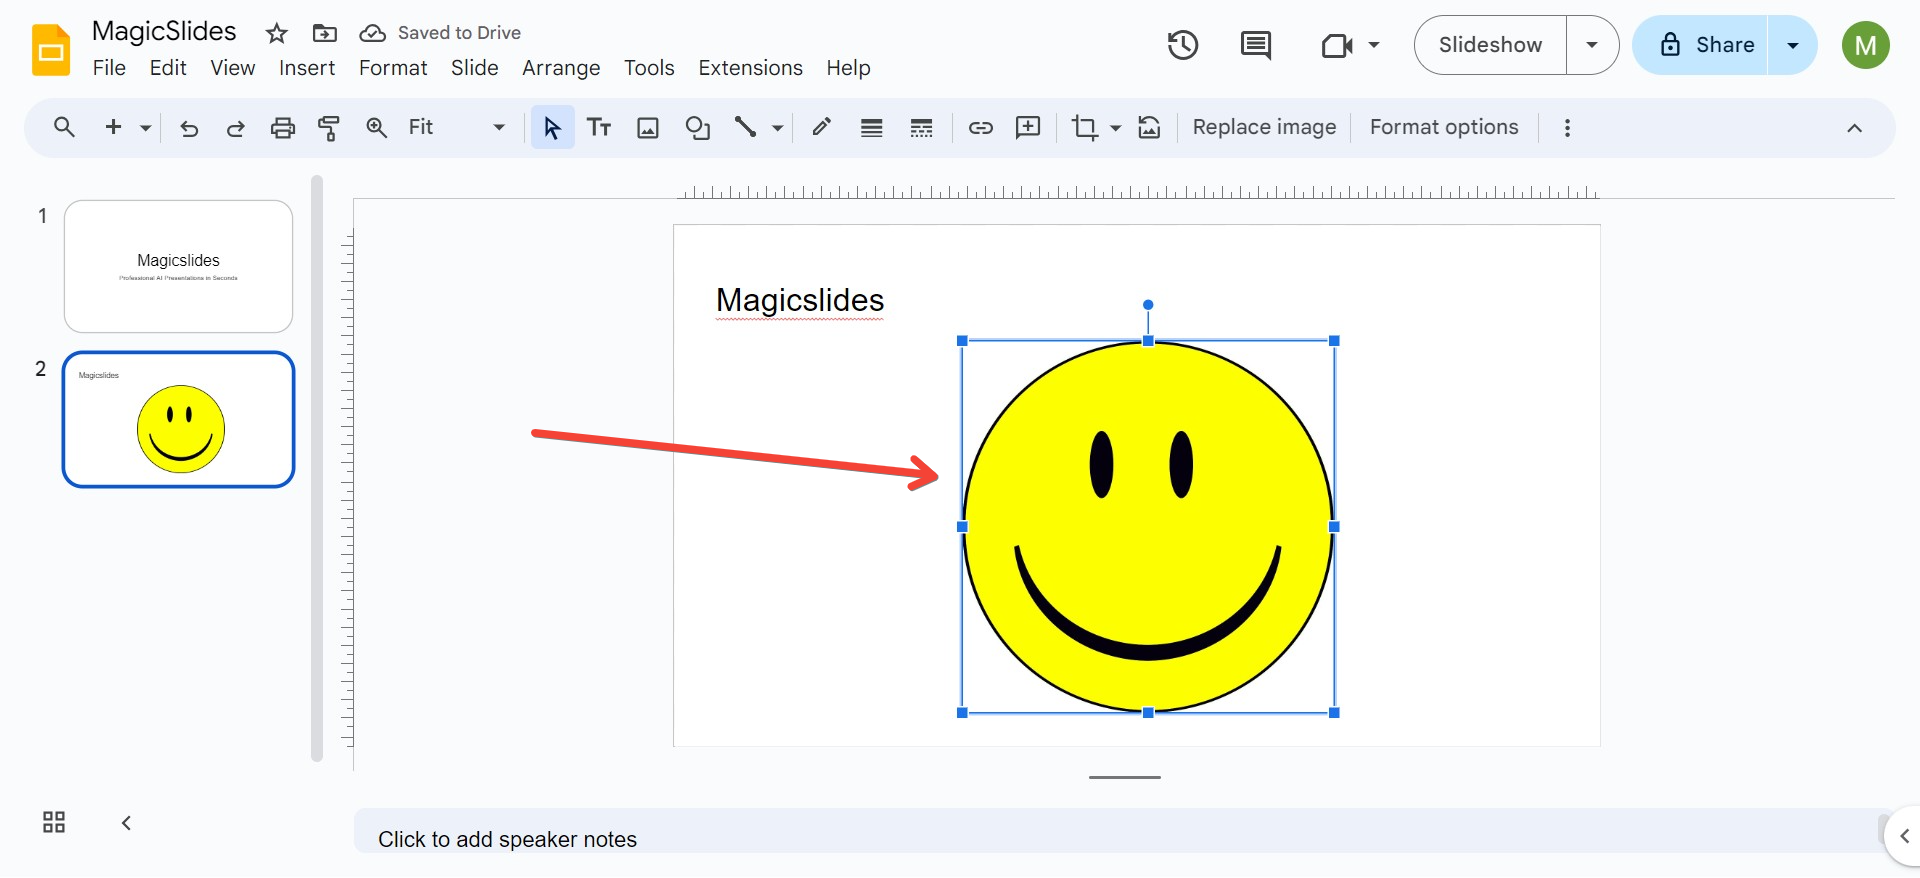
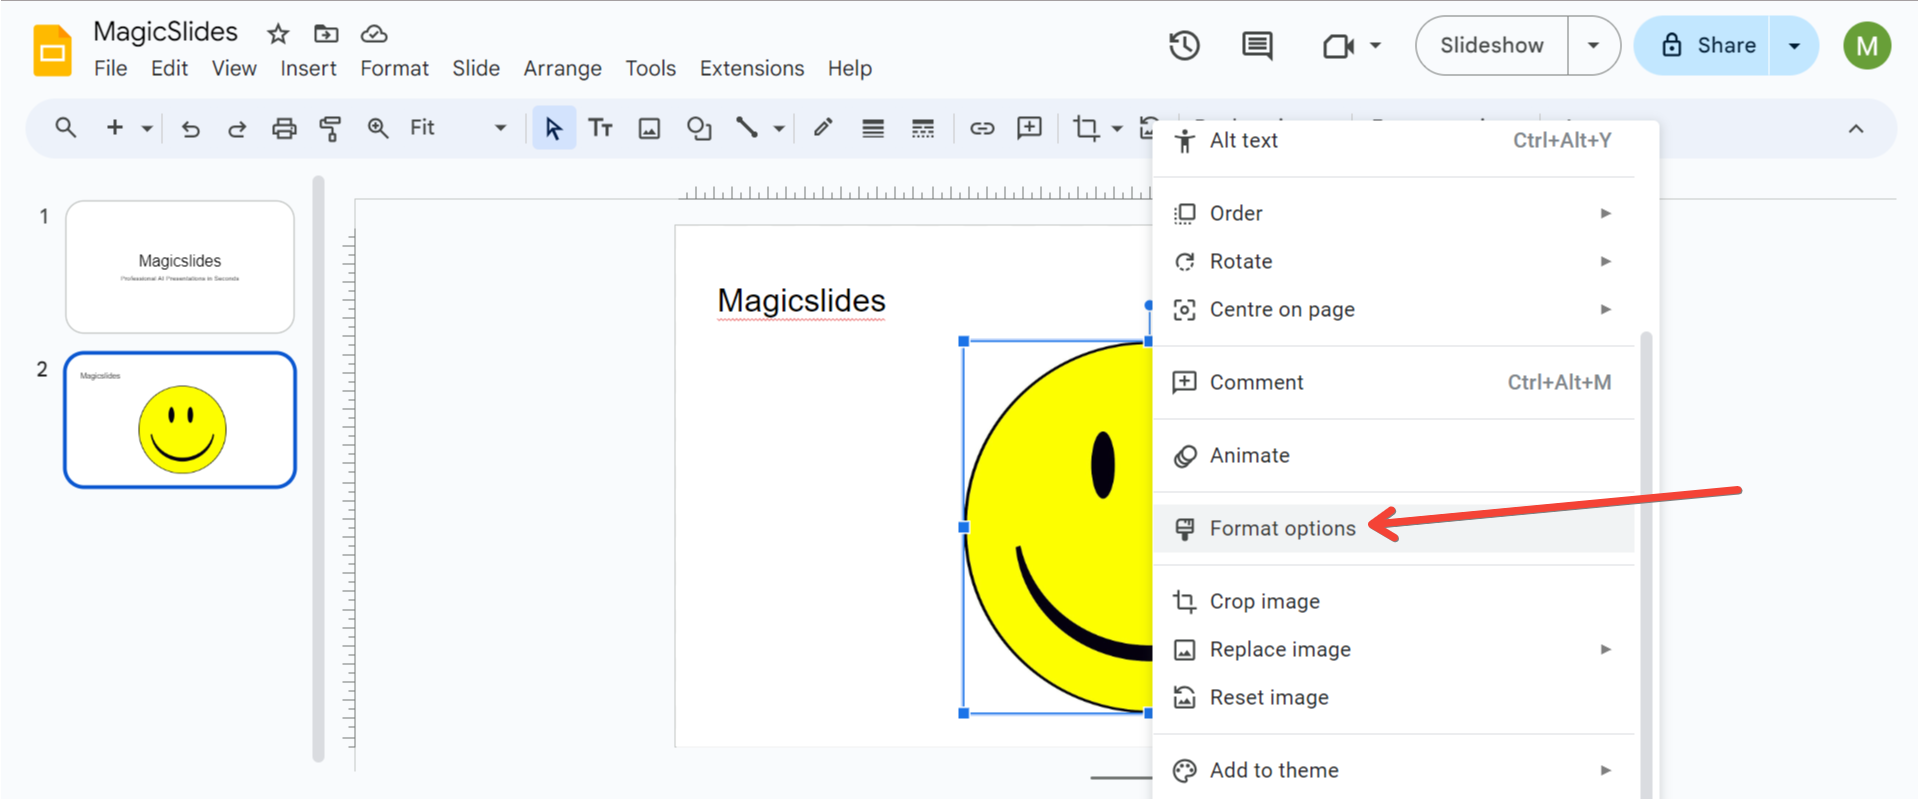
Step 2: Access the Format Options
- Click on the image to select it.
- Right-click on the image and choose Format options from the context menu. You can also find the Format options button in the toolbar at the top.
Step 3: Adjust Transparency
- In the Format options panel on the right, expand the Adjustments section.
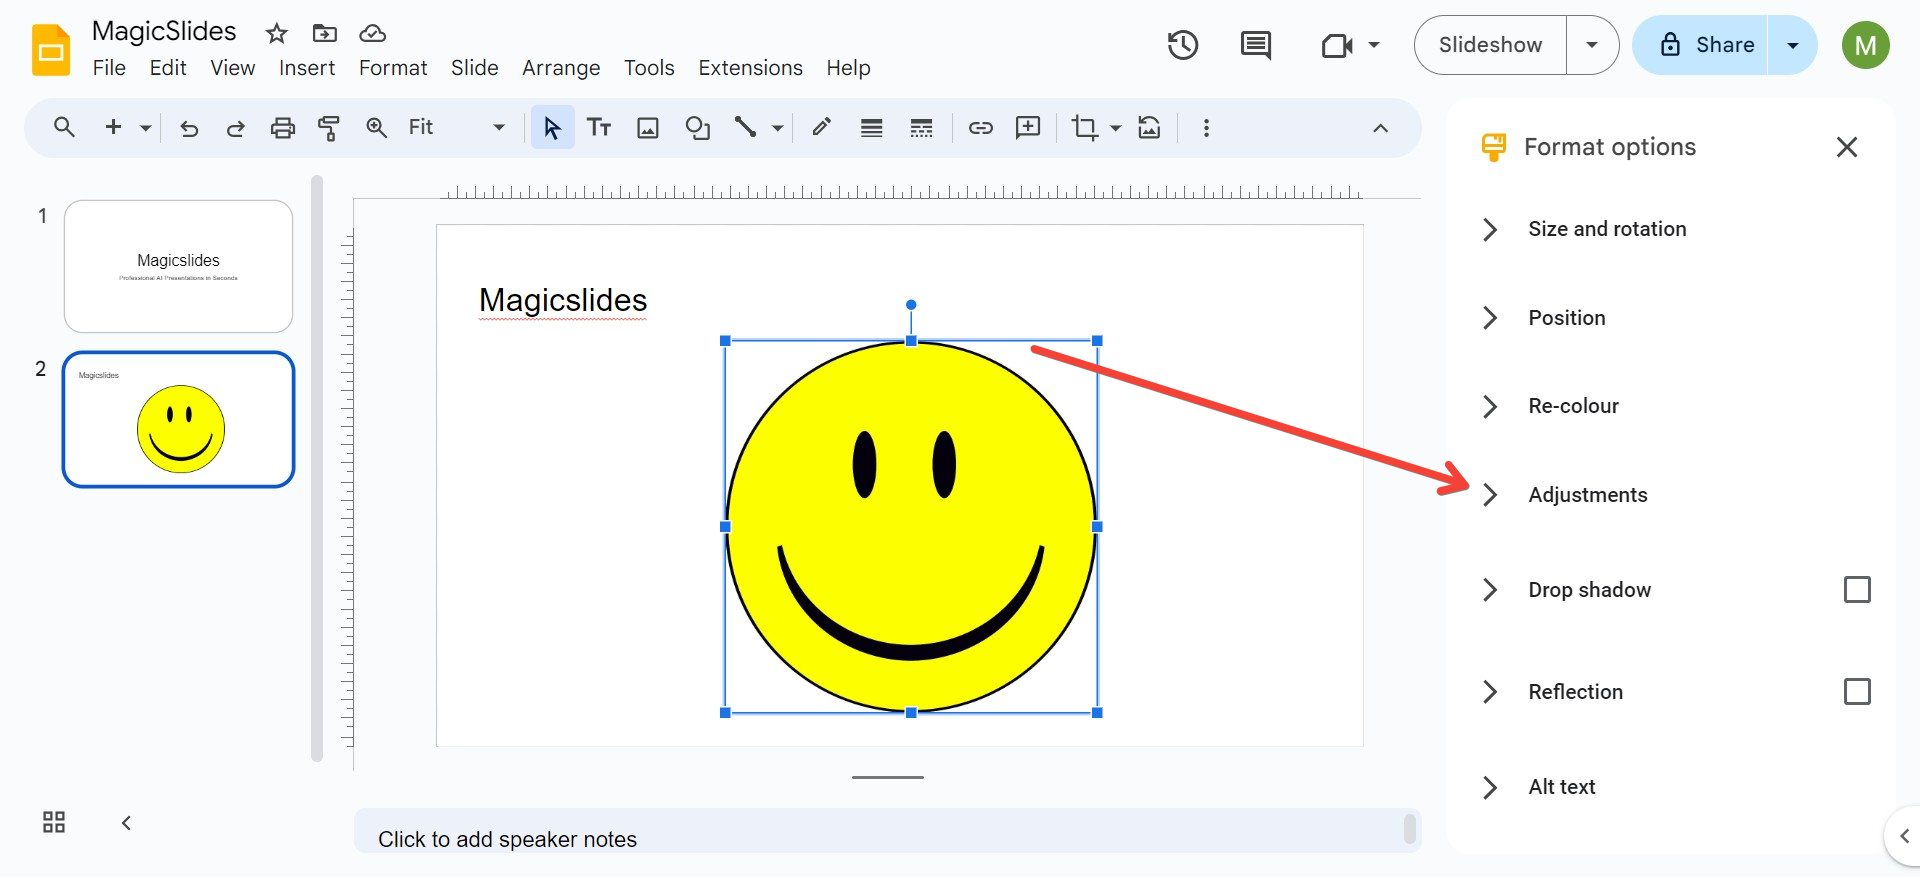
- Look for the Opacity slider.
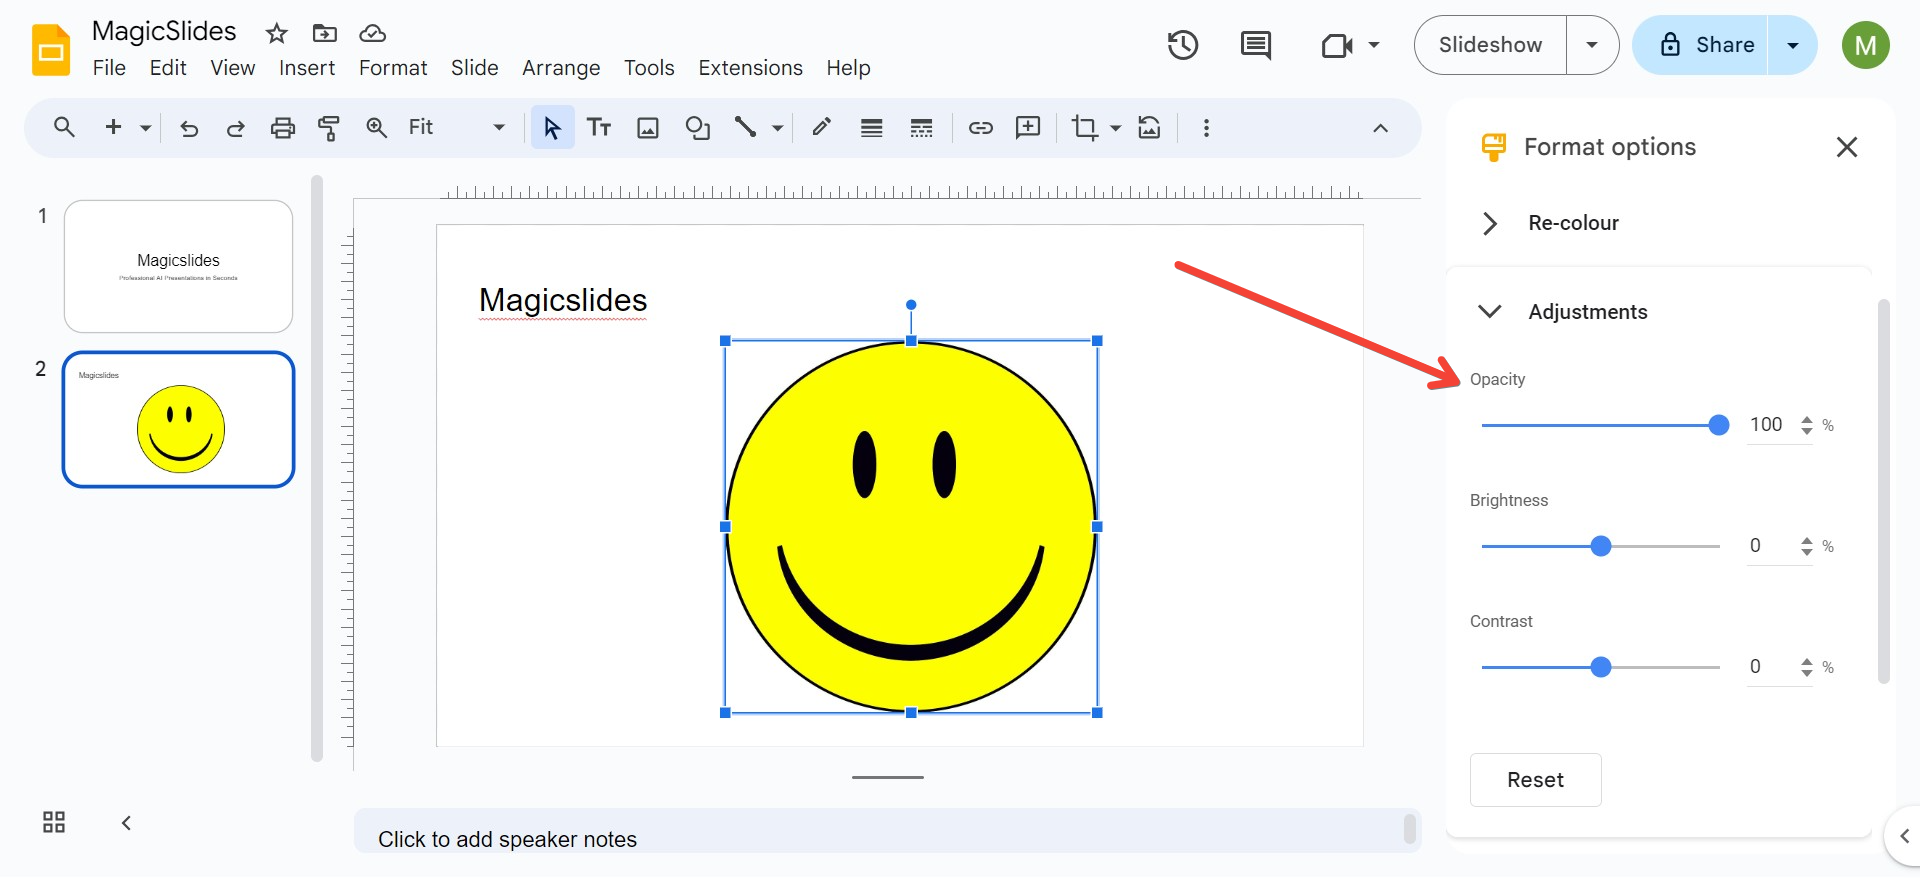
- Drag the slider to the right to increase the transparency of the image. The further you drag, the more transparent the image becomes.
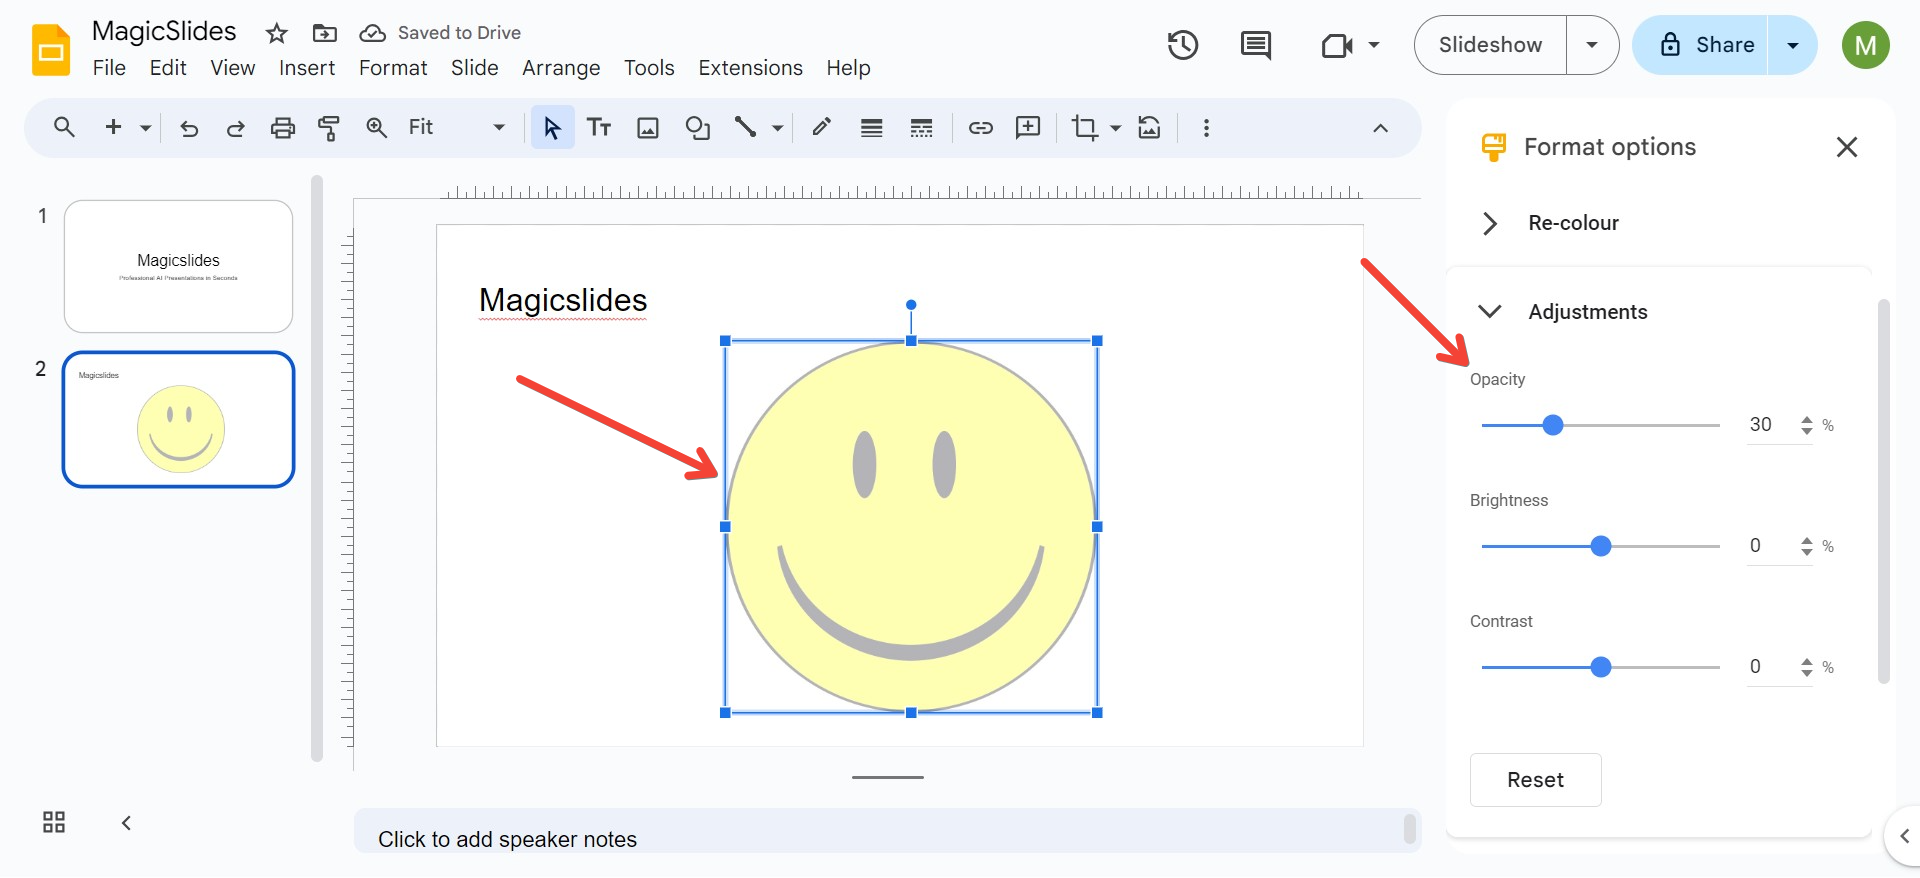
Step 4: Fine-Tune Transparency Levels
- For precise control, you can click on the transparency value next to the slider and enter a specific percentage (e.g., 50%).
- Adjust as needed until you achieve the desired level of transparency.
Step 5: Apply Additional Adjustments (Optional)
- Brightness and Contrast adjustments can also be found in the Adjustments section. Use these to fine-tune the appearance of your image.
- Experiment with different levels to see how they affect the overall look of your slide.
Tips for Using Transparent Images Effectively
1. Layering Transparent Images
- You can layer multiple images with varying transparency levels to create a complex, textured background. This technique is great for adding depth to your slides.
2. Combining Transparency with Text
- Place transparent images behind text boxes to ensure that your text remains readable while still having an engaging background. This is particularly effective for title slides or emphasis points.
3. Creating Watermarks
- Use transparent images to create subtle watermarks. Insert a company logo or relevant graphic, set the transparency to a very high level (e.g., 90%), and place it in the corner of your slides.
4. Focus Effects
- Make the main subject of an image stand out by using a semi-transparent overlay on the rest of the image. This draws attention to specific areas while blending the rest into the background.
5. Backgrounds for Text Overlays
- When using text over an image, increase the transparency of the image to create contrast. This ensures your text is legible without compromising the visual impact.
6. Consistency Across Slides
- Maintain a consistent transparency level across similar images in different slides to keep a cohesive design. This is particularly useful for themed presentations.
7. Pairing with Color Overlays
- You can enhance the impact of transparent images by combining them with color overlays. Insert a shape, adjust its transparency, and layer it over or under the image to create a unique visual effect.
Troubleshooting Common Issues
1. Image Appears Blurry
- If your image appears blurry after adjusting transparency, it might be too small. Use high-resolution images to maintain clarity when applying transparency effects.
2. Transparency Not Visible
- Ensure you are not layering a fully opaque shape or image over the transparent image. Re-order the elements if needed using the Arrange option.
3. Image Positioning
- If the image isn’t positioned correctly, use the Align and Distribute options under the Arrange tab to ensure it’s placed accurately.
Frequently Asked Questions
Can I Make Part of an Image Transparent?
Currently, Google Slides does not support partial transparency directly. However, you can use external tools like Google Drawings or graphic editors like Photoshop to create partially transparent images and then import them into Google Slides.
Can I Adjust Transparency for Shapes?
Yes, Google Slides allows you to adjust the transparency of shapes and text boxes. Follow a similar process: select the shape, access Format options, and adjust the transparency slider under the Fill section.
Are There Any Add-ons for More Advanced Image Editing?
There are several add-ons available for Google Slides that offer advanced image editing features, including transparency adjustments. Some popular ones include Unsplash for high-quality images and Icons by Noun Project for transparent icons.
Conclusion
Mastering the use of transparency in Google Slides can significantly elevate the visual appeal of your presentations. Whether you’re using it to improve text readability, create professional designs, or add creative effects, understanding how to control transparency is a valuable skill. Experiment with different transparency levels, and don’t hesitate to combine images, shapes, and text to create unique and engaging slides.
By following the steps and tips outlined in this guide, you’ll be well-equipped to make your Google Slides presentations stand out with perfectly transparent images. Happy presenting!
Share on socials
About the author
Ayan Ahmad is a Senior Content Strategist with hands-on experience crafting high-performing content for brands like Amazon and Okaya. He specializes in SEO-focused editorial systems, topical authority building, and user-first documentation. When he's not working, Ayan enjoys cinema and travel.
More from the blog
How to insert bitmoji into Google Slides
17 March 2026
Top 12 PowerPoint Alternatives Compared – Find the Best Presentation Tool
17 March 2026
Genetics Topics for Presentation: 100+ Comprehensive Ideas
17 March 2026
Interesting Biology Topics for Presentations: 100+ Captivating Ideas
17 March 2026
How to add morph Transition in PowerPoint
15 March 2026
How to Convert PPT to Google Slides - Complete 2026 Guide
13 March 2026
How to animate google slides
10 March 2026
50+ Funny Presentation Topic Ideas to Get You Started
5 March 2026
Scribd PPT Downloader Free: Step-by-Step Guide (Updated 2026)
2 March 2026
