How to make your own presentation visuals


Creating your own presentation visuals enhances clarity, engagement, and personalization for impactful and professional-looking slides
How to Make Your Own Presentation Visuals: A Step-by-Step Guide
Creating your own presentation visuals is a powerful way to ensure your message is clearly communicated, personalized, and engaging.
Instead of relying on generic stock images or pre-designed slides, custom visuals help you stand out, support your content, and make a memorable impact on your audience.
In this step-by-step guide, we’ll show you how to design your own visuals for a presentation from scratch even if you're not a graphic designer.
Step-by-Step Process to Make Your Own Presentation Visuals
Step 1: Understand Your Message
Before creating any visual, define what message the visual should convey. Ask yourself:
- What point am I trying to make?
- Is this visual meant to explain, compare, inspire, or summarize something?
Having clarity on your message ensures that your visuals are meaningful and effective.
Step 2: Choose the Right Format for Your Visual
Visuals can take many forms:
- Charts and graphs for data
- Diagrams for processes
- Icons for simplifying ideas
- Illustrations or photos for storytelling
Decide what format best suits the content you are explaining.
Step 3: Sketch Out Ideas First (Optional)
Before jumping into design software, sketch out your idea on paper or digitally.
This helps you:
- Clarify the layout
- Think through the structure
- Avoid unnecessary revisions later
Step 4: Select a Design Tool
Pick a tool based on your comfort level and visual needs:
- Canva (easy drag-and-drop)
- Google Slides / PowerPoint (great for shapes, charts, icons)
- Figma or Adobe Express (for advanced design control)
- MagicSlides (AI-based tool that can auto-generate slides from content)
Step 5: Stick to a Consistent Style
Keep visual elements uniform across all slides. Use:
- A single color palette
- Matching font styles
- Similar icon sets
This makes your presentation look polished and professional.
Step 6: Use Icons, Illustrations, and Shapes Creatively
Instead of plain bullet points, convert concepts into icons or visuals.
For example:
- Replace “Innovation” with a light bulb icon
- Use arrows to show flow or progression
- Add illustrations to reinforce a story
Step 7: Add Text Sparingly and Purposefully
Text should support, not clutter your visual.
Use:
- Short headings
- Bold keywords
- Labels for clarity
Avoid long paragraphs or complex sentences.
Step 8: Test and Refine Your Visuals
Once created, look at your visual from a fresh perspective:
- Is it clear and readable from a distance?
- Does it communicate the intended message?
- Can someone understand it without much explanation?
Make adjustments as needed based on feedback or self-review.
Tired of spending hours crafting a presentation? Here’s a smarter solution MagicSlides
Whether it’s for work, school, or a pitch deck, building a presentation from scratch can take hours from researching and organizing content to designing each slide. But what if you could skip all that and have your presentation ready in under a minute? That’s exactly what MagicSlides does for you.
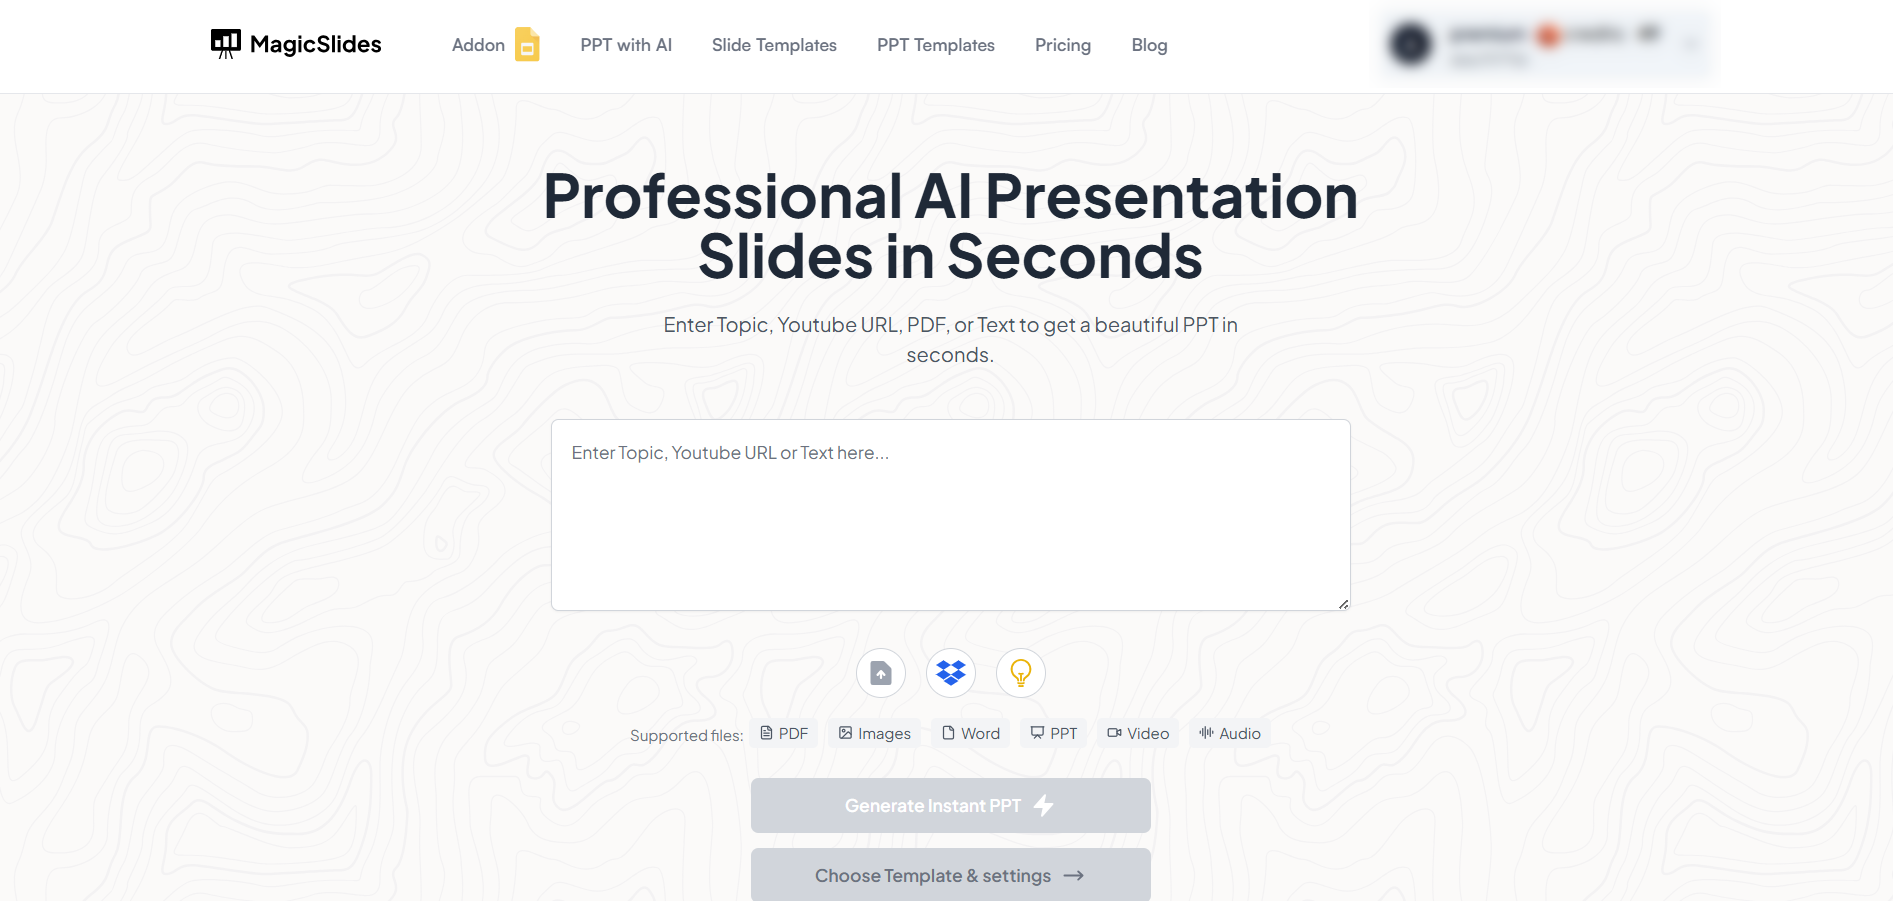
MagicSlides is an AI-powered tool that creates professional, engaging presentations with just one prompt. Simply enter your topic, and the platform will generate a full deck complete with structured content, design elements, and suggested visuals.
Here’s what you’ll love about MagicSlides:
- Instant slide generation with just one prompt
- Smart content organization and bullet points
- Visually polished designs, no design skills needed
- Multiple formats: Download as PowerPoint, use in Google Slides
- Supports customization, edits, and re-generation
- Converts YouTube videos, URLs, or text into full presentations
- Perfect for business, education, content creation, and more
Want to try it yourself? Click here to start creating your first presentation for free!
Conclusion:
Creating your own presentation visuals not only enhances your presentation quality but also shows that you've invested thought and effort into your message.
With some creativity, the right tools, and a clear goal, anyone can build impactful visuals that capture attention and help audiences understand your content better.
FAQs are here to help!
Do I need design experience to create my own visuals?
No. Tools like Canva and PowerPoint make it easy to create effective visuals without design expertise.
What’s the best format for visuals in a business presentation?
Use charts for data, diagrams for workflows, and icons for simplifying complex topics.
How many visuals should I include in a presentation?
Include one key visual per major point to avoid clutter and maintain audience focus.


