How to Turn a Personal Blog into a Dynamic PowerPoint Portfolio


Transform your personal blog into a dynamic PowerPoint portfolio with this step-by-step guide. Elevate your online presence effortlessly and creatively.
In the fast-paced digital world, transforming your personal blog into a dynamic PowerPoint portfolio can be a game-changer. This guide will take you through the process using the MagicSlides extension for Google Slides, allowing you to seamlessly convert your written content into a visually appealing presentation.
How to Turn a Personal Blog into a Dynamic PowerPoint Portfolio
Step 1: Open Google Slides and Create a Blank Presentation
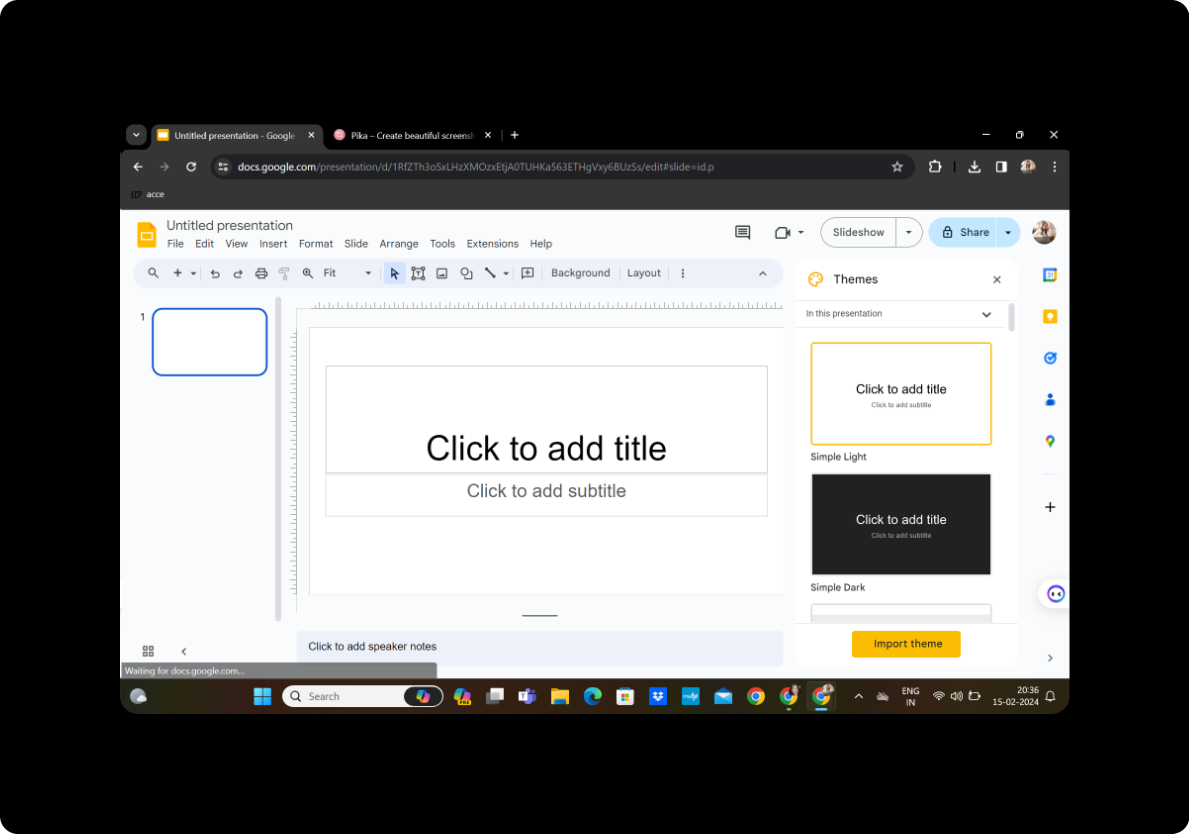
Begin by logging into your Google account and opening Google Slides. Create a new presentation by selecting "Blank" to start with a clean slate.
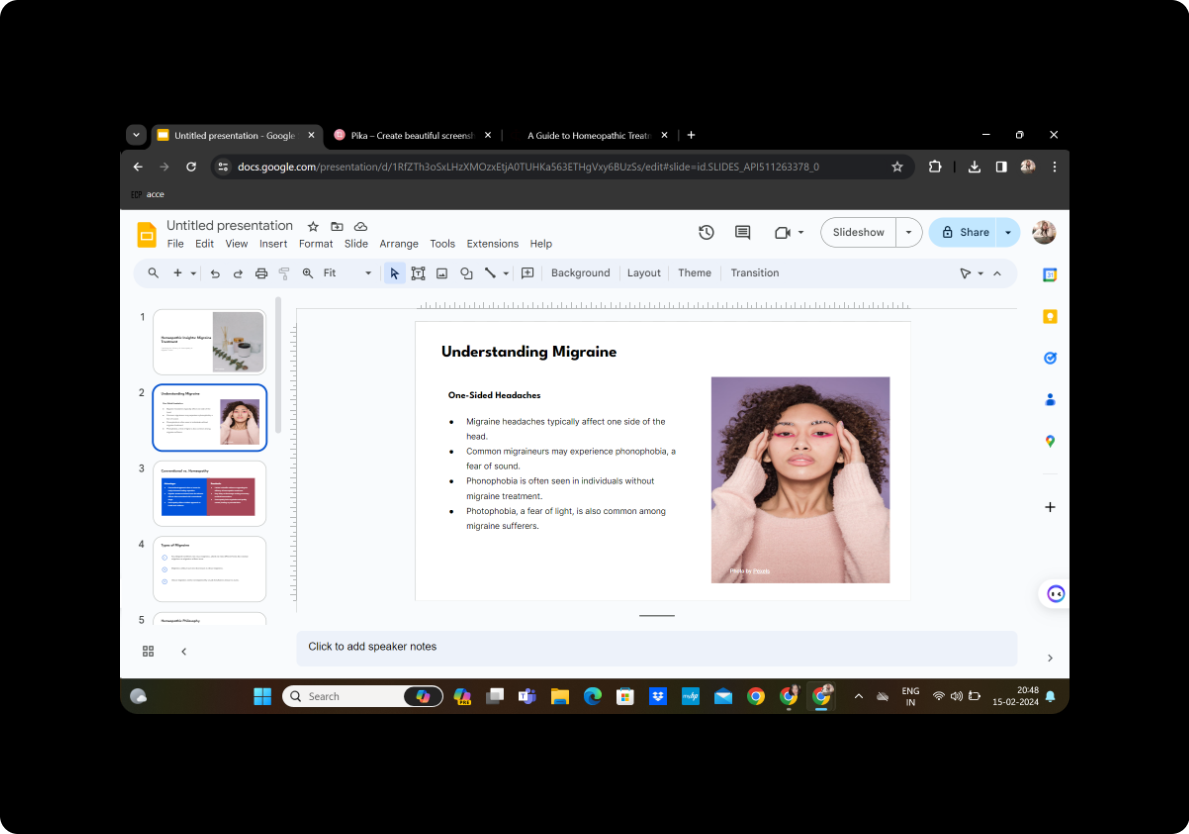
Step 2: Install MagicSlides GPT Extension
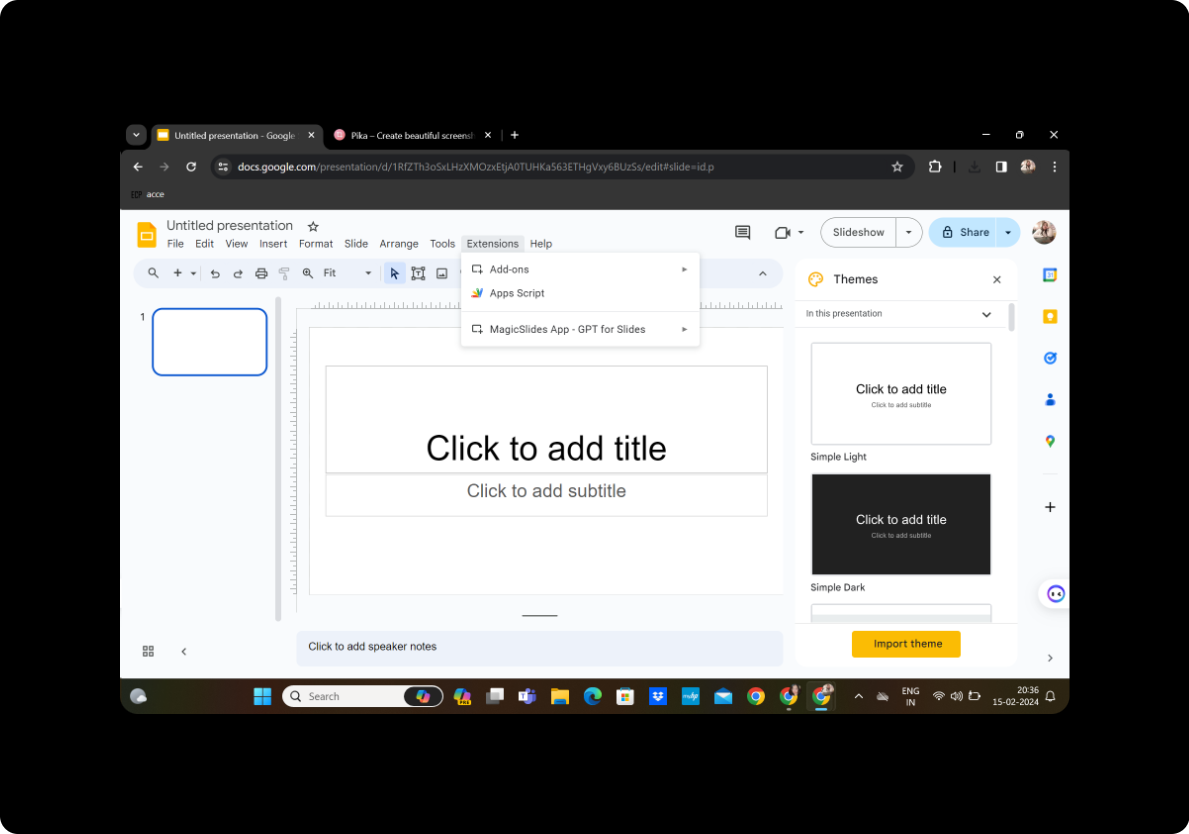
Click on "Extensions" in the toolbar and choose "MagicSlides GPT." If you haven't installed it yet, you can find it in the Chrome Web Store. Install and activate the extension.
Step 3: Access MagicSlides for URL to PPT Conversion
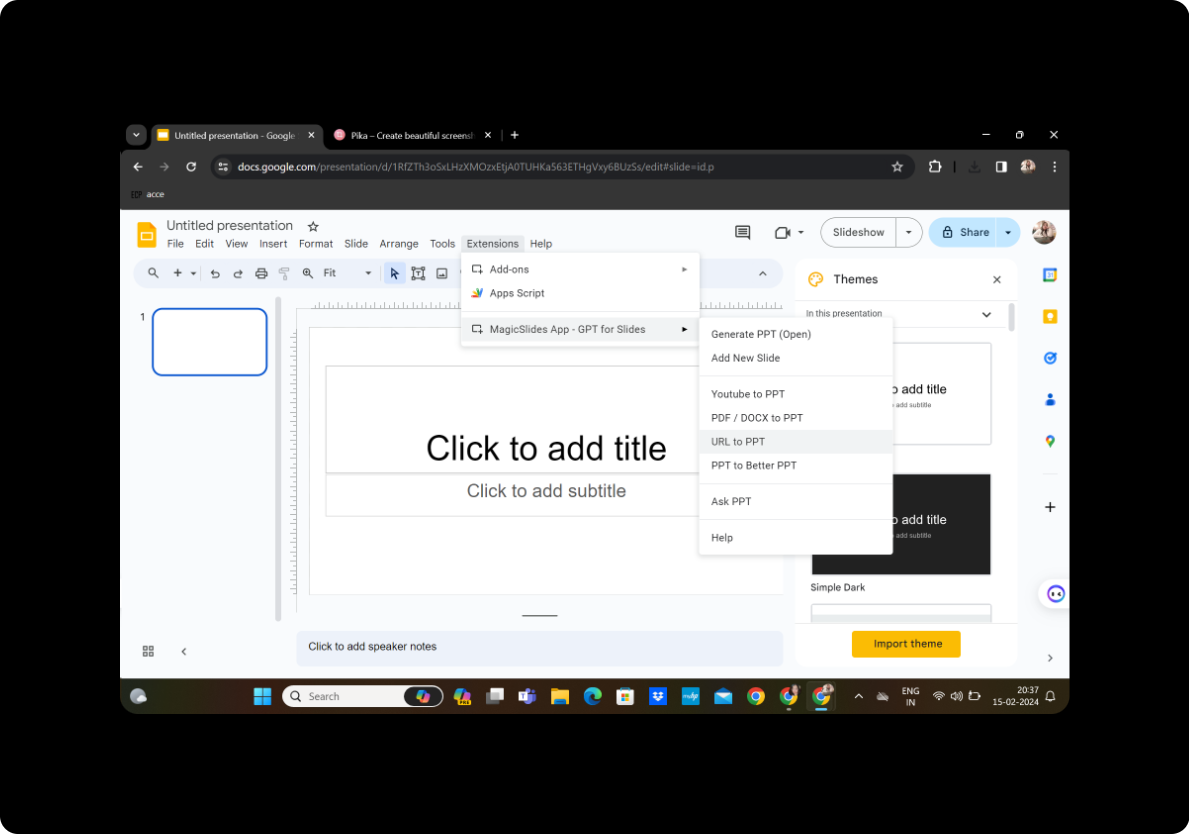
Once MagicSlides is activated, look for the dedicated tab within Google Slides. Click on it to access the MagicSlides tool.
Step 4: Copy and Paste Blog URL
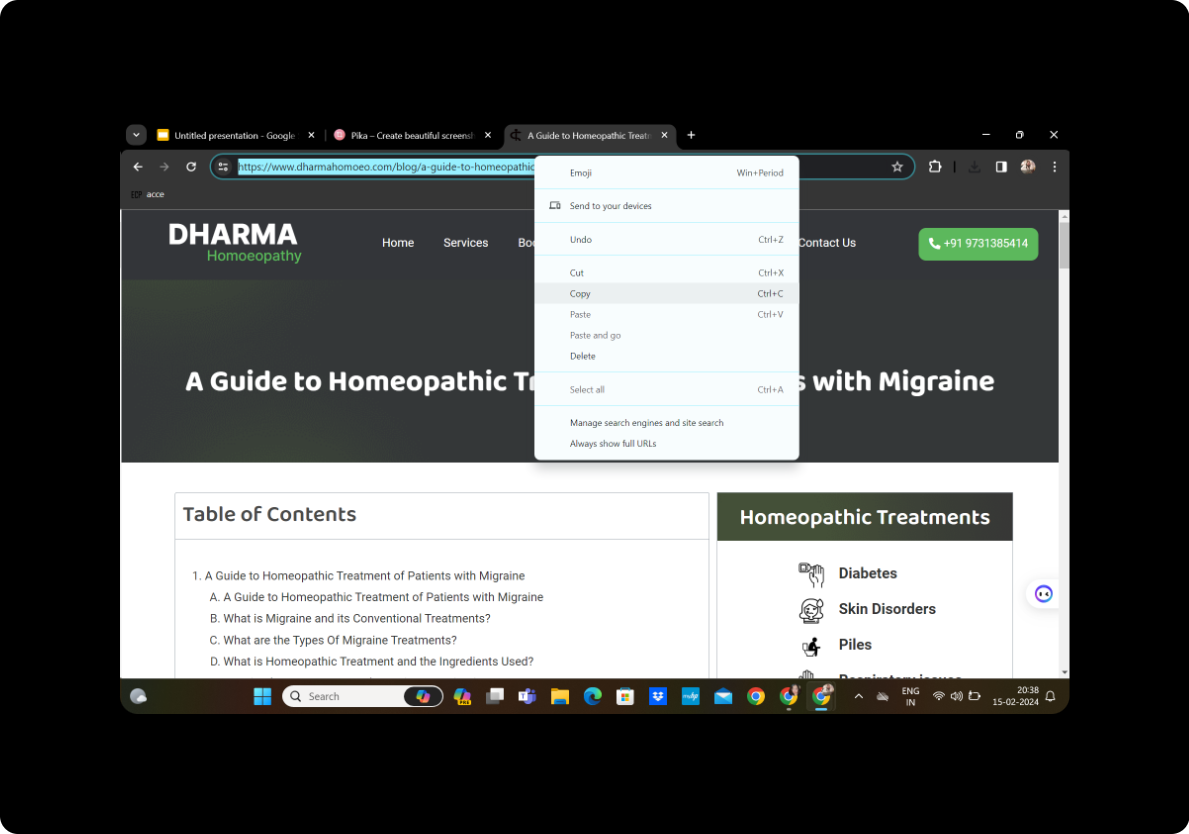
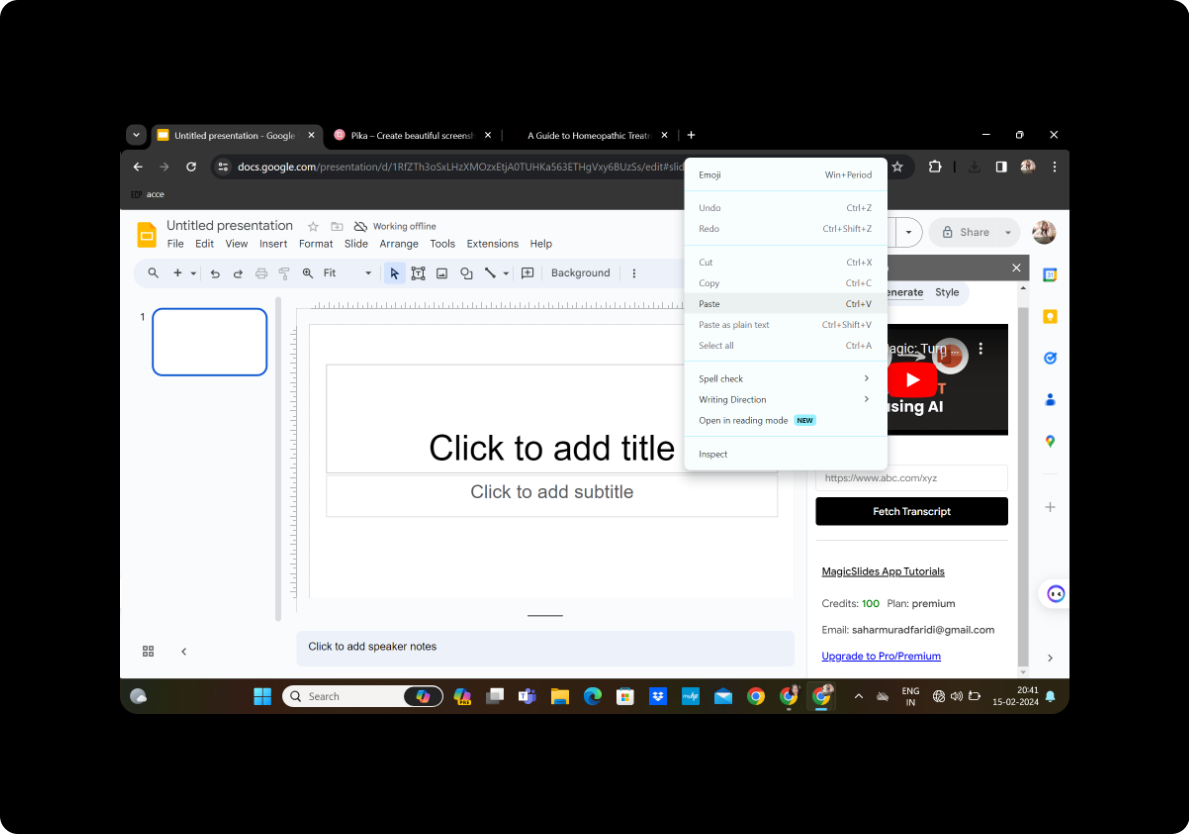
Navigate to your personal blog and copy its URL. Return to the MagicSlides tab, paste the URL into the provided box, and click on "Fetch Transcript."
Step 5: Select Number of Slides
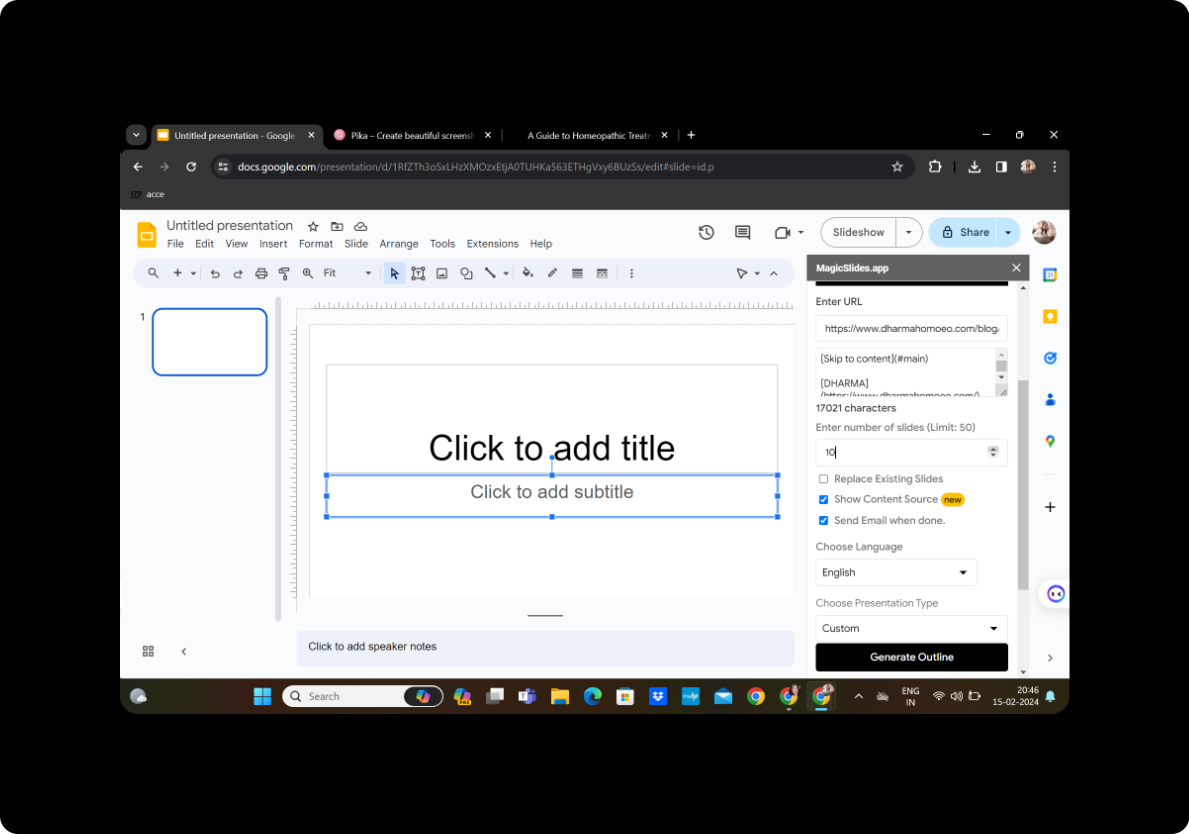
Review the fetched transcript and select the desired number of slides for your presentation. Adjust settings such as slide duration, transition effects, and layout to suit your preferences.
Step 6: Generate Outline
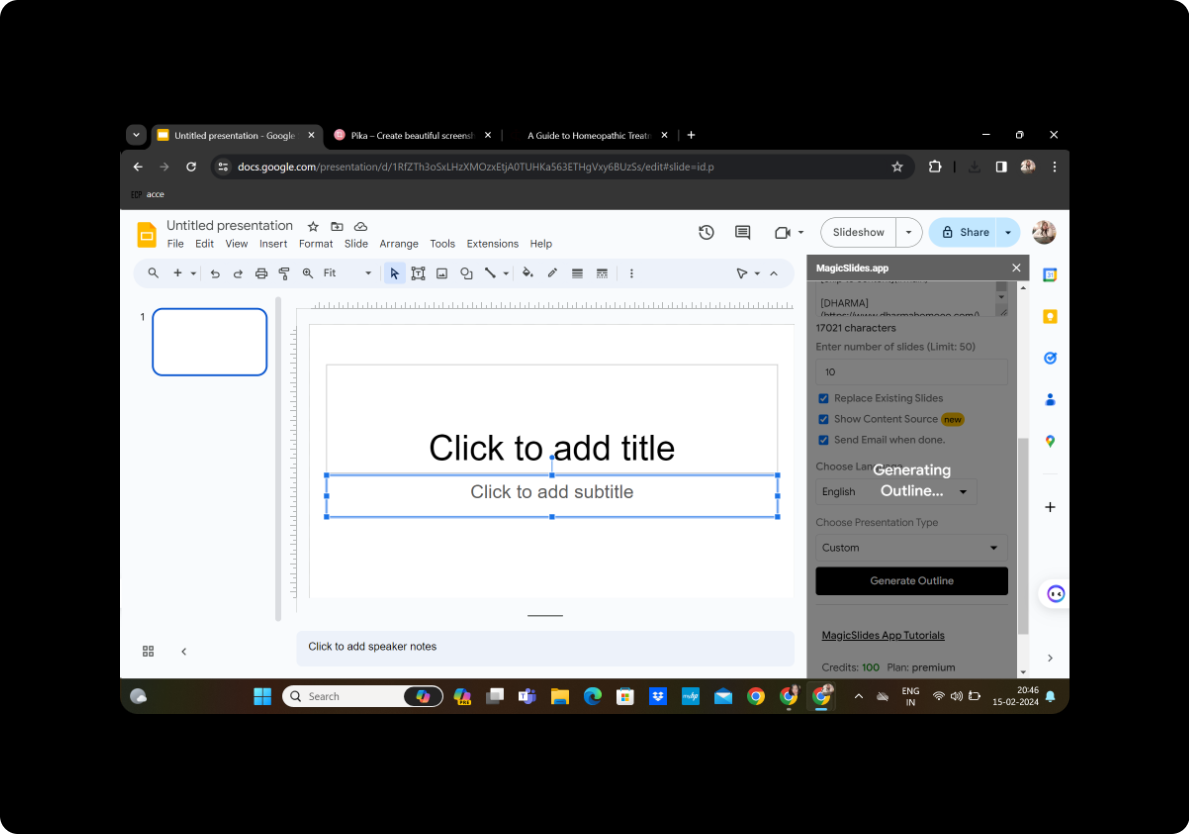
Click on "Generate Outline" after customizing your preferences. MagicSlides will create an outline based on your blog content, giving you an overview of how your presentation will flow.
Step 7: Generate Presentation
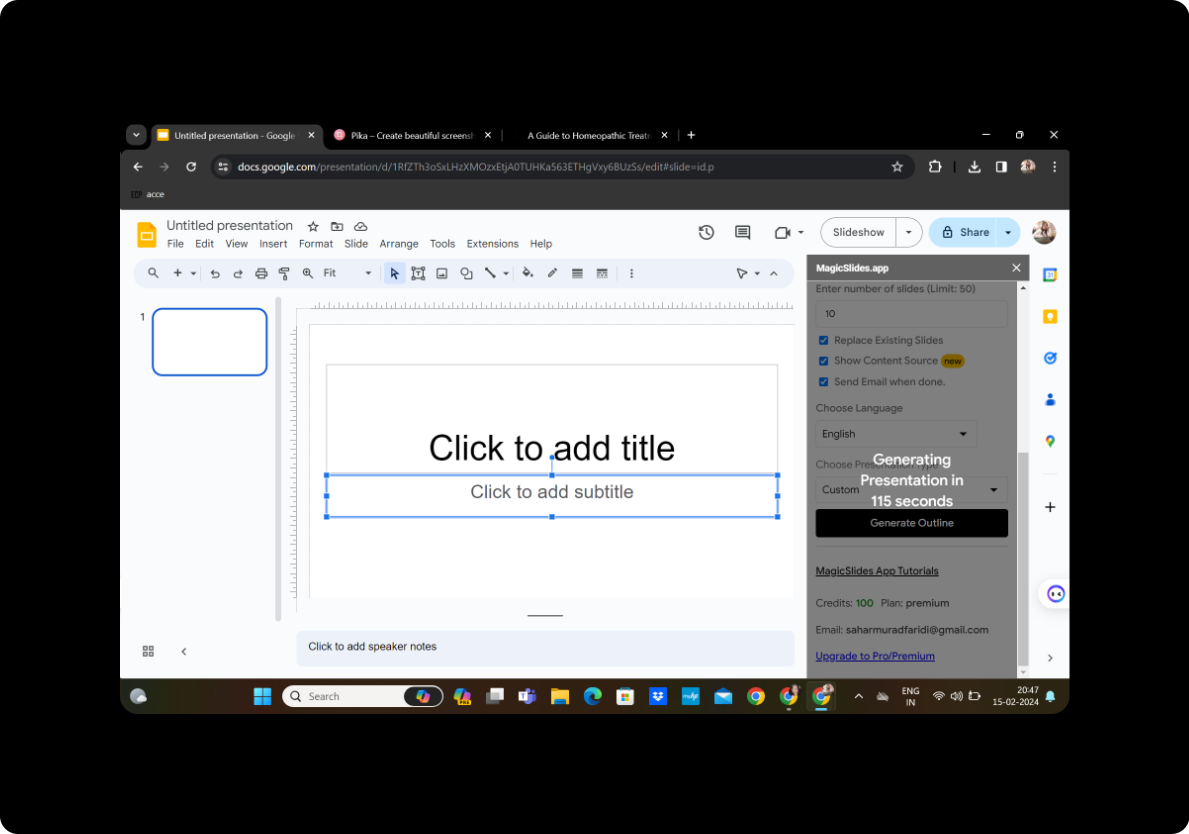
Once satisfied with the outline, click on "Generate Presentation." MagicSlides will work its magic, transforming your blog content into a dynamic PowerPoint presentation.
Step 8: Your Presentation is Ready
Congratulations! Your presentation is now ready to be shared, showcasing your blog content in an engaging and visually appealing format.
Conclusion
Converting your personal blog into a PowerPoint portfolio using MagicSlides not only adds a creative dimension to your content but also makes it more accessible to diverse audiences. Embrace the power of visual storytelling to elevate your online presence and captivate your audience.
Frequently Asked Questions
How do I install MagicSlides? To install MagicSlides, visit the Chrome Web Store, search for "MagicSlides GPT," and click on "Add to Chrome." Once installed, activate the extension in the Google Slides toolbar.
Can I customize the presentation further after MagicSlides generates it? Certainly! MagicSlides provides editing features within Google Slides, allowing you to refine and personalize the presentation as needed.
Is MagicSlides suitable for all types of blogs? Yes, MagicSlides is versatile and can be used for various types of content. However, it's recommended to review and adjust settings based on your specific blog's nature.
Can I share the presentation on different platforms? Absolutely! Once your presentation is generated, you can easily share it via Google Slides or download it in different formats for broader distribution.
How do I ensure a seamless flow between slides? Organize and structure your slides logically within Google Slides, grouping related content together. This ensures a smooth and engaging flow during the presentation.


