How to Insert a Checkbox in Google Slides


Learn how to insert checkboxes in Google Slides with easy methods for enhanced interactivity and audience engagement.
Adding checkboxes to your Google Slides presentation can enhance interactivity, facilitate audience engagement, and organize information effectively. This guide will take you through the steps to insert checkboxes, offering tips to maximize their utility.
Understanding the Need for Checkboxes
Checkboxes are versatile tools in presentations for:
- Polls and Surveys: Engage your audience by incorporating live polls or surveys directly into your slides.
- Checklists: Visualize tasks or processes, allowing presenters and viewers to track progress.
- Interactive Content: Enhance participation in educational or training sessions by enabling choices or actions.
Step-by-Step Guide to Inserting Checkboxes
Google Slides doesn't support native checkbox functionality, but there are several effective workarounds to achieve similar functionality. Here’s how you can do it:
Method 1: Using Special Characters
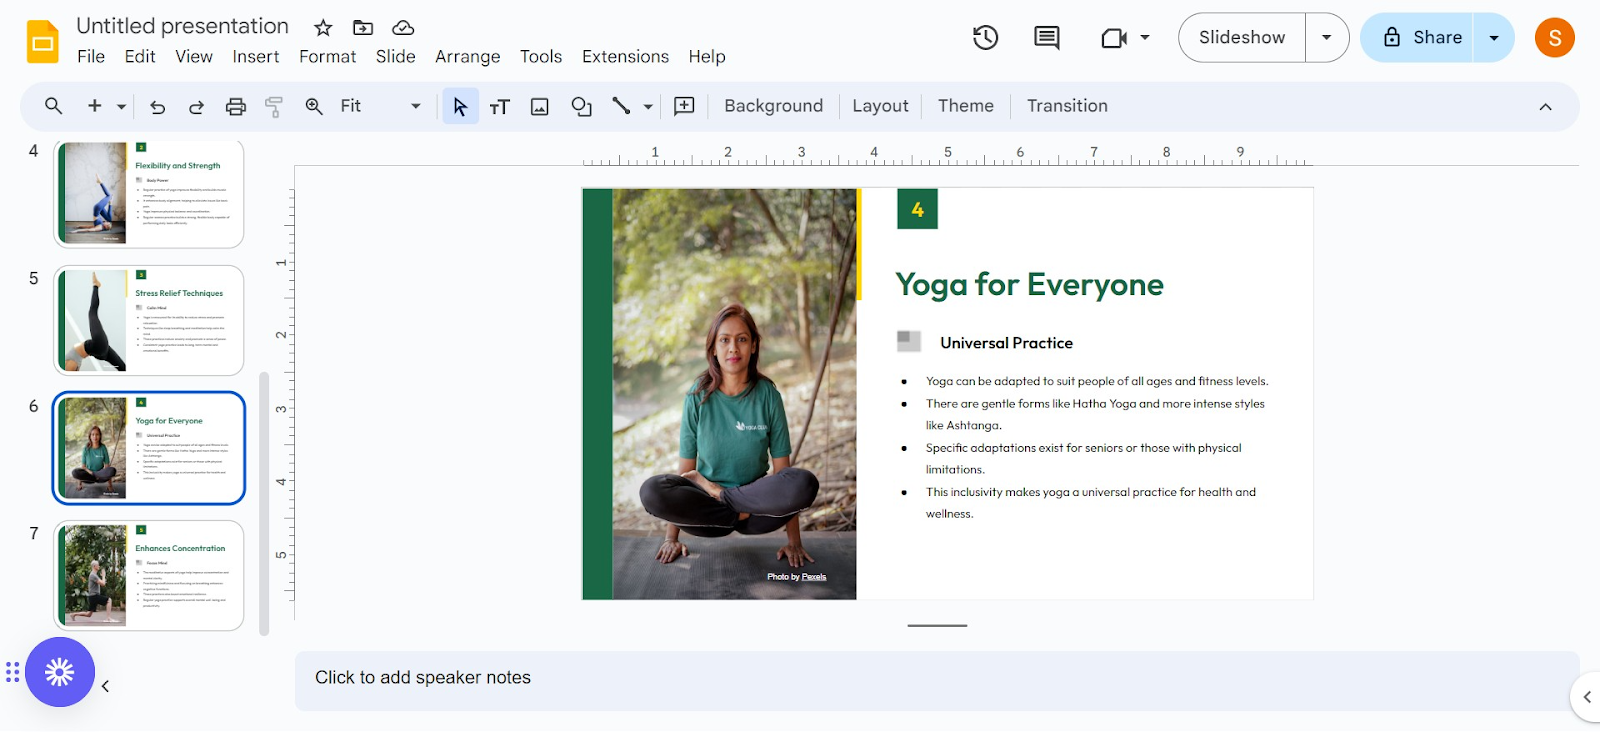
- Open your Google Slide: Navigate to the slide where you want to add checkboxes.
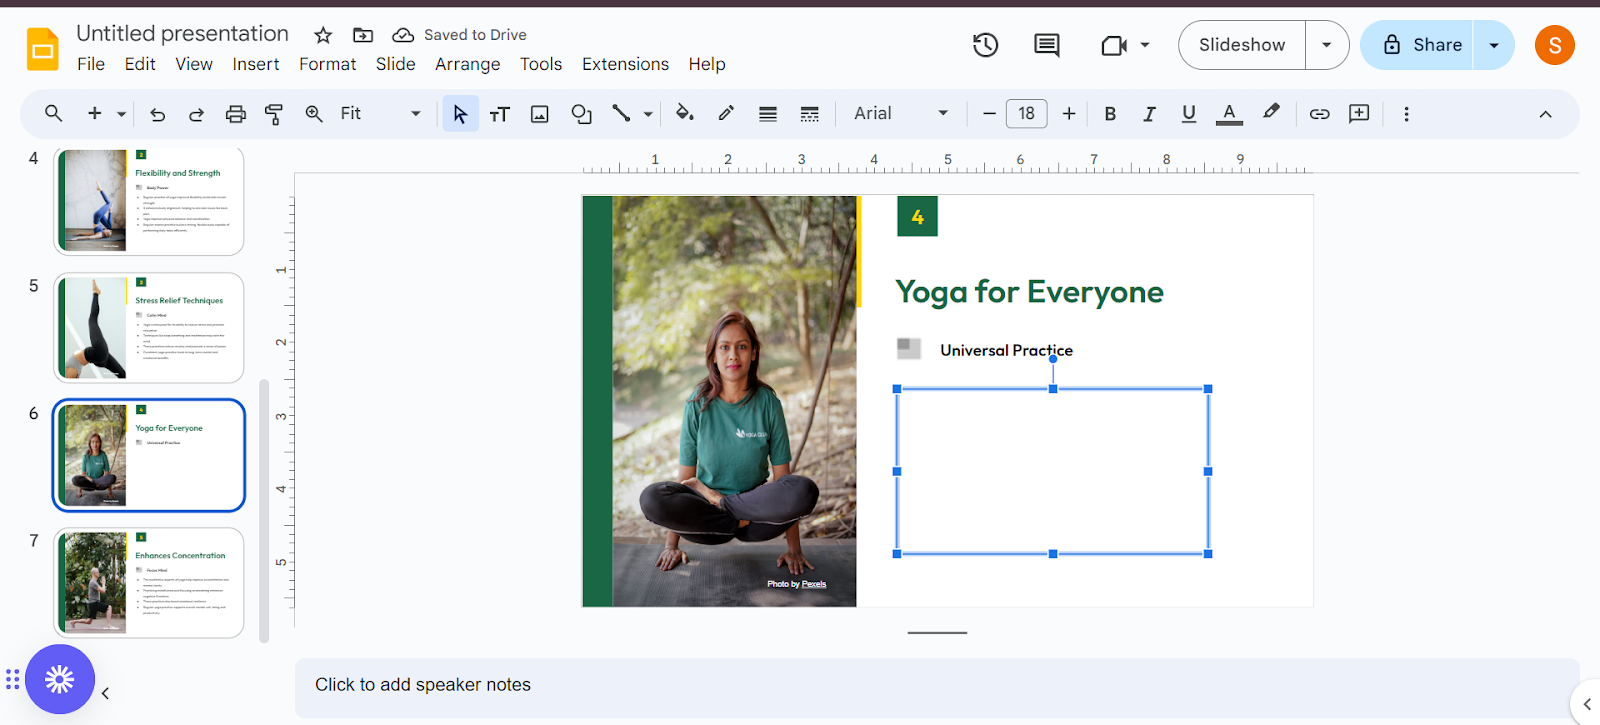
- Insert a Text Box: Click on Insert in the top menu, select Text box, then click and drag to draw your text box.
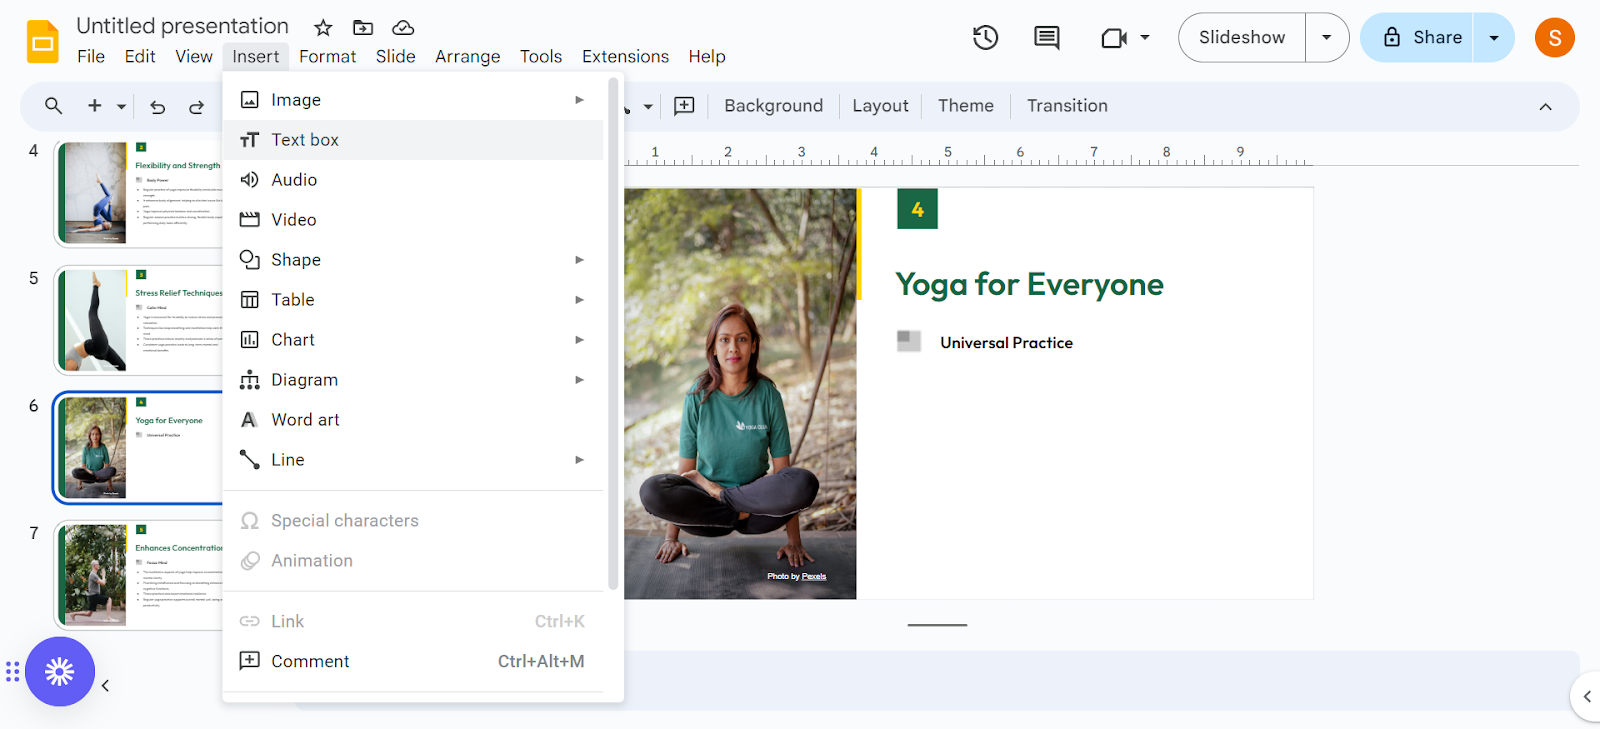
- Access Special Characters: Click Insert > Special characters.
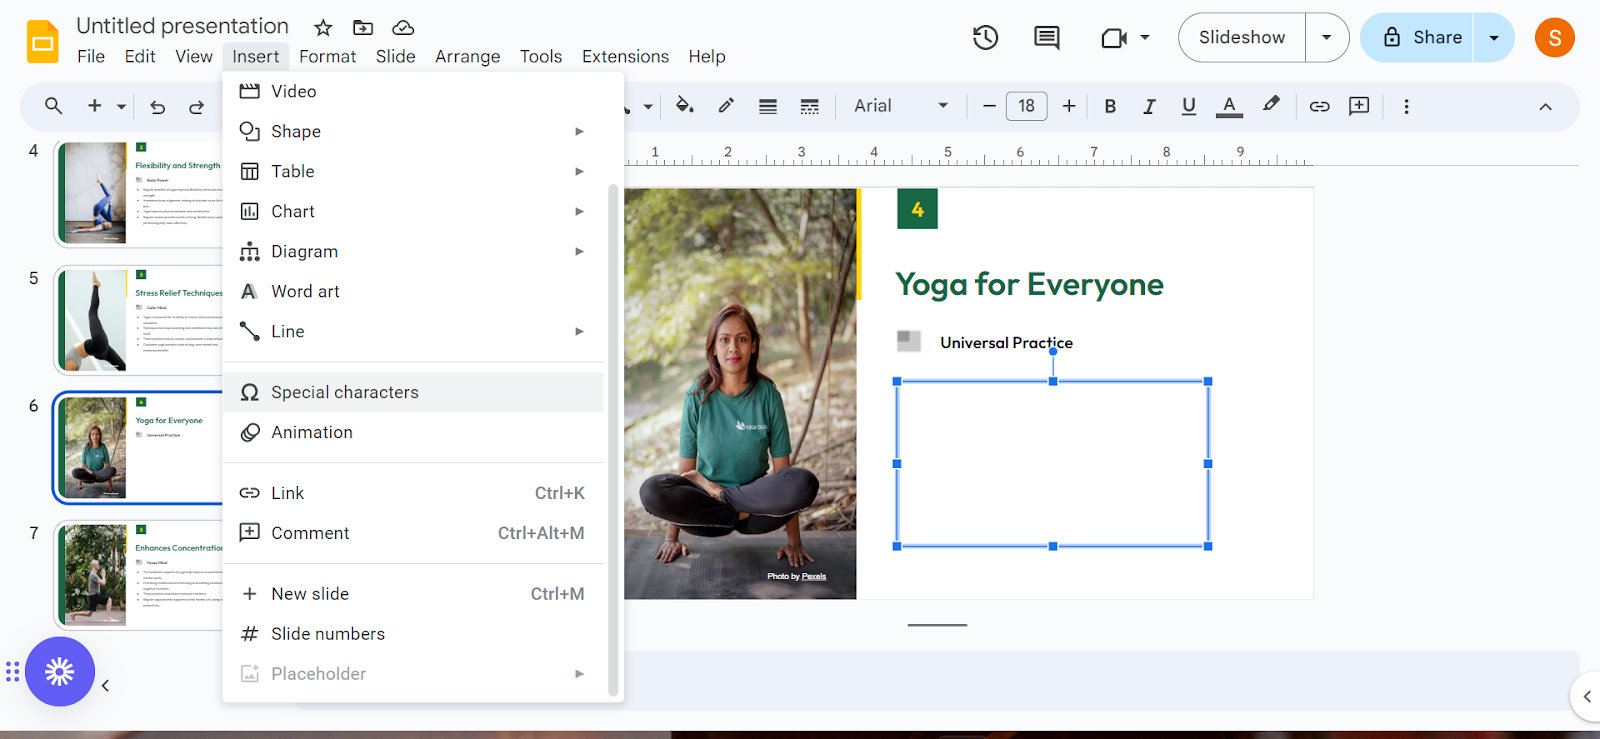
- Find the Checkbox Character:
- In the search bar of the special characters window, type “checkbox.”

- Choose a checkbox style—checked or unchecked.
- Insert and Customize:
- Click on the checkbox character to insert it into your text box.
- Customize the size and color by selecting the text and using the toolbar options.
Method 2: Using Bullets
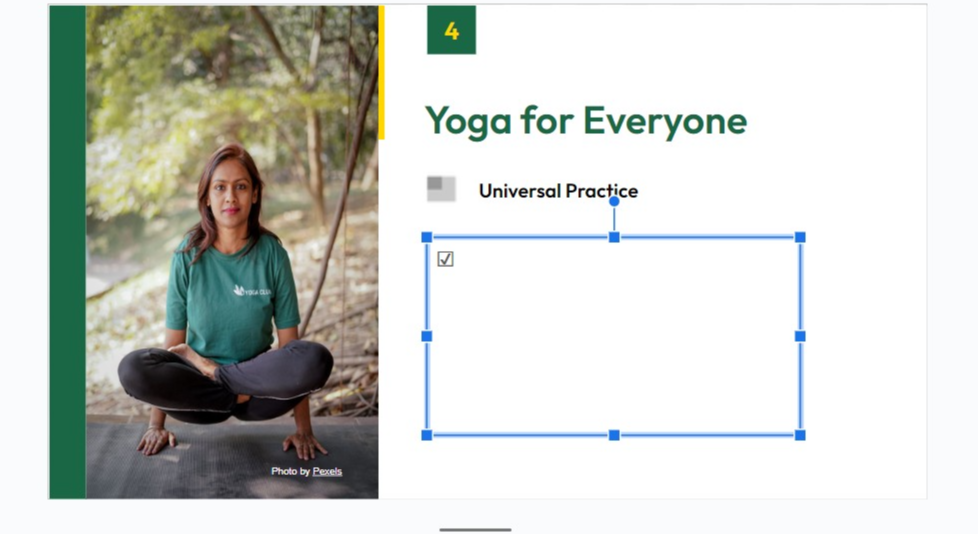
- Insert a Text Box: As before, add a text box where you want your list.
- Create a Bulleted List: Type your list items, using Enter to start a new line.
- Customize Bullets to Checkboxes:
- Highlight the list.
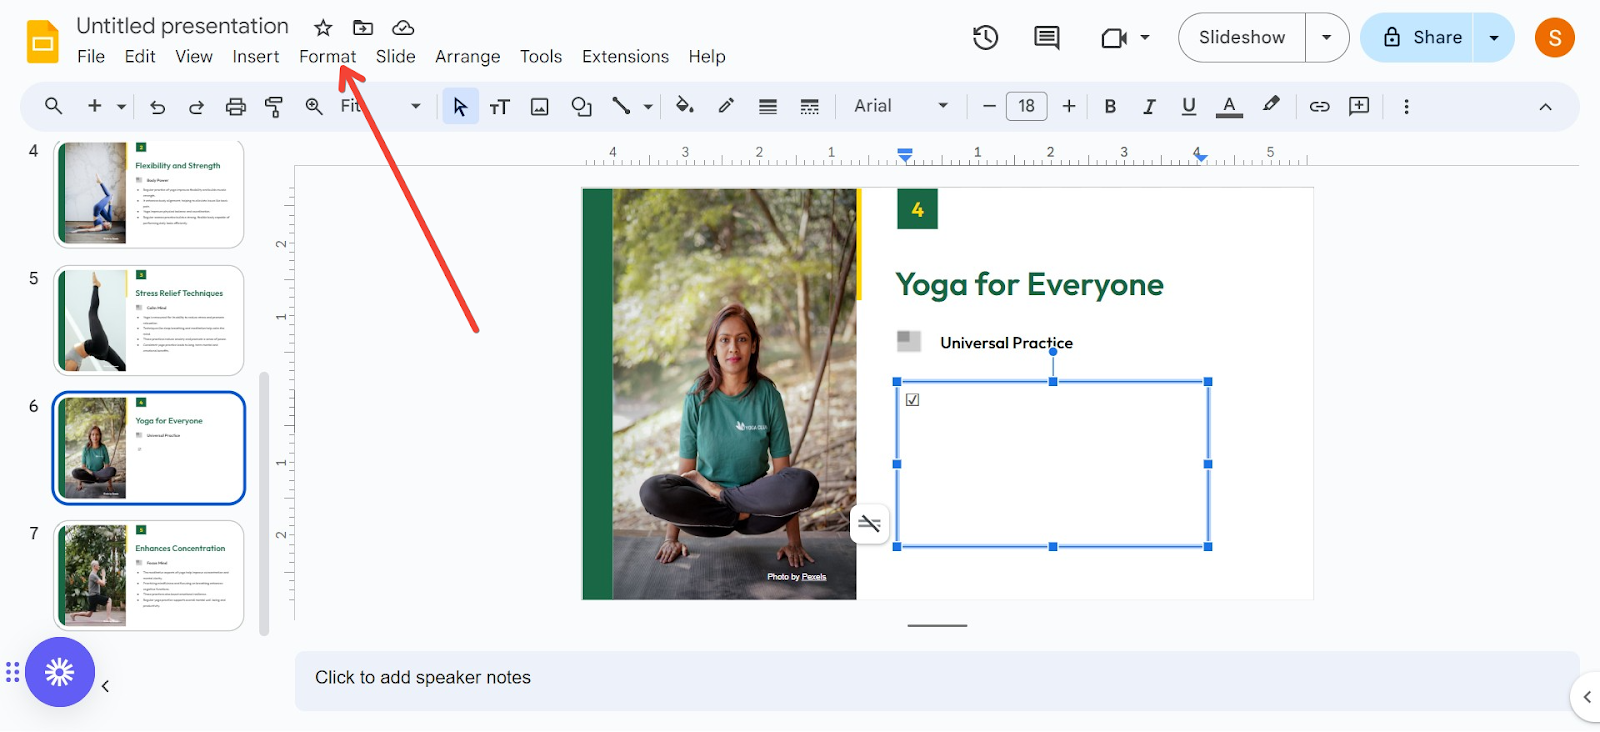
- Right-click and select Format options.
- Choose Bullets & numbering, then Bulleted list.
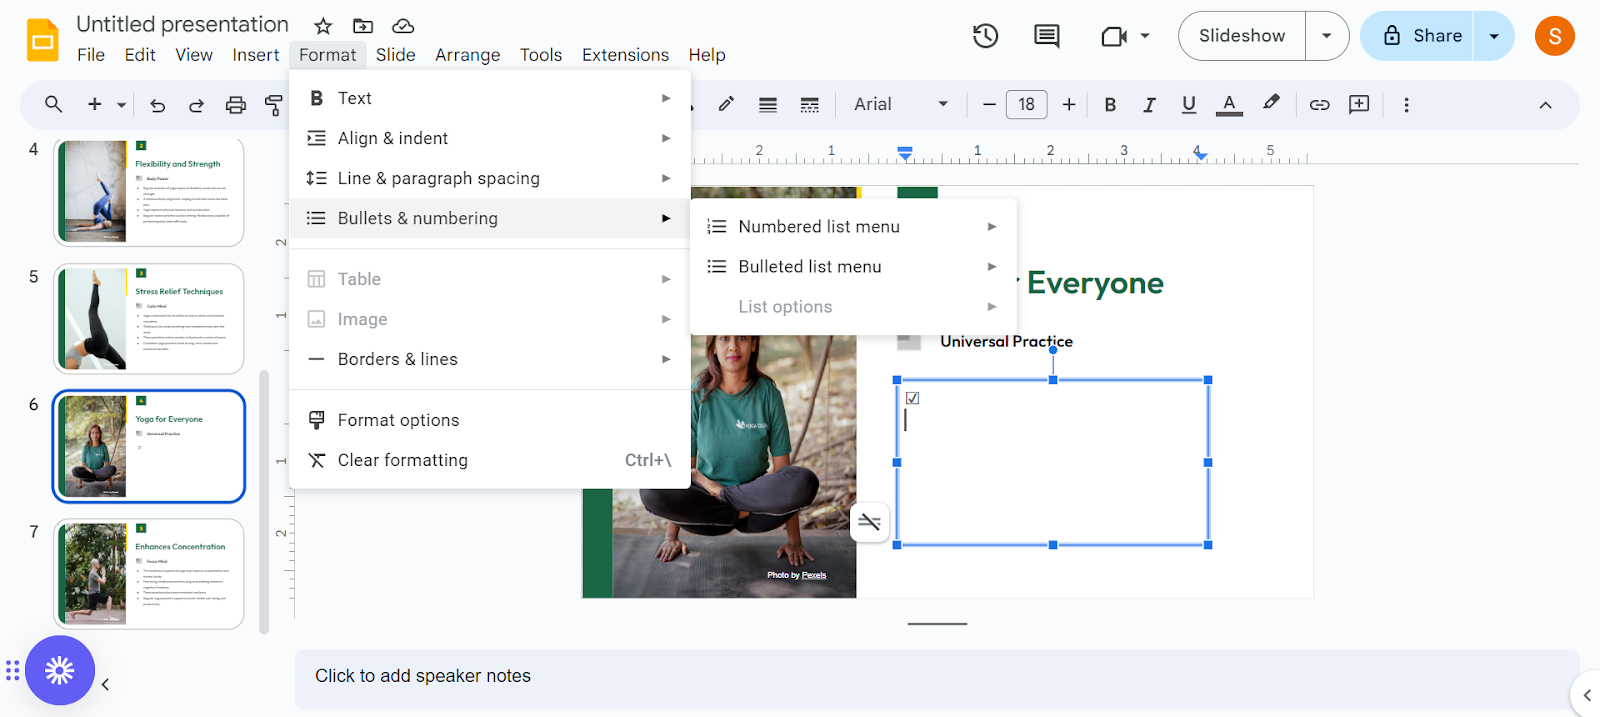
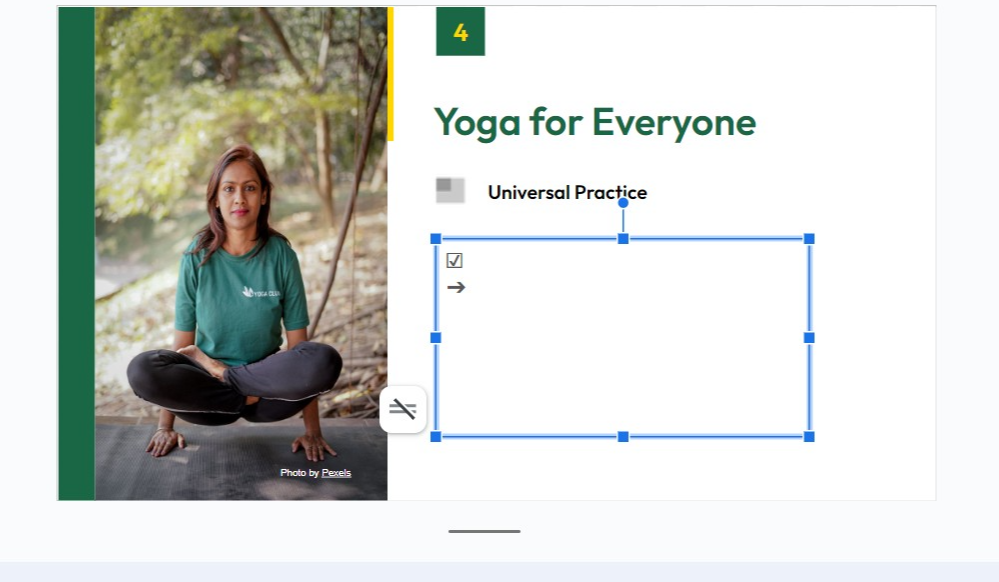
- Choose a symbol that resembles a checkbox from the options available.
Method 3: Inserting Images of Checkboxes
- Find Checkbox Images: Search for images of checkboxes online or create your own in a graphics program.
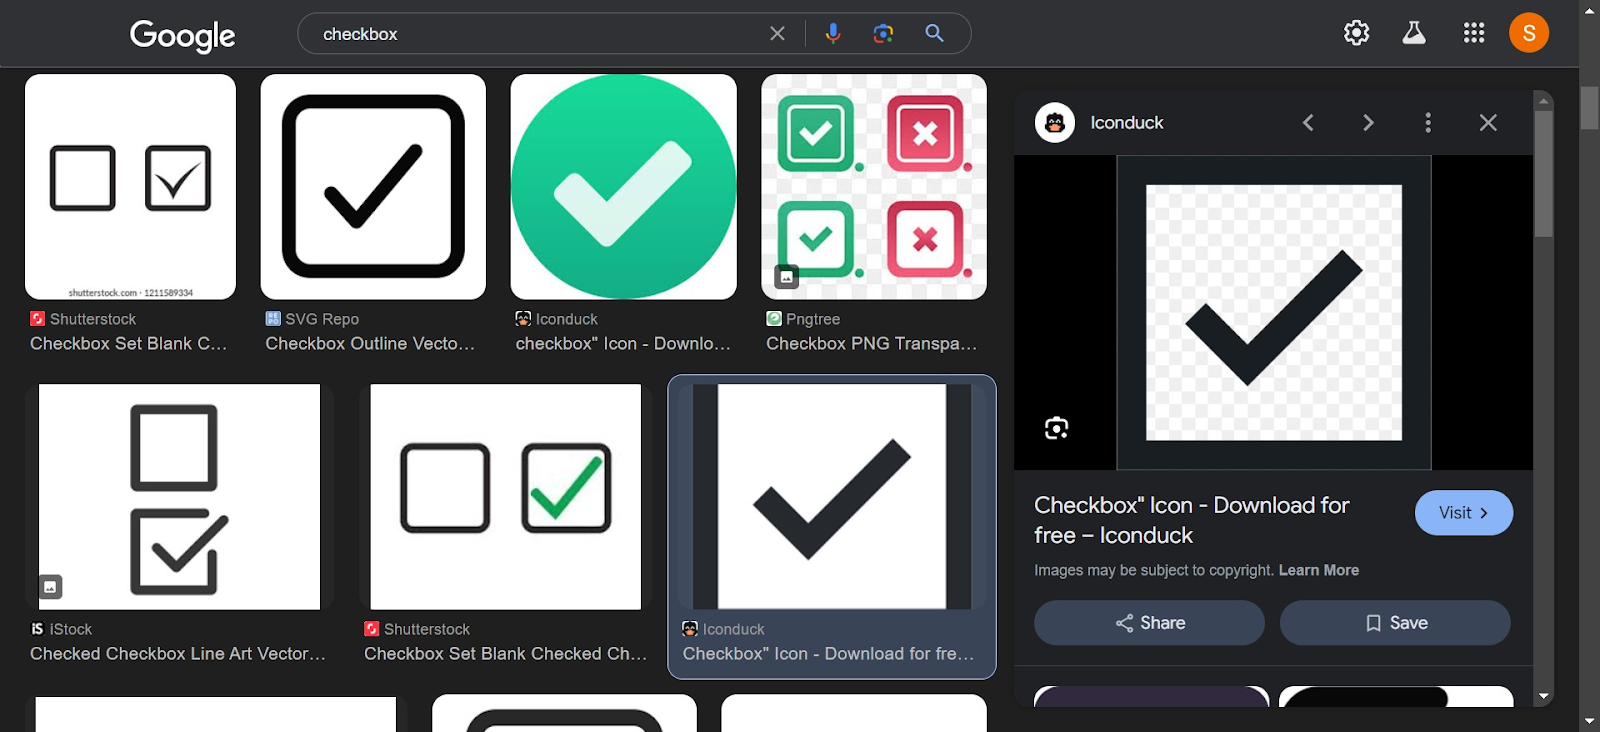
- Insert the Image:
- Save the image to your computer.
- Go back to your Google Slide, click Insert > Image > Upload from computer, and select your checkbox image.

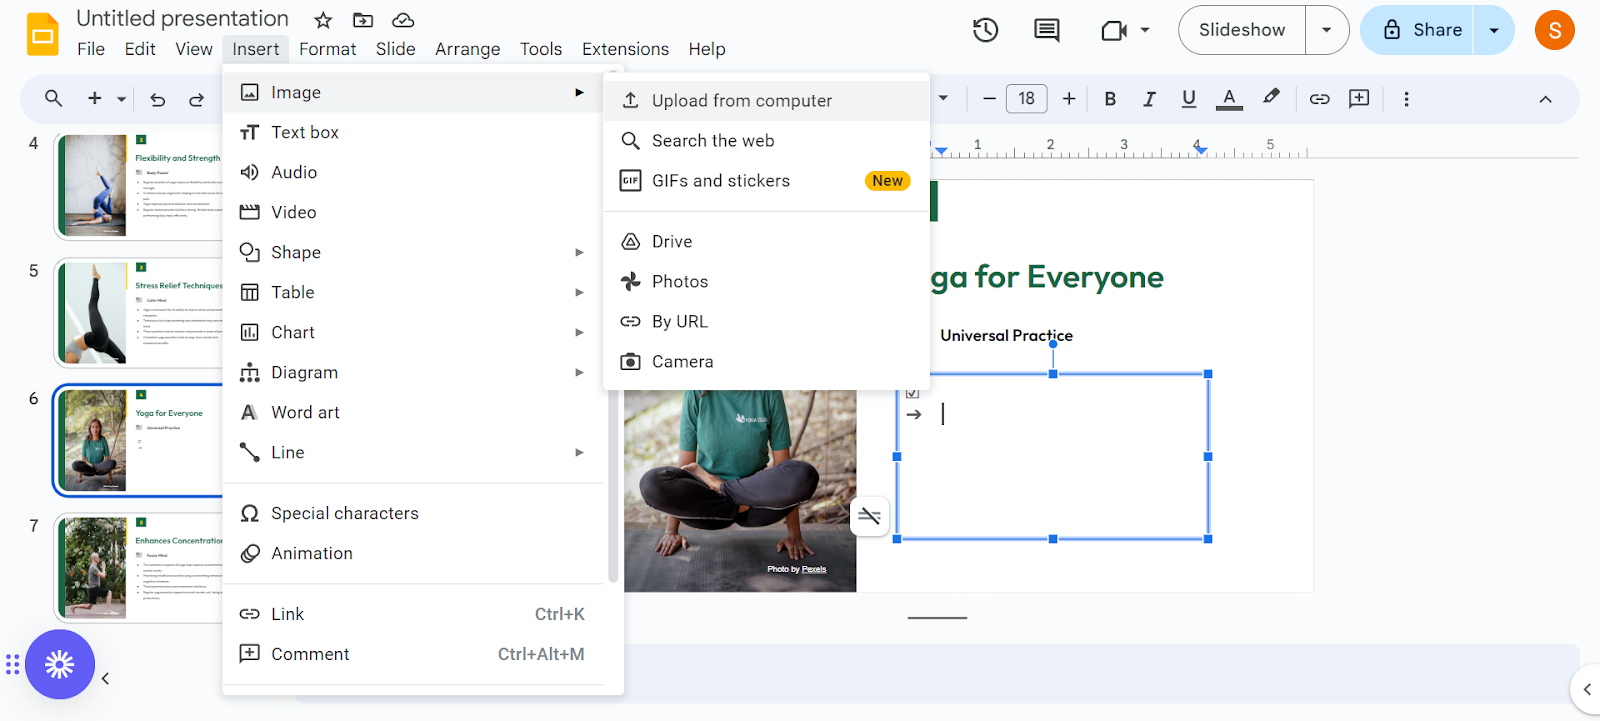
- Adjust the Placement: Resize and move the image to align with your content.

Tips for Using Checkboxes Effectively
- Consistency is Key: Use the same style of checkbox throughout your presentation to maintain a professional look.
- Interactivity: If using checkboxes during a live presentation, consider pairing them with Google Forms or other survey tools to collect responses in real time.
- Visibility: Ensure that your checkboxes are large enough to be easily seen by your audience, especially in large rooms or when sharing screens virtually.
Conclusion
While Google Slides does not offer a built-in checkbox feature, these workarounds allow you to incorporate this functionality effectively. Whether you’re conducting polls, creating interactive checklists, or engaging your audience in other ways, checkboxes can add a layer of interaction and organization to your presentations.
Remember, the key to effective use of checkboxes—or any interactive element—is planning and testing. Ensure everything works seamlessly before your actual presentation to provide a smooth and engaging experience for your audience.
With this guide, you’re well on your way to mastering the use of checkboxes in Google Slides, enhancing both the visual appeal and functionality of your presentations.


