How to do a Corn Maze on Google Slides


Design a fun and creative corn maze on Google Slides using shapes, colors, and interactive elements
Designing a corn maze on Google Slides is a fun and creative activity, perfect for educational presentations, interactive games, or seasonal events.
Google Slides offers simple tools that help you craft a visually engaging maze layout.
This guide provides step-by-step instructions to design your corn maze using shapes, colors, and interactive features.
How to Create a Corn Maze on Google Slides | Steps to Create a Corn Maze on Google Slides
Step 1: Open a New Slide
Log in to Google Slides and open a blank presentation.
Insert a new blank slide by clicking “+” or selecting Insert > New Slide.
Step 2: Set the Background
To make the maze visually appealing, set a background color or image resembling a cornfield.
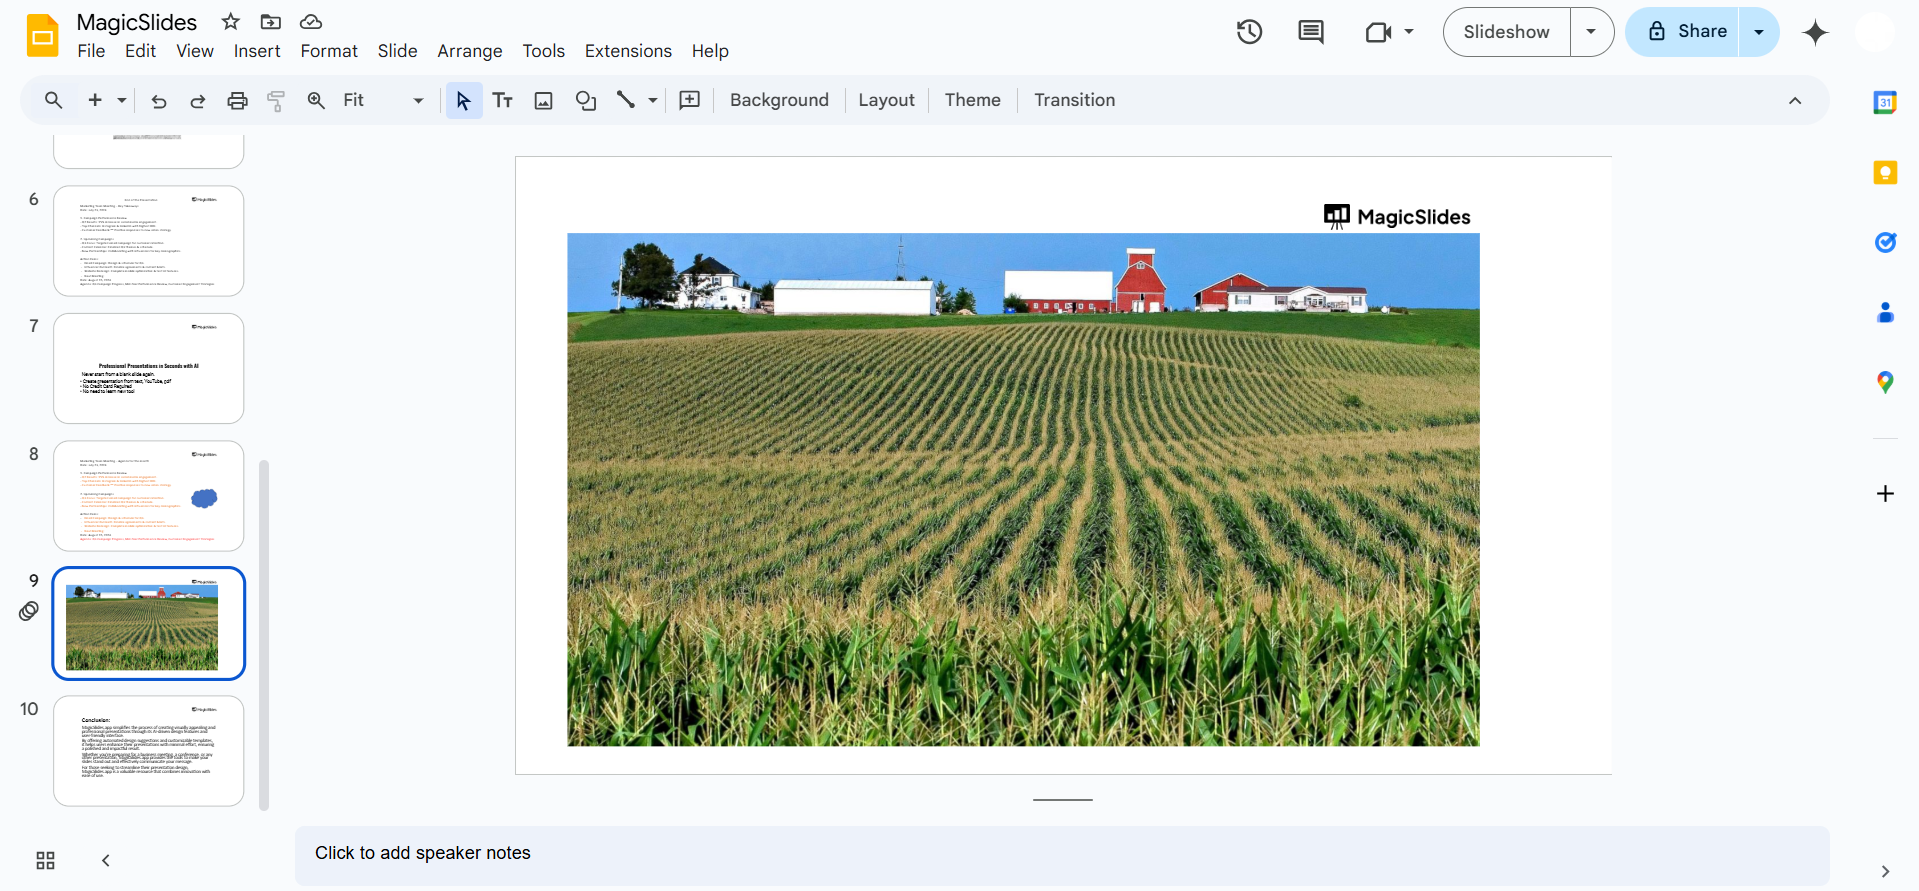
Right-click on the slide and select “Change Background.” Choose a green or brown color or upload an image of a cornfield.
Step 3: Add Maze Boundaries
Use the shape tool from the toolbar by selecting Insert > Shape > Lines or Rectangles.

Draw the outer boundaries of your maze. Make sure it forms a closed rectangle or square.
Step 4: Create the Pathways
Use lines, rectangles, or freeform shapes to build the maze pathways inside the boundary.
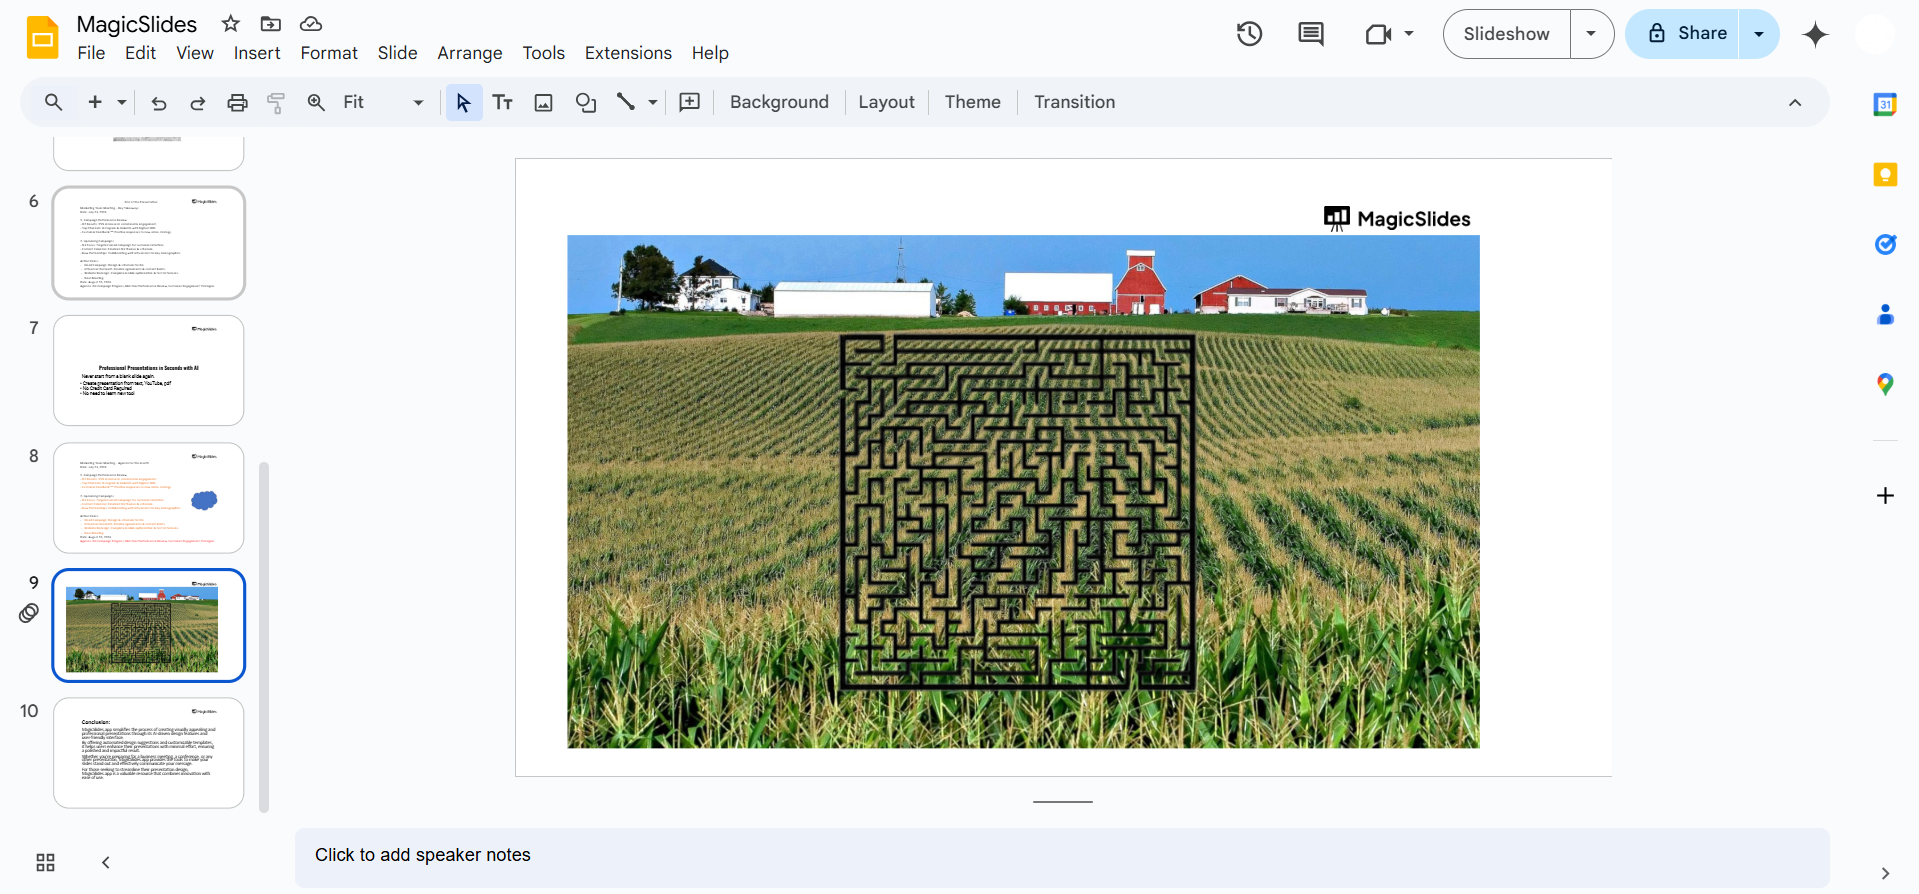
Leave some gaps for paths while blocking others to create the maze. Customize the thickness of lines or shapes for better visibility by using the border weight tool.
Step 5: Add Start and End Points
Insert clear markers for the starting and ending points of your maze.
Use shapes (like stars or arrows) or text boxes labeled “Start” and “Finish.”
Step 6: Decorate the Maze
Add fun elements like corn stalks, scarecrows, or pumpkins by searching in Insert > Image > Search the Web.
Place these elements strategically around the maze for a thematic look.
Step 7: Test the Maze for Solvability
Draw a temporary freehand line or arrow to test if there’s a clear path from start to finish.
Adjust pathways if needed to make the maze challenging yet solvable.
Step 8: Save and Share
Once your maze is complete, save your work by clicking File > Download and selecting your desired format (e.g., PDF or PNG).
Share it by clicking Share and sending the link to others or embedding it into presentations.
After creating a fun corn maze on Google Slides, explore how to make a PowerPoint vertical, enabling unique and creative design possibilities for your slides.
Conclusion
Creating a corn maze on Google Slides is a delightful way to engage audiences and add a touch of creativity to your projects.
By using simple tools like shapes and lines, you can design a maze that’s fun, interactive, and visually appealing.
Whether for entertainment or educational purposes, this guide ensures a seamless maze-making process.
FAQs on Making a Corn Maze in Google Slides
Can I make the maze interactive for users?
Yes! Use hyperlinks or animations to allow users to choose pathways, creating an interactive experience.
How do I ensure the maze is challenging but solvable?
Test the pathways by tracing them to confirm there’s a clear solution and adjust if necessary.
Can I duplicate my maze for different difficulty levels?
Yes, simply duplicate the slide and modify the pathways or add obstacles to increase difficulty.
With these steps, you’ll be able to create engaging and customizable corn mazes for any occasion on Google Slides!


