How To Do Hanging Indent On Powerpoint


This article explains how to do hanging indent on Microsoft Powerpoint in just 5 simple steps, by inserting, adjusting para dialbox, adjusting the Indentation and applying the changes to your slides.
In Microsoft PowerPoint, creating a hanging indent involves adjusting the indentation of the second and subsequent lines in a bulleted or numbered list. Here's how you can achieve a hanging indent:
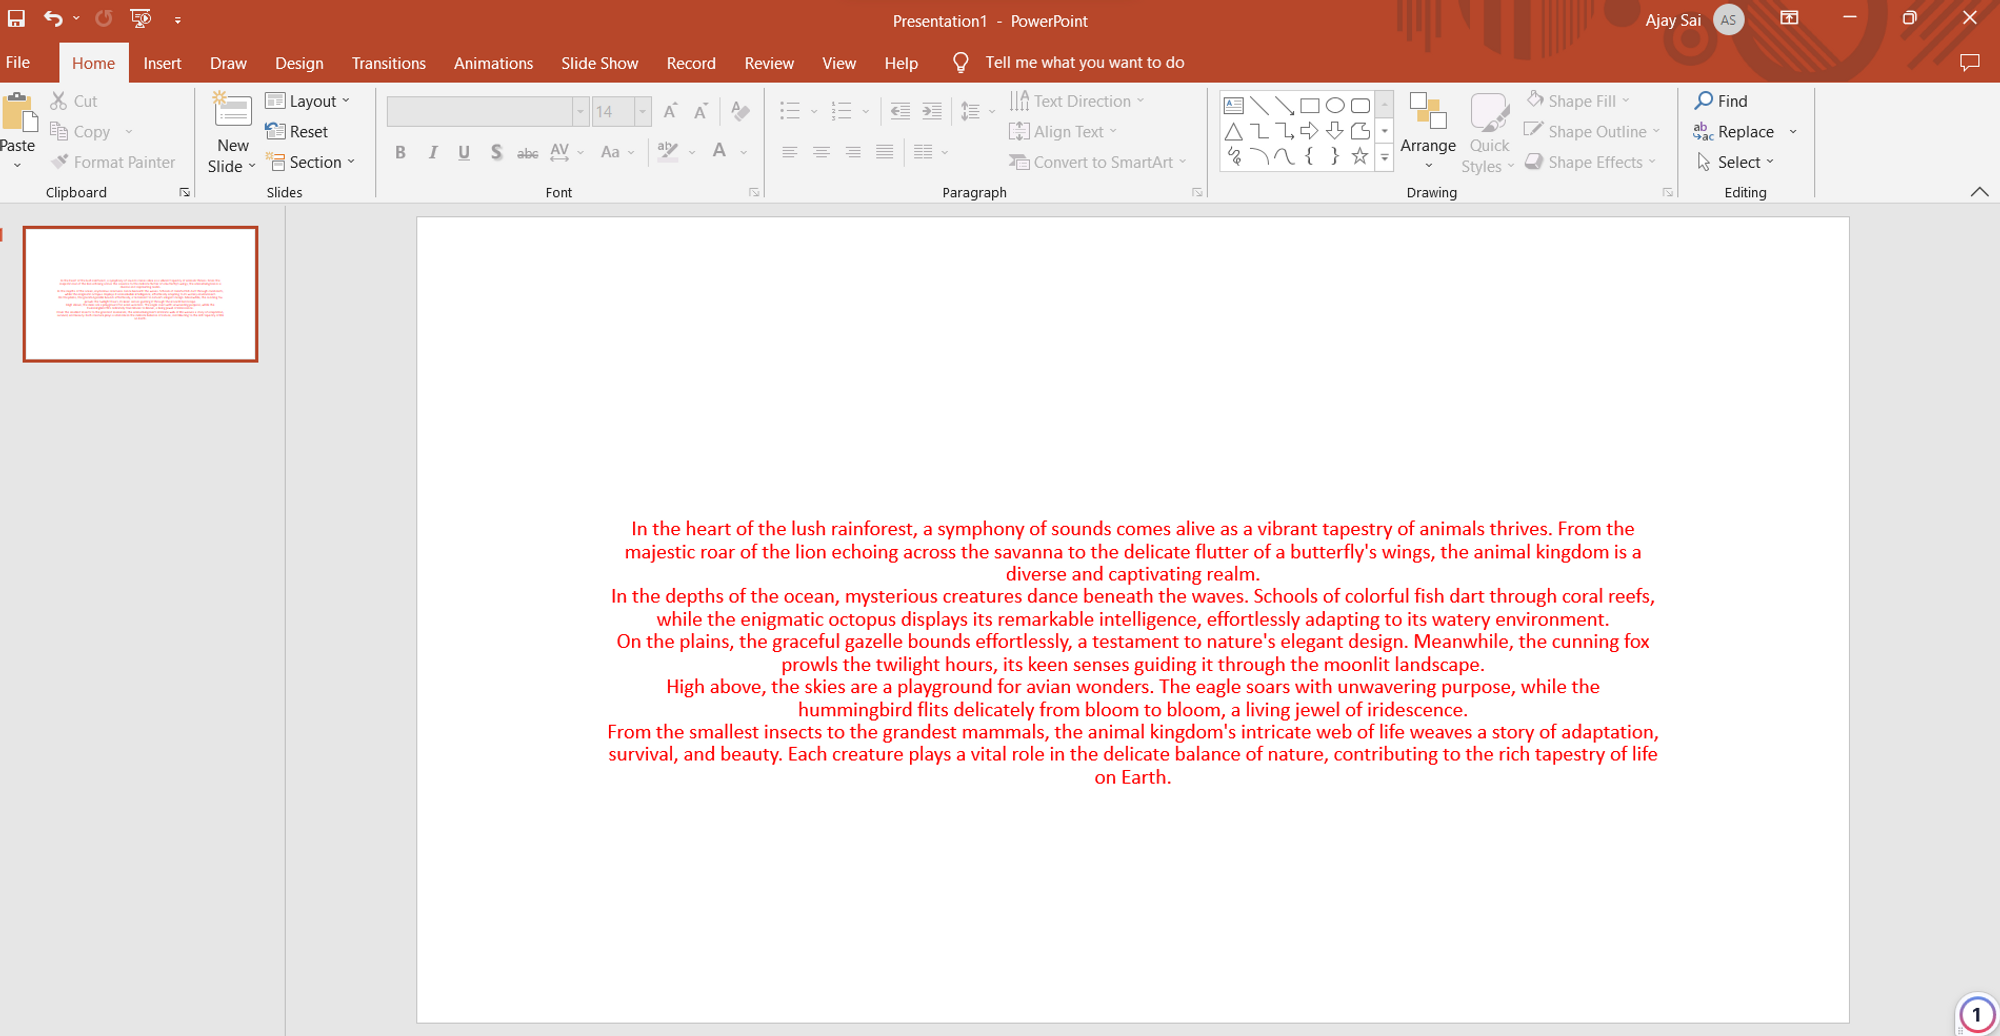
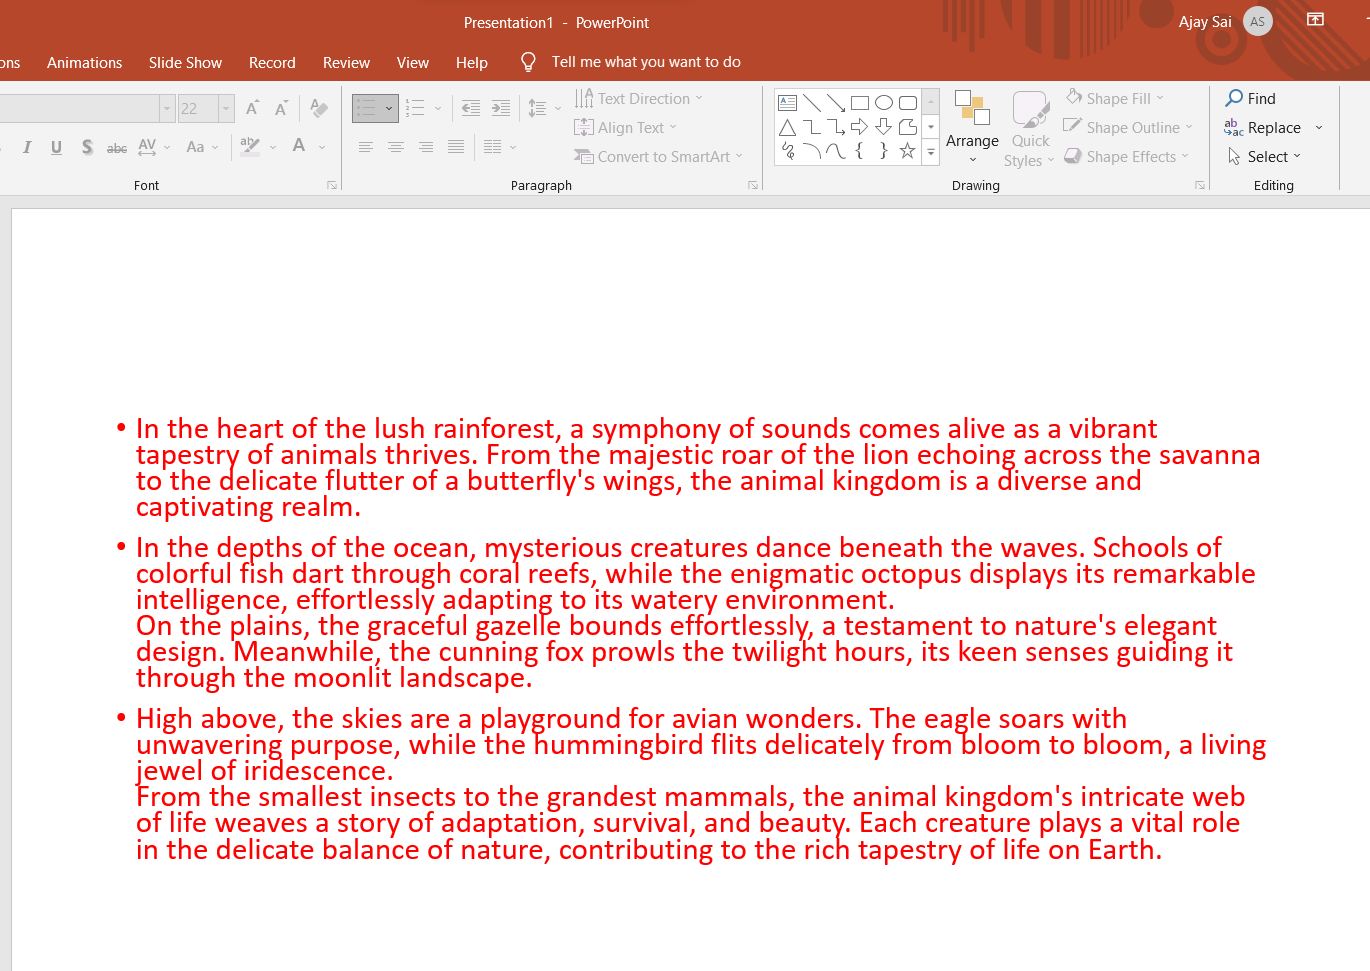
Open your powerpoint and add the content to which you want to apply the changes to:
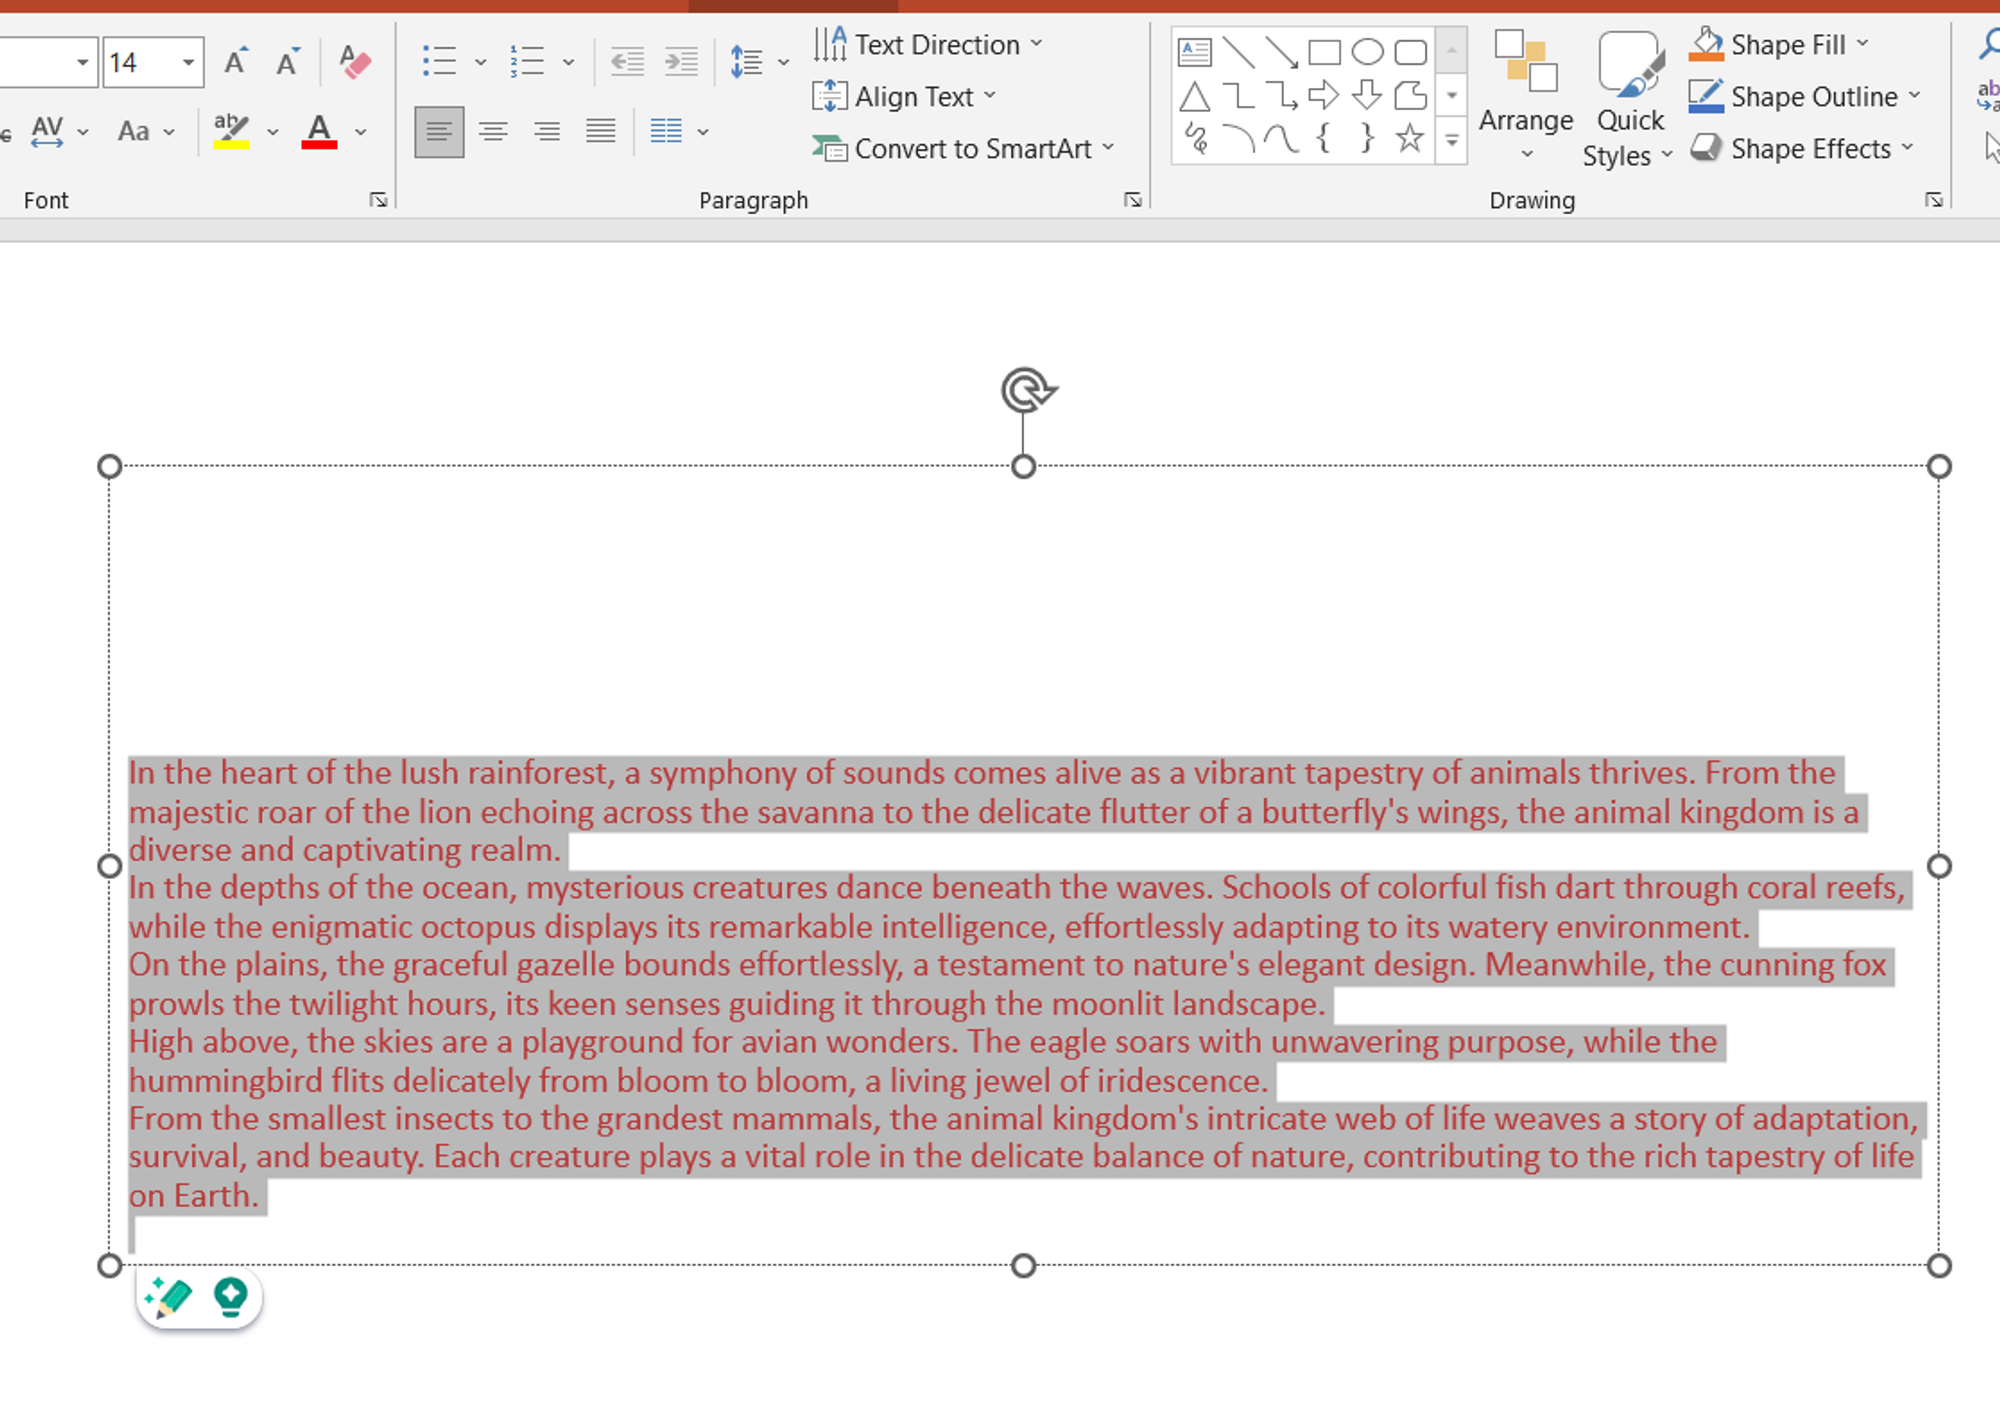
Step 1: Insert a Bulleted or Numbered List: Start by inserting a bulleted or numbered list on a PowerPoint slide. You can do this by either clicking on the "Bulleted List" or "Numbered List" button in the Home tab's Paragraph group, or you can simply type out your list and then select the text you want to format.
Step 2: Open the Paragraph Dialog Box: Once you have your list items entered, select the text that you want to apply a hanging indent to. Right-click on the selected text, and from the context menu that appears, choose "Paragraph."
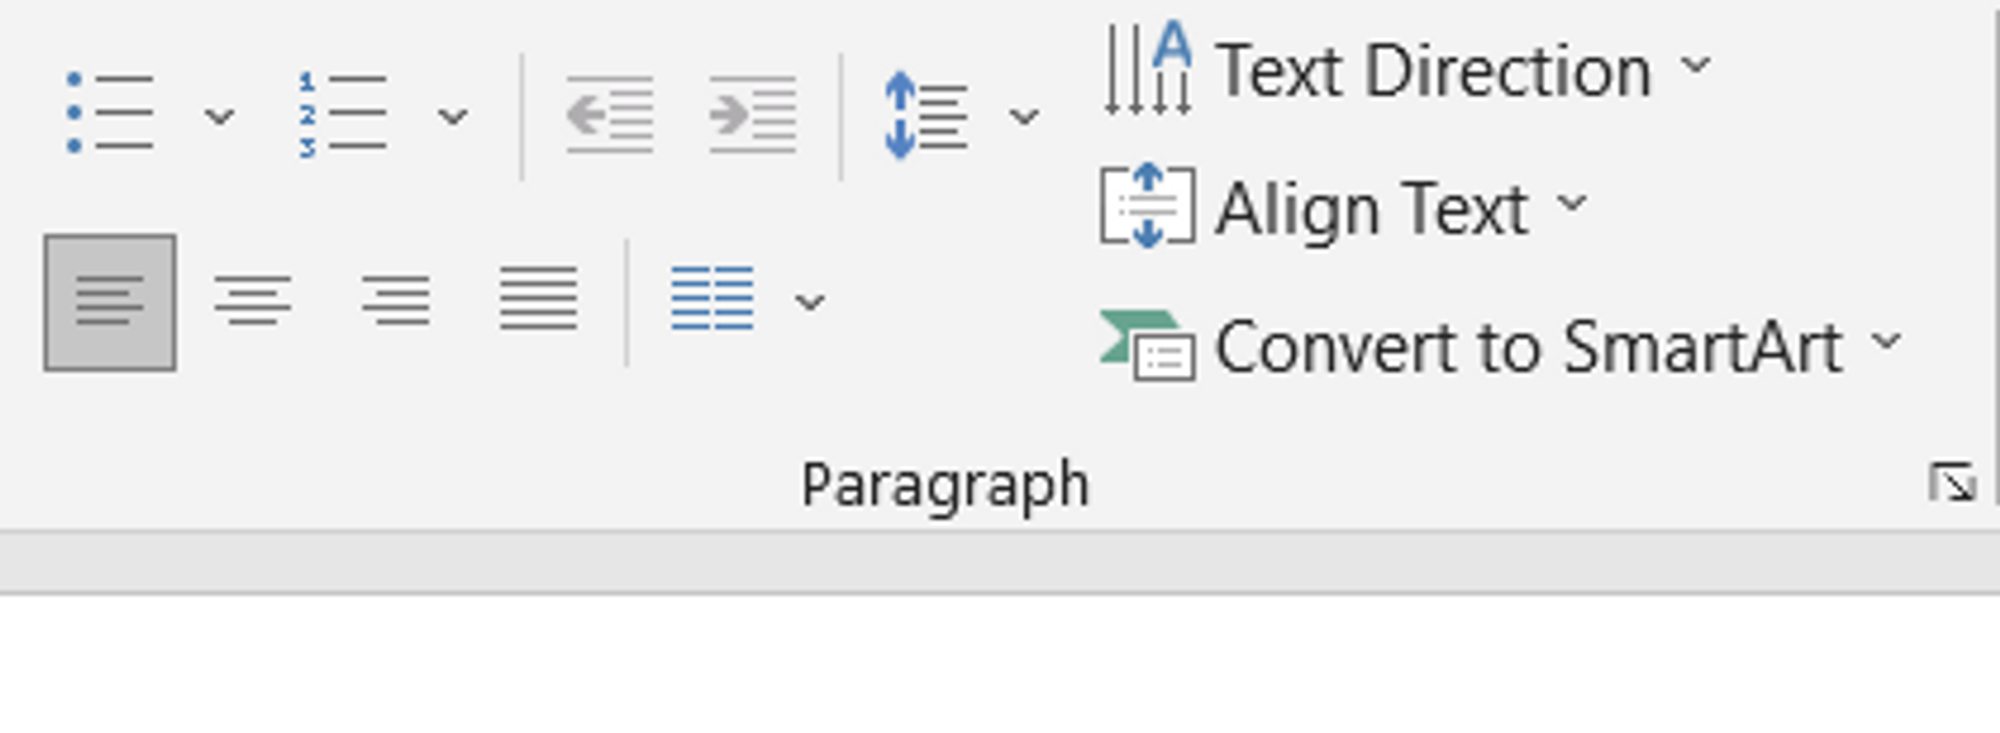
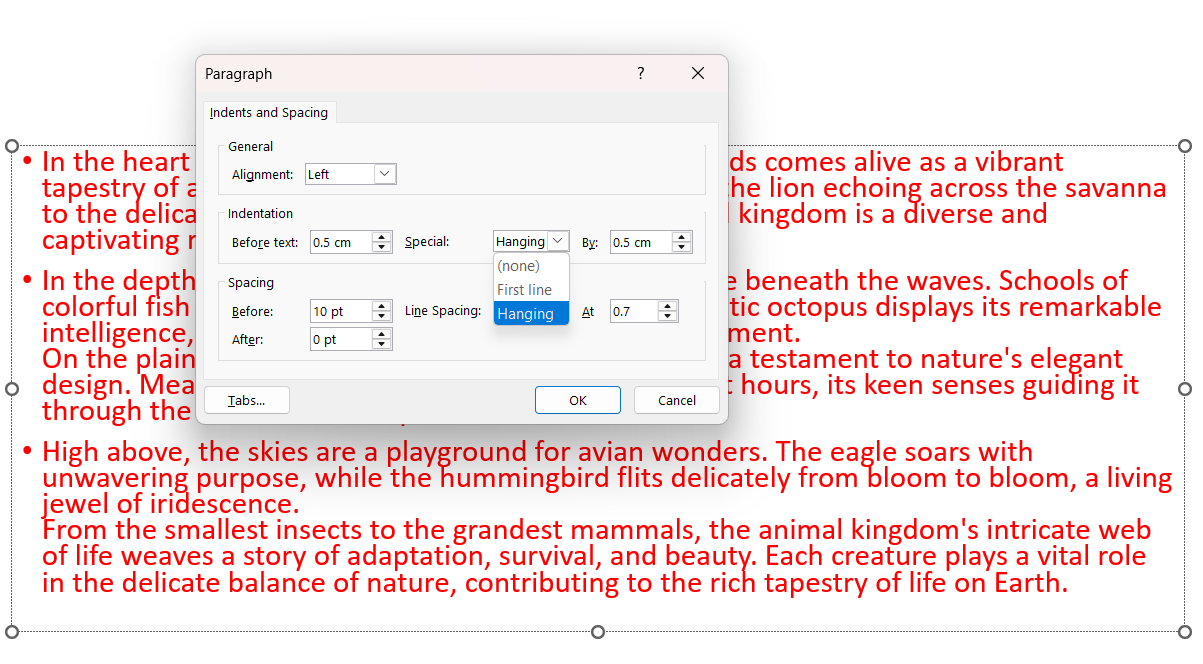
Step 3: Adjust the Indentation: In the Paragraph dialog box, you'll see options for "Indentation" on the left. Adjust the "Special" dropdown menu to "Hanging." This tells PowerPoint that you want the first line of the paragraph to be at the original left margin and subsequent lines to be indented. You can then adjust the "By" field to determine the amount of indentation you want. You can preview the effect in the "Preview" section of the dialog box. Click on the small arrow button available at the right bottommost corner of the paragraph box a dial box will appear.
Step 4: Choose your fine tuning, apply changes and Close: Once you're satisfied with the hanging indent settings, click the "OK" button to apply the changes to your selected text. The hanging indent will be applied to your bulleted or numbered list. Here we have choosen 0.7 for reference.
Step 5: See the result.
Repeat the same process again if you wish to change the hanging indentation to a different appearance. Remember that PowerPoint's interface might change slightly with different versions, but the general process should remain consistent. If you're using a more recent version of PowerPoint, the steps outlined above should still be applicable.
In some cases, PowerPoint might not provide the same level of control over paragraph formatting as a word processing software like Microsoft Word. If you find that the hanging indent isn't working as expected, you might consider creating your list in a word processing program and then importing it into PowerPoint as an image or an object. This way, you'll have more precise control over formatting.
Today, let your brilliance shine like an AI breakthrough


