How do you Layer Pictures on Google Slides


Easily layer pictures in Google Slides to create professional, visually appealing, and well-structured presentations
Layering pictures in Google Slides allows you to create visually appealing designs, collages, and professional presentations.
By arranging images in layers, you can customize their order, overlap elements, and enhance your slides' overall look.
Follow these simple steps to layer pictures effectively.
How to Layer Pictures on Google Slides | Steps to Layer Pictures on Google Slides
Step 1: Open Google Slides and Insert Images
Go to Google Slides and open your presentation.
Click on the “Insert” menu, select “Image”, and upload or search for the images you want to layer.
Step 2: Arrange the Images on Your Slide
Click and drag each image to position them where you want them to appear. Resize images using the corner handles if needed.
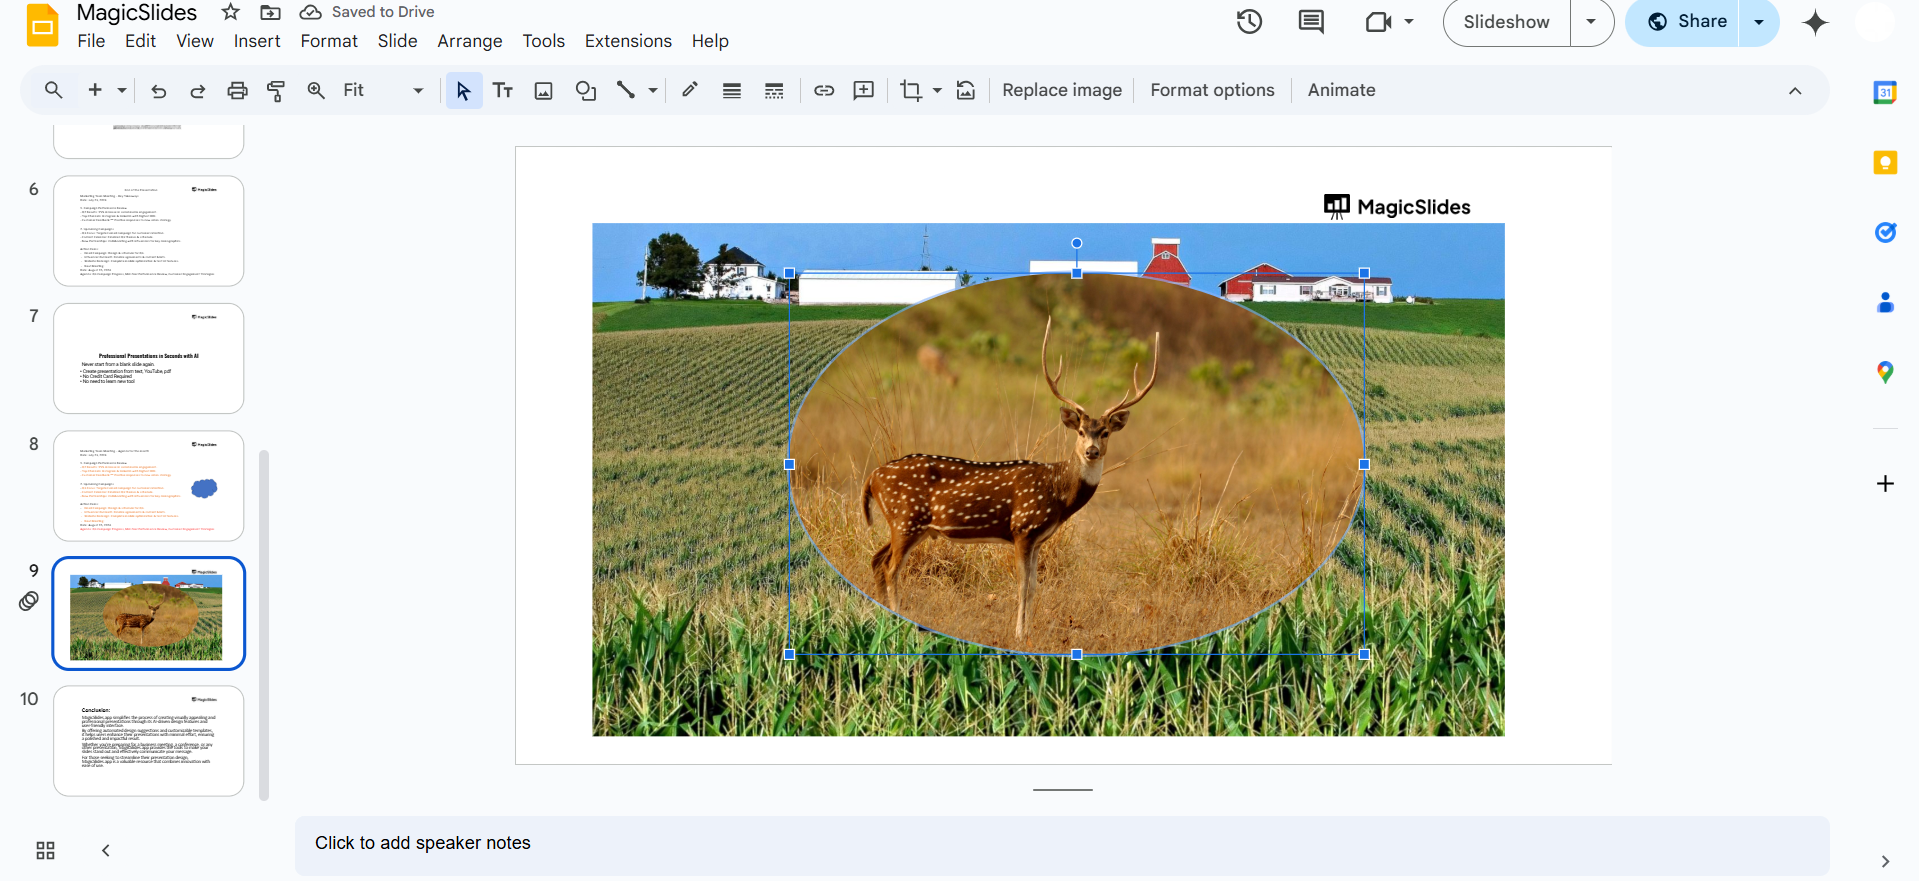
Step 3: Change Image Layer Order
Select the image you want to move.
Right-click and choose:
- "Bring to front" – Moves the image to the top layer.
- "Send to back" – Moves the image to the bottom layer.
- "Bring forward" – Moves the image up one layer.
- "Send backward" – Moves the image down one layer.
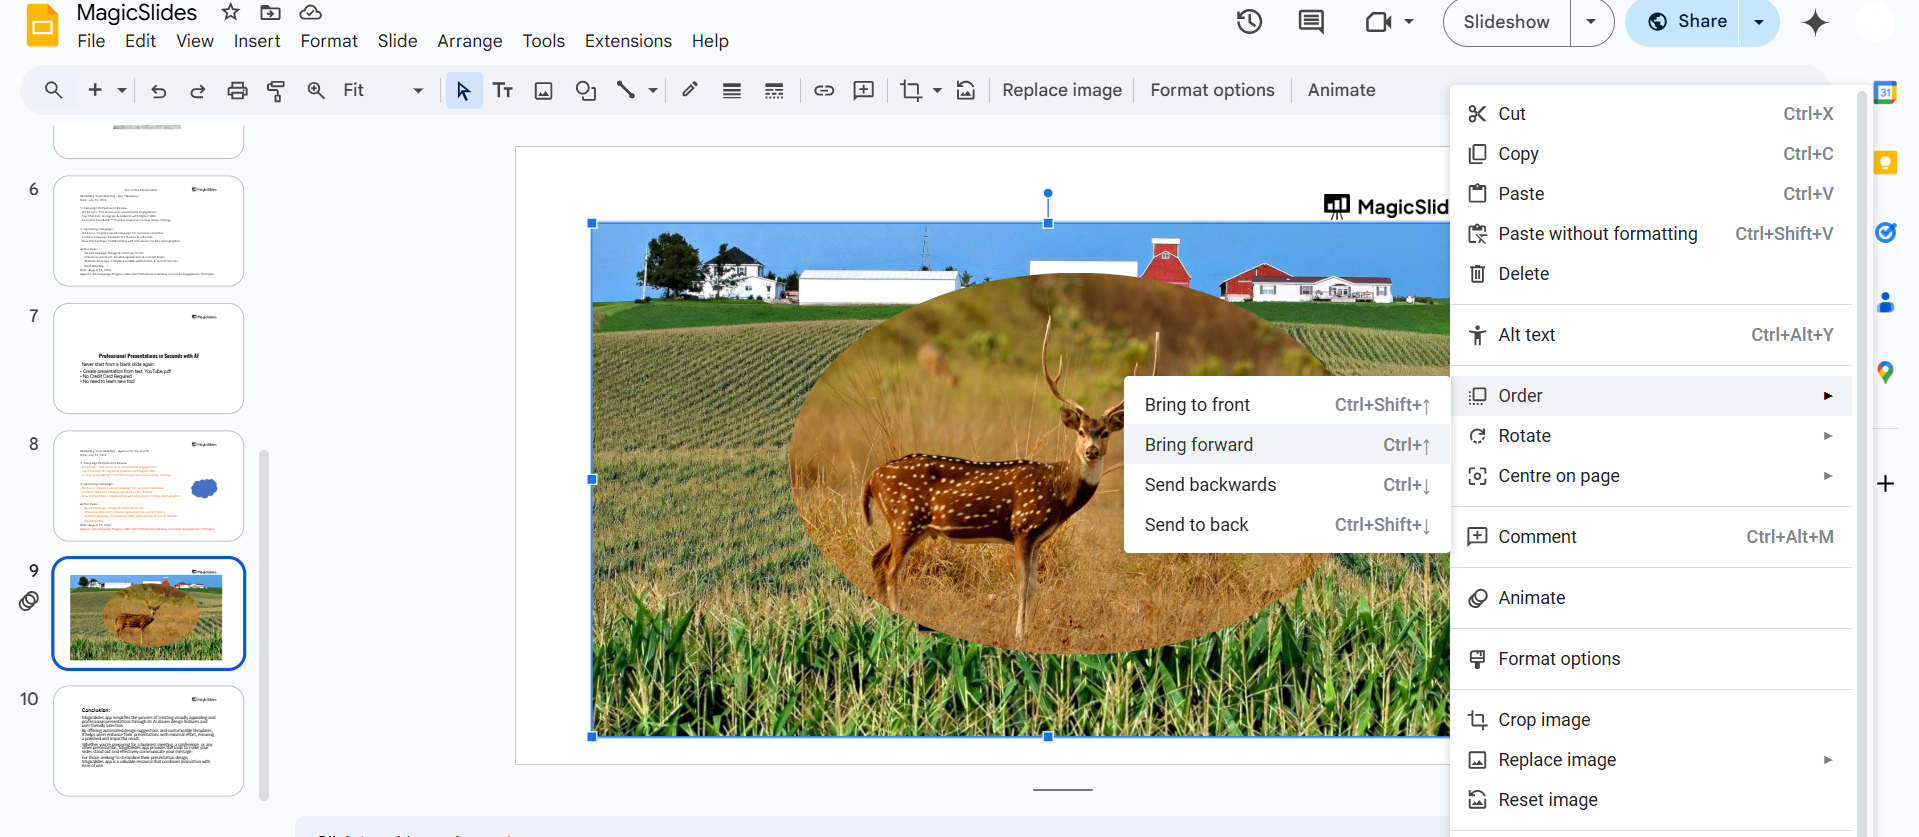
Step 4: Use Transparency for a Layered Effect (Optional)
Click on an image and select "Format options" in the toolbar.
Under "Adjustments", modify the transparency slider to blend images seamlessly.
Step 5: Group Images for Easy Editing (Optional)
Select multiple images by holding Shift and clicking each one.
Right-click and choose "Group" to move and resize them together.
Layering pictures in Google Slides helps create visually appealing presentations, but if you want to save time and generate professional slides instantly, try MagicSlides.app. Just enter your topic, and let AI do the work!
Conclusion
Layering images in Google Slides is a great way to enhance your presentations.
By arranging pictures in different layers, adjusting transparency, and grouping elements, you can create stunning visuals with ease.
FAQs on Layering Pictures in Google Slides
Can I layer text over images in Google Slides?
Yes! Simply insert a text box, place it over an image, and adjust layering using "Bring to front" or "Send to back" options.
How do I align multiple layered images?
Select all images, click "Arrange" > "Align", and choose options like center, left, or right for precise alignment.
Can I add effects to layered images?
Yes! Use "Format options" to adjust transparency, brightness, and contrast for a more dynamic effect.
Now you can layer images like a pro in Google Slides! 🚀


