How do you resize a picture in PowerPoint


Learn how to easily resize pictures in PowerPoint to create polished and visually appealing slides
Resizing pictures in PowerPoint is a fundamental skill that helps you adjust images to fit your slide's design and layout.
Whether you need to make an image larger to fill the slide or smaller to fit alongside text, PowerPoint provides easy-to-use tools for resizing.
In this blog post, we'll guide you through the steps to resize a picture in PowerPoint, ensuring your images are perfectly proportioned and enhance the overall look of your presentation.
How do you resize a picture in PowerPoint
Step 1: Insert the Picture
First, you need to insert the picture you want to resize. To do this, go to the "Insert" tab in the PowerPoint ribbon.
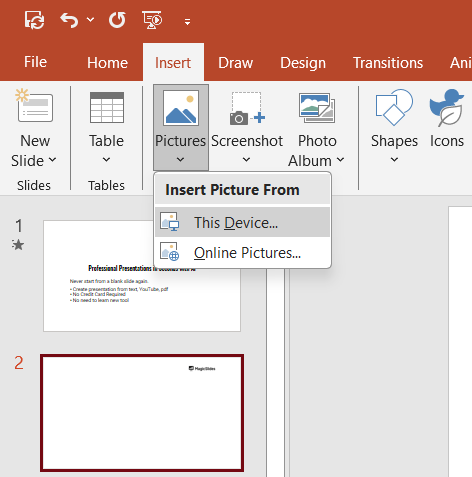
Click on "Pictures" and select the location of your image (e.g., "This Device," "Stock Images," or "Online Pictures").
Browse for the image, select it, and click "Insert" to add it to your slide.
Step 2: Select the Picture
Once the picture is on your slide, click on it to select it.
When selected, the picture will be surrounded by a set of small white circles (known as "handles") along the edges and corners.
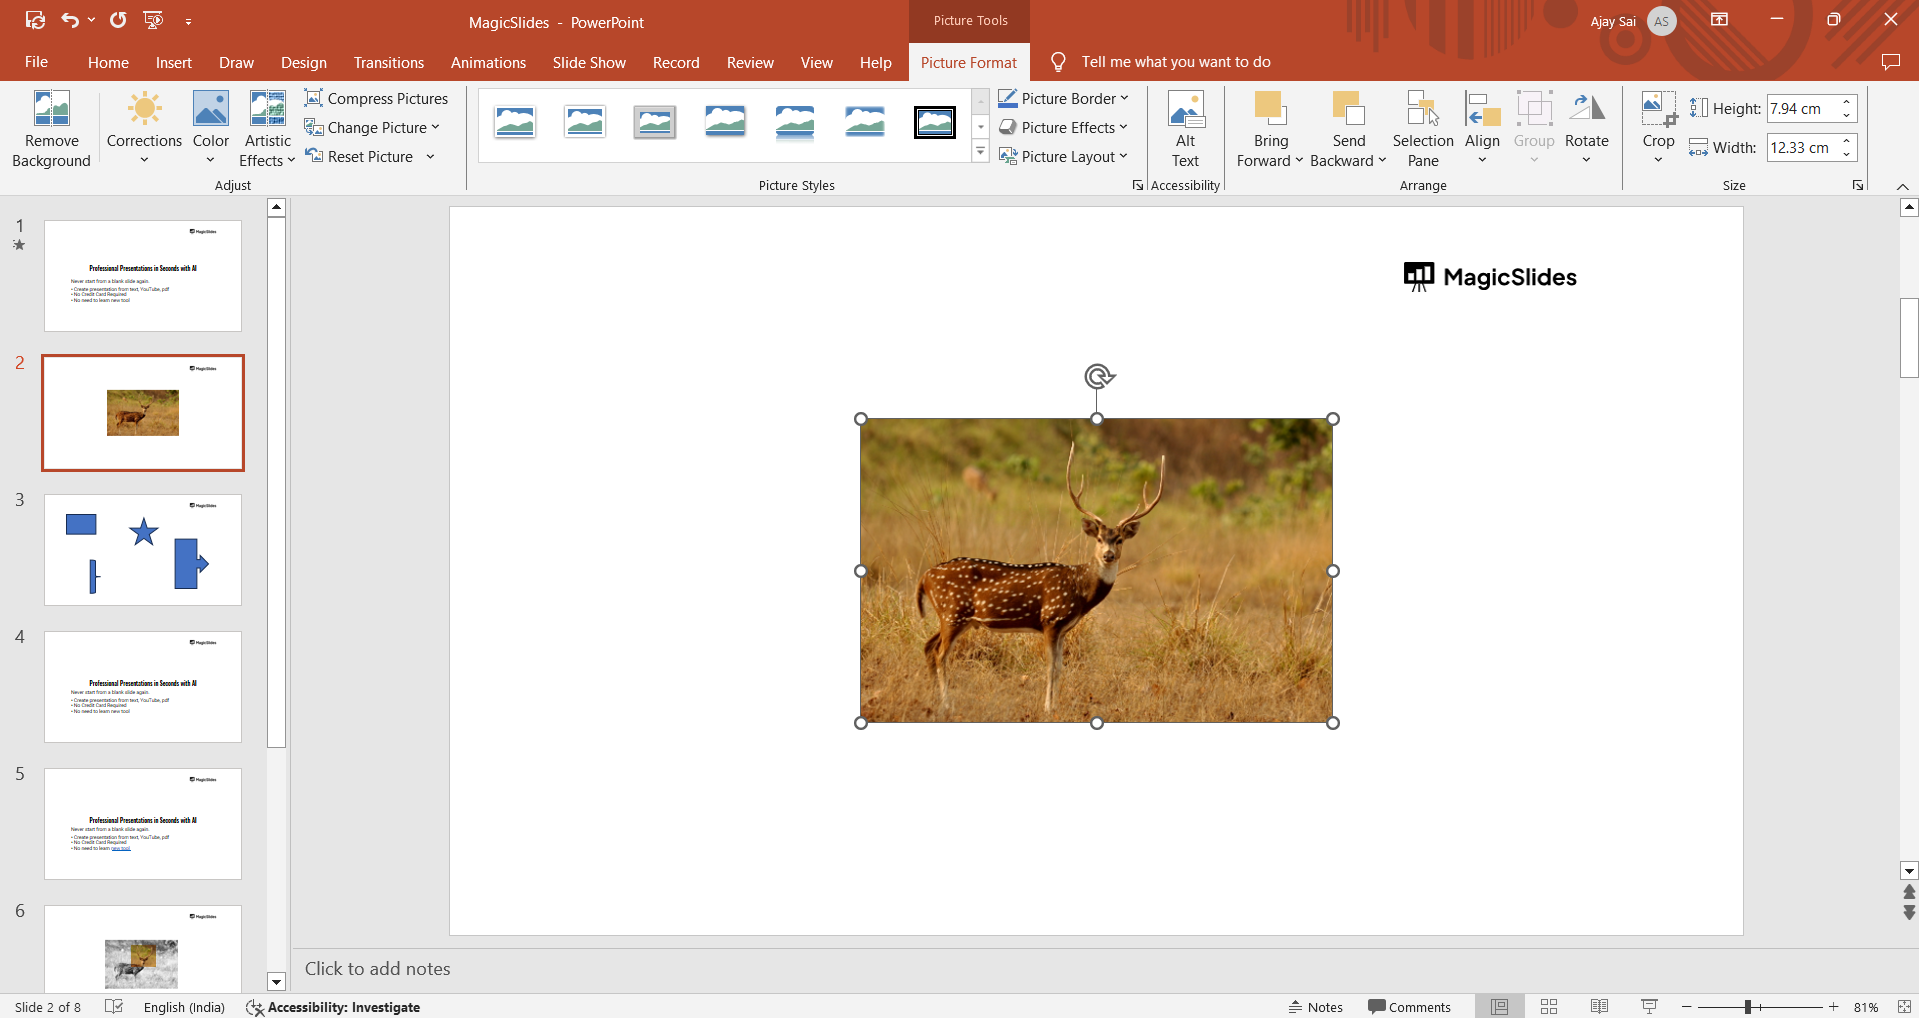
These handles allow you to resize the image.
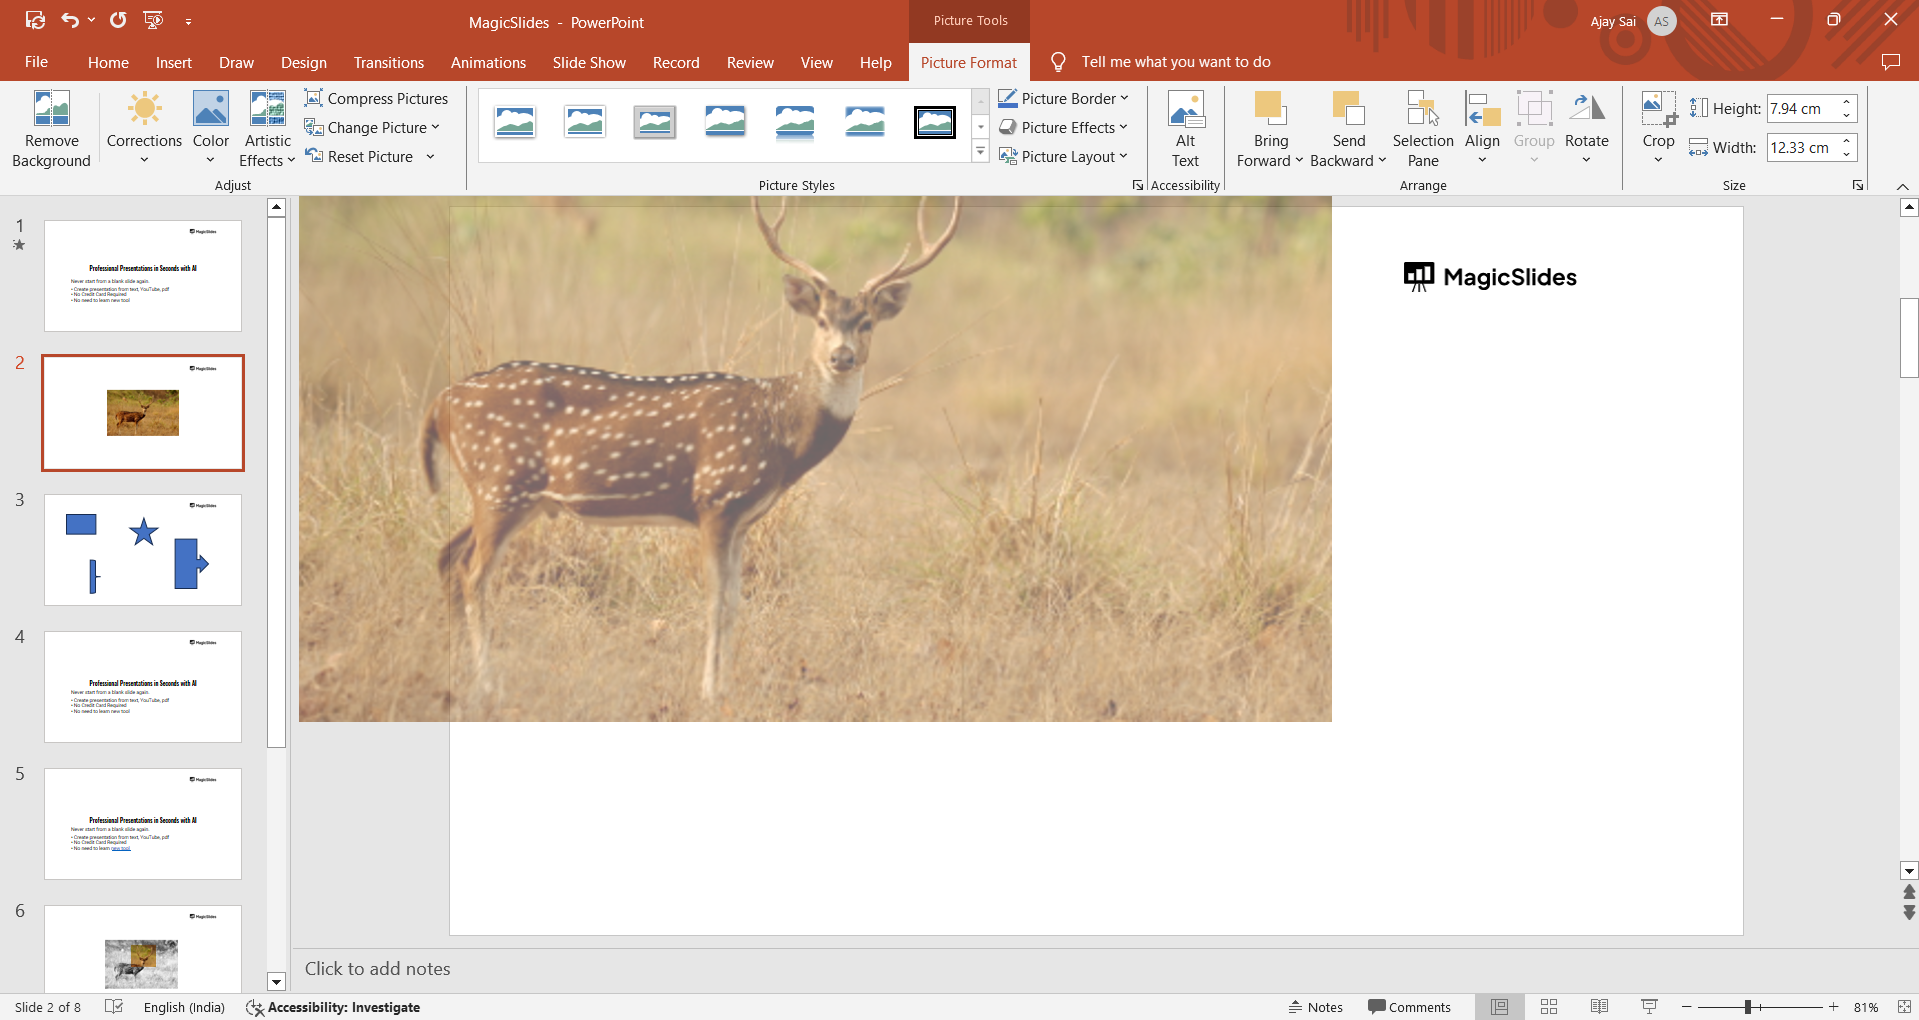
Step 3: Resize the Picture Proportionally
To resize the picture while maintaining its original proportions, click and drag one of the corner handles.
As you drag, hold down the "Shift" key on your keyboard. This ensures that the picture's aspect ratio (the relationship between its width and height) remains the same, preventing distortion.
Pro Tip: If you want to resize the picture proportionally without holding the "Shift" key, click and drag any corner handle.
PowerPoint will automatically maintain the aspect ratio by default.
Step 7: Finalize the Slide Design
Once your picture is resized and positioned correctly, finalize the rest of your slide’s design.
Ensure that the image complements your content without overpowering other elements.
You can also add effects, borders, or shadows from the "Format" tab to enhance the picture further.
Conclusion
Resizing pictures in PowerPoint is a simple yet crucial step in creating visually balanced and professional presentations.
By following these steps, you can easily adjust the size of any image to fit your slide’s layout, ensuring that your visuals are both impactful and well-integrated.
Whether you're working with large images or small icons, mastering the art of resizing will help you create slides that are both effective and visually appealing.
FAQs are here to guide you!
How do I resize a picture without distorting it in PowerPoint?
Hold the "Shift" key while dragging a corner handle to maintain the picture’s original proportions.
Can I enter specific dimensions for a picture in PowerPoint?
Yes, use the "Format Picture" pane to input exact height and width measurements for precision resizing.
What should I do if my picture becomes pixelated after resizing?
If a picture becomes pixelated, try reducing its size or using a higher-resolution image to maintain clarity.


