How to apply 3D Models in PowerPoint


Revolutionize your presentations with 3D models in PowerPoint step into a new dimension of visual storytelling
Elevate your PowerPoint presentations from ordinary to extraordinary by incorporating immersive 3D models. In this comprehensive guide, we'll walk you through each step, unlocking the full potential of PowerPoint's 3D capabilities. Whether you're visualizing complex concepts, showcasing products, or adding a modern touch to your slides, these steps will empower you to seamlessly integrate 3D models into your presentations.
How to apply 3D Models in PowerPoint
Step 1: Open PowerPoint and Select Your Slide
Begin by opening your PowerPoint presentation and selecting the slide where you want to insert the 3D model. Ensure your content is well-organized before diving into the creative process.
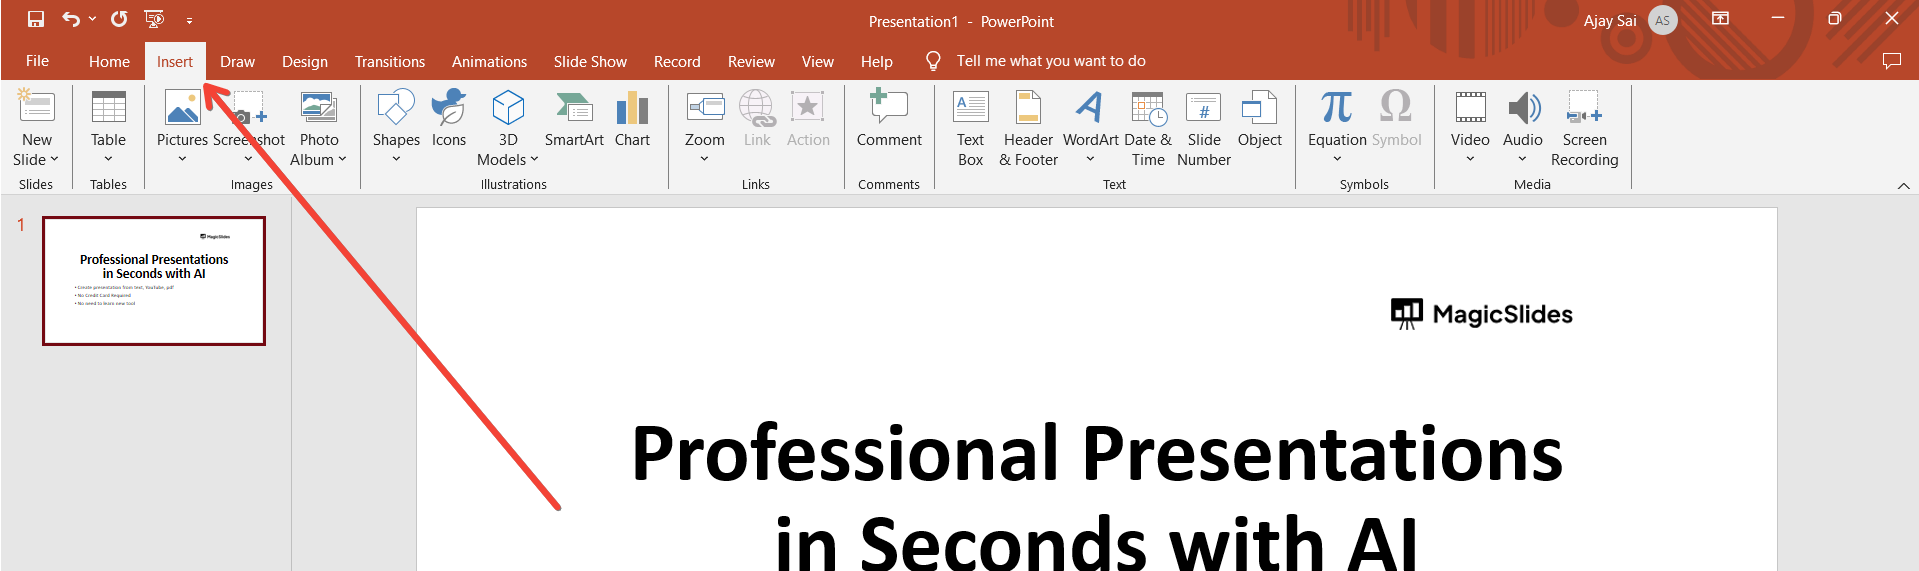
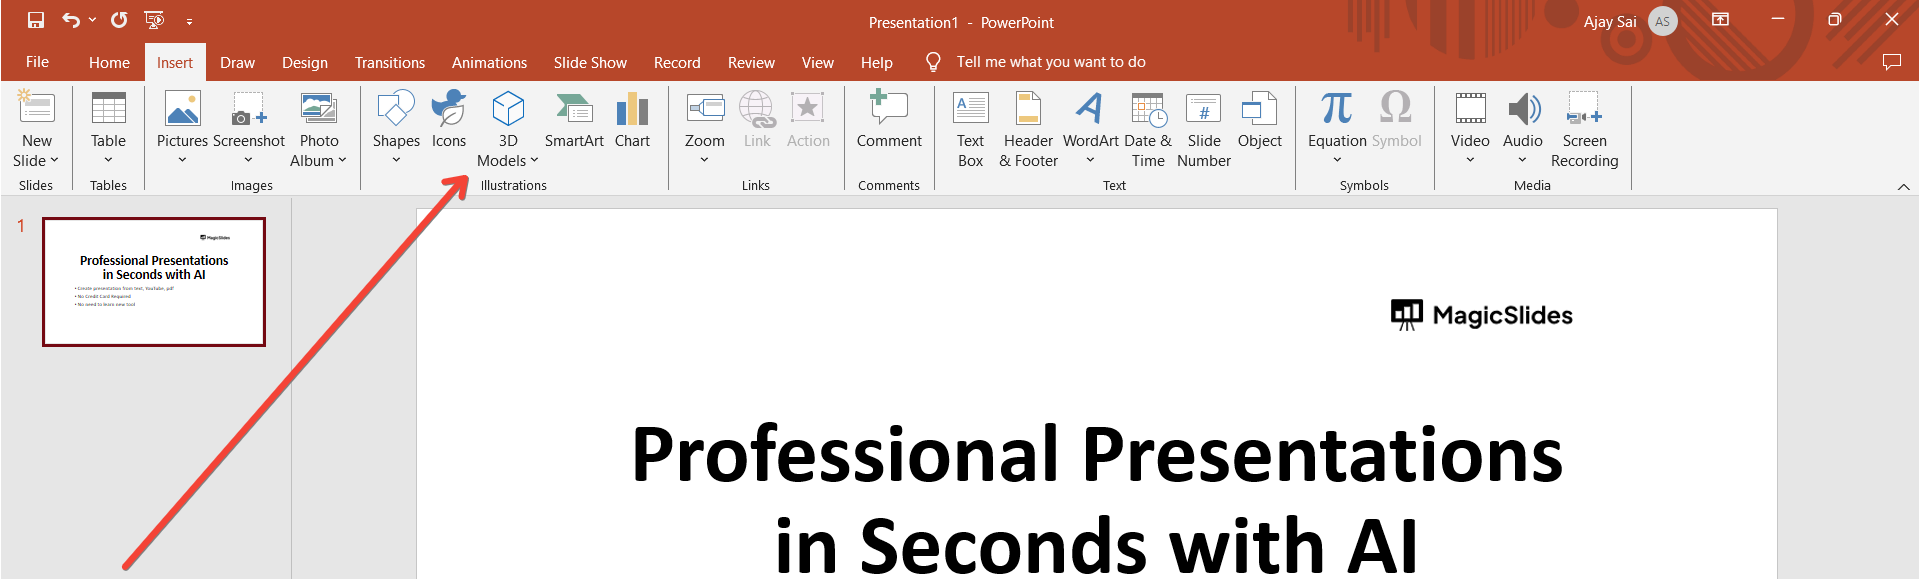
Step 2: Go to the "Insert" Tab
Navigate to the "Insert" tab in the PowerPoint ribbon. From the menu, select "3D Models" to access the various options for incorporating three-dimensional elements into your presentation.
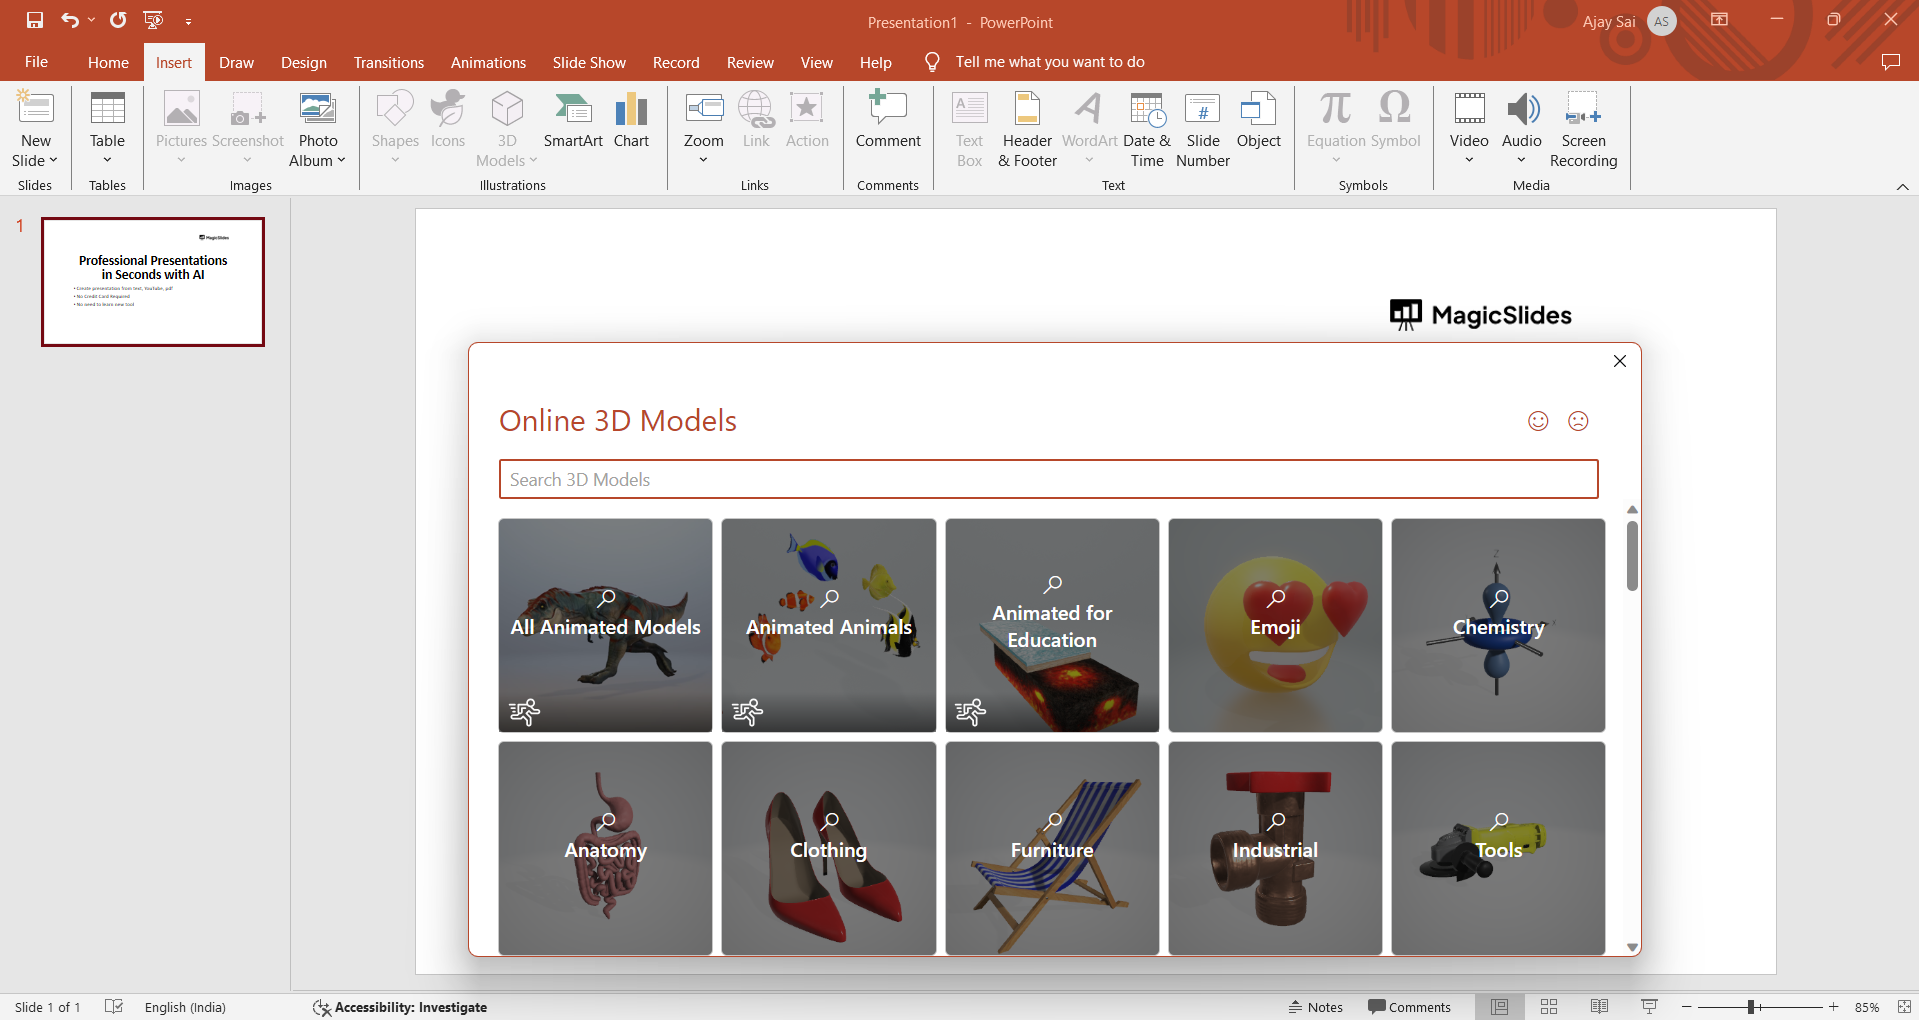
Step 3: Choose a 3D Model
PowerPoint offers a library of 3D models categorized by type. Browse through the available options or import your custom 3D model. Once selected, click "Insert" to add the model to your slide.
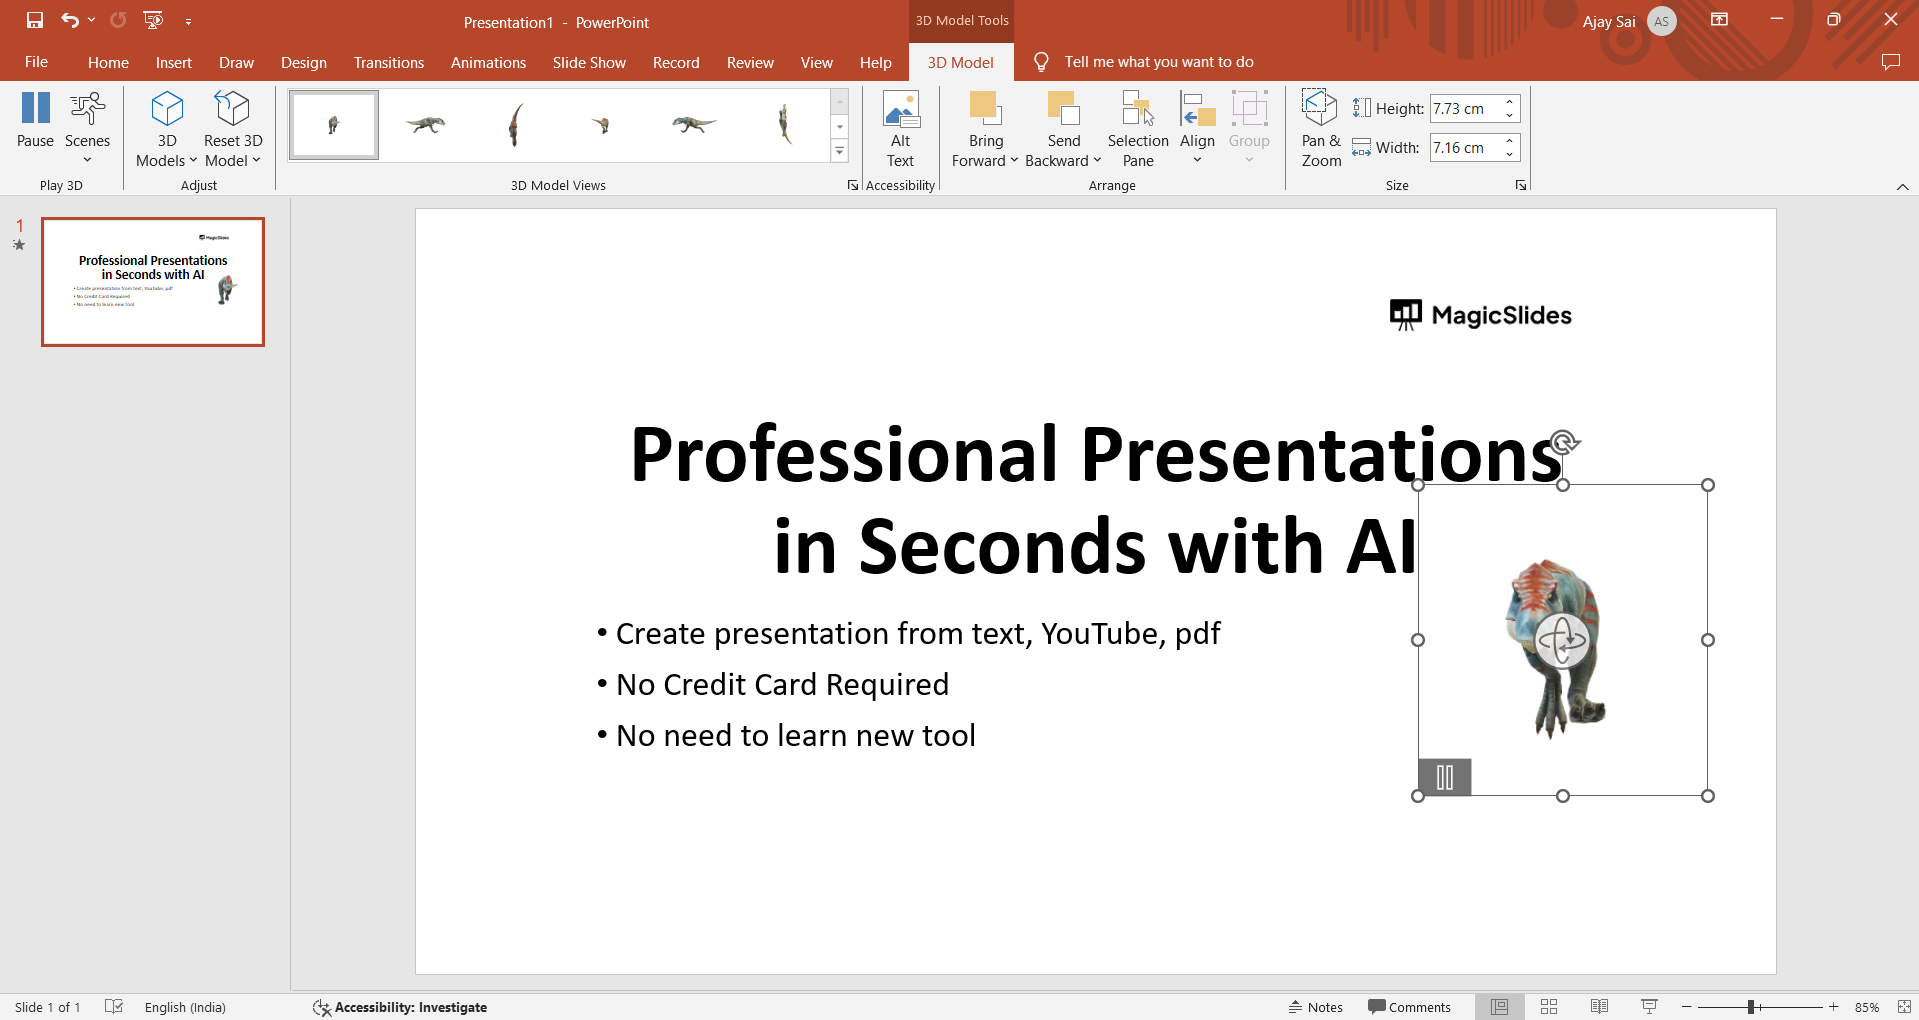
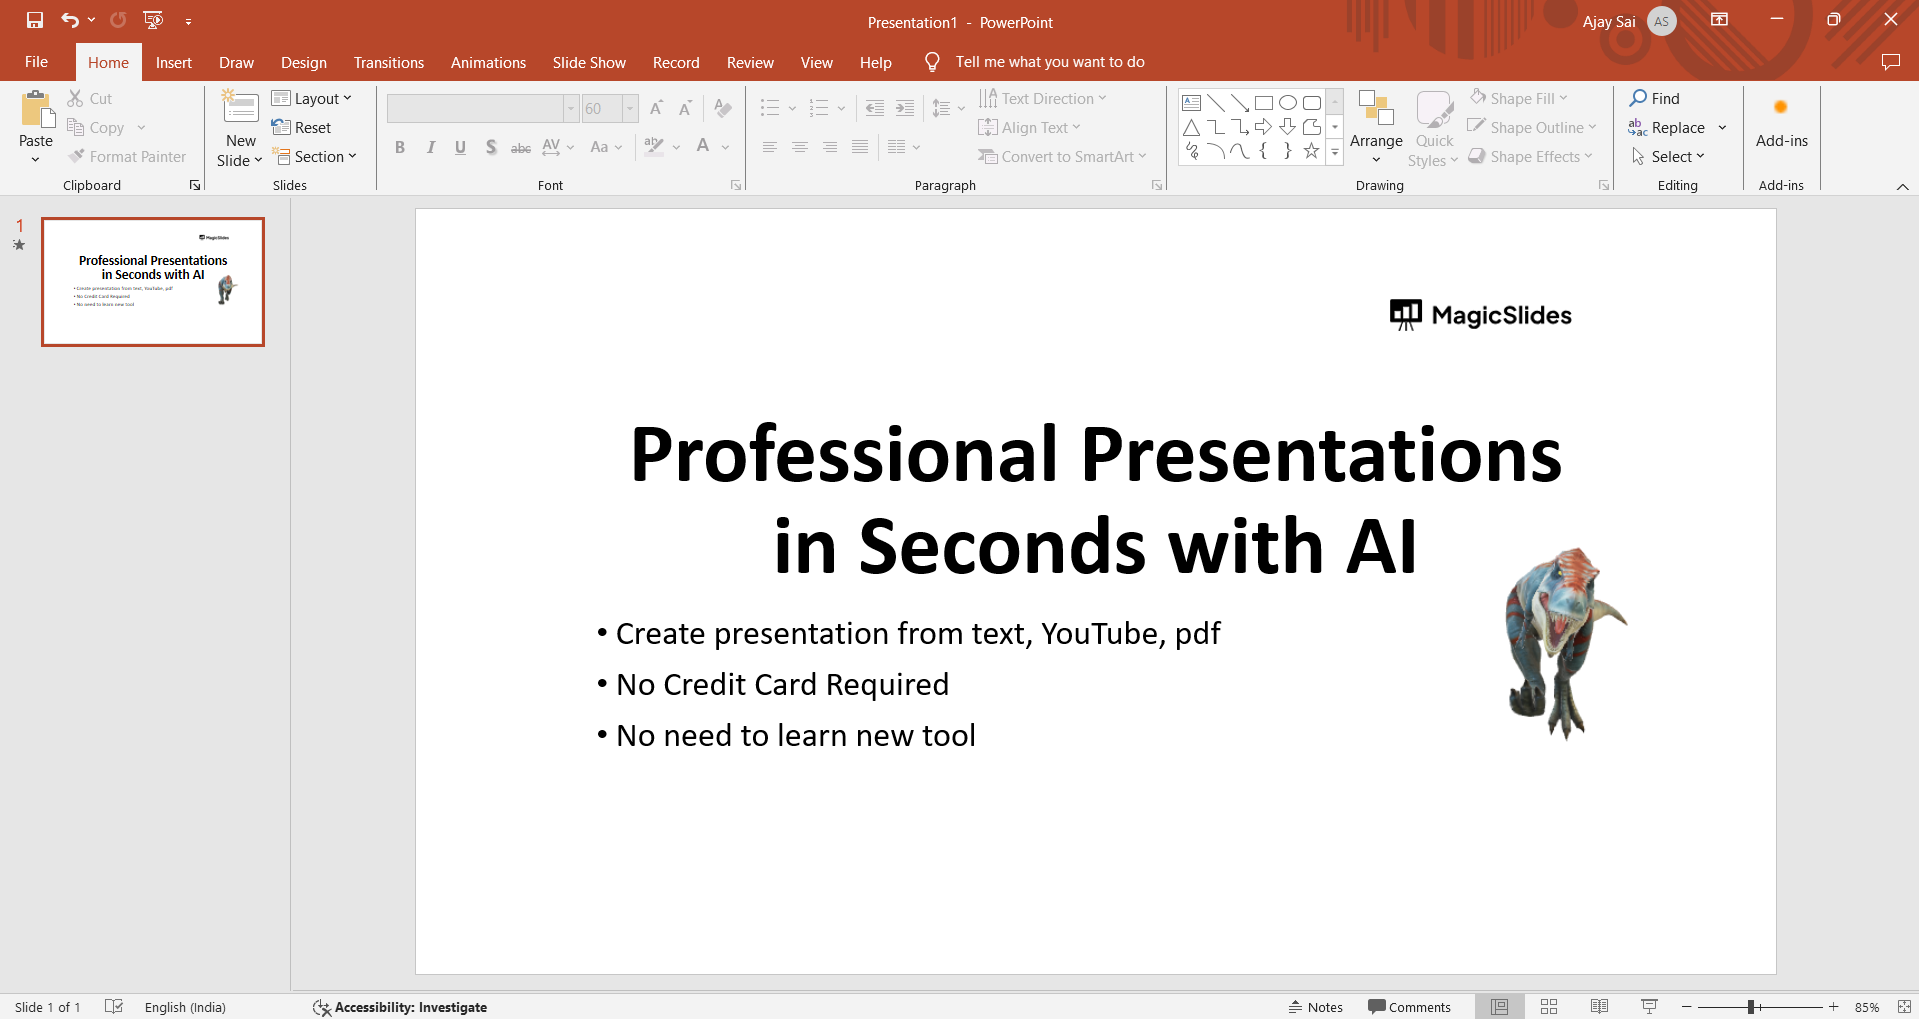
Step 4: Adjust and Resize
After inserting the 3D model, use the resize handles to adjust its dimensions. Ensure the model fits seamlessly into your slide and aligns with your overall design.
Step 5: Customize View and Rotation
Click on the 3D model to reveal the "3D Model Tools" tab. Explore options such as "Rotate" and "Pan" to customize the model's orientation, giving you the flexibility to showcase different perspectives during your presentation.
Step 6: Add Animation (Optional)
To bring your 3D model to life, consider adding animations. Go to the "Animations" tab, select "Add Animation," and choose from various effects to enhance the visual impact of your 3D model during your presentation.
Conclusion:
Unlock a new dimension of creativity in your presentations by seamlessly integrating 3D models in PowerPoint. From conceptualizing ideas to showcasing products, the steps outlined in this guide provide you with the tools needed to captivate your audience. Elevate your storytelling, engage your viewers, and leave a lasting impression with the immersive power of 3D in PowerPoint. Let your ideas take shape and transform your presentations into memorable experiences!
Frequently Asked Questions:
Can I use my own 3D models, or am I limited to PowerPoint's pre-existing library?
Absolutely! PowerPoint allows you to import custom 3D models, providing flexibility for personalized presentations.
Are 3D models supported in all PowerPoint versions?
Yes, newer versions of PowerPoint (2016 and later) generally support 3D models, ensuring compatibility for users.
Can I animate 3D models to enhance my presentation?
Certainly! Explore PowerPoint's animation features to bring your 3D models to life, creating dynamic and engaging presentations.
How do I ensure my 3D models look seamless and integrated into my slide design?
Resize and customize the orientation of your 3D models; use PowerPoint's design tools for a cohesive presentation look.


