how to compress a power point


In this blog post article we will uncover how to compress a power point
Creating visually appealing PowerPoint presentations is a breeze, but the downside is that they can quickly become large files that are cumbersome to share or email. To address this issue, we'll guide you through a method to compress images in your PowerPoint presentation.
This simple process can significantly reduce your file size without compromising too much on image quality. So, if you're looking for a way to make your presentations more accessible, read on to learn how to compress images in PowerPoint.
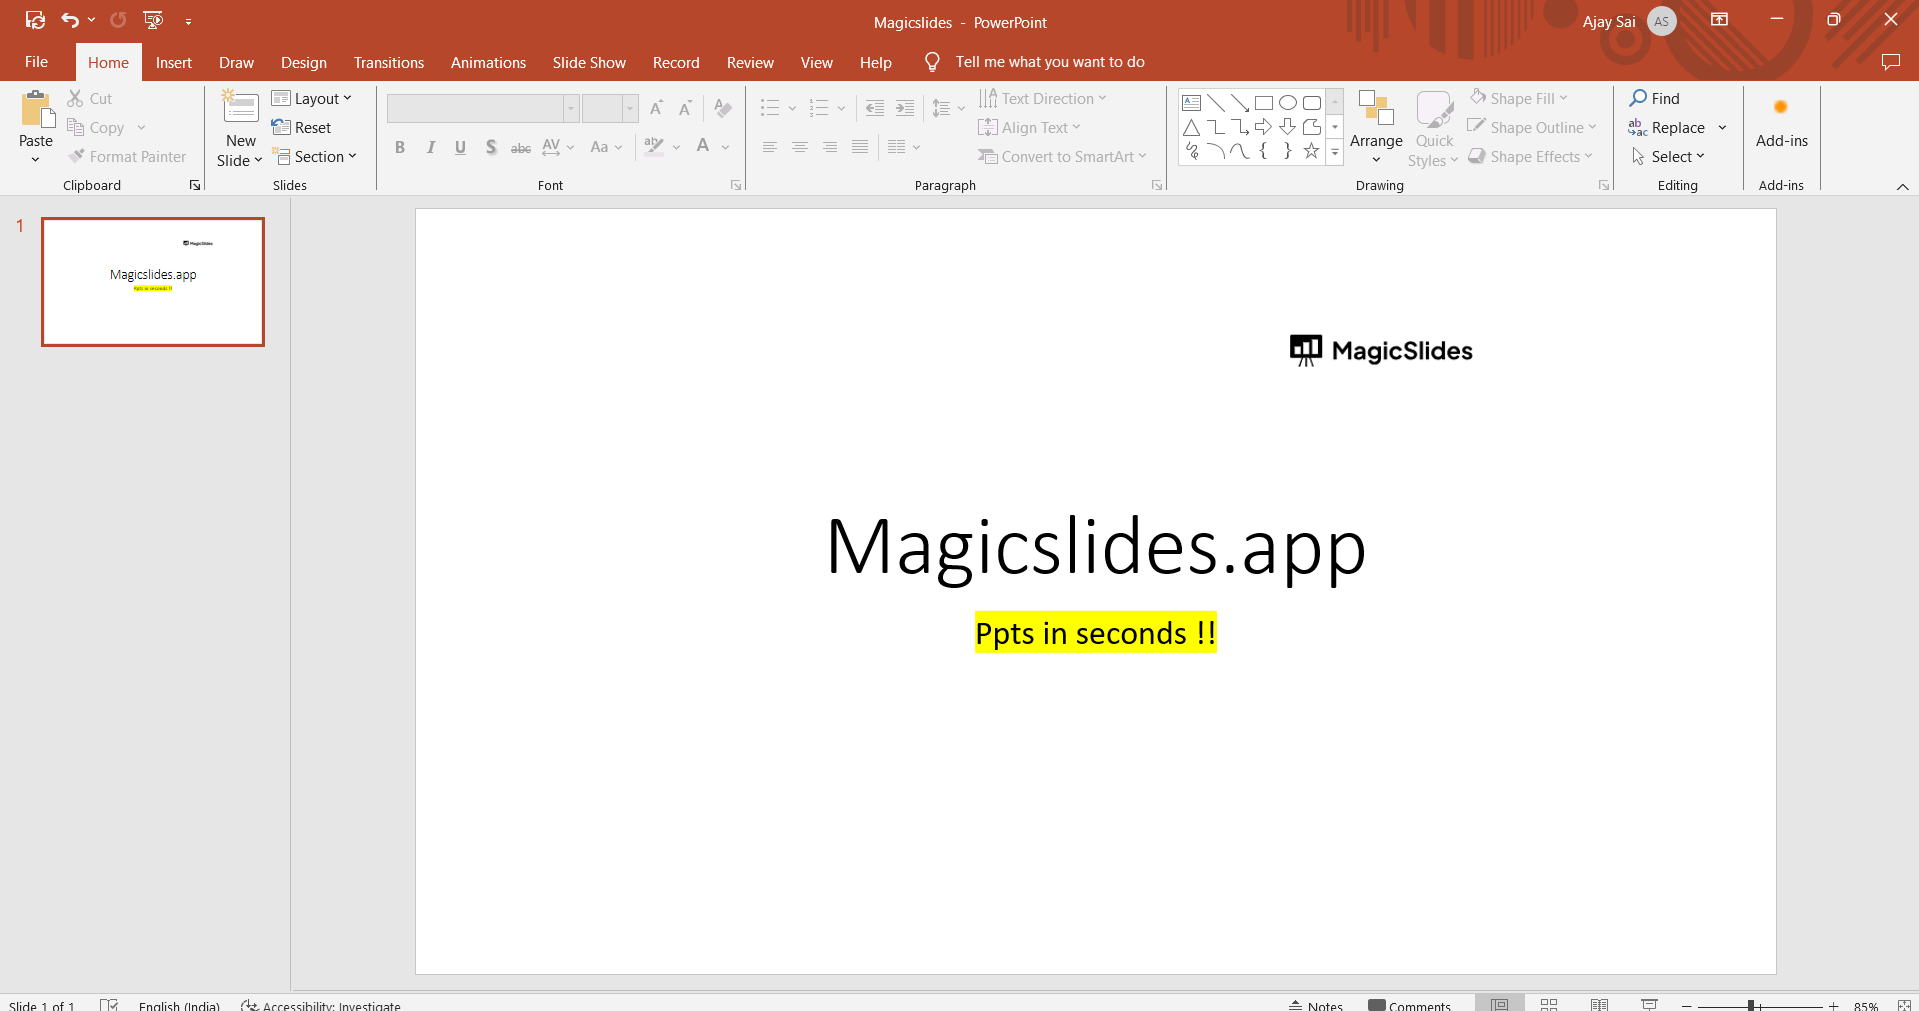
Step 1: Open Your PowerPoint Presentation
Begin by launching Microsoft PowerPoint and opening the presentation you wish to compress. If you're working on a new presentation, make sure to insert the images you want to optimize before proceeding.
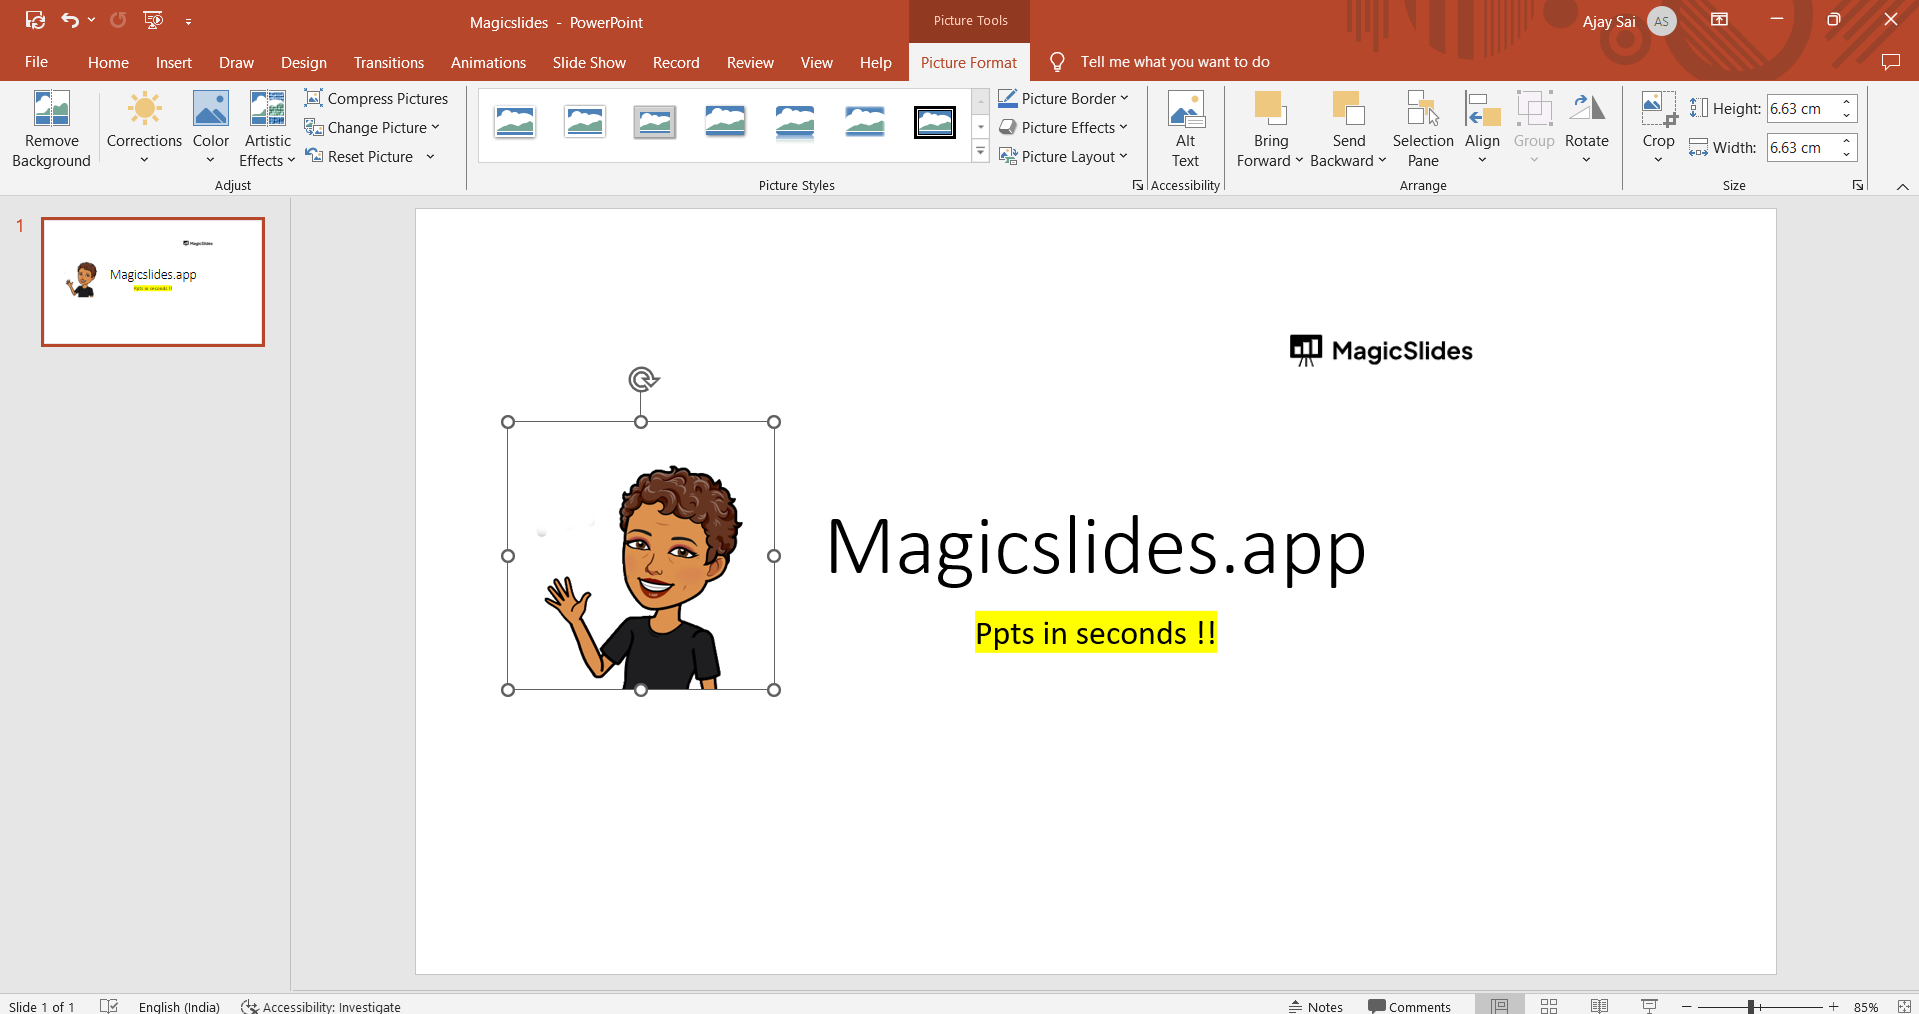
Step 2: Select an Image
Click on one of the images within your presentation that you want to compress. When you select an image, you'll notice that the "Picture Format" tab appears in the ribbon at the top of the screen.
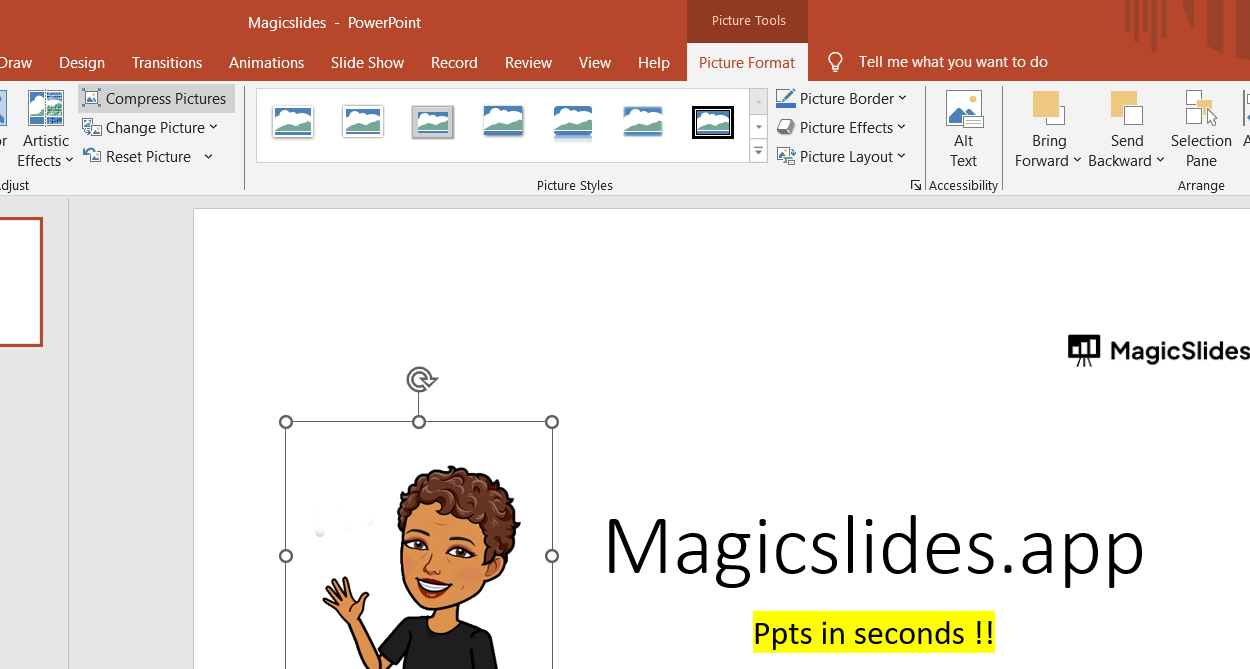
Step 3: Access the Compress Pictures Tool
On the "Picture Format" tab, look for the "Compress Pictures" button. This button is typically found in the "Adjust" group, but its exact location may vary depending on your version of PowerPoint. Click on it to open the compression options.
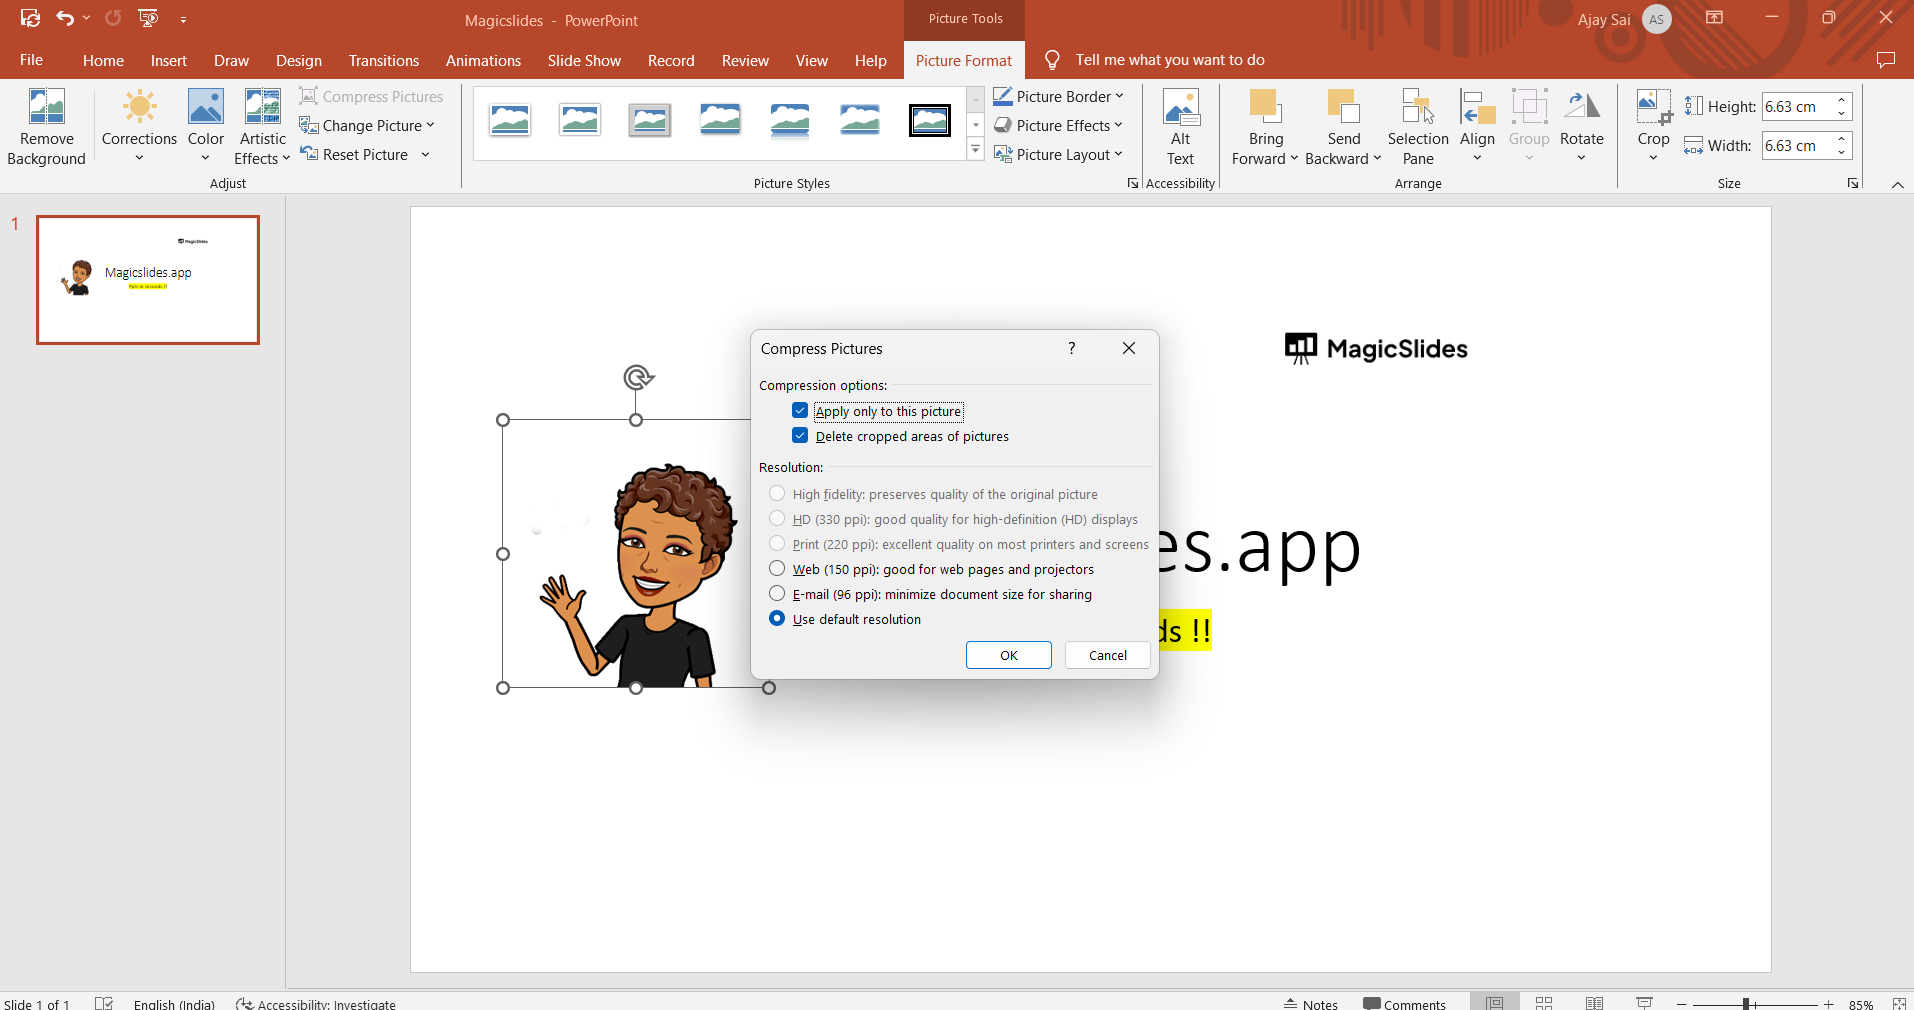
Step 4: Choose Compression Options
A dialog box will appear, allowing you to customize your compression settings:
- Apply to: This option lets you decide whether you want to compress all the pictures in the presentation or just the one you selected.
- Resolution: Select a target resolution for your images. "High" quality retains the original resolution, while lower settings decrease image quality and file size.
- Delete cropped areas of pictures: Check this box if you want to remove any unnecessary parts of cropped images.
- Apply only to this picture: If you initially selected a single image, you can choose to apply compression exclusively to that image.
Step 5: Start Compression
Once you've chosen your compression options, click the "OK" button. PowerPoint will immediately begin compressing the images in your presentation, reducing both their file size and quality as per your settings.
Step 6: Save Your Presentation
After the compression process is complete, don't forget to save your presentation. This step ensures that the changes you made, including the image compression, are retained, resulting in an overall reduction in file size.
Conclusion:
Compressing images in PowerPoint is an efficient way to reduce the file size of your presentations without losing too much image quality. By following these straightforward steps, you can make your PowerPoint files more manageable for sharing, emailing, or storing.
Keep in mind that while image compression helps reduce the file size, it may also impact image quality, so make your compression settings wisely, balancing between file size and visual fidelity. With this knowledge, you can create presentations that are both stunning and easily shareable.