How to Compress Pictures in PowerPoint


Reduce PowerPoint file size by compressing images without losing quality using these simple step-by-step instructions
How to Compress Pictures in PowerPoint
Large image files in PowerPoint can slow down your presentation and make it difficult to share.
Compressing pictures helps reduce file size without compromising quality.
Follow these step-by-step instructions to compress pictures in PowerPoint easily.
Step 1: Open Your PowerPoint Presentation
Launch PowerPoint and open the presentation that contains the images you want to compress.
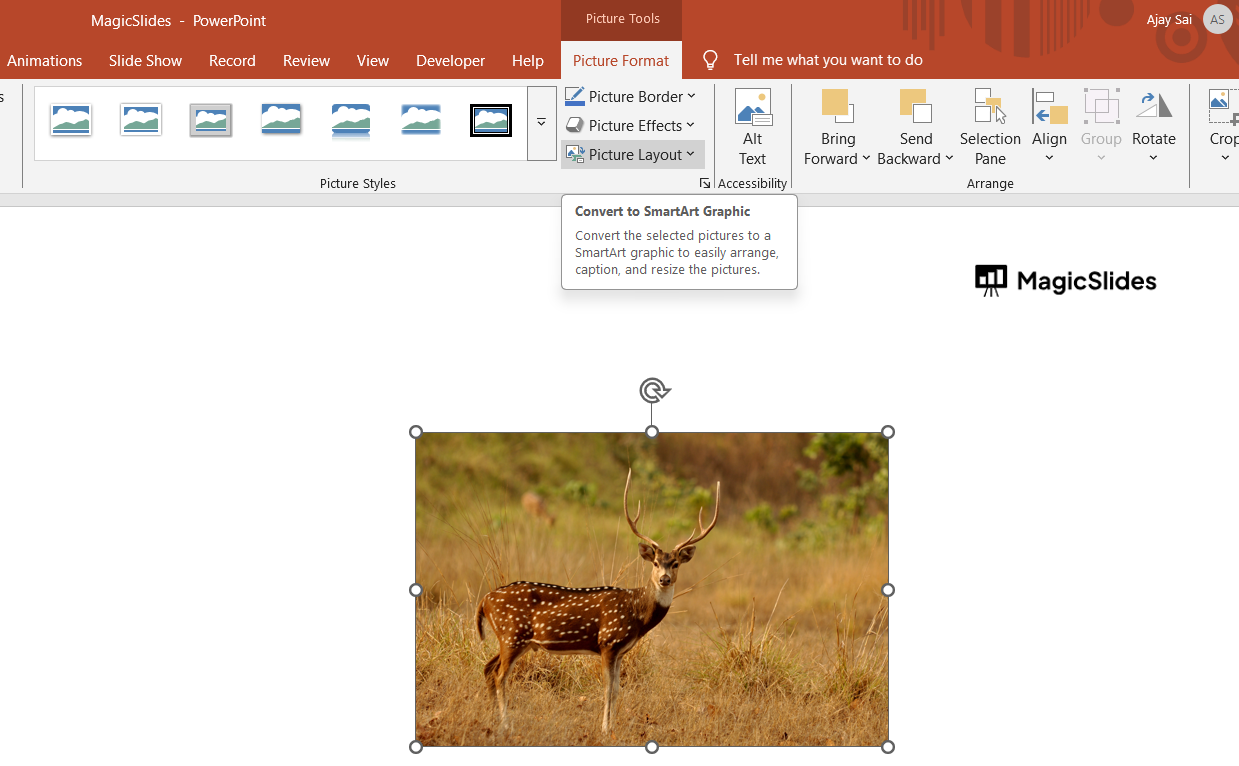
Step 2: Select an Image to Compress
Click on the image you want to compress. If you want to compress multiple images, hold down the Ctrl key and select all the images.

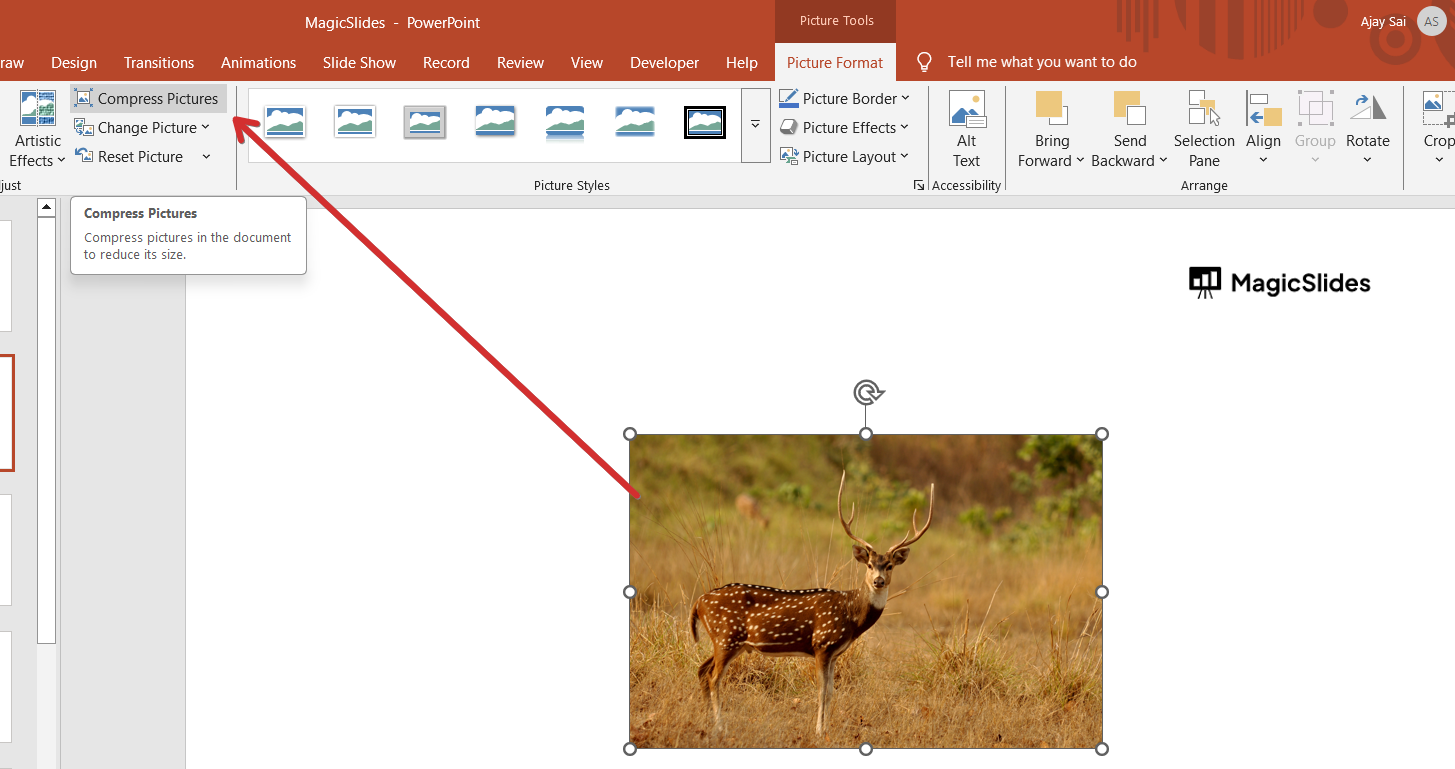
Step 3: Click on the "Picture Format" Tab
Once an image is selected, the Picture Format tab will appear in the toolbar at the top. Click on it to access image editing tools.
Step 4: Select "Compress Pictures"
In the Picture Format tab, locate and click the Compress Pictures button. This will open a compression settings window.
Step 5: Choose Compression Options
A pop-up window will appear with various options:
- Apply only to this picture: Check this box if you want to compress only the selected image. Uncheck it to apply compression to all images.
- Delete cropped areas of pictures: This removes unnecessary image data and further reduces file size.
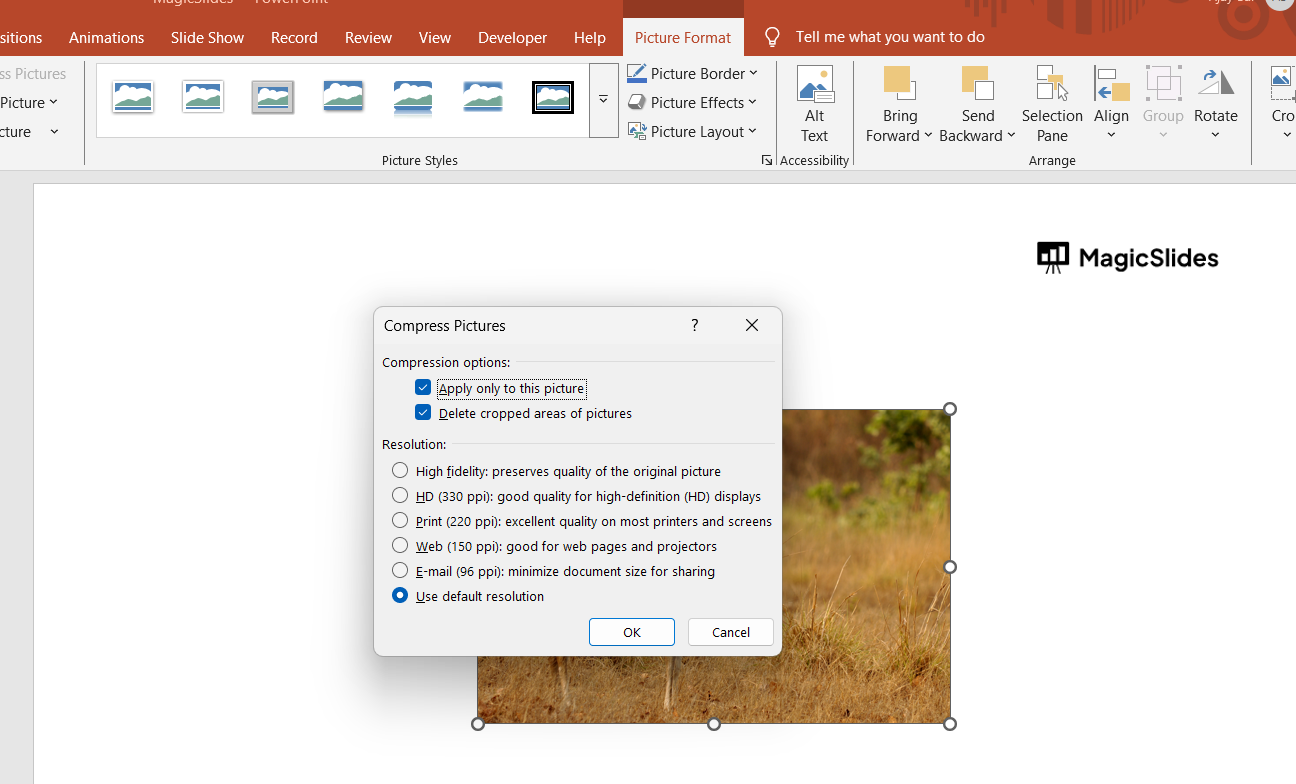
- Select resolution: Choose a resolution based on your needs:
- High fidelity (330 ppi): Best quality but largest file size.
- HD (220 ppi): Good quality for large screens and projectors.
- Print (150 ppi): Suitable for printed documents.
- Web (96 ppi): Optimized for online use and sharing.
- E-mail (72 ppi): Smallest file size, best for emails.
Step 6: Click "OK" to Apply Compression
After selecting your preferred settings, click OK to apply the compression.

Step 7: Save Your Presentation
Once compression is complete, save your PowerPoint presentation to ensure the changes are applied.
Optimizing images in PowerPoint helps with file size, but what if you could generate a stunning presentation without worrying about formatting? Try MagicSlides.app, where AI creates high-quality slides effortlessly in seconds!
Conclusion
Compressing pictures in PowerPoint helps reduce file size, making presentations easier to share and load quickly.
By following these simple steps, you can optimize your PowerPoint files without sacrificing image quality.
FAQs are here to guide!
Can I undo picture compression in PowerPoint?
Yes, but only if you haven't saved the presentation. Use Ctrl + Z to undo compression.
Will compressing pictures reduce image quality?
Yes, but choosing a higher resolution setting minimizes quality loss.
Can I compress all images at once in PowerPoint?
Yes, uncheck Apply only to this picture in the compression settings to compress all images in your presentation.


