How to Curve Text in Canva


Curving text in Canva adds creativity and flair to your designs, making them visually engaging.
Curving text in Canva can add a unique and creative touch to your designs, making them stand out. Whether you're creating a logo, a social media post, or a presentation, curving text can help you achieve a more dynamic and visually appealing layout.
Canva makes this process easy, allowing you to customize your text to fit the style and flow of your design.
In this blog post, we'll guide you through the steps to curve text in Canva, so you can enhance your designs with this simple yet effective technique.
How to Curve Text in Canva: Step-by-Step Guide
Step 1: Log in to Canva
Begin by logging into your Canva account. You can do this by visiting Canva's website and entering your login credentials.
If you don't have an account, you can quickly sign up using your email, Google, or Facebook account.
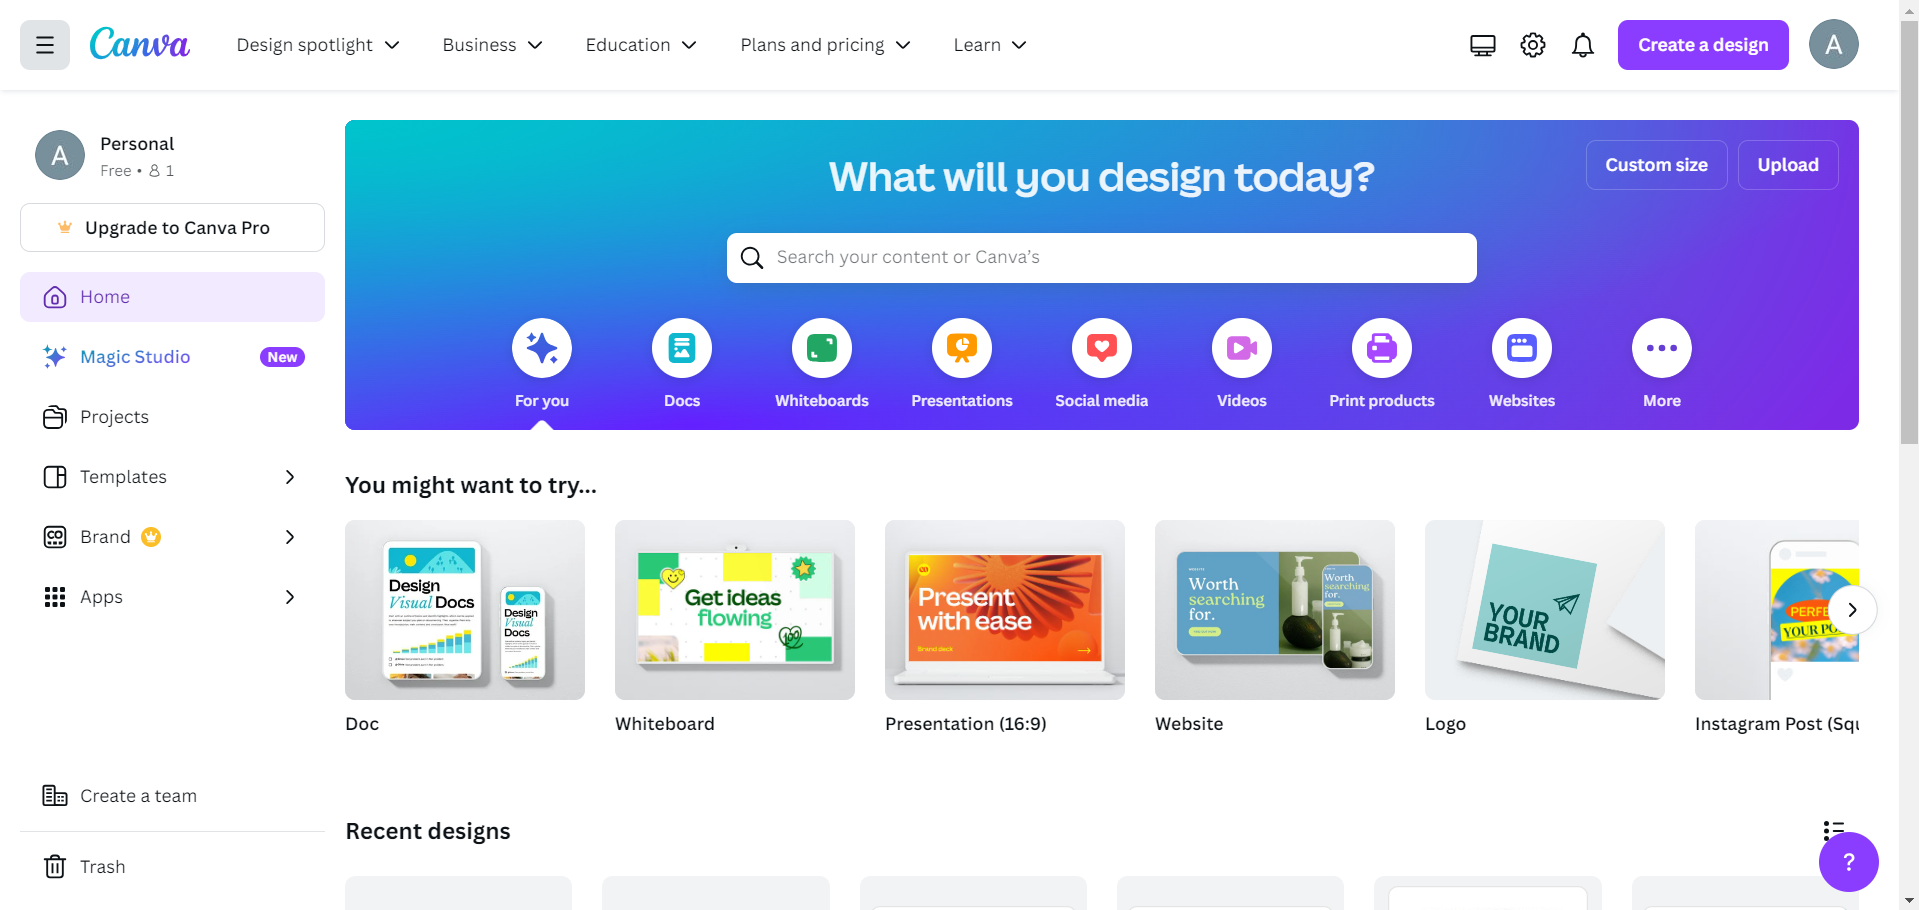
Step 2: Create or Open a Design
Once you're logged in, you can either create a new design or open an existing one. To create a new design, click on the "Create a design" button and choose your preferred dimensions or template.
To open an existing design, go to the "Your projects" tab and select the design you want to work on.
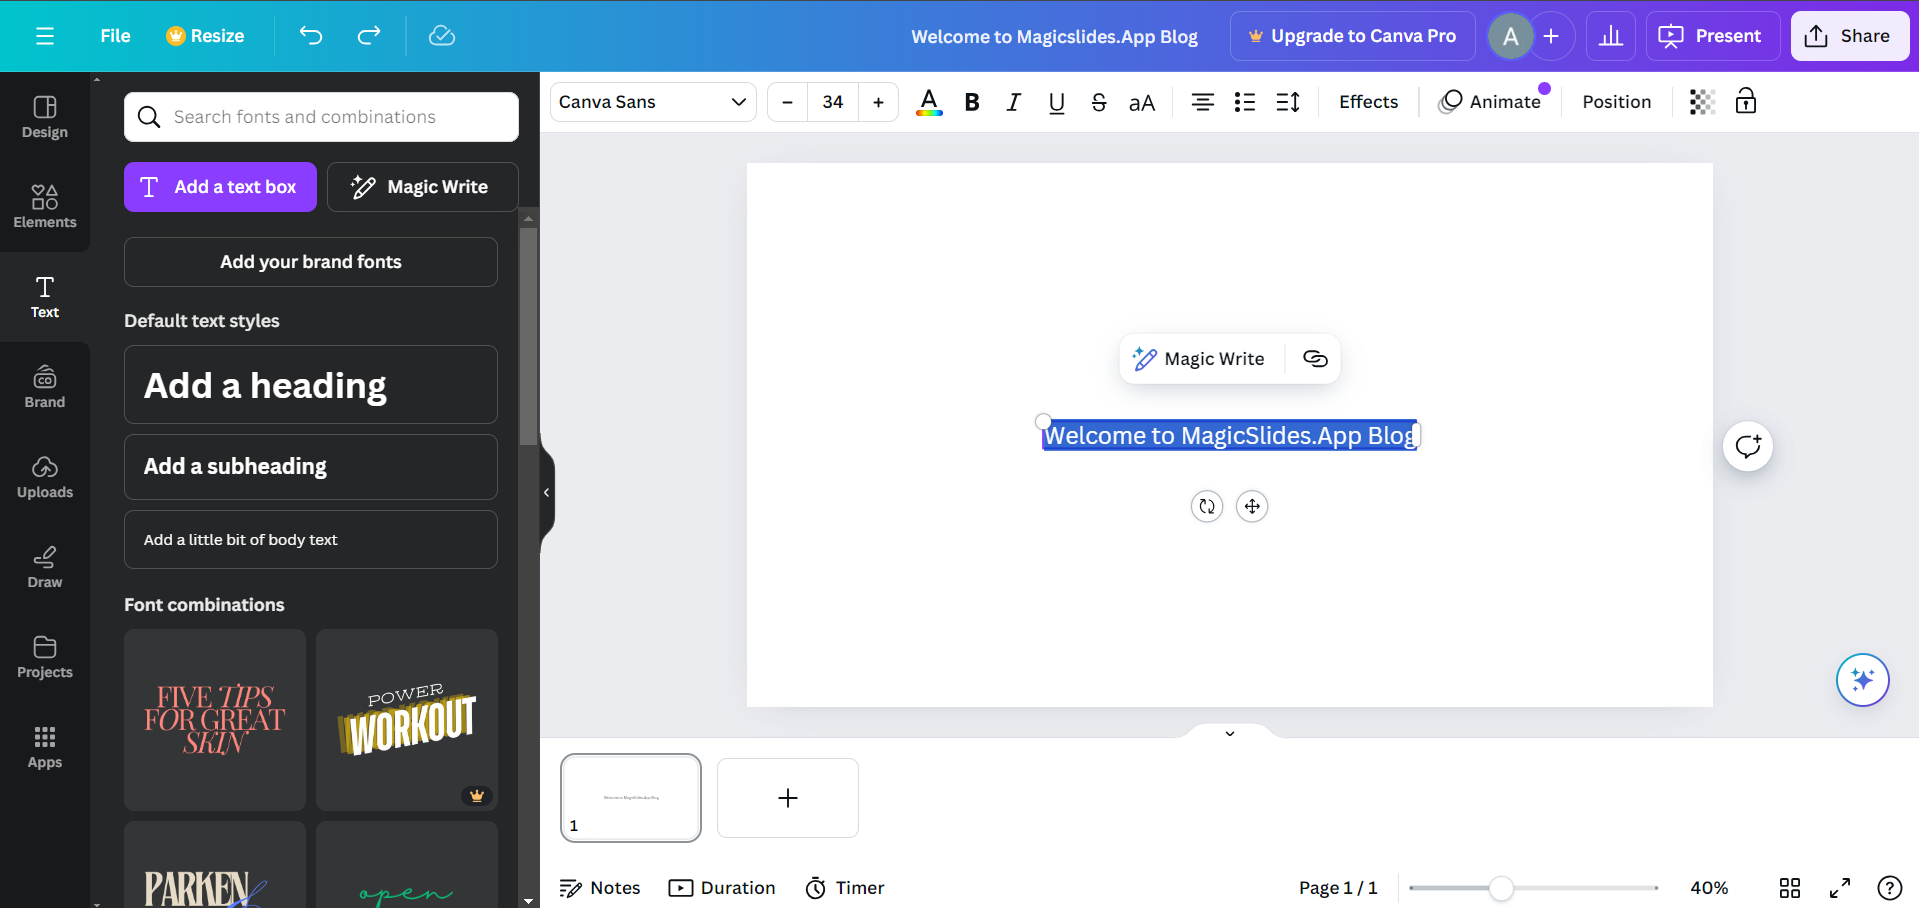
Step 3: Add Text to Your Design
Next, you'll need to add the text that you want to curve.
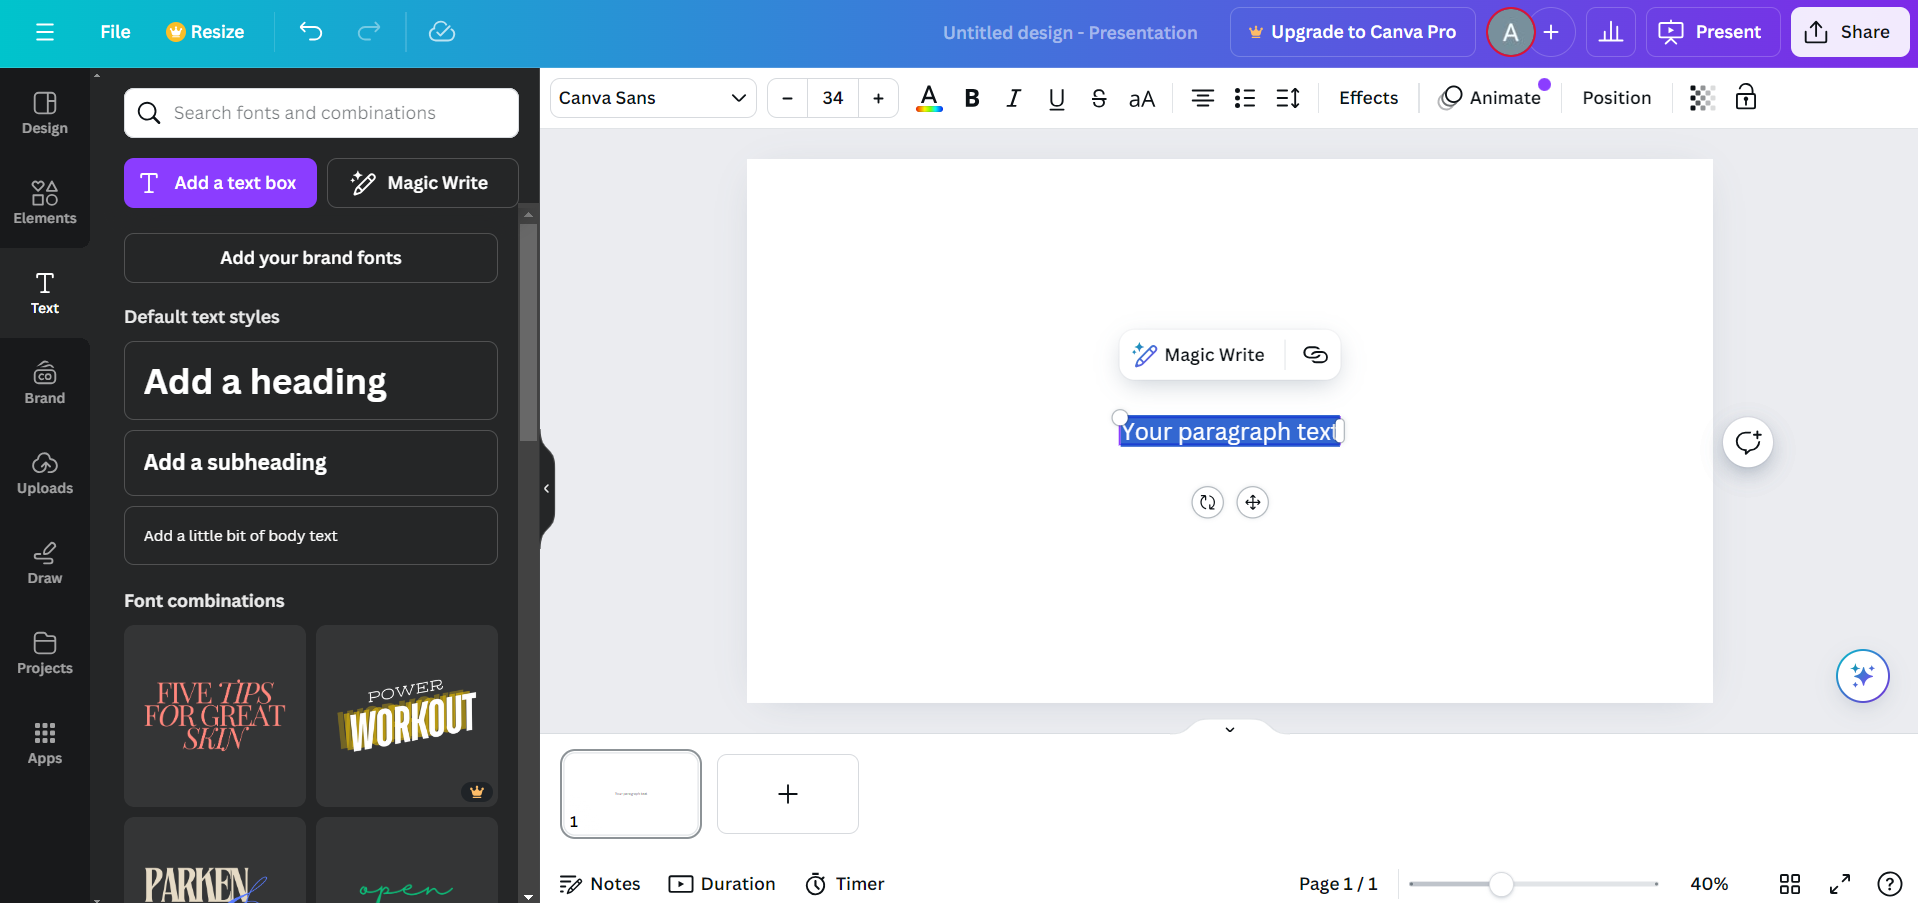
Click on the "Text" option in the left-hand toolbar and select either a "Heading," "Subheading," or "Body text" to add to your design.
Type your desired text and position it on the canvas.
Step 4: Select the Text and Open the Effects Menu
Click on the text box to select it. Once selected, you'll see a toolbar appear at the top of the screen.
In this toolbar, locate the "Effects" button and click on it to open the text effects menu.
Step 5: Choose the "Curve" Effect
In the text effects menu, you'll find several options, including Shadow, Lift, and Splice.
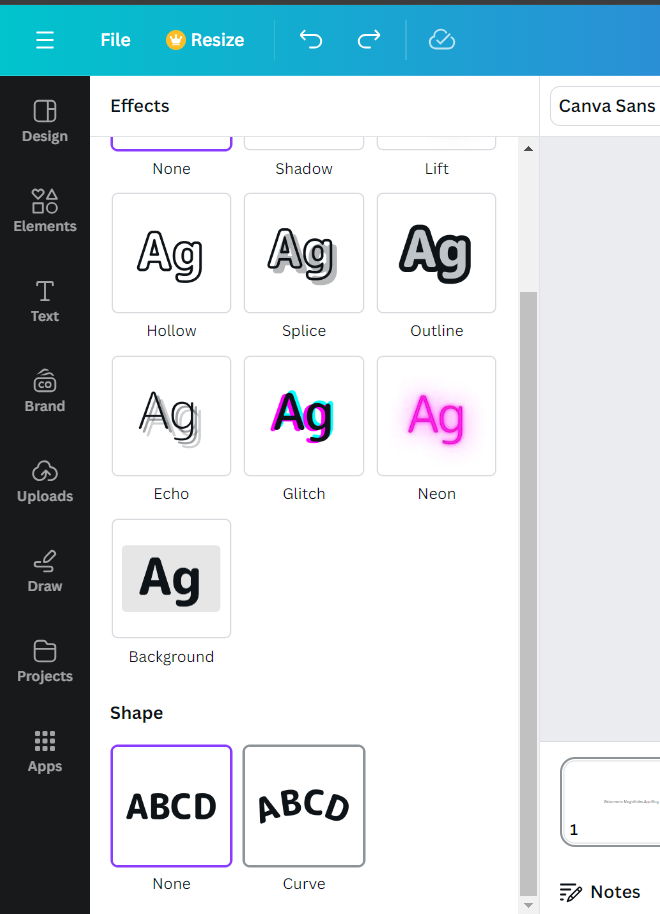
Scroll down until you find the "Curve" option. Click on "Curve" to apply the curved text effect to your selected text.
As you can see we have to go through many time consuming steps for curving text and crating a final presentation, there is a simple yet effective tool called magicslides.app that lets you create presentation in less than a minute. Check it out today and save your time and energy!
Step 6: Customize Your Curved Text
Once you're satisfied with the curve, you can further customize your text by changing the font, color, size, and spacing.
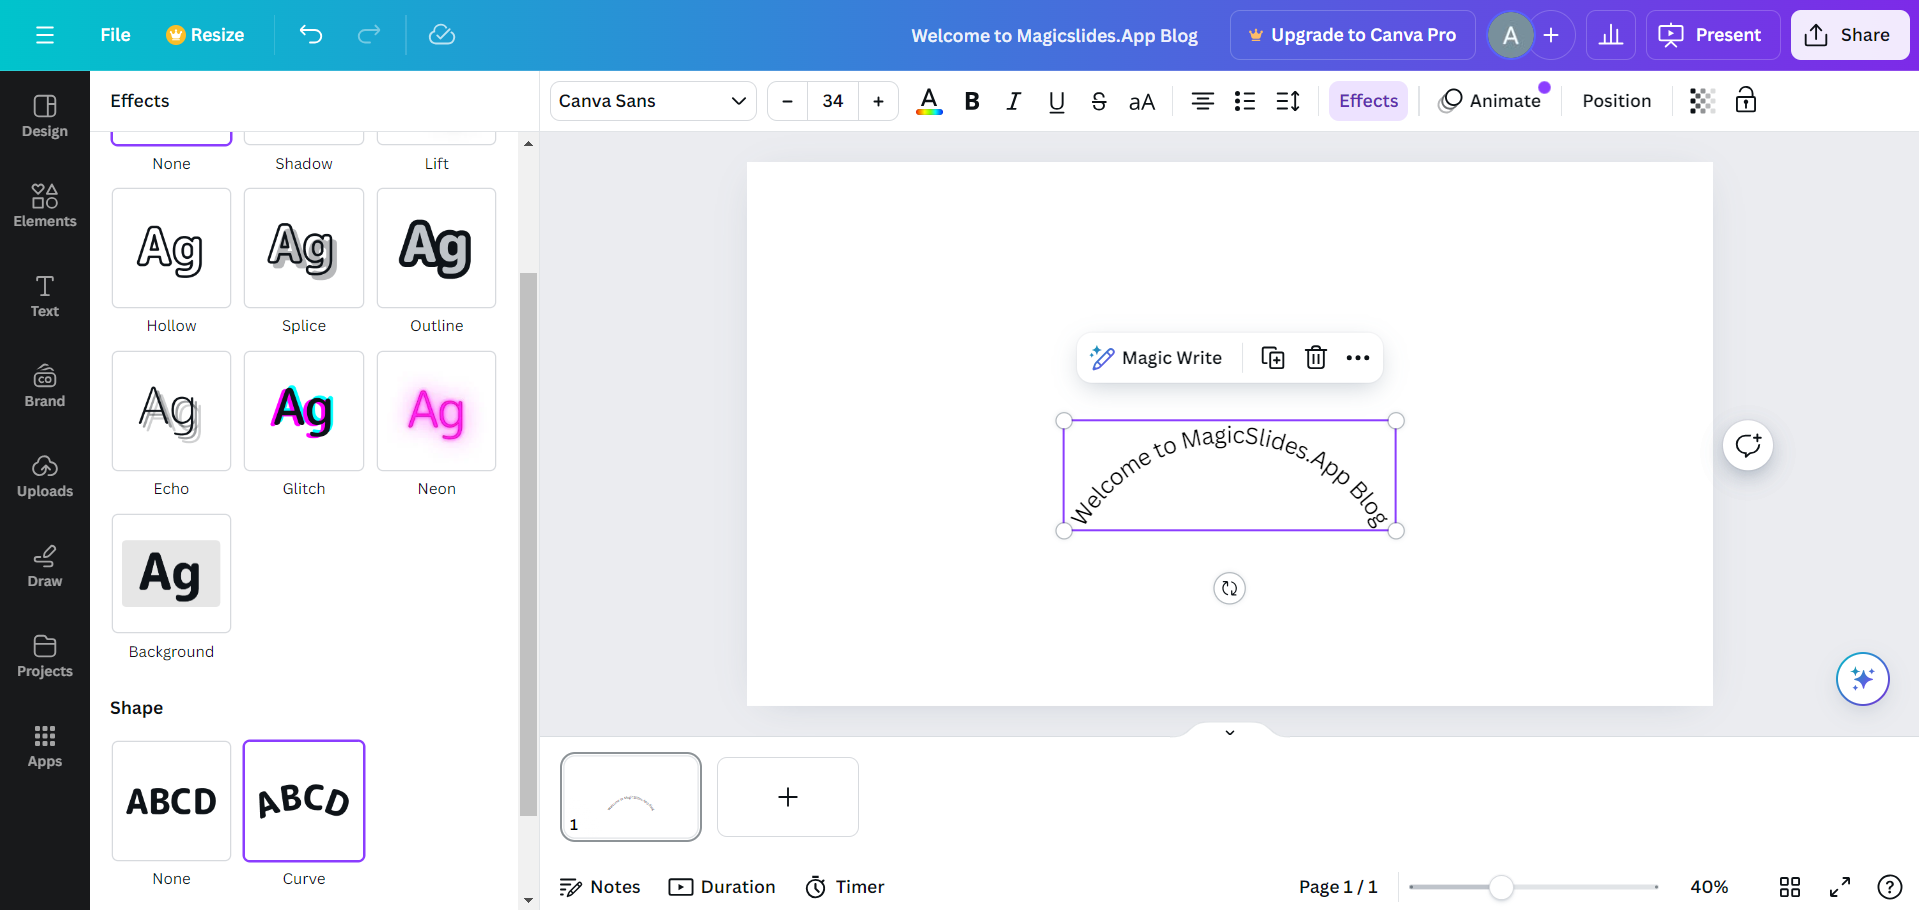
Use the options in the top toolbar to make these adjustments until your text looks exactly how you want it.
Step 8: Save and Download Your Design
When you're happy with your curved text and overall design, it's time to save and download your work.
Click on the "Share" button in the top-right corner, select "Download," choose your preferred file format (such as PNG, JPEG, or PDF), and click "Download" to save your design to your computer.
Conclusion
Curving text in Canva is a simple yet powerful way to add creativity and flair to your designs.
Whether you're looking to create eye-catching logos, engaging social media posts, or professional presentations, curving text can help your content stand out.
By following these steps, you'll be able to easily apply and customize curved text in Canva, enhancing the visual appeal of your projects. Experiment with different curves and see how they can transform your designs!
FAQs are here to guide you!
Can I adjust the curve after applying it?
Yes, you can use the slider to increase or decrease the curve's intensity.
Can I apply other effects to curved text?
Yes, you can add effects like shadows, glows, or change fonts and colors after curving the text.
Is curving text available on Canva's free version?
Yes, the curving text feature is available in both Canva's free and Pro versions.


