How to group objects in PowerPoint


Enhance PowerPoint precision: Learn to effortlessly group objects for organized, impactful presentations. Unleash your creativity now!
Effortless Object Grouping in PowerPoint
Grouping of differnt objects in Microsoft Powerpoint is a game changing feature for any body trying to create stellar presentation. It not only adds beauty but also saves a lot of time by not individually selecting each object and then trying to keeping them in place.
Achieve seamless organization in your PowerPoint presentation with these detailed steps for grouping objects:
Step 01: Presentation Access:
Commence by opening your PowerPoint presentation, setting the stage for a streamlined object grouping process.
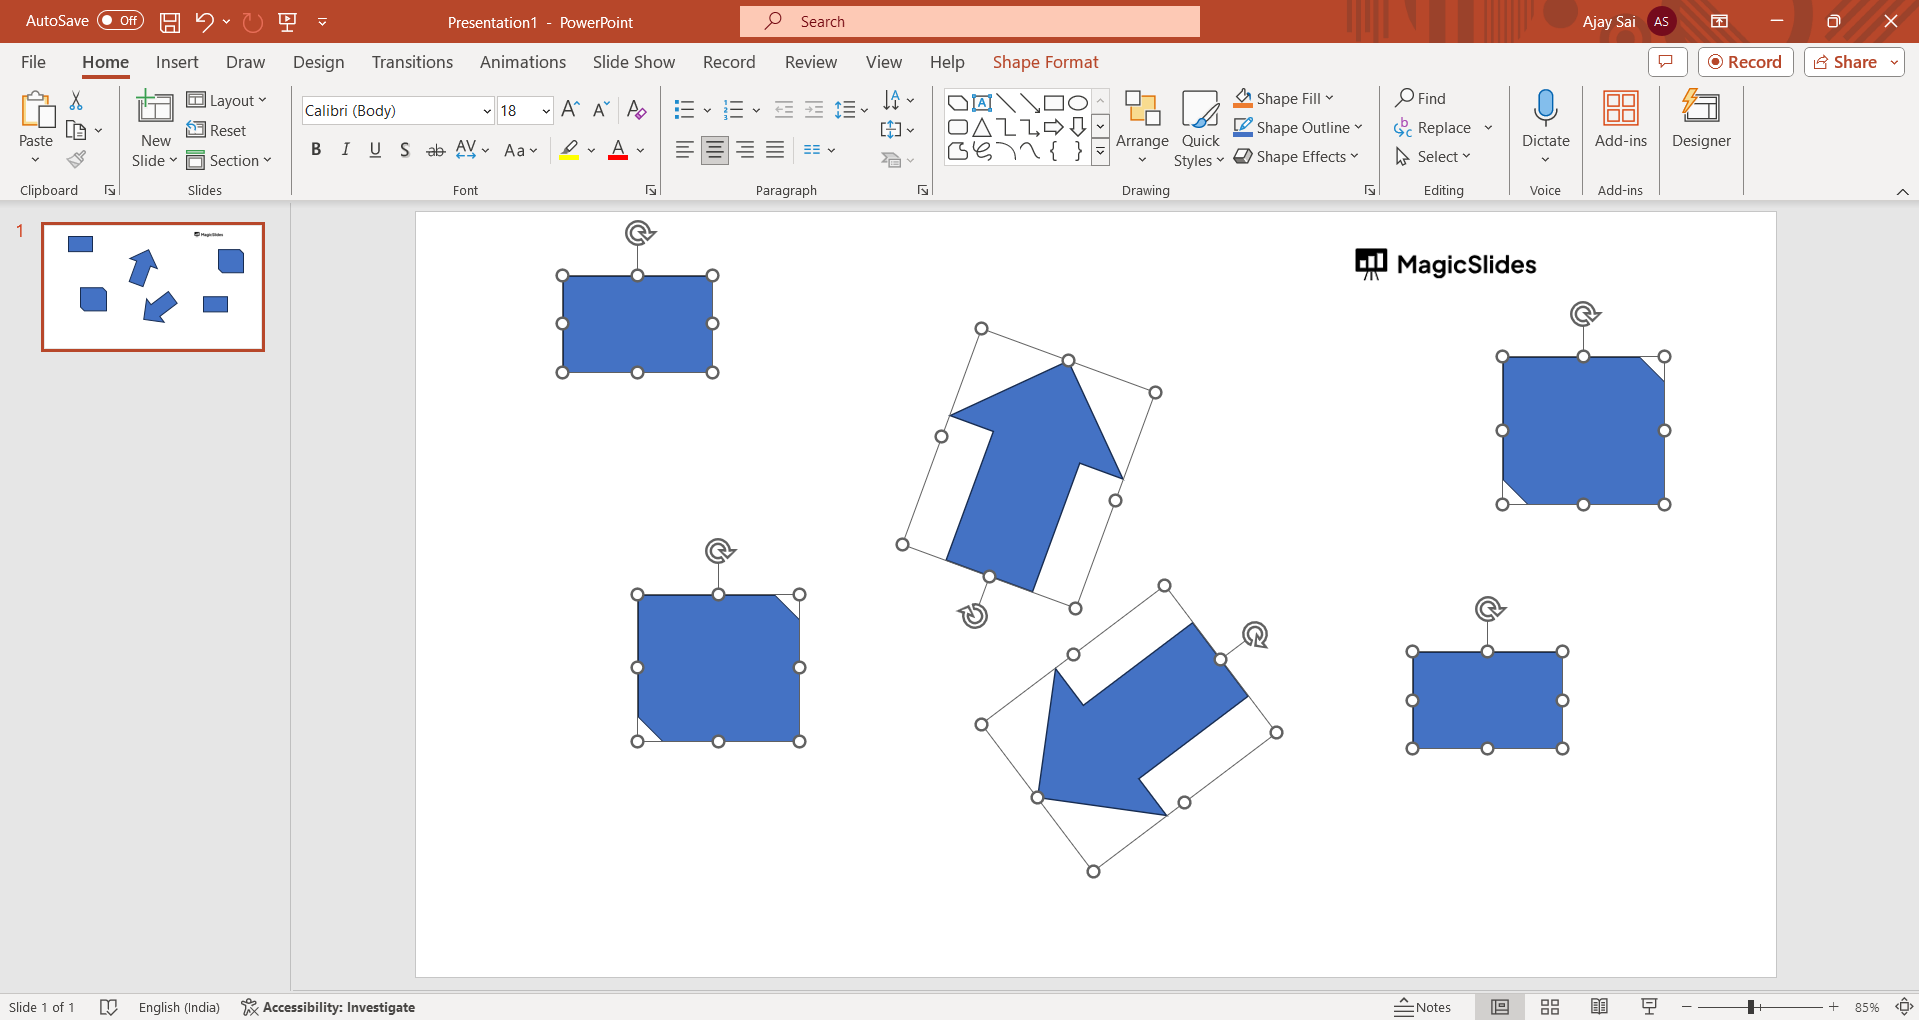
Step 02: Selection in Normal or Slide Master View:
Whether in Normal View or Slide Master View, exercise control over your objects by Shift-clicking or Ctrl-clicking the pictures, shapes, or other elements you wish to group.
Step 03: Initiate Right-Click:
With your desired elements selected, right-click on any one of them. A convenient drop-down menu will materialize, providing various options for object manipulation.

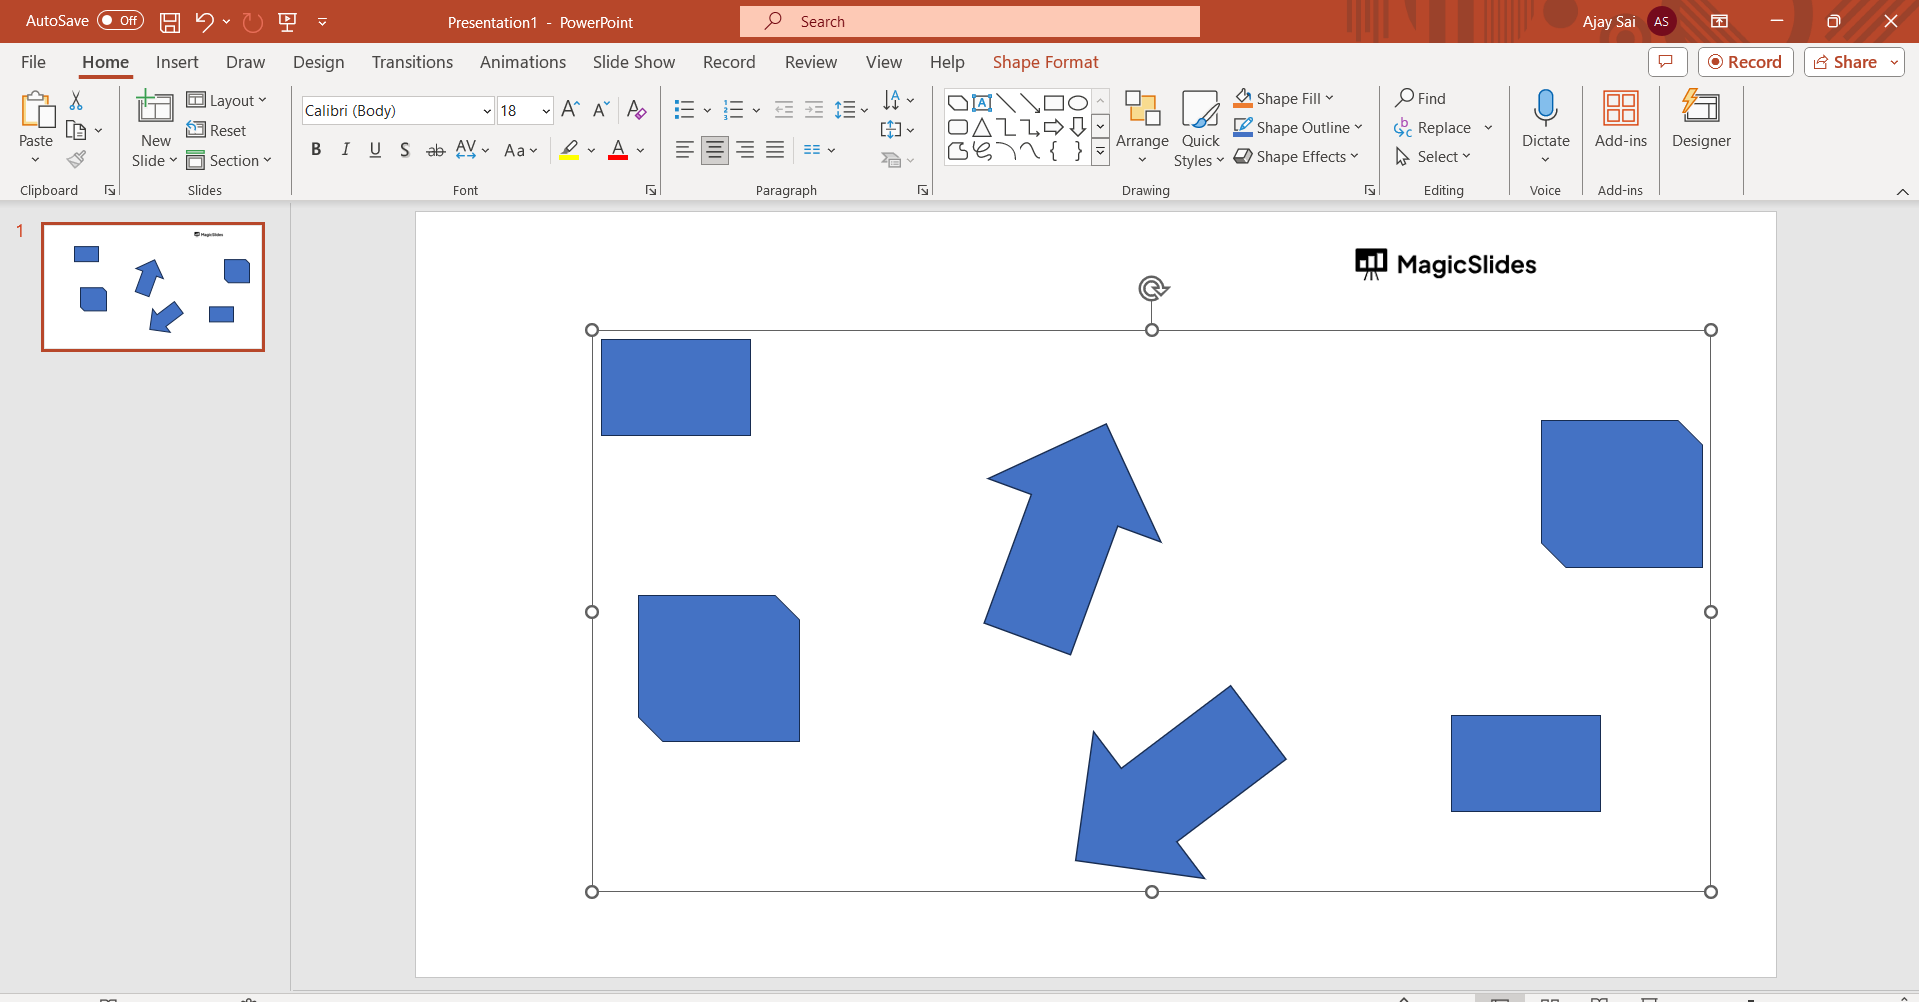
Step 04: Select Grouping Options:
Navigate to the 'Group' option within the menu and subsequently choose 'Group' from the sub-menu. Witness the transformation as your selected objects merge into a cohesive group, complete with a single set of selection and rotation handles.
Conclusion:
In conclusion, mastering the art of object grouping in PowerPoint elevates your presentations to new heights. Organize, enhance, and captivate your audience with the streamlined control and polished aesthetics achieved through these simple yet powerful techniques. As you navigate the world of design and presentation, remember that meticulous organization fosters not only a visually appealing experience but also a deeper connection with your content. Embrace these skills, and let your creativity shine in every slide.
Frequently Asked Questions:
Q1: Can I group objects across different slides in PowerPoint?
Ans: Unfortunately, PowerPoint allows grouping only within a single slide, not across multiple slides.
Q2: What happens if I accidentally group the wrong objects?
Ans: No worries! Simply right-click on the grouped objects, select 'Group,' and then 'Ungroup' to revert to individual elements.
Q3: Can I still edit individual objects once they're grouped together?
Ans: Absolutely! Right-click on the grouped objects, choose 'Group,' and then 'Ungroup' to regain individual control for further editing.
Have a look @these info blogs:
how to make an image transparent in powerpoint: https://www.magicslides.app/blog/how-to-make-an-image-transparent-in-powerpoint
How To Insert A Word Document Into Powerpoint: https://www.magicslides.app/blog/How-to-insert-a-word-document-into-powerpoint
How To Conclude A Presentation | End Your Presentation On A Good Note: https://www.magicslides.app/blog/how-to-end-your-presentation
How To Open Google Slides In Powerpoint: https://www.magicslides.app/blog/How-to-open-google-slides-in-powerpoint