Addon google slides iconPPT with AISlide TemplatesPPT TemplatesPricingBlog
    PPT with AISlide TemplatesPPT TemplatesPricingBlog
    1. Home
    2. Blog
    3. How to Stretch Fan out Image in PowerPoint

    How to Stretch Fan out Image in PowerPoint

    Ajay Sai

    Published By

    Ajay Sai

    Approved By

    Admin

    Published On

    November 12th, 2025

    Reading Time

    2 min read

    Create stunning visuals in PowerPoint by learning how to stretch and fan out your images effectively

    Creating dynamic visuals in PowerPoint can greatly enhance your presentations.
    A "fan-out" effect for images is one such technique that can make your slides visually engaging and appealing.
    This step-by-step guide will show you how to stretch and fan out an image in PowerPoint, helping you deliver a polished and professional presentation.

    How to Stretch Fan Out an Image in PowerPoint | Steps to Stretch and Fan Out an Image in PowerPoint

    Step 1: Open PowerPoint and Insert Images

    Open your PowerPoint presentation or create a new slide.
    notion image
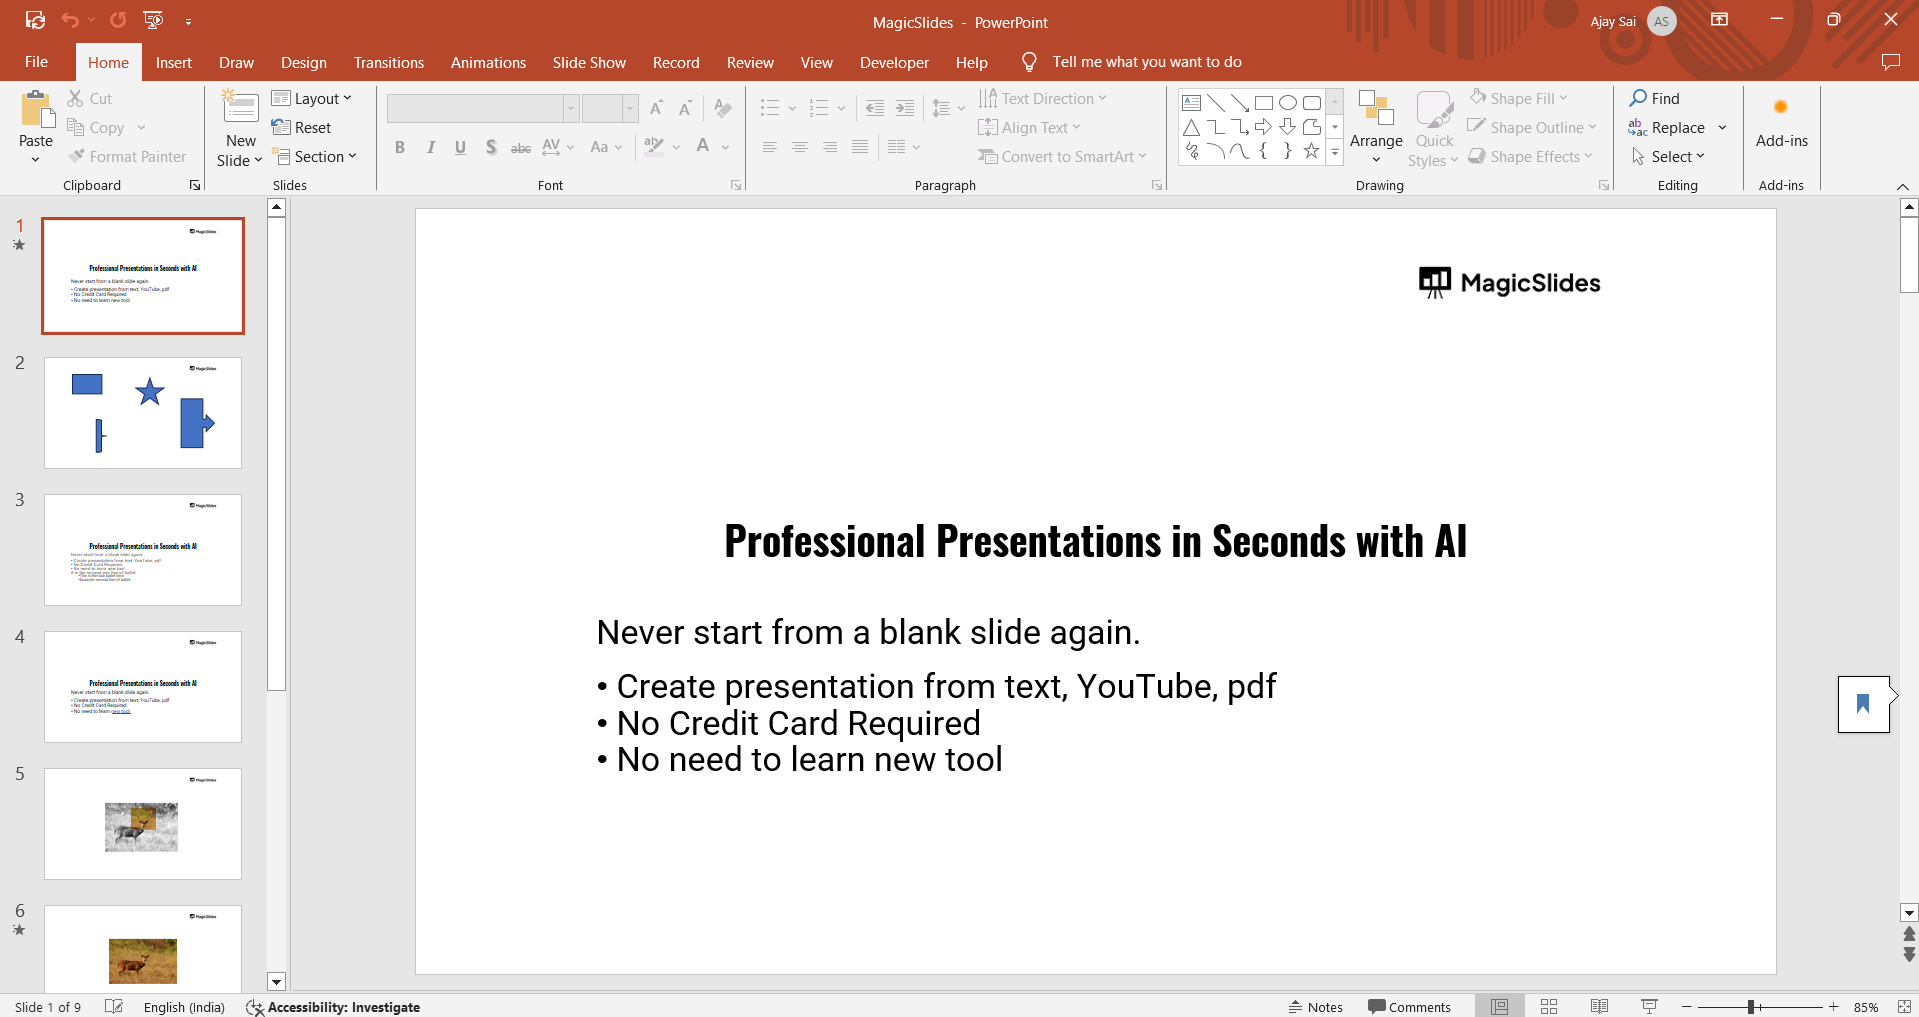
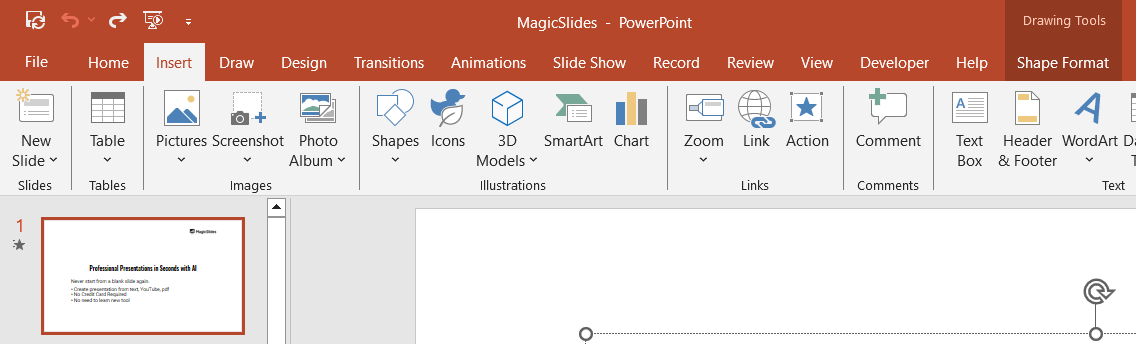
    Click on the Insert tab in the toolbar and select Pictures to add the images you want to fan out.
    notion image
    Place the images on the slide, ensuring they overlap slightly for a cohesive fan-out effect.

    Step 2: Arrange the Images

    Select the first image and drag it to its desired position on the slide. For the subsequent images, slightly offset each one to create a fanning effect.
    notion image
    Use the Rotate handle at the top of each image to tilt them at different angles, mimicking a fan.

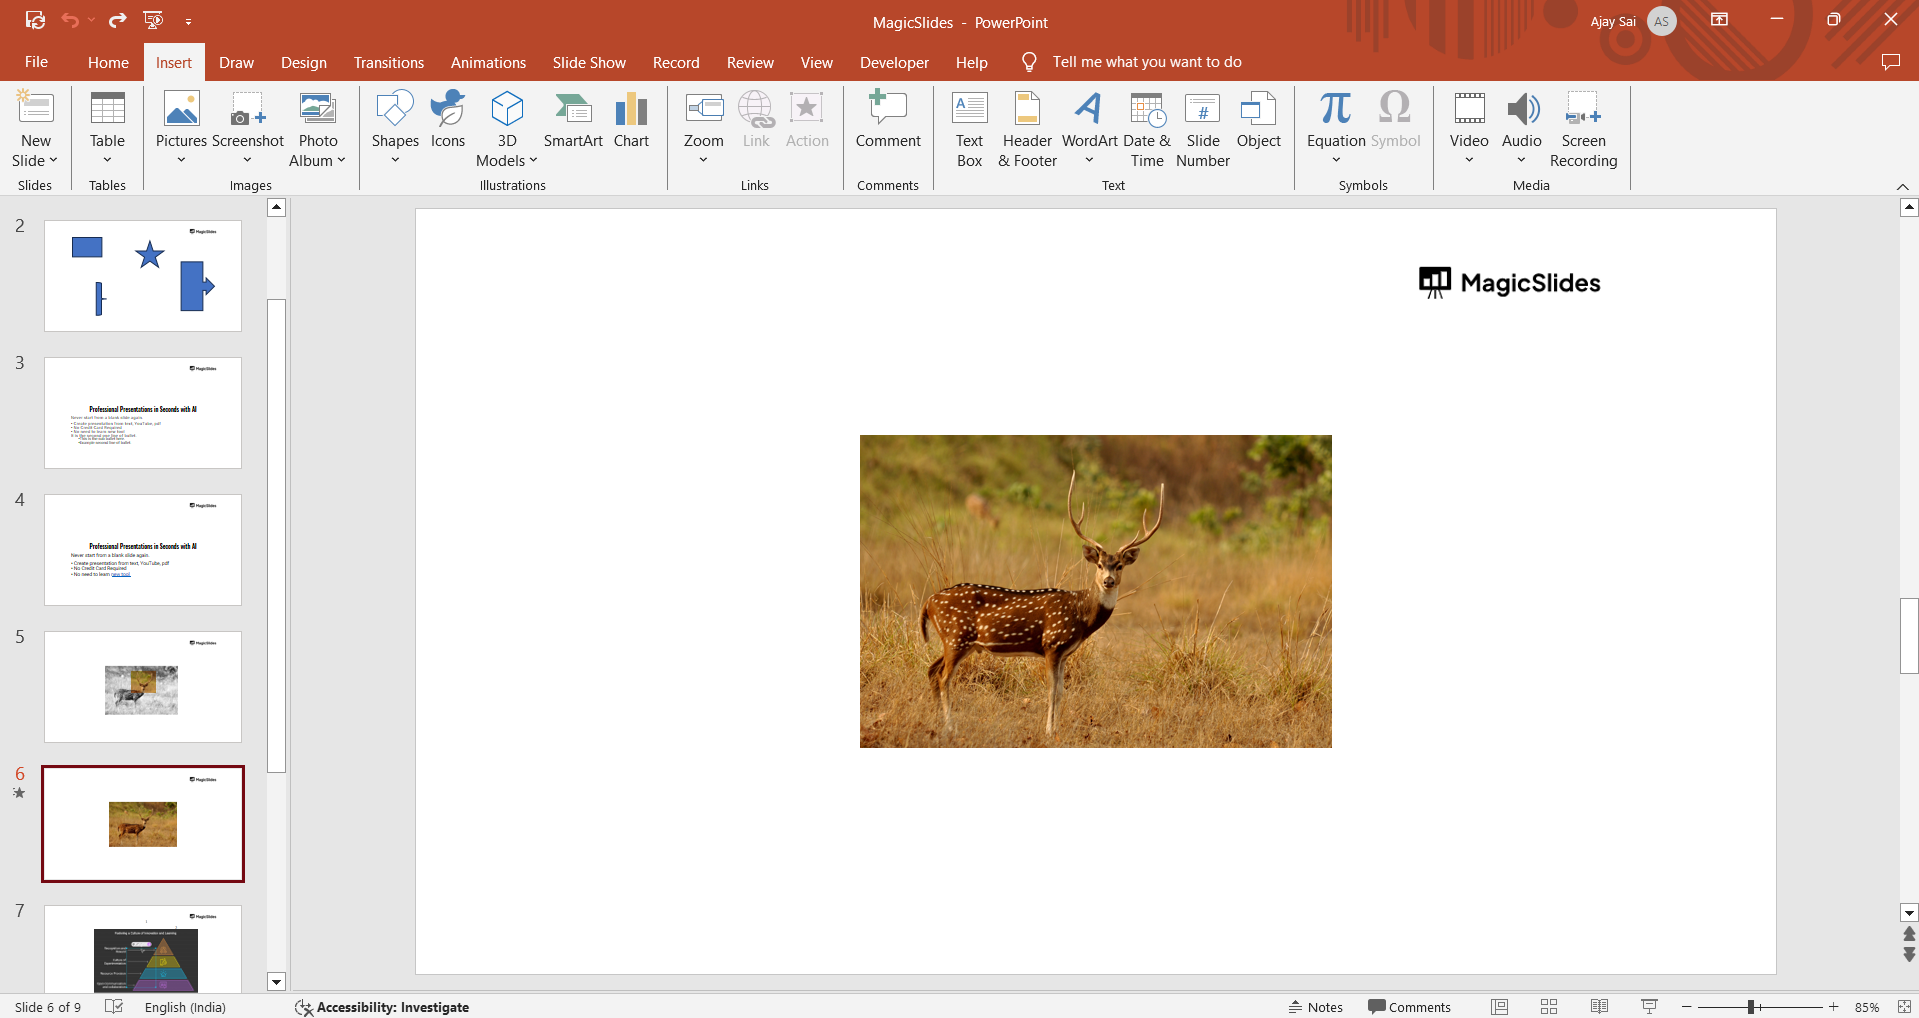
    Step 3: Resize the Images for Perspective

    Click on an image, then drag its corner handle inward or outward to resize it.
    notion image
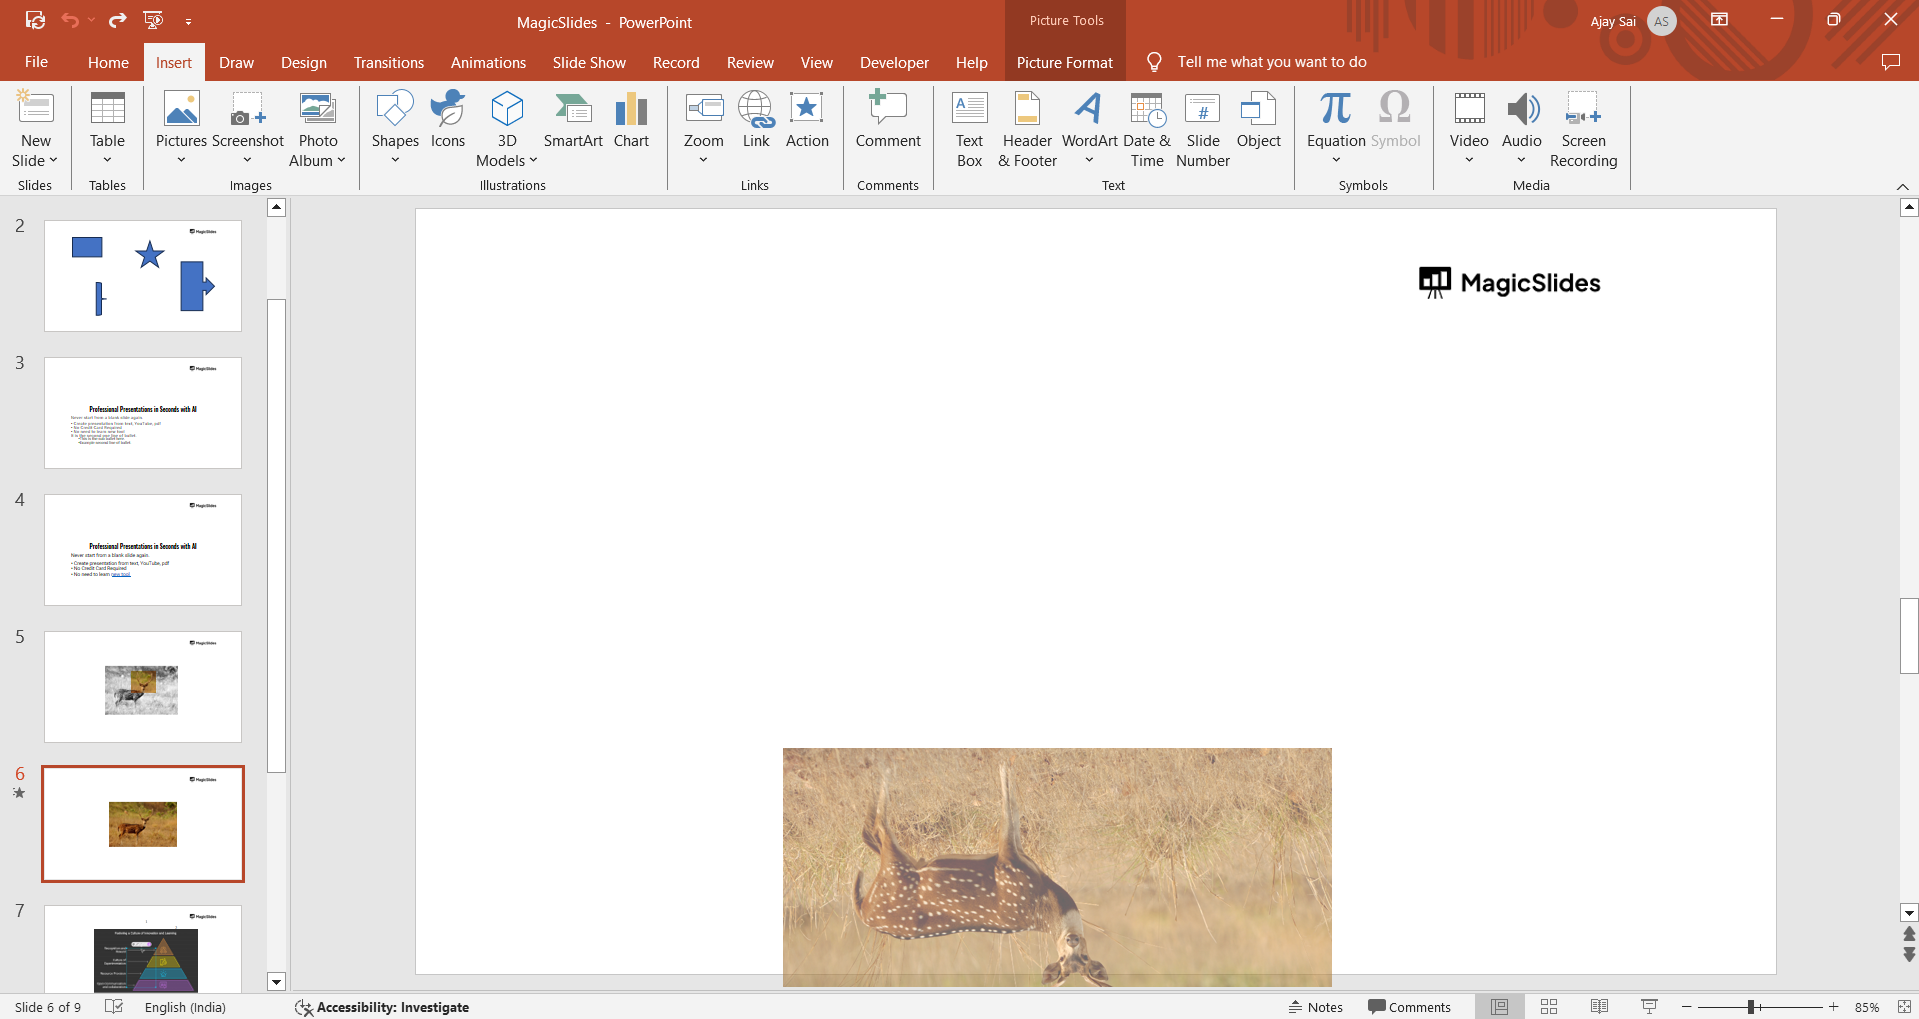
    Gradually decrease or increase the size of each image as you move them across the slide to create depth.

    Step 4: Add Shadows or Borders (Optional)

    Highlight all images by holding down the Shift key and selecting them.
    notion image
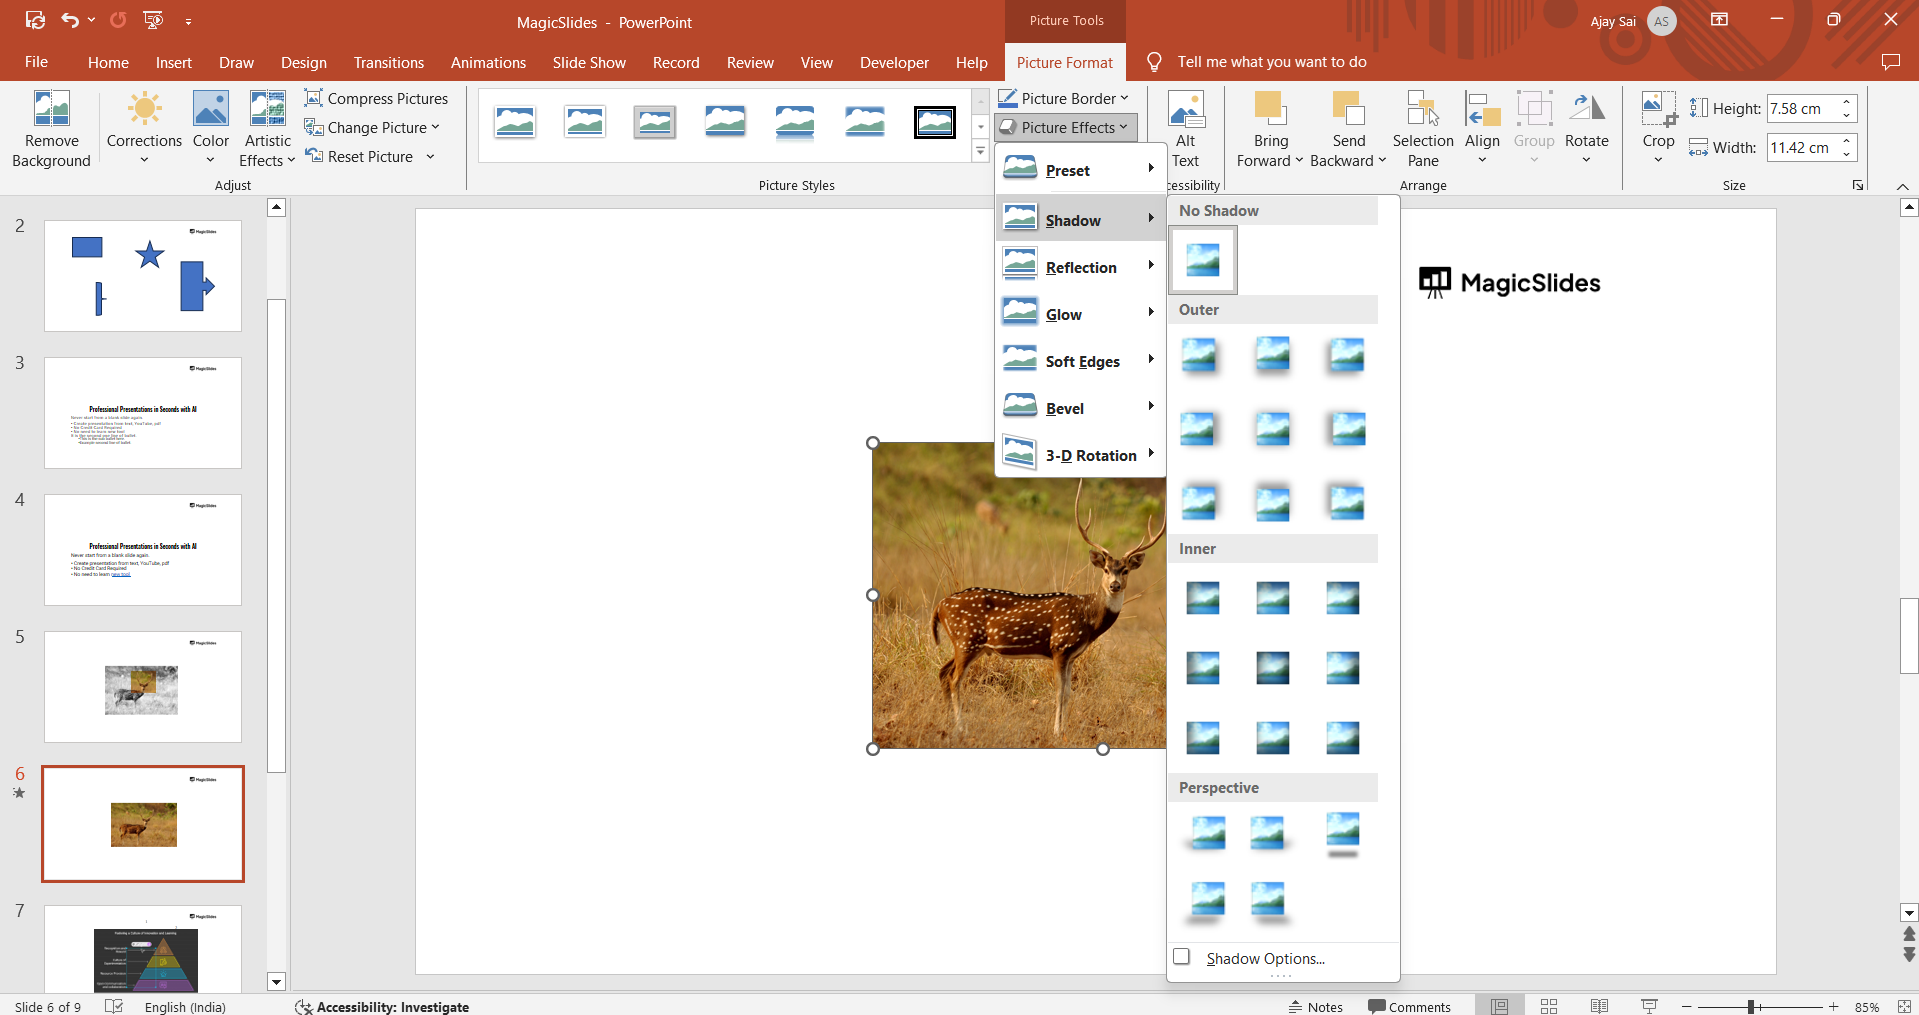
    Navigate to the Picture Format tab and choose Picture Effects > Shadow to add a shadow. Alternatively, add borders for a cleaner, outlined look.

    Step 5: Final Adjustments

    Check the alignment and spacing between the images for a polished appearance.
    Make any final tweaks to the rotation, size, or placement.

    Conclusion

    Stretching and fanning out images in PowerPoint is a great way to make your presentation visually appealing.
    By following these simple steps, you can create a captivating arrangement that draws attention and highlights your creativity.
    Experiment with angles, sizes, and effects to customize the fan-out look for your project.

    FAQs on Stretching Fan-Out Images in PowerPoint

    Can I apply the fan-out effect to text instead of images?

    Yes, you can follow a similar process with text boxes, adjusting their angles and positions.

    Is it possible to animate the fan-out effect?

    Absolutely! Use the Animation tab to add effects like "Fly In" or "Appear" for a dynamic presentation.

    How do I align the images perfectly?

    Use the Align option in the Arrange group under the Home tab to ensure precise positioning.
    Mastering this technique allows you to create stunning slides that leave a lasting impression!

    Share on socials

    About the author

    Ajay Sai profile photo
    Ajay Sai— writer at MagicSlides.app

    Ajay have been a techincal writer for more than 2+ years. from coding tutorials to using day to day apps he have helped 100k+ visitors with their various queries

    More from Ajay

    More from the blog

      250+ Good Morning Messages for Her (Romantic, Deep, Cute & Sweet)

      30 January 2026

      200+ Heart Touching Birthday Wishes for Sister (Short, Funny and More)

      29 January 2026

      50+ History Presentation Topics For 2026

      28 January 2026

      How to Add Music to Your Canva Presentation: A Step-by-Step Guide

      27 January 2026

      15 Quick Tips To Use ChatGpt At Work

      22 January 2026

      11 Best AI Tools for Business in 2025

      22 January 2026

      How to Create an Infographic That Clearly Communicates Your Message

      20 January 2026

      How to Create a Sales Presentation Template in Google Sheets

      20 January 2026

      How to Make a Pie Chart on Google Slides in Simple Steps

      19 January 2026

    Table of Contents

    Create Presentations in Seconds

    Transform your ideas into professional presentations with AI. No design skills needed.

    Try MagicSlides Free

    Create Stunning Presentations with AI in Seconds ✨

    Transform any topic, text, YouTube video, PDF or URL into beautiful presentations instantly with MagicSlides AI.

    Try MagicSlides AI Presentation Maker
    MagicSlides AI Presentation

    Footer

    Solutions

    • MagicSlides App
    • Google Slides Add-on
    • MagicSlides in Chrome
    • MagicSlides in Figma
    • MagicSlides in ChatGPT
    • MagicSlides in Telegram
    • MagicSlides in Zapier
    • MagicSlides in Figma Slides

    Tools

    • AI PPT Tools
    • QR Code Generator
    • Design Tools
    • PPT Templates
    • Slide Templates
    • PDF Tools

    Examples

    • AI Presentations
    • PPT by MagicSlides
    • Quizzes
    • Charts
    • Coloring Pages

    Resources

    • Changelog
    • Documentation
    • API Docs

    Top Blogs

    • How to Create Presentation Using ChatGPT
    • 100+ Best Seminar Topics for Students in 2025

    Company

    • Help
    • MCP
    • Blog
    • Pricing
    • Affiliate Program
    • Manage Subscription
    • Privacy Policy
    • Contact Us
    • Terms & Conditions
    • Refund & Cancellation Policy

    We also built

    • SheetAI - GPT For Sheets
    • MagicForm - GPT For Google Forms
    • SecondBrain.fyi
    • BlogBee - Free Blogging Platform

    © 2026 IndianAppGuy Tech Pvt Ltd. All rights reserved.