How to Wrap Text Around Images in Google Slides (Step-by-Step)


Learn how to wrap text around images in Google Slides with simple workarounds. Create cleaner, more professional slide layouts in minutes.
Wrapping text around images or other elements can add a professional touch to your slides and help you convey your message more effectively.
In this guide, I’ll show you how to create the effect of wrapped text in Google Slides using a simple manual workaround. By the end, you’ll be able to design cleaner, more professional-looking slides.
Google Slides doesn’t have a built-in option to wrap your text around images, so we have to get creative in wrapping our text manually around an image.
Can You Wrap Text in Google Slides?
Unlike Google Docs or Microsoft Word, Google Slides doesn’t support automatic text wrapping around images. Instead, you’ll need to manually position text boxes around an image or shape to create the appearance of wrapped text.
The good news is that this workaround is quick and gives you complete control over your slide layout.
How to Wrap Text Around Images in Google Slides?
Step 1. Open Your Google Slides Presentation
Begin by opening the Google Slides presentation where you want to wrap text around an image or element. If you haven’t created your presentation yet, you can start by opening Google Slides and selecting a blank presentation or an existing one.
Step 2. Insert an Image or Element & write your text to wrap
To wrap text around an image or element, you first need to insert it into your slide. Click on the slide where you want to place the image or element, then go to the “Insert” menu and choose “Image” or “Drawing” to add the element you want to wrap text around.
Step 3. Position and Resize the Image or Element
Once the image or element is inserted, position it where you want it on the slide. You can click and drag to move it and use the resizing handles to adjust its size.

Step 4. Select the Image or Element
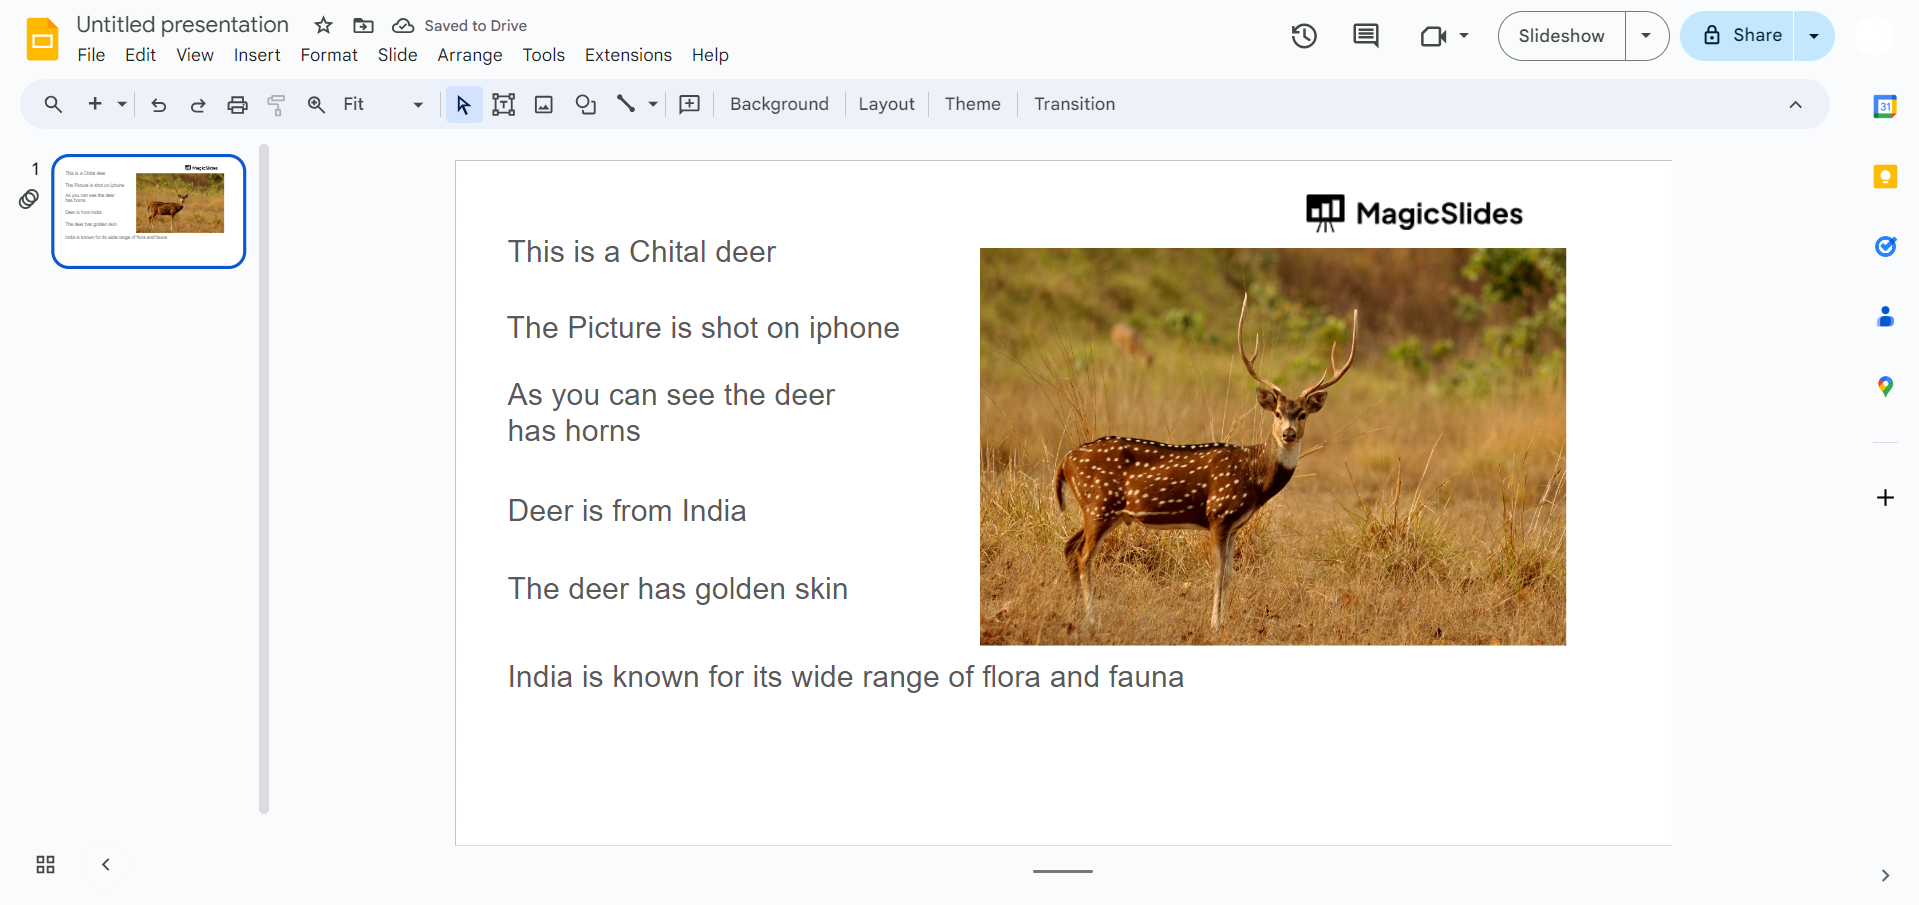
As discussed earlier, wrapping either text to image or vice versa has to be done manually, so click on the image since text is more, and let’s wrap the text around the image.
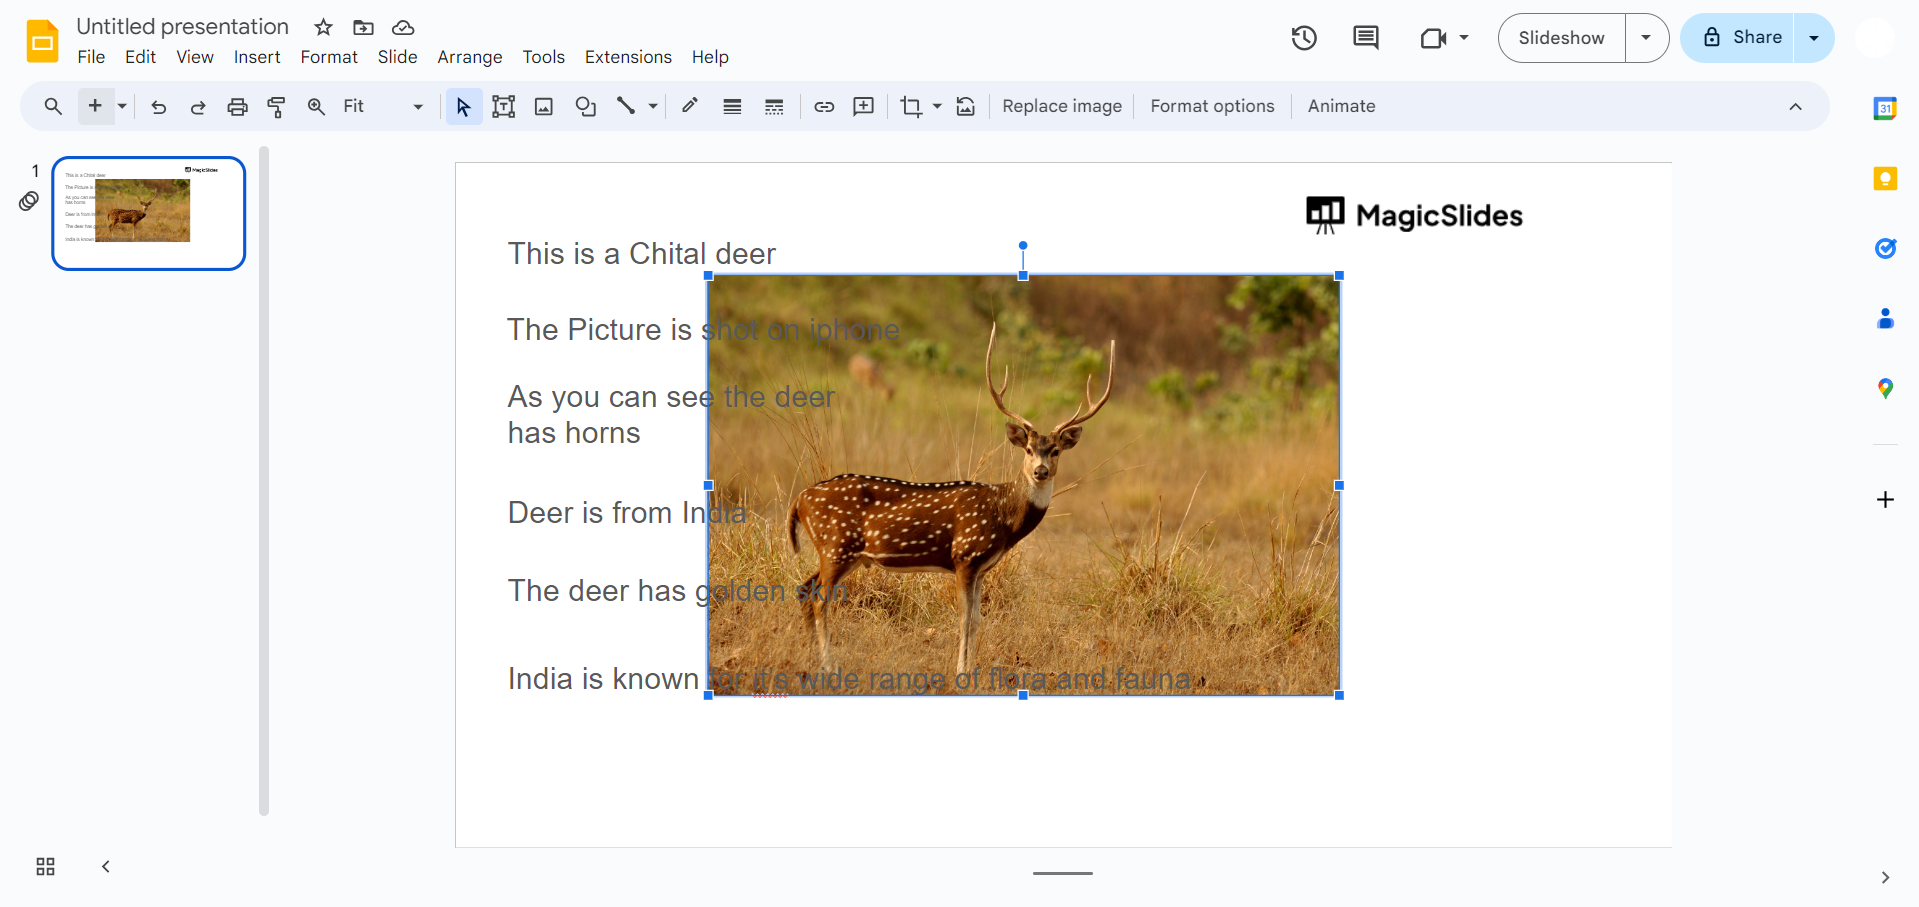
Step 5. Adjust the image/ text around the other to wrap
In the picture below, we’ve wrapped text around the image so that both text and images are clearly visible and the slide has become more attractive than it was before.

Step 6. Adjust as Needed
You can further refine the placement and alignment of the text by clicking and dragging the image or element. As you move it, the text will adjust to wrap around it accordingly.
Tips for Better Text Wrapping
- Leave enough white space between text and images.
- Avoid covering important parts of the image.
- Keep text aligned for a cleaner layout.
- Use high-quality images with transparent backgrounds when possible.
- Preview your slides before presenting.
This improves user value and topical depth.
Create Professional Presentations Faster with MagicSlides
Learning layout techniques like manual text wrapping can make your slides look more professional, but designing an entire presentation from scratch still takes time.
With MagicSlides, an AI PPT Maker, you can instantly create polished presentations from:
- Text prompts
- PDFs and Word documents
- Web pages
- YouTube videos
- Articles and notes
Instead of manually building every slide, MagicSlides generates a professionally designed presentation in seconds.
Conclusion
Although Google Slides doesn’t include an automatic text wrapping feature, you can easily achieve the same effect by manually positioning text boxes around images. With a little adjustment, your slides will look cleaner, more balanced, and easier to read.
If you create presentations regularly, combining these design techniques with an AI presentation tool like MagicSlides can help you build professional slides much faster.
Frequently Asked Questions:
Q1. How can I wrap text around images in Google Slides?
Text wrapping around images can be achieved by placing the image and text in separate text boxes. Position the image and text box close together, then adjust the text box’s size and position to create the desired wrapping effect.
Q2. Can I adjust the alignment of the wrapped text in Google Slides?
Yes, you can align the wrapped text by adjusting the position and size of the text box containing the text. By moving the text box and resizing it, you can control how the text wraps around the image.
Q3. What types of images are suitable for text wrapping in Google Slides?
Any image inserted into Google Slides can be used for text wrapping. However, images with transparent backgrounds or clear focal points tend to work best for creating visually appealing text wraps.
Q4. Why doesn’t Google Slides have text wrapping?
Google Slides is designed for presentations rather than document editing, so it doesn’t include an automatic text wrapping feature like Google Docs. Instead, you can manually arrange text boxes around images.
Q5. Can I wrap text around shapes in Google Slides?
Yes. The same manual technique works for shapes, icons, charts, and other slide elements by positioning text boxes around them.


