How to insert footnote in powerpoint


Enhance your PowerPoint presentation with insightful footnotes. Learn how to seamlessly integrate them with precision.
Elevate your PowerPoint presentations by incorporating footnotes for added clarity and professionalism. Follow these user-friendly steps to seamlessly integrate footnotes into your slides.
How to insert footnote in powerpoint
Step 1: Open Microsoft PowerPoint
Launch Microsoft PowerPoint to begin the process of enhancing your presentation with informative footnotes.
Step 2: Click the Area for Footnote Placement
Identify the specific area in your PowerPoint slide where you intend to place the footnote. Click on that designated spot.
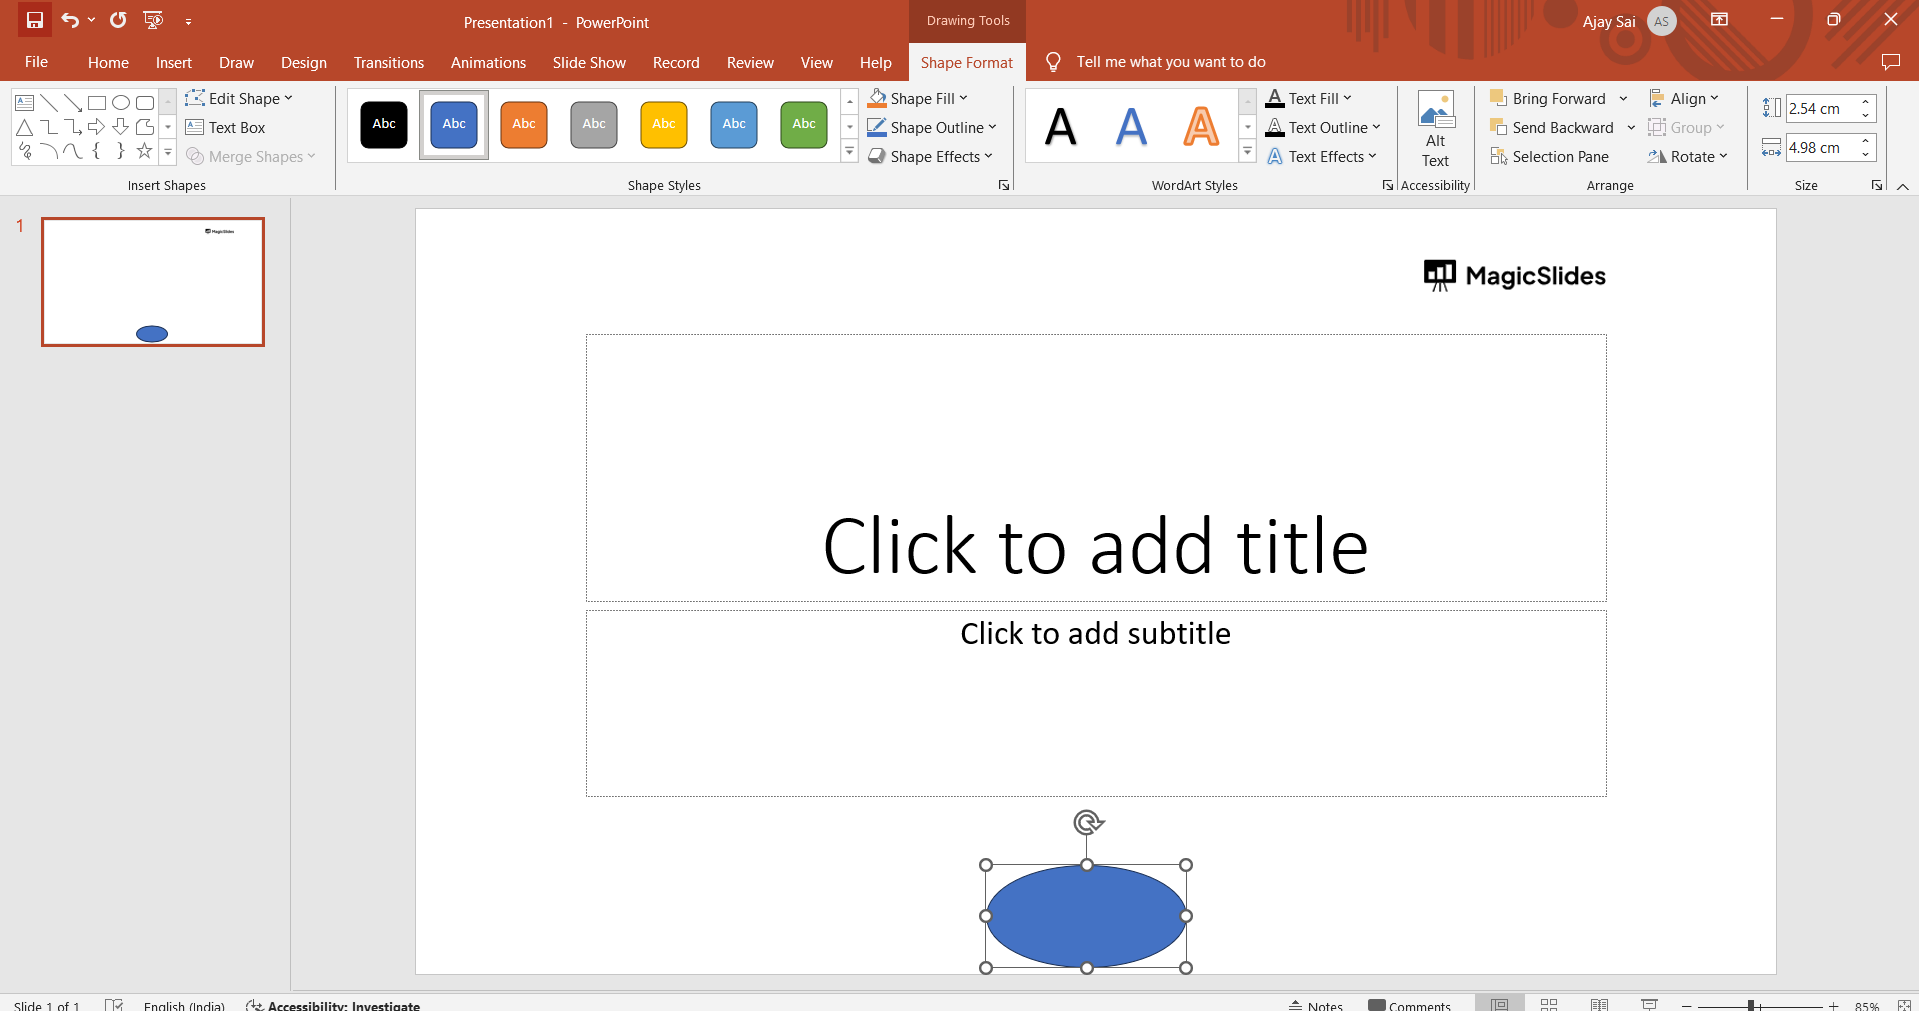
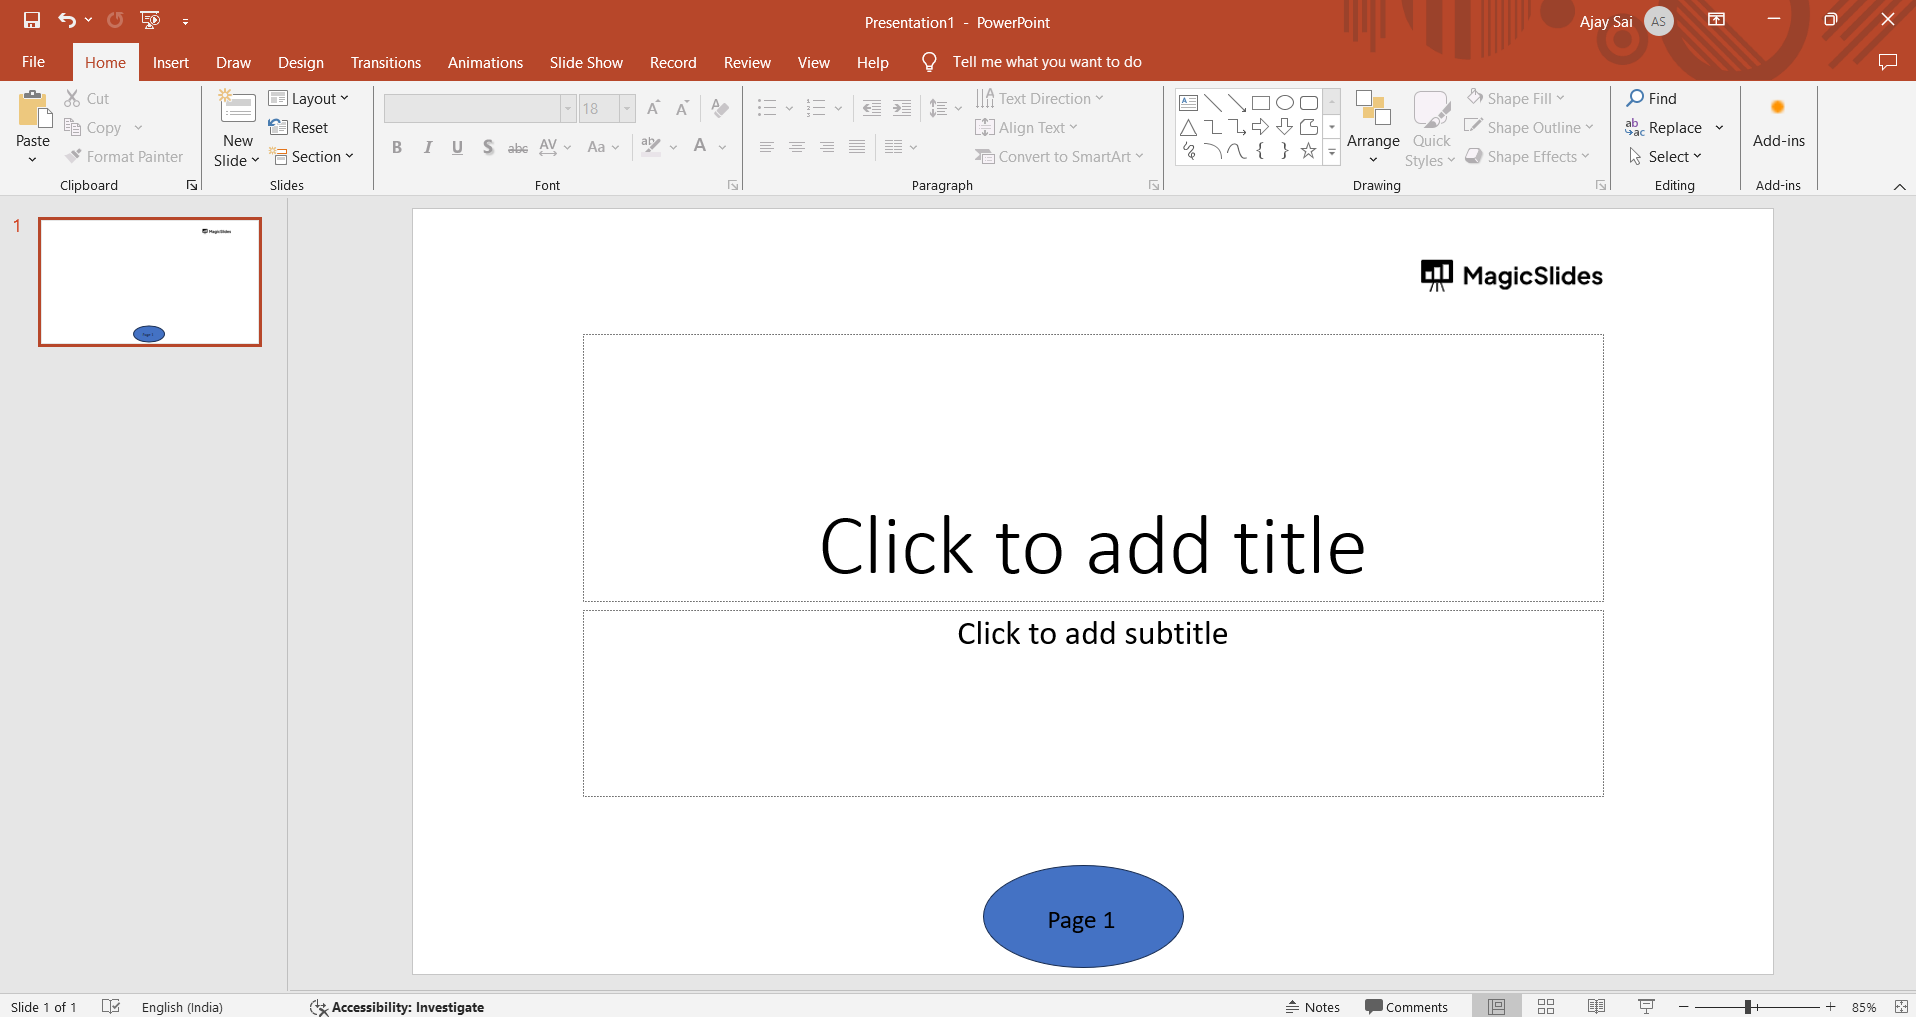
Step 3: Type a Superscript Number/Symbol
Input a number or symbol as a superscript to represent your footnote. For example, type "1." for the first footnote.
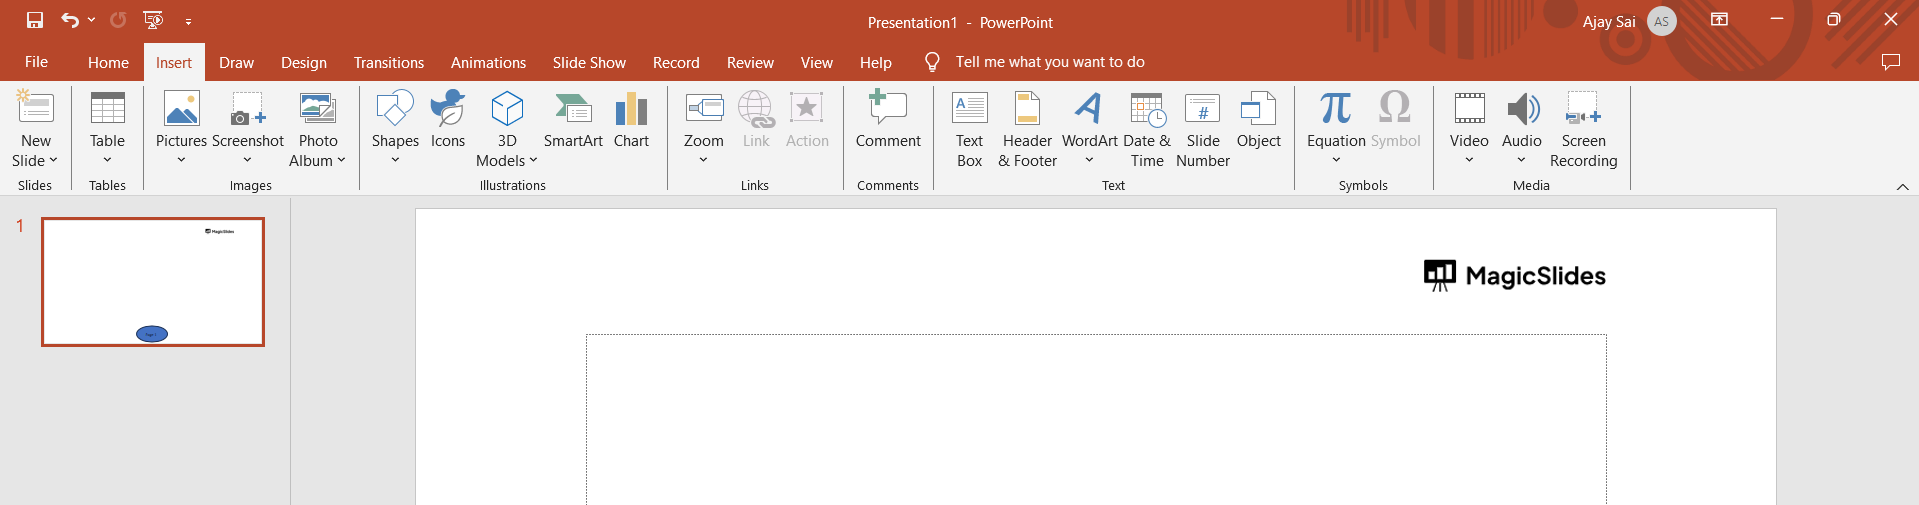
Step 4: Navigate to the "Insert" Tab and Select "Header & Footer"
Go to the "Insert" tab in the PowerPoint ribbon and choose the "Header & Footer" option. This step will allow you to access the settings for adding footnotes.
Step 5: Mark the "Footer" Check Box
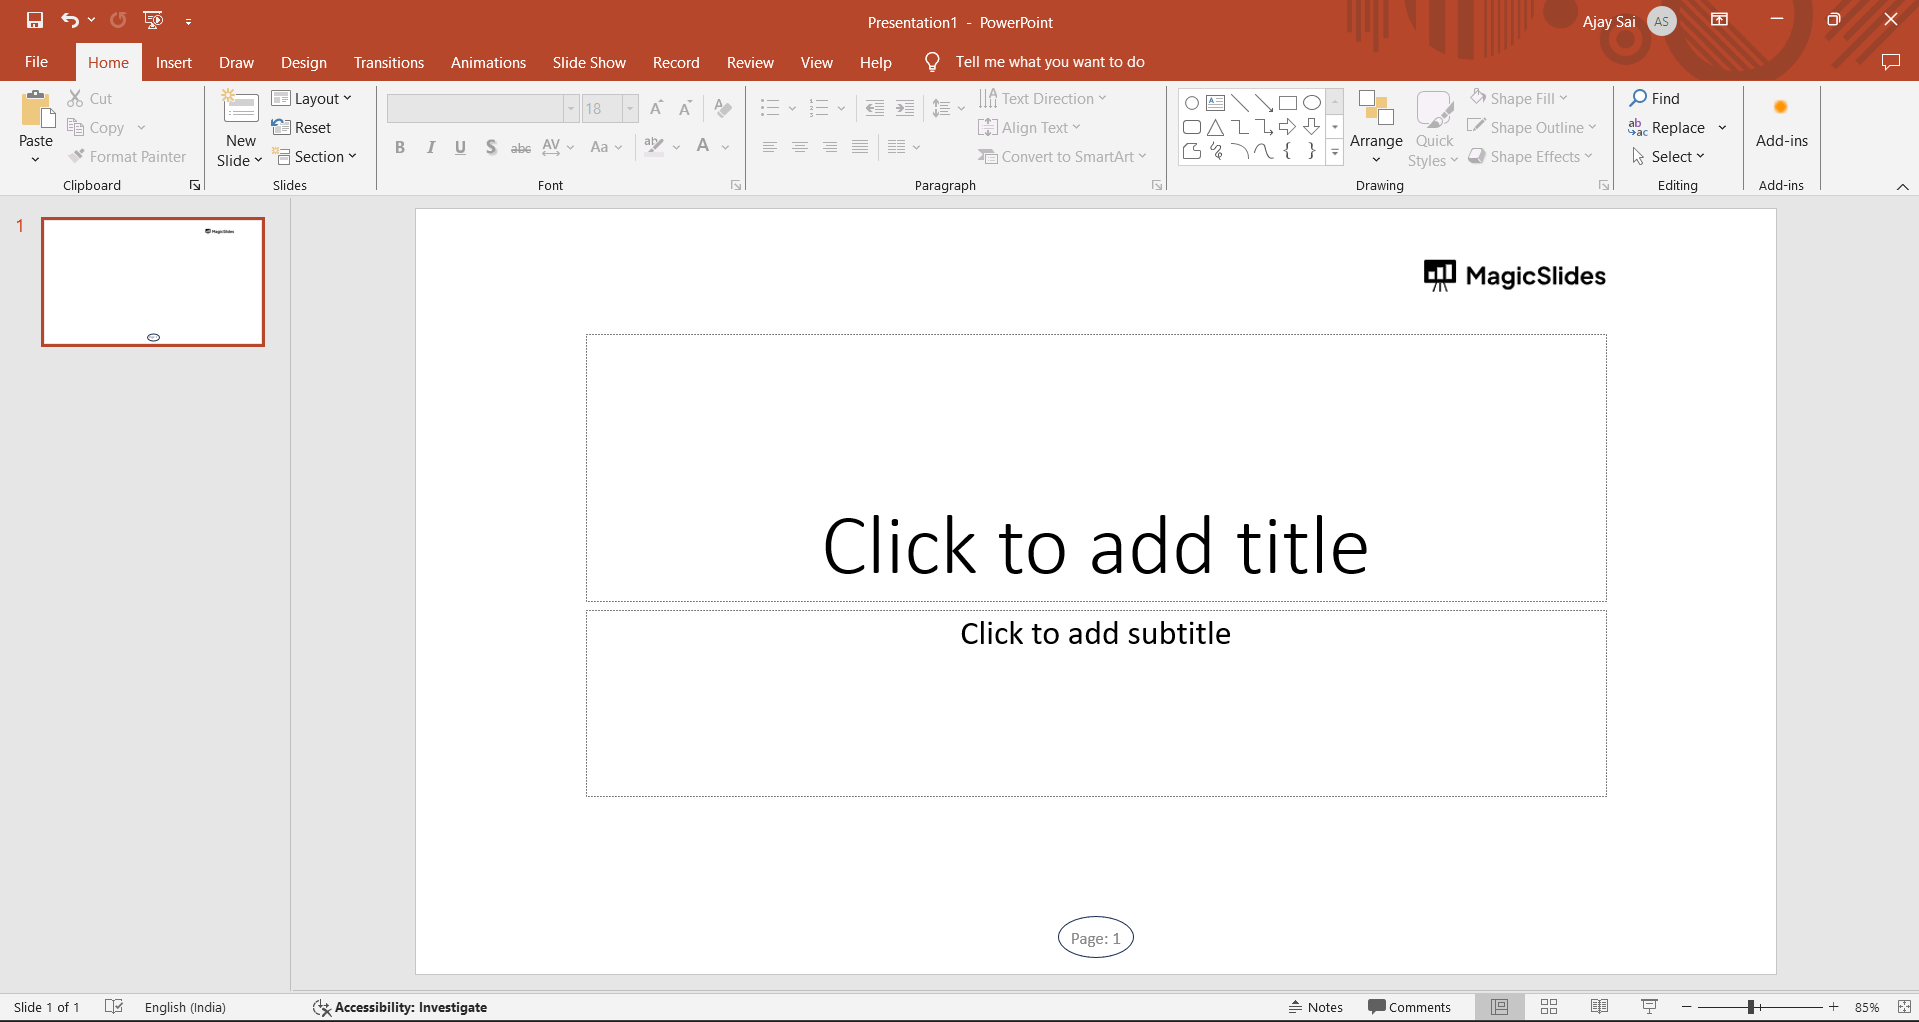
Within the "Header & Footer" settings, navigate to the "Slide" tab and check the "Footer" option. Input the number or symbol you used as the superscript, along with the text you want to appear as your PowerPoint footnote annotation.
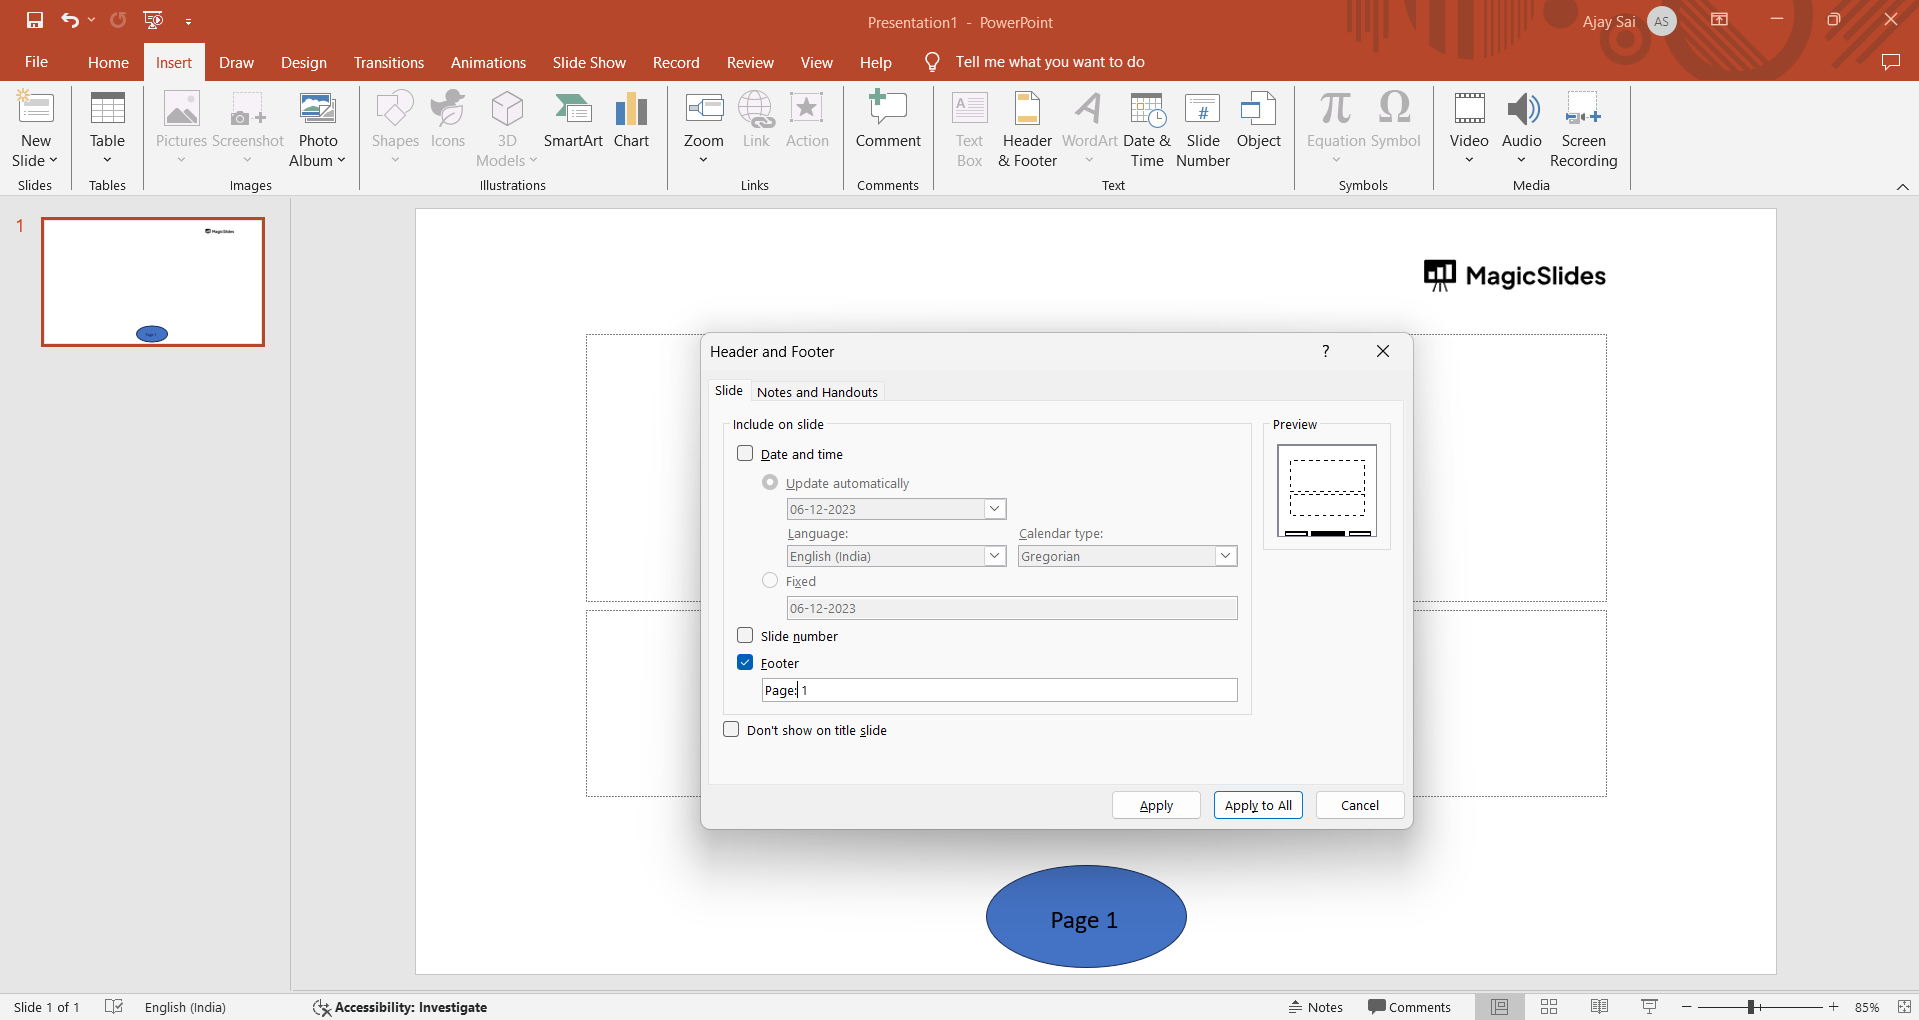
Step 6: Press "Apply"
Confirm your changes by pressing the "Apply" button. This final step ensures that your footnotes are integrated seamlessly into the selected slides.
Step 7: Repeat for Additional Footnotes
If your presentation requires multiple footnotes, repeat steps 2-6 for each new footnote you want to add.
Adding a footnote to your PowerPoint Presentations is even easier with this simple technique, checkout how insert a footnote from here
Conclusion:
By following these straightforward steps, you've successfully added footnotes to your PowerPoint slides, enhancing the overall quality and professionalism of your presentation. The inclusion of footnotes provides additional context and information, ensuring that your audience receives a comprehensive understanding of your content.
Master the art of presentation precision with these simple yet impactful additions.
Frequently Asked Questions:
Can I customize the appearance of footnotes in PowerPoint slides?
Yes, PowerPoint allows customization of footnote appearance. You can adjust the font, size, and style in the "Header & Footer" settings.
Is there a limit to the number of footnotes I can add in a single slide?
While PowerPoint doesn't specify a strict limit, it's advisable to keep footnotes concise. Excessive footnotes can clutter the slide and distract the audience.
Can footnotes be added to specific elements, like images or charts, in a slide?
PowerPoint footnotes are typically added to the entire slide, not specific elements. Consider using annotations directly on elements for targeted information.
Do footnotes appear during a presentation or only in editing mode?
Footnotes are typically visible in editing mode. However, during a presentation, only the referenced numbers/symbols will be seen, ensuring a clean and professional display.
Have a look @these info blogs:
- How To Mirror Images In Powerpoint: https://www.magicslides.app/blog/How-to-mirror-images-in-powerpoint
- How To Add Gif In Google Slides: https://www.magicslides.app/blog/How-to-add-gif-in-google-slides
- How To Turn A Powerpoint Into Google Slides: https://www.magicslides.app/blog/How-to-turn-a-powerpoint-into-google-slides
- How To Group Objects In Powerpoint: https://www.magicslides.app/blog/How-to-group-objects-in-powerpoint


