Can you Seperate Parts of an Image on Google Slides


Easily separate parts of an image in Google Slides using cropping, masking, duplication, and layering techniques
Can You Separate Parts of an Image on Google Slides?
Google Slides does not have a built-in tool to separate parts of an image like advanced graphic design software.
However, you can achieve a similar effect using cropping, masking, and layering techniques.
Follow this step-by-step guide to separate parts of an image in Google Slides.
Steps to Separate Parts of an Image in Google Slides
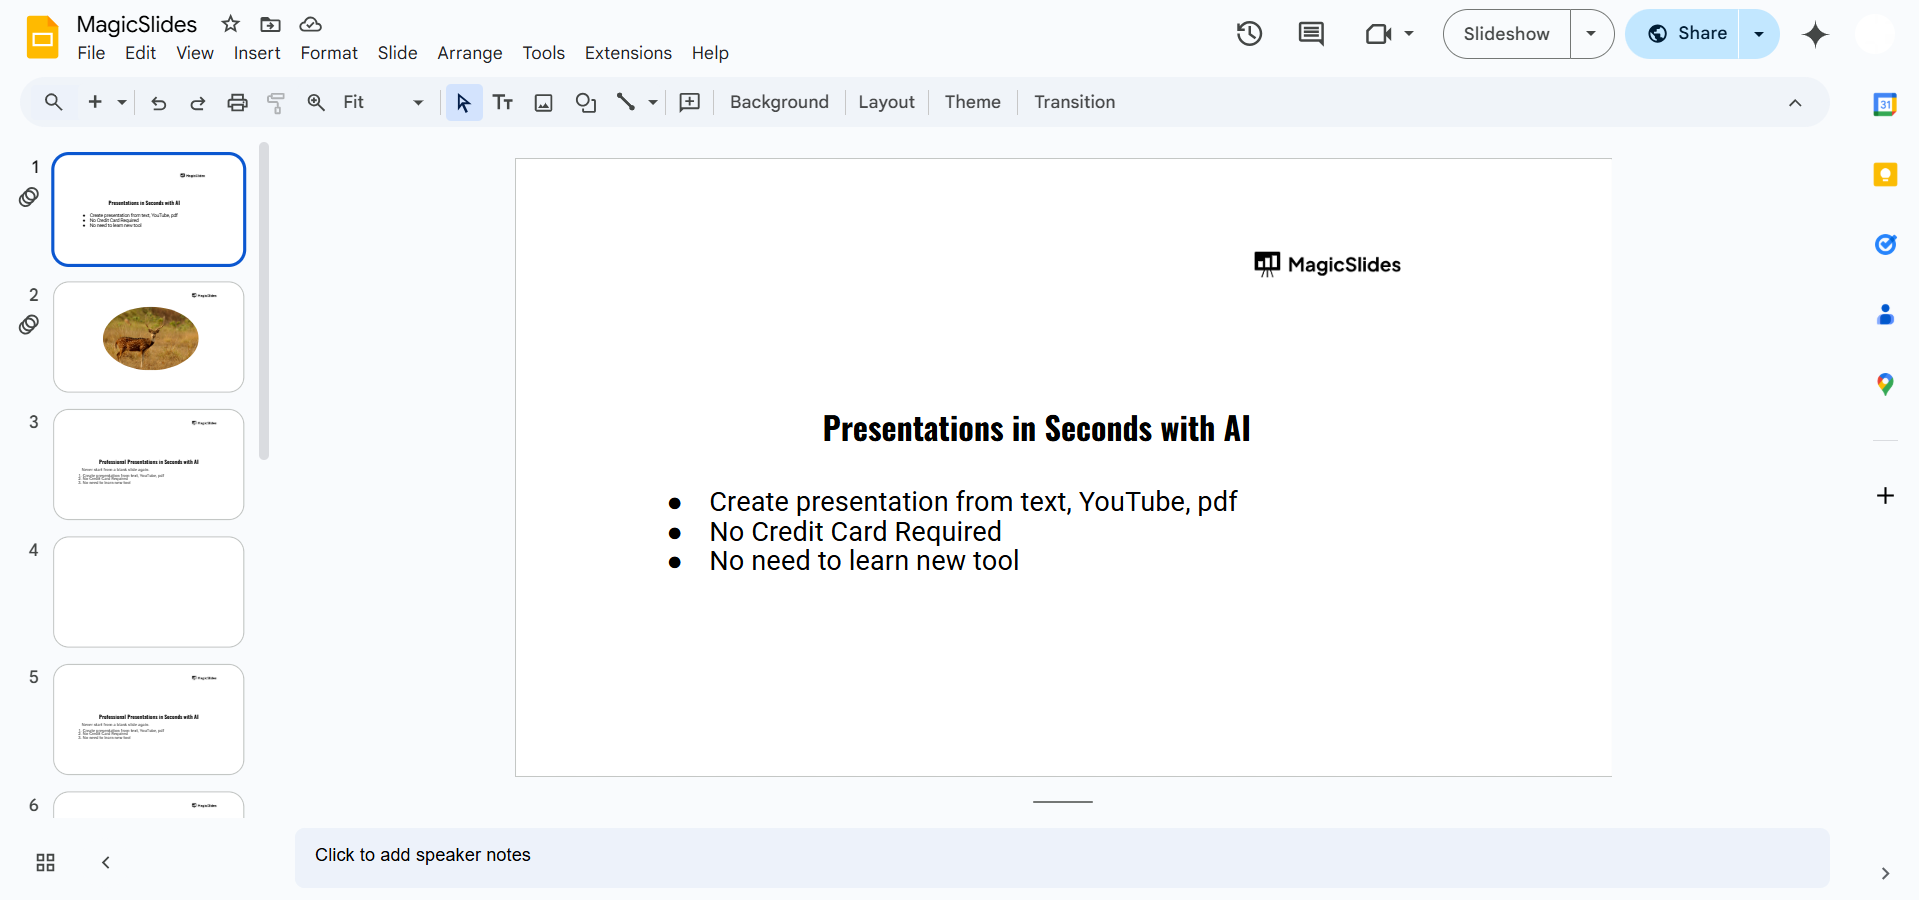
Step 1: Insert the Image
Open Google Slides and create a new slide.
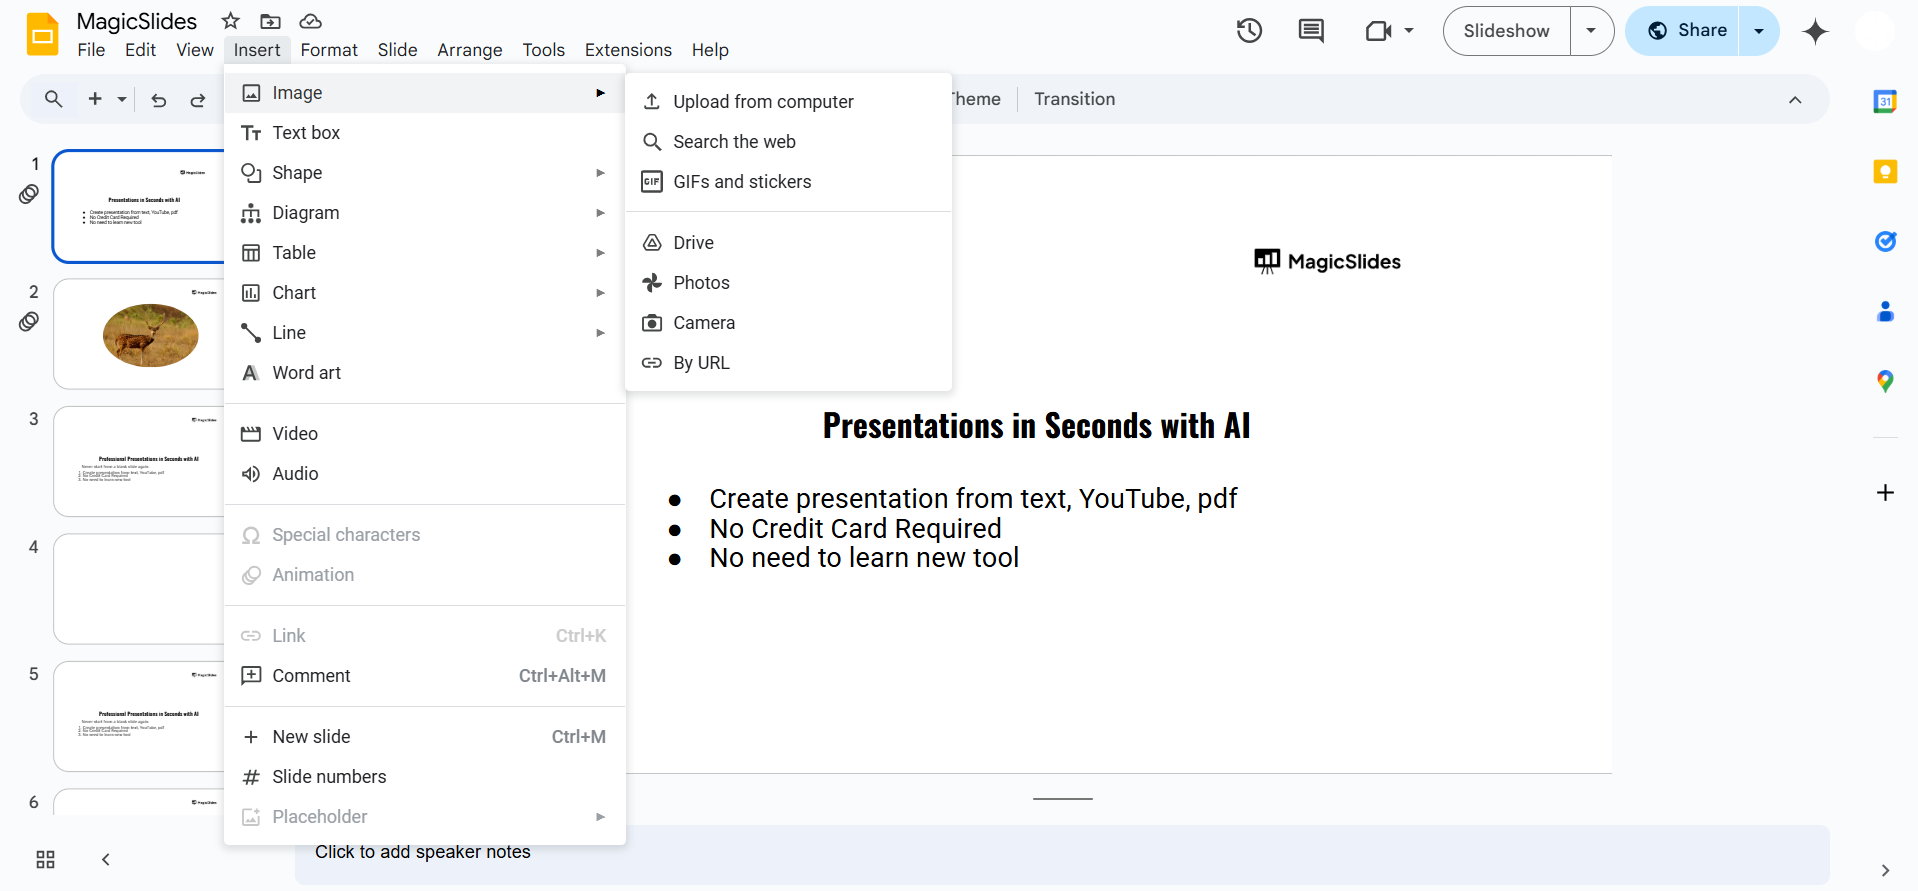
Click on Insert > Image and choose to upload an image from your device, Google Drive, or the web.
Step 2: Duplicate the Image
Select the image and press Ctrl + D (Windows) or Cmd + D (Mac) to duplicate it.
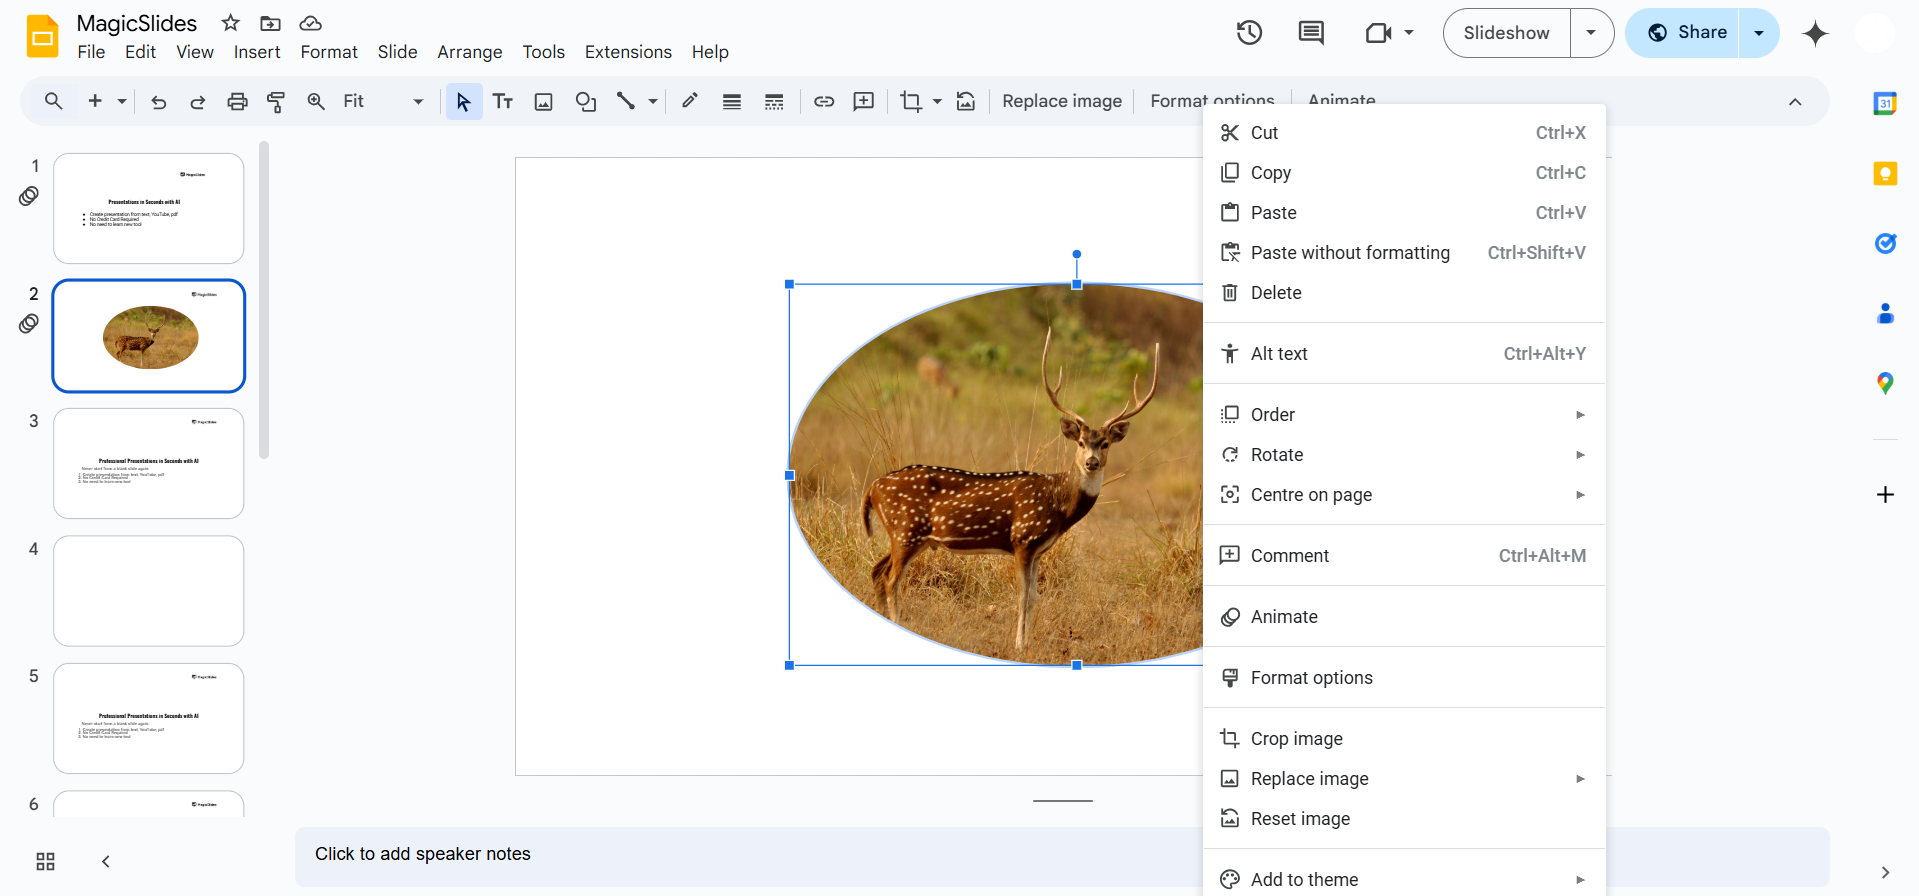
Create multiple copies depending on how many sections you want to separate.
Step 3: Crop Each Copy to a Different Section
Click on one image copy and select Crop from the toolbar. Adjust the crop box to focus on the part of the image you want to keep.
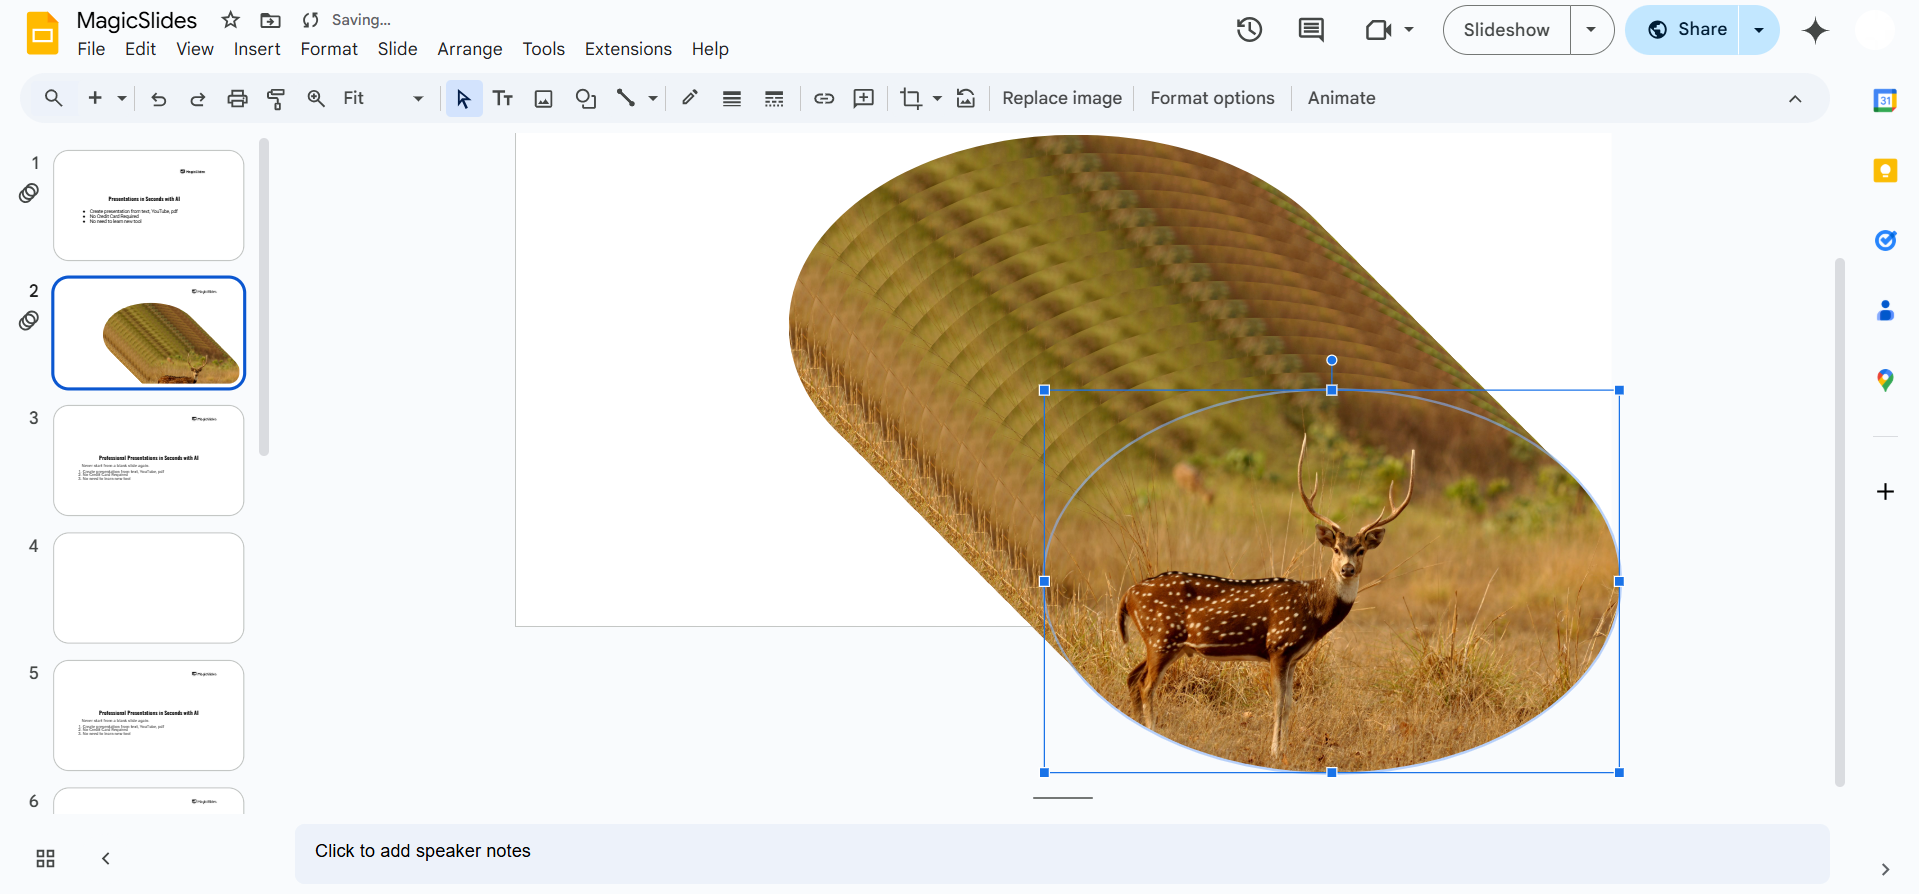
Repeat this process for each copy, cropping different sections.
Step 4: Use Shape Masking for More Precise Cuts
Select an image and click Mask Image (Dropdown next to Crop Tool).
Choose a shape (e.g., circle, triangle, or custom shape) to cut out specific portions of the image.
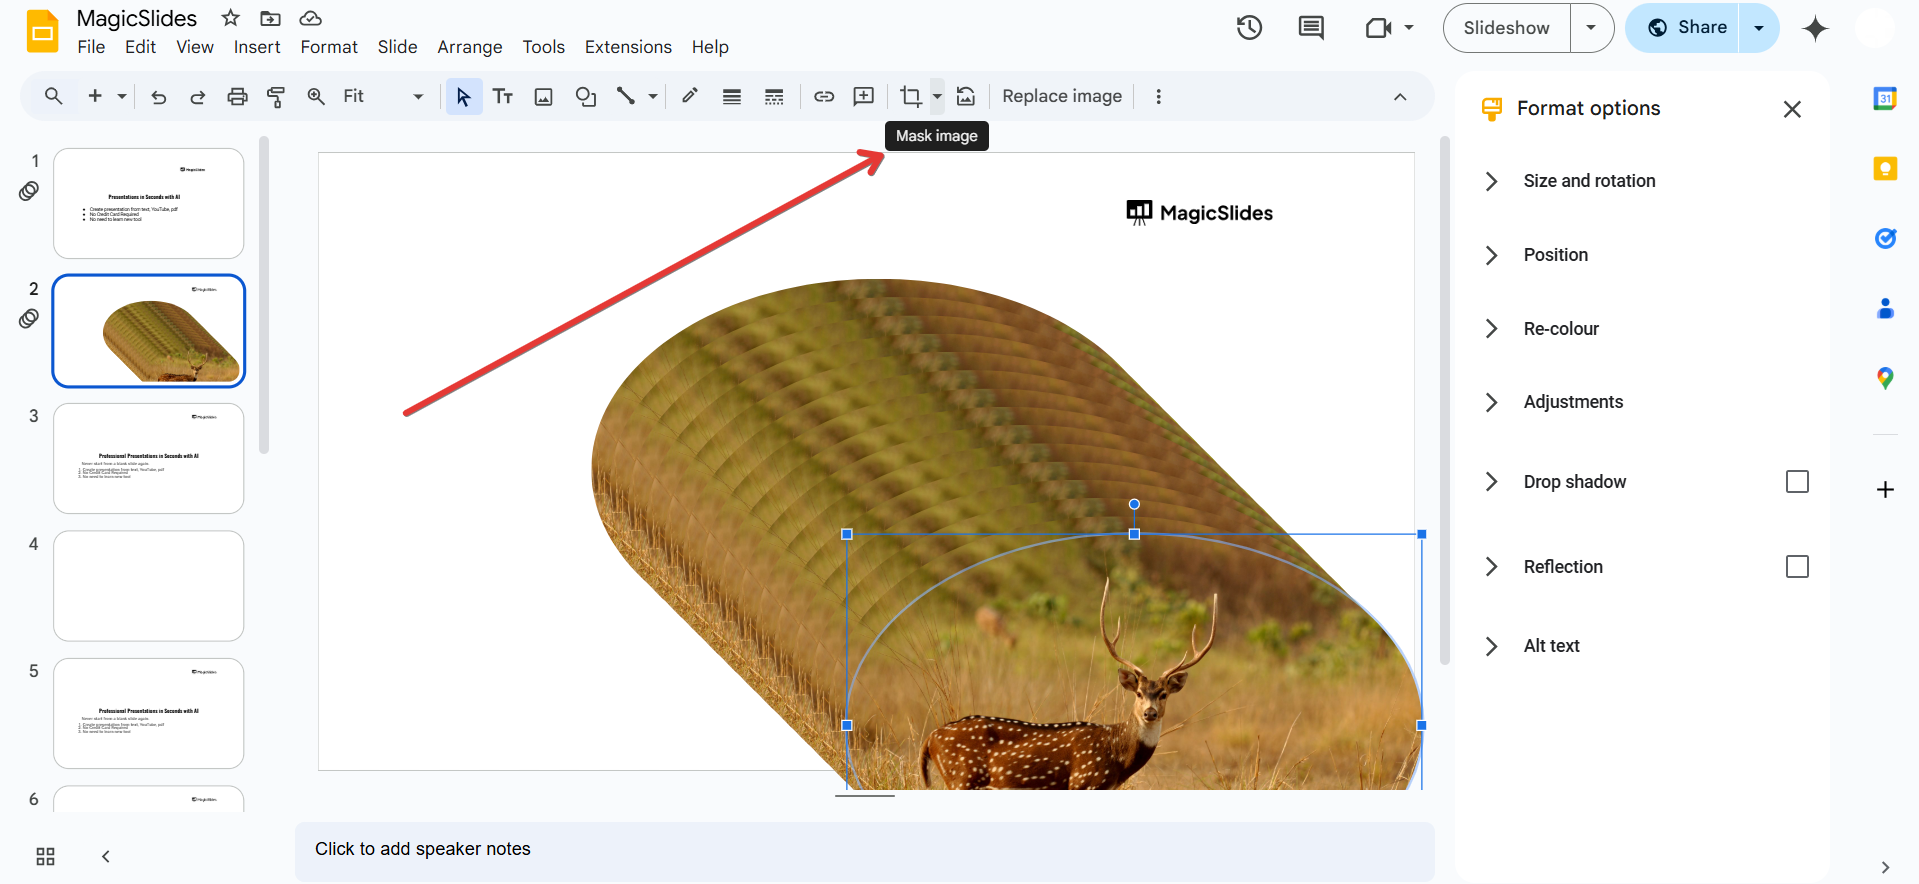
Resize and position the masked image as needed.
Step 5: Arrange and Layer the Separated Parts
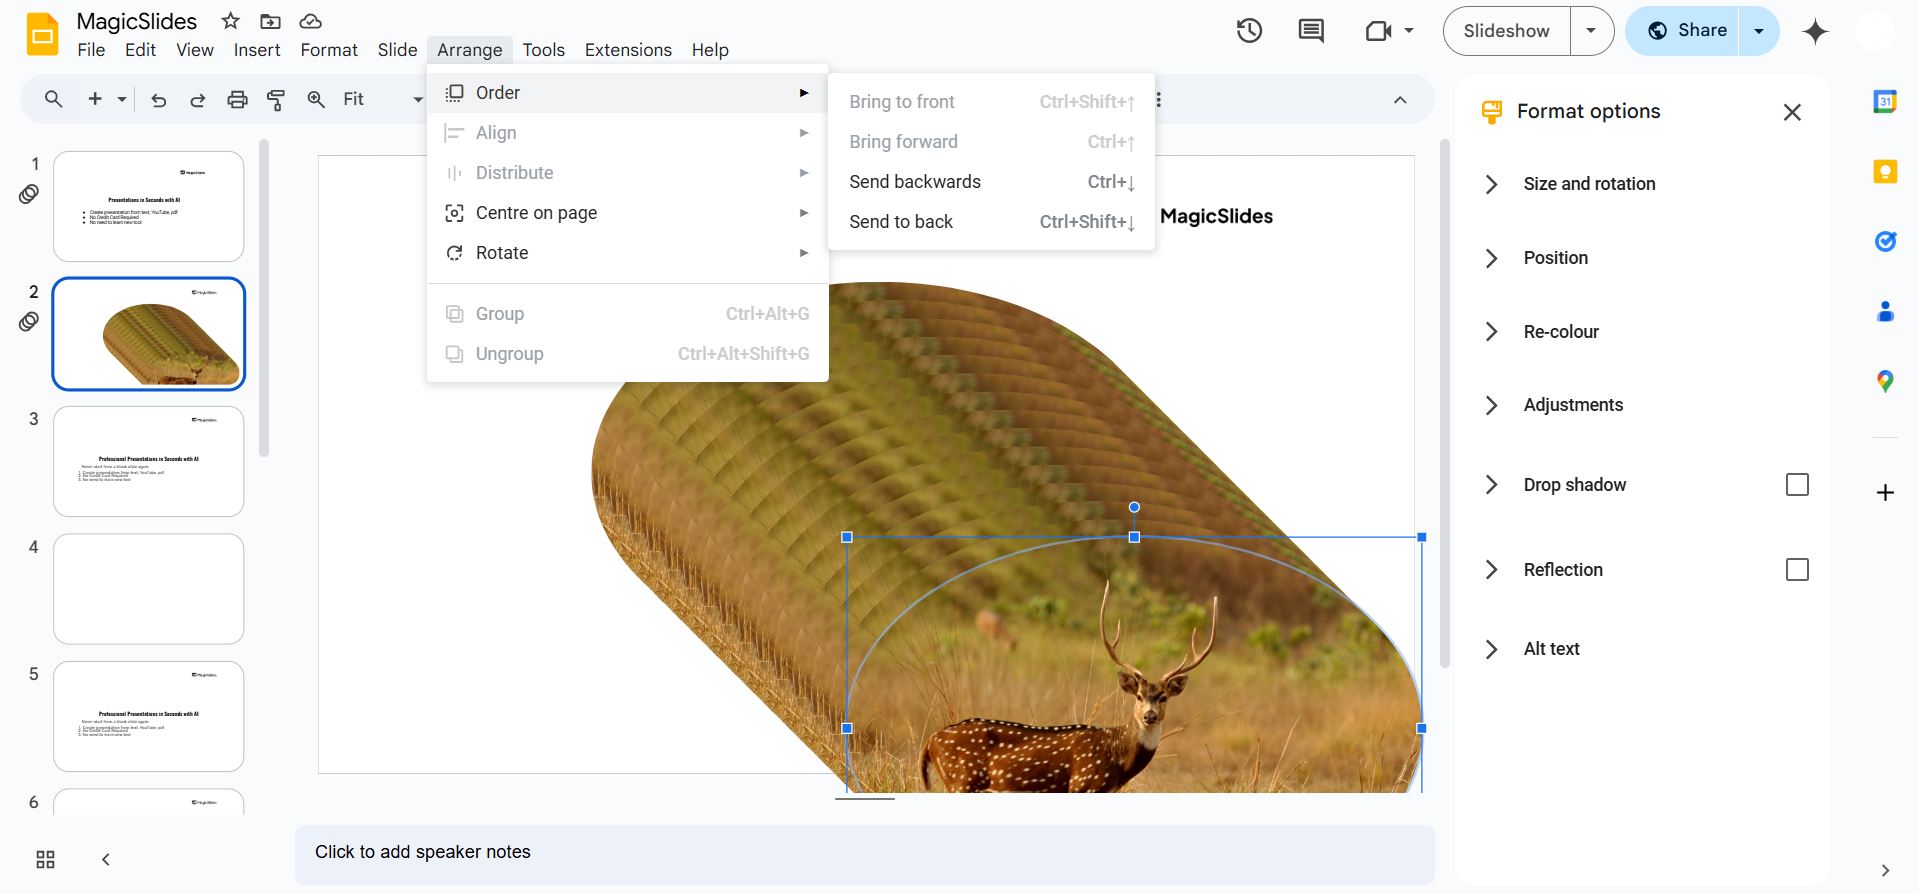
Move and adjust each cropped or masked section on the slide.
Use Arrange > Order to send parts forward or backward to create a layered effect.
Step 6: Add Additional Edits (Optional)
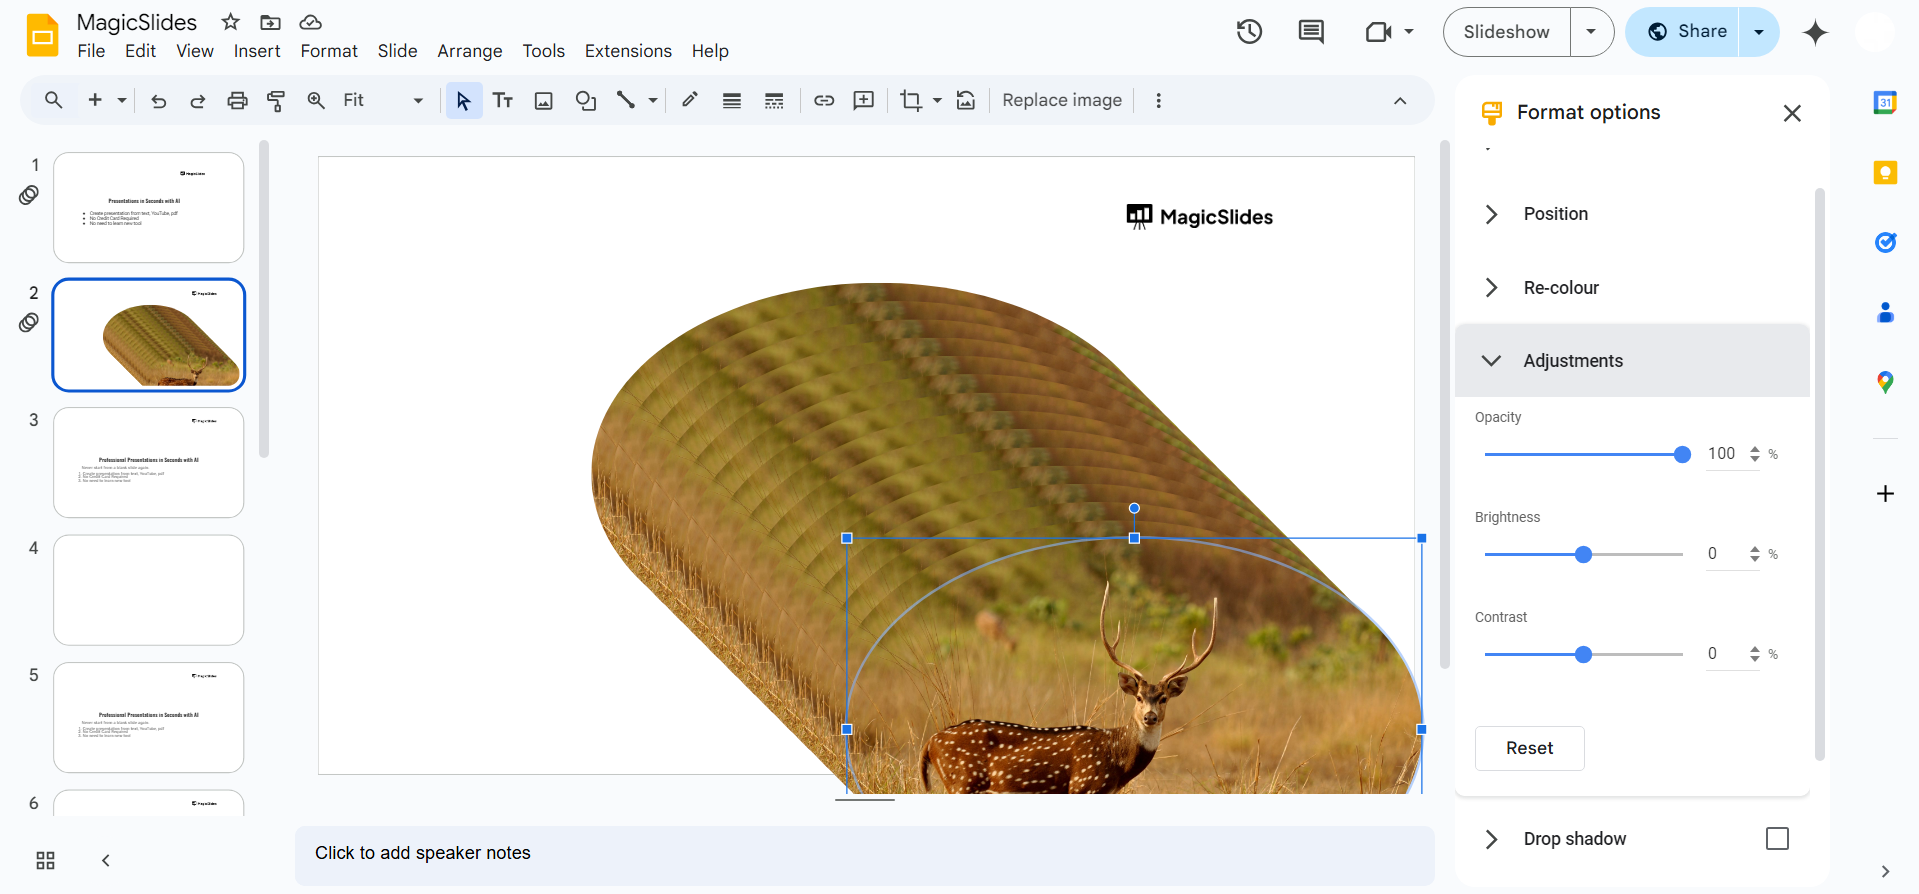
Use Format Options > Adjustments to tweak brightness, contrast, and transparency.
Add text, borders, or other design elements to enhance the presentation.
Google Slides offers limited options for image separation, but for a seamless presentation experience, try MagicSlides.app. It helps you create AI-driven slides with perfectly arranged visuals in just a few clicks!
Conclusion
While Google Slides doesn't allow direct image separation, cropping, masking, and layering techniques can help achieve a similar effect.
With these steps, you can creatively edit images to suit your presentation needs.
FAQs on Separating Parts of an Image in Google Slides
Can I remove the background of an image in Google Slides?
No, but you can use external tools like Remove.bg to erase the background before inserting the image.
Can I cut out specific objects from an image in Google Slides?
Google Slides does not have a freehand cut tool, but you can use cropping and masking to isolate sections.
How do I merge separated parts back together?
You can manually align and layer cropped images or use the Group feature by selecting all parts and pressing Ctrl + G (Windows) or Cmd + G (Mac).
Now you know how to separate parts of an image in Google Slides! 🎨🚀


