How to crop a shape in Microsoft PowerPoint in just few clicks


Cropping shapes according to our needs in PowerPoint helps us create compelling presentations, here are few simple steps.
Step 1: Open your PowerPoint Insert or Select the Shape:
- Open your PowerPoint presentation.
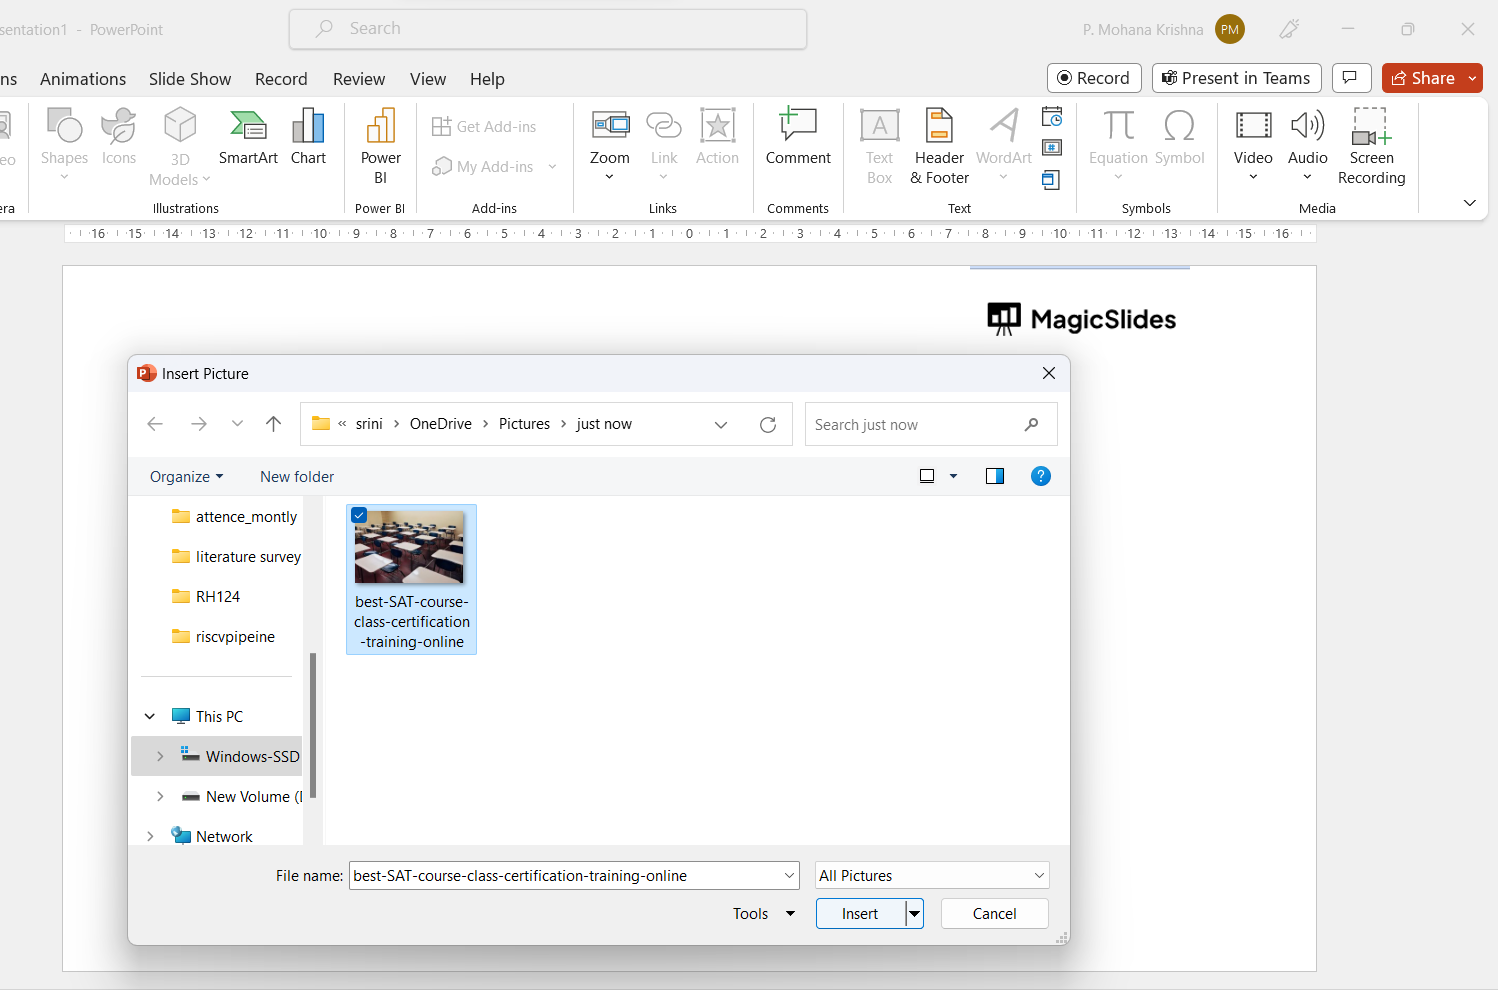
- Either insert a new shape or select an existing shape that you want to crop. (In this case we have taken a local picture in the system.)
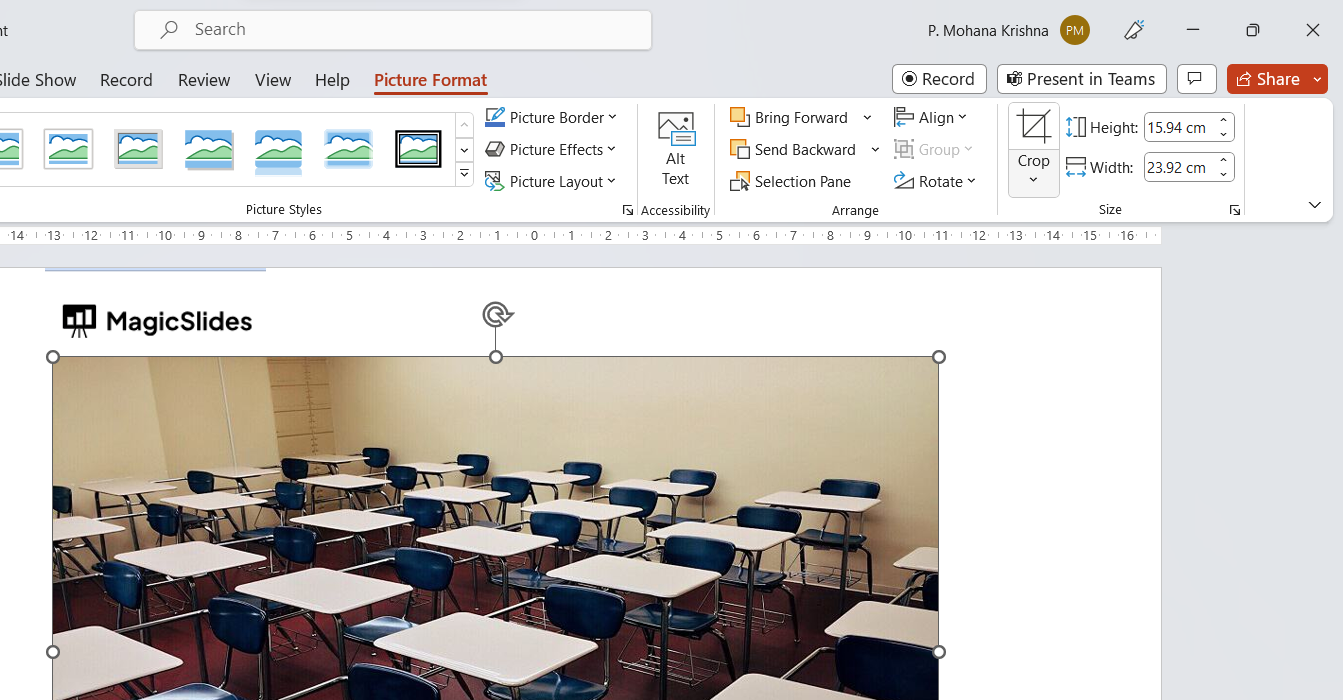
Step 2: Select the Shape:
- Click on the shape to select it. You'll see handles (small squares) around the shape's perimeter.
Step 3: Open the Format Tab:
- When a shape is selected, a new tab called "Format" should appear on the PowerPoint ribbon at the top of the window.
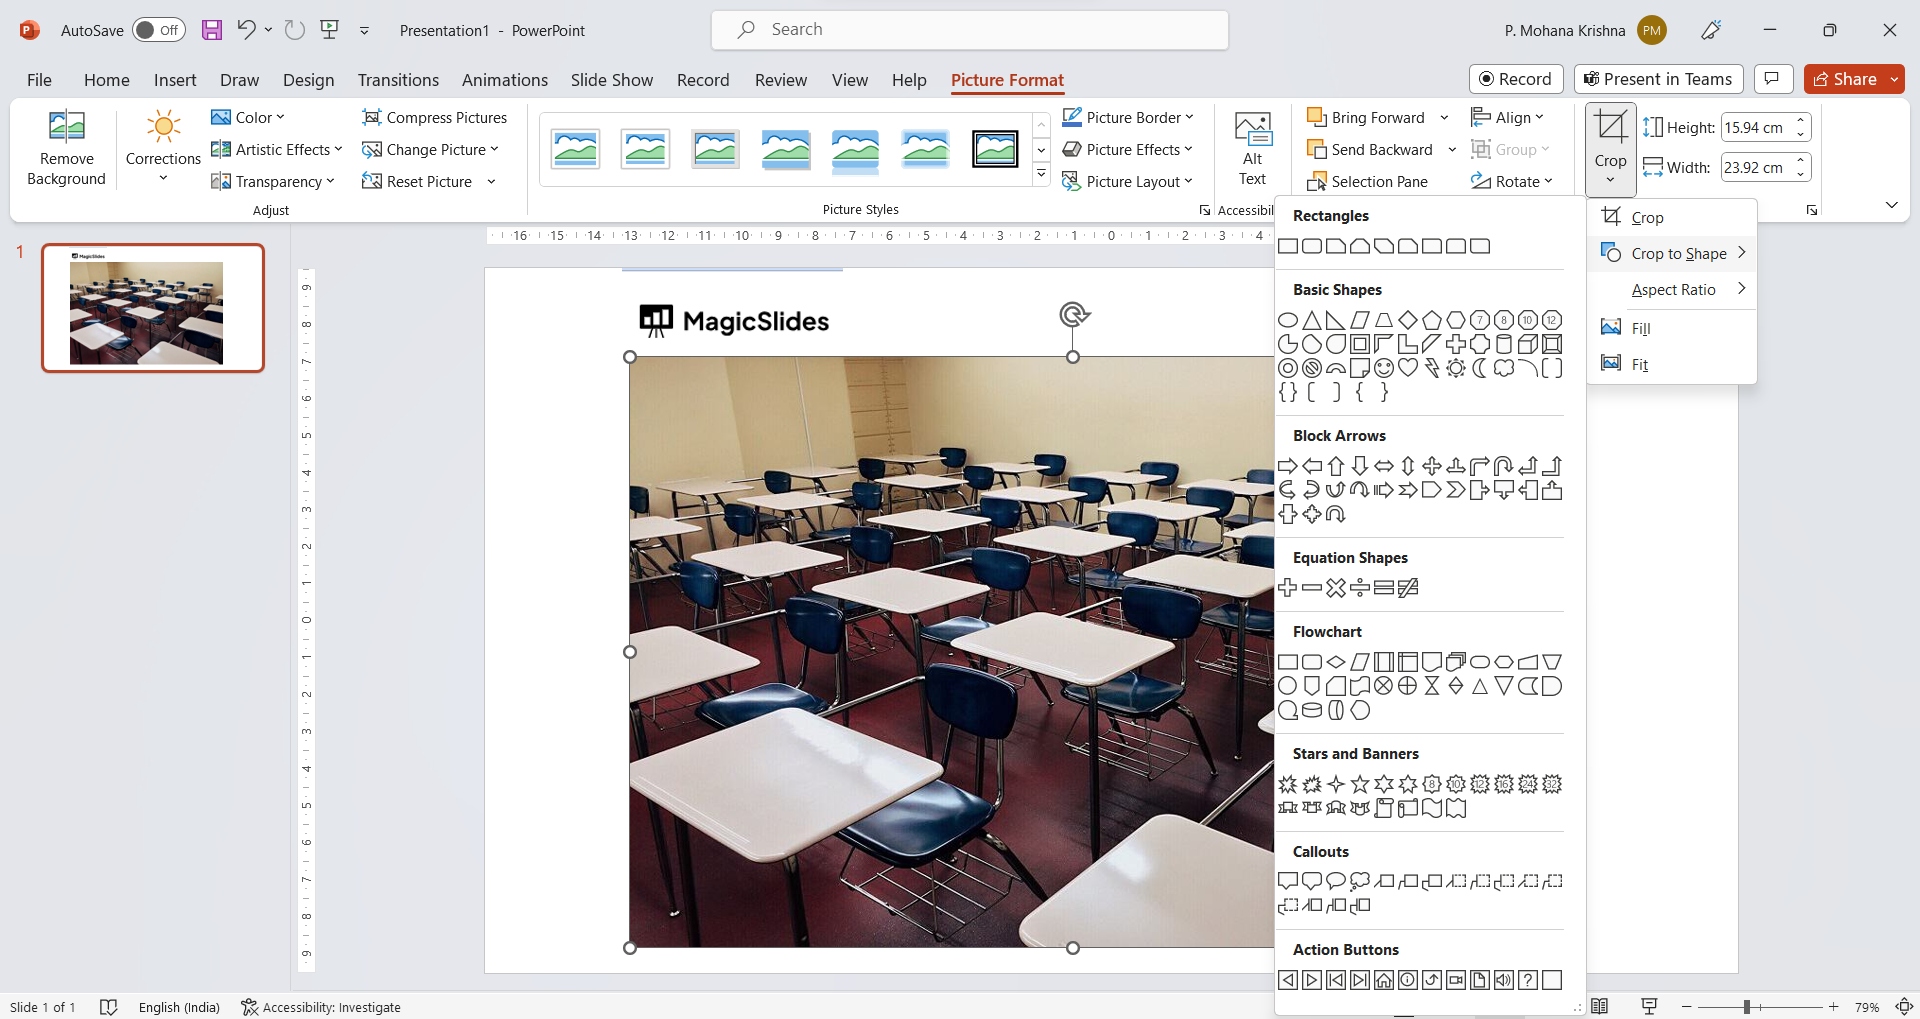
Step 4: Access the Crop Options:
- Within the "Format" tab, find the "Crop" button in the "Size" group. Click on the drop-down arrow next to it.
Step 5: Choose Crop to Shape:
- From the drop-down menu, select "Crop to Shape."
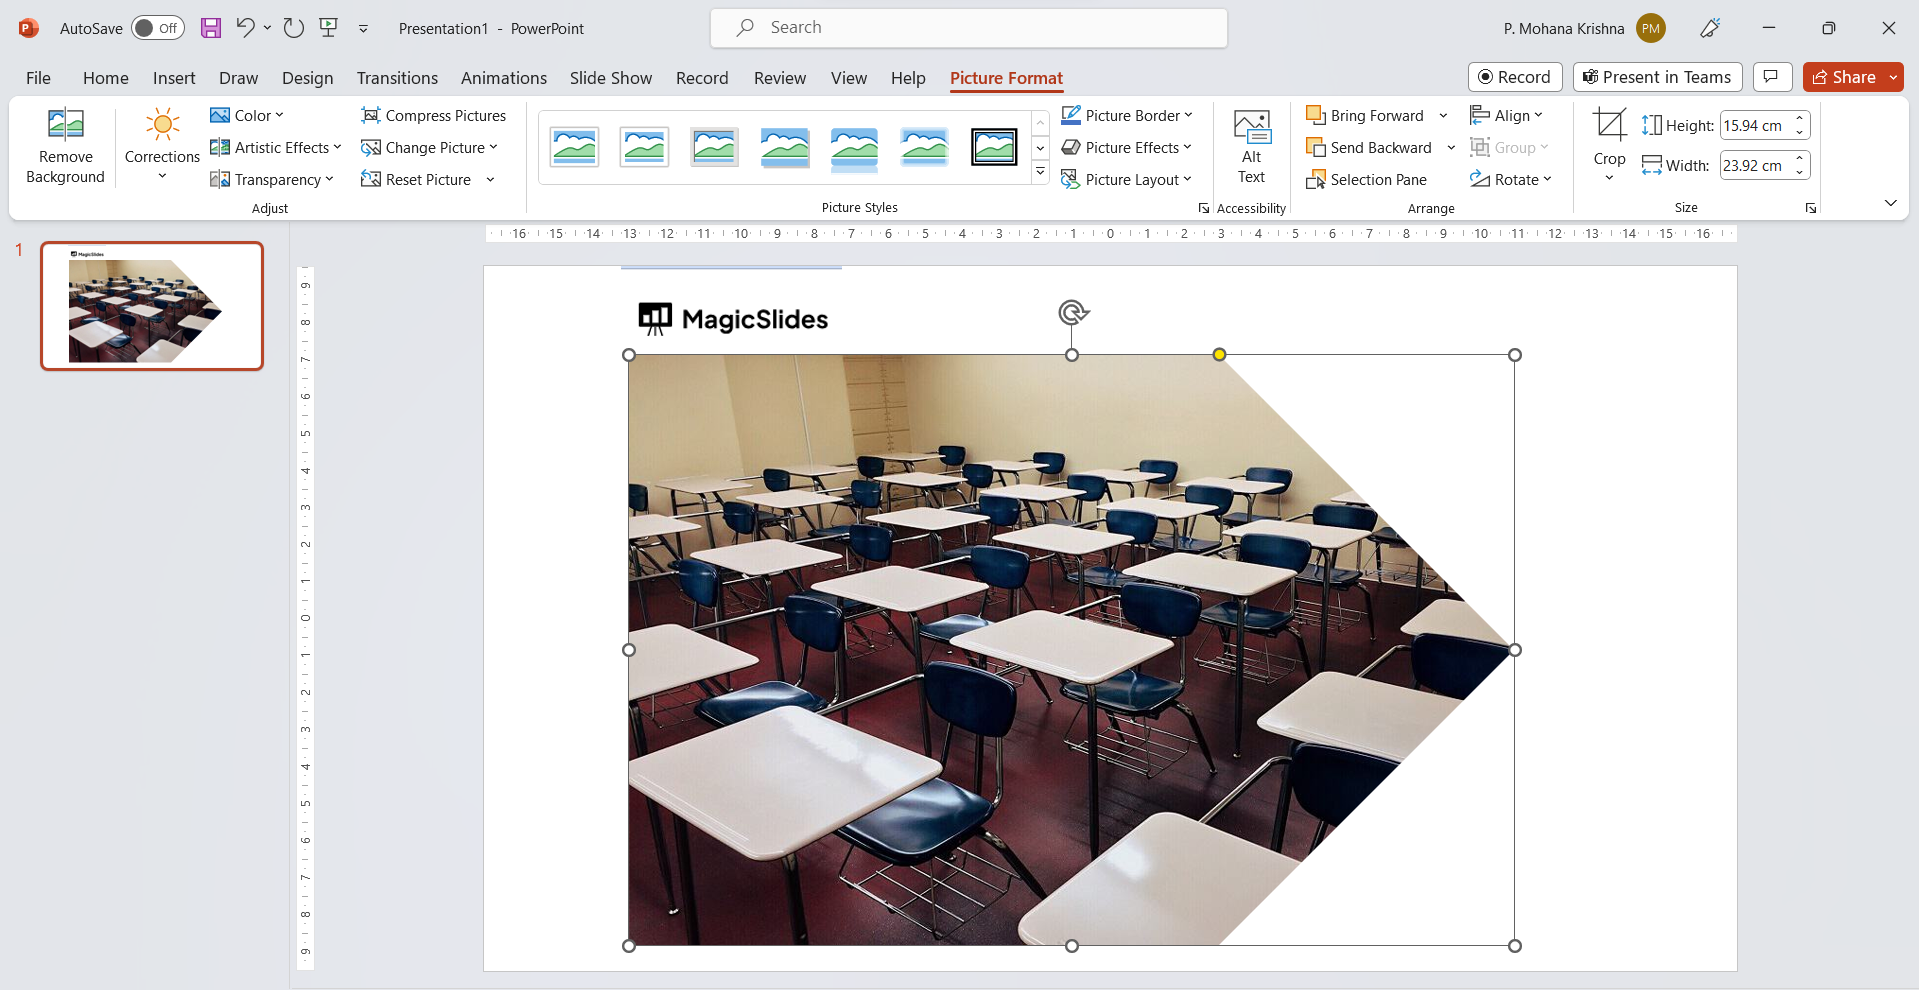
Step 6: Adjust the Cropping:
- The shape you selected will appear around your original shape. Resize and reposition this cropping shape to cover the portion of the original shape you want to keep. Anything outside the cropping shape will be trimmed away.
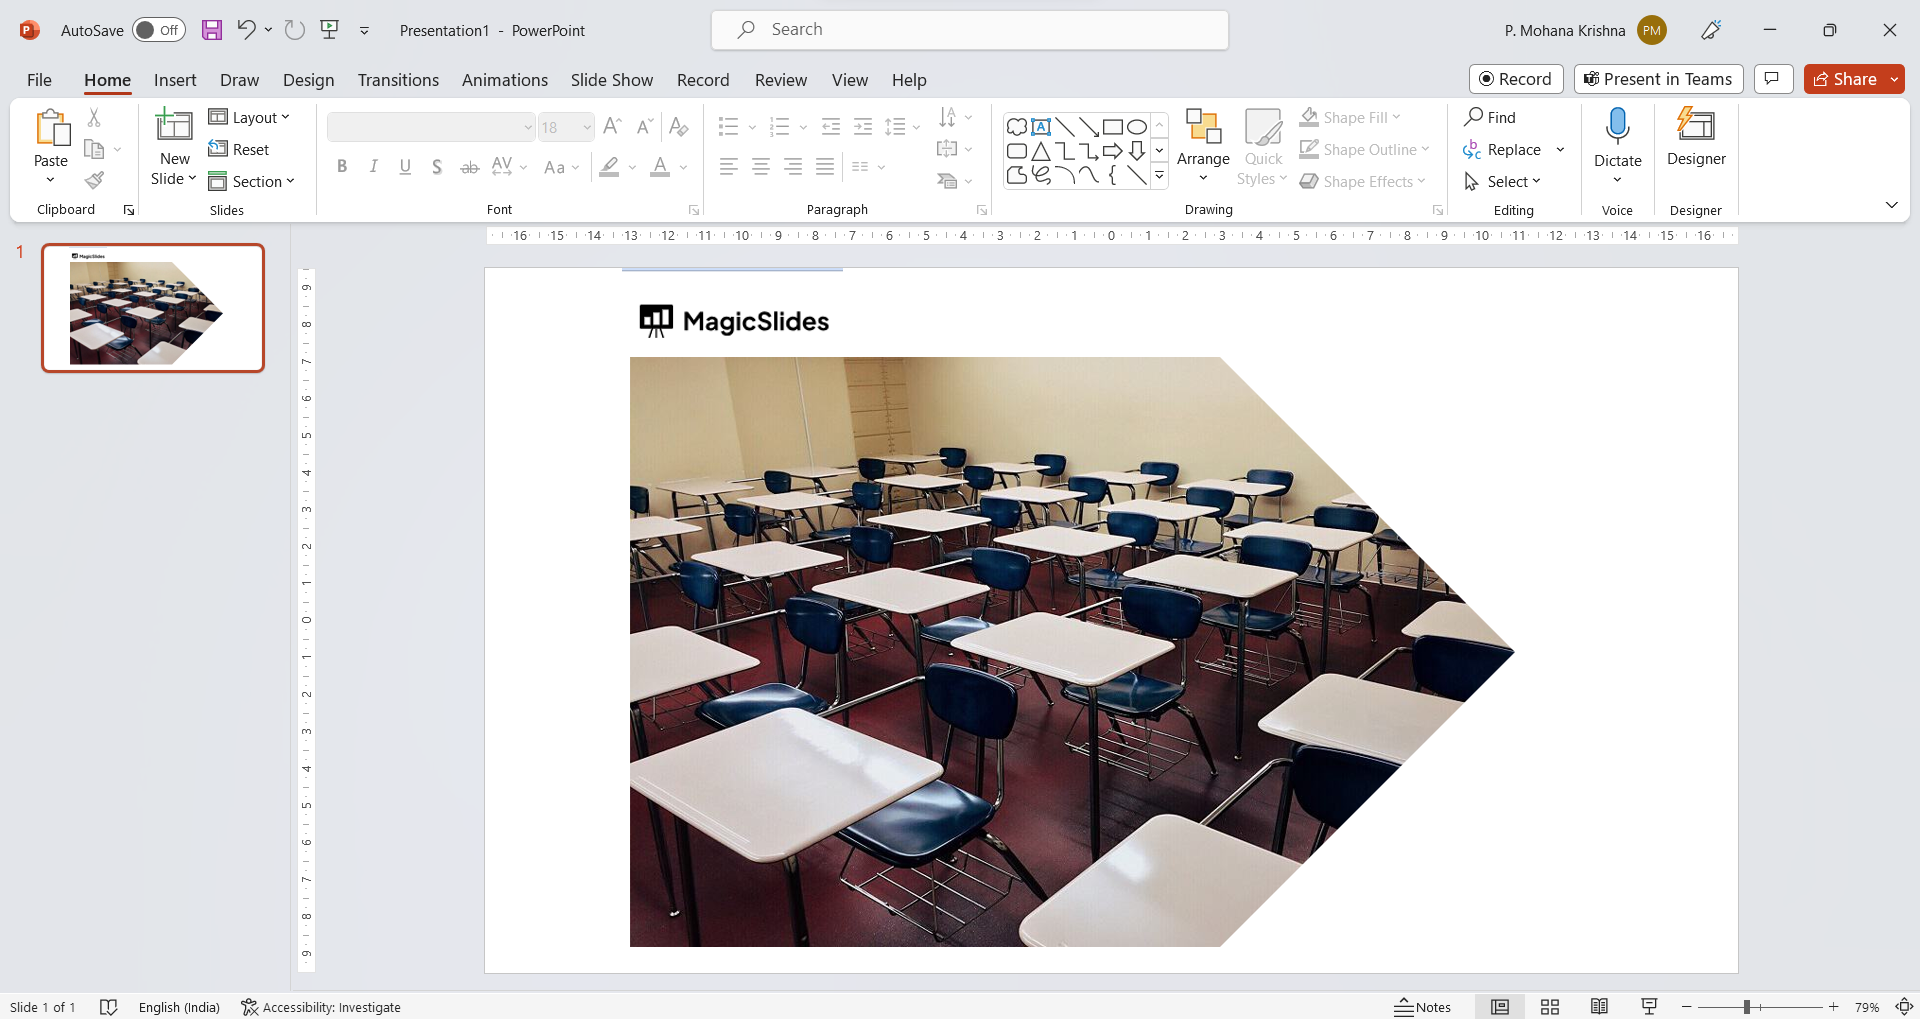
Step 7: Apply the Crop:
- Once you've adjusted the cropping shape, click anywhere outside the cropping shape or press the Enter key. This will apply the cropping and trim away the excess parts of the original shape.
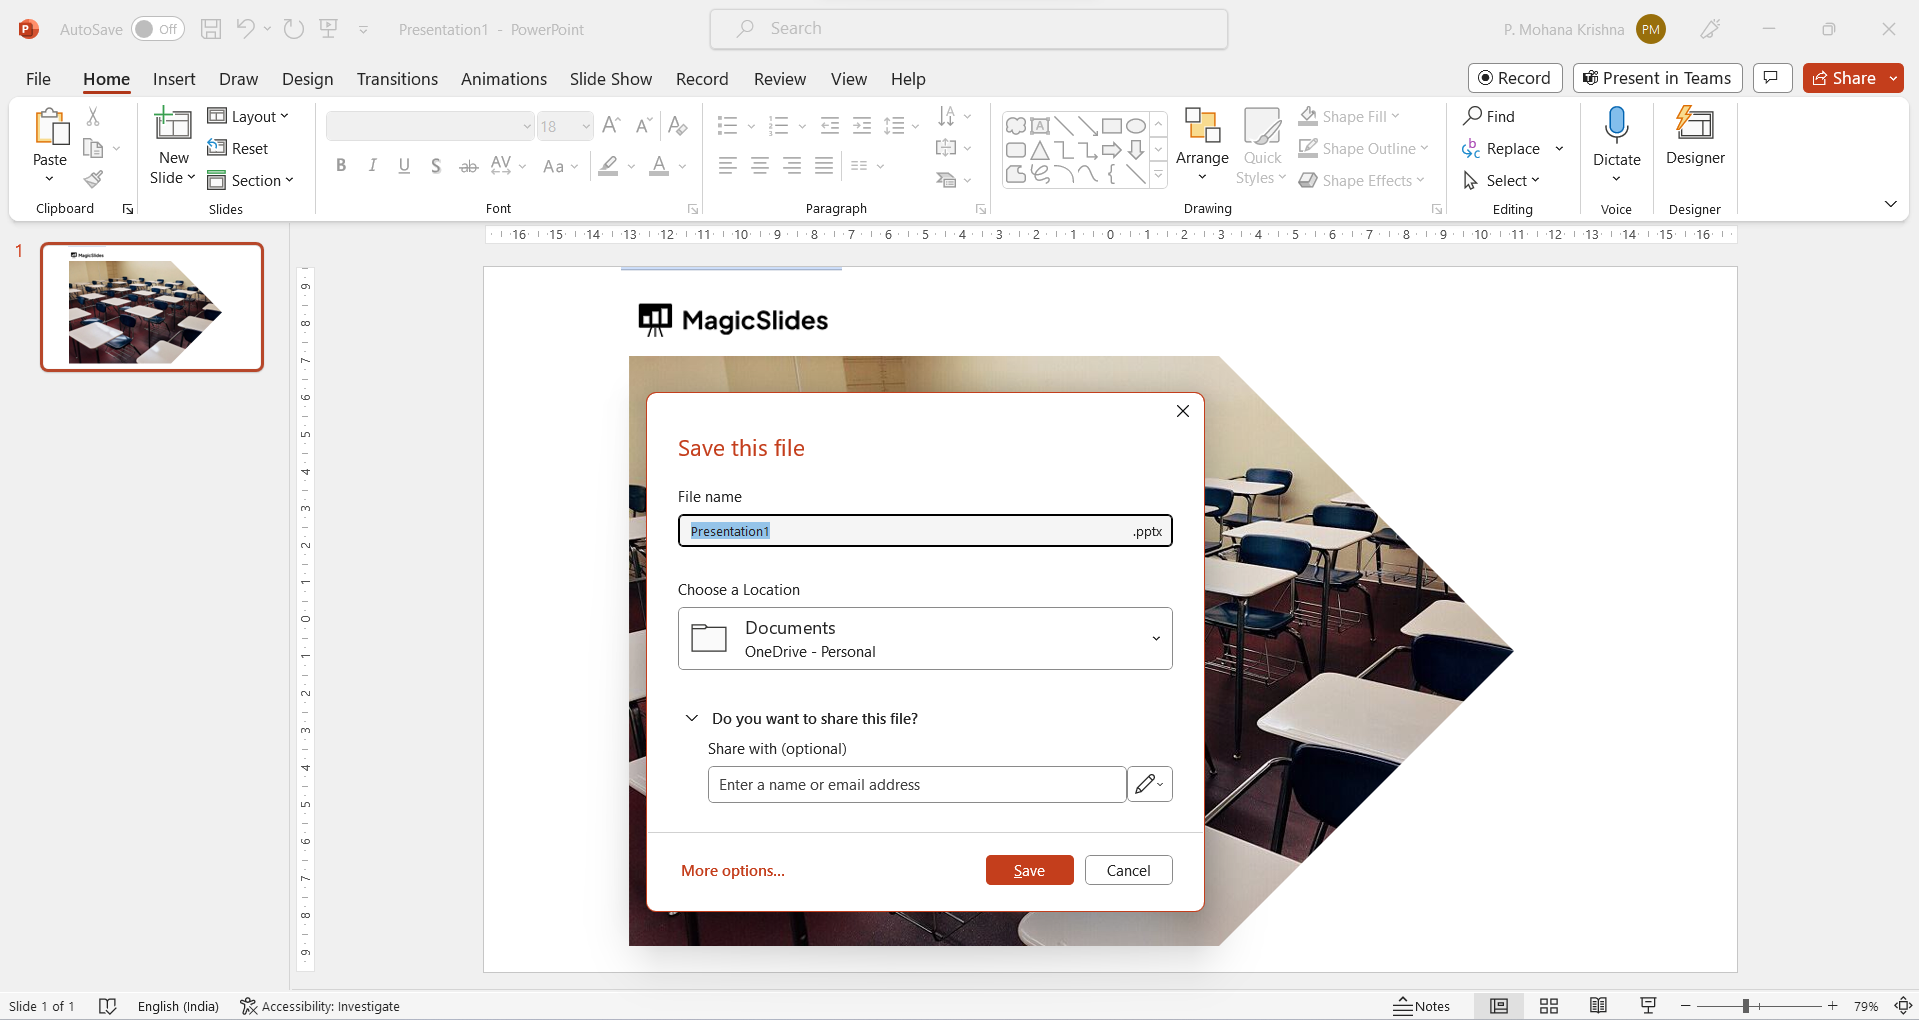
Step 8: Now you can save your Changes:
- After you're done cropping the shape, make sure to save your PowerPoint presentation to retain the changes you've made.