how to make a flyer on powerpoint in just few simple steps with images


Making flyers give your Powerpoint an aesthetic look which attracts audience and hence applauds. here are simple steps to do so…
Step 1: Open PowerPoint and Choose a Blank Slide: Open Microsoft PowerPoint and create a new presentation. Choose a blank slide layout to start designing your flyer.
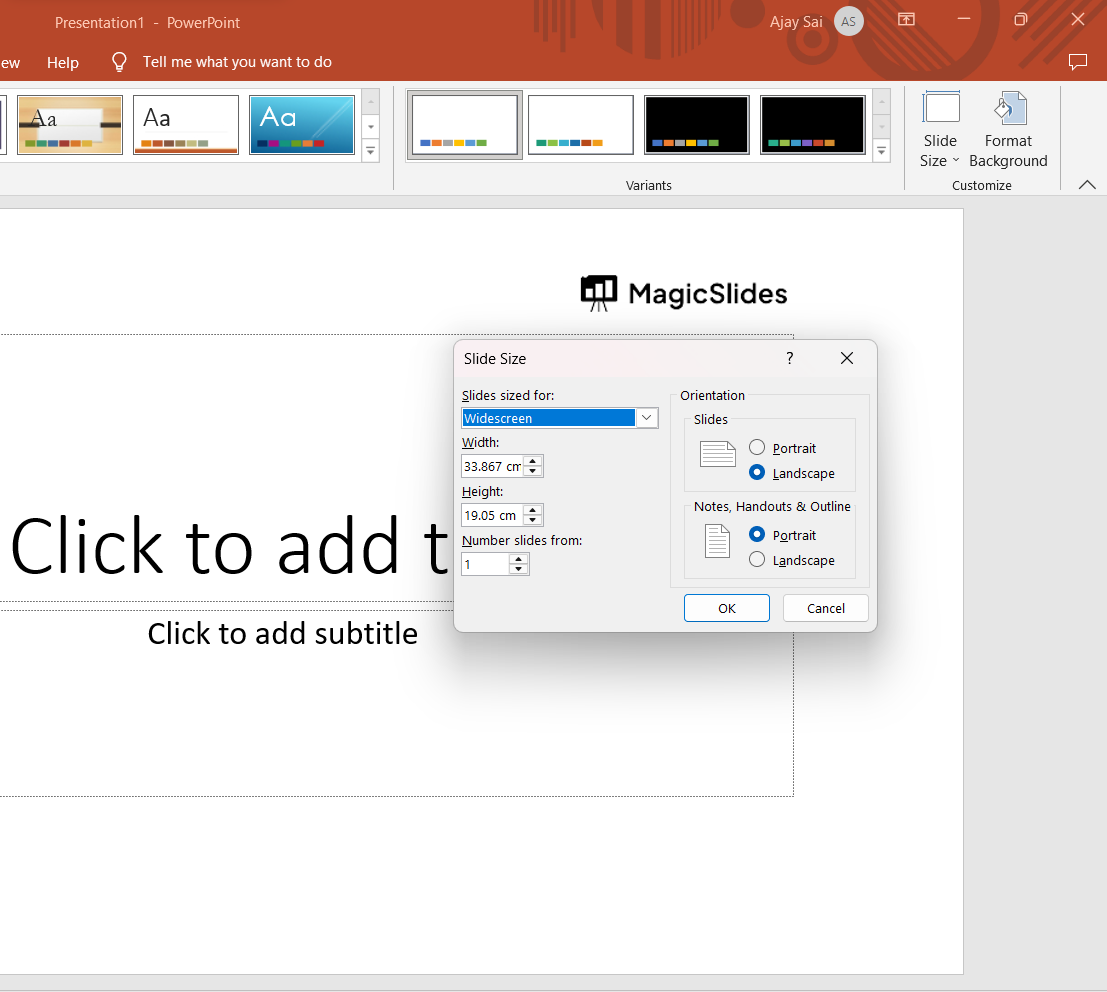
Step 2: Now Set Slide Dimensions: PowerPoint slides are often set to a 16:9 aspect ratio, which is great for presentations but not ideal for a standard flyer. Adjust the slide dimensions to match your desired flyer size. You can do this by going to the Design tab > Slide Size > Custom Slide Size. Enter the dimensions you want for your flyer, such as 8.5 x 11 inches for a standard letter-size flyer.
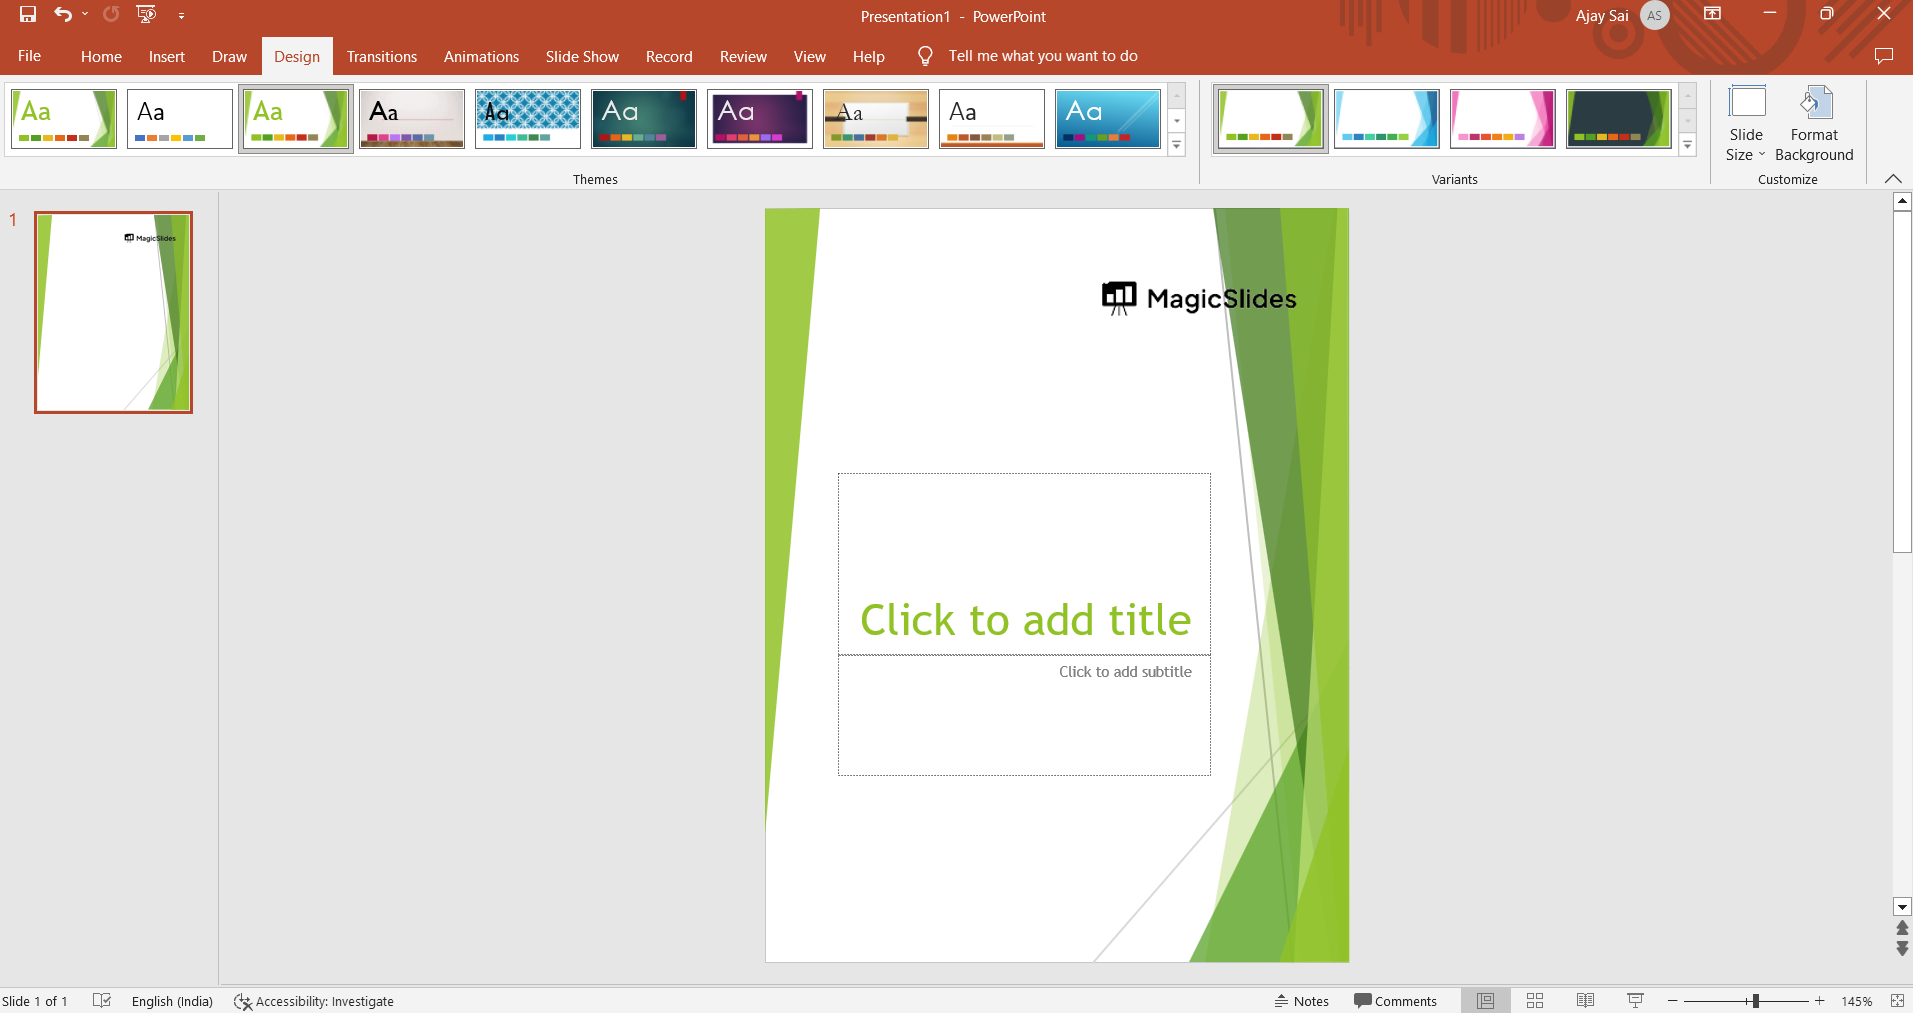
Step 3: Design the Background: Click on the slide to select it, then go to the Design tab and choose a background color or design that suits your flyer's theme. You can also insert a relevant image if needed.
Step 4: Add Text Boxes: Click on the Insert tab, and then select "Text Box." Click and drag on the slide to create a text box. Use these text boxes to add headings, subheadings, body text, and any other information you want to include on the flyer.
Step 5: Customize Fonts and Formatting: Select the text within the text boxes and use the formatting options in the Home tab to change the font, size, color, alignment, and other formatting aspects to match your flyer's style.
Step 6: Insert Images: To add images, go to the Insert tab and select "Pictures." Choose the image you want to insert and place it on your flyer. You can resize and move the image as needed.
Step 7: Arrange and Align Elements: Drag and drop the text boxes and images to arrange them in a visually appealing way. Use PowerPoint's alignment guides and tools to ensure that your elements are properly aligned and spaced.
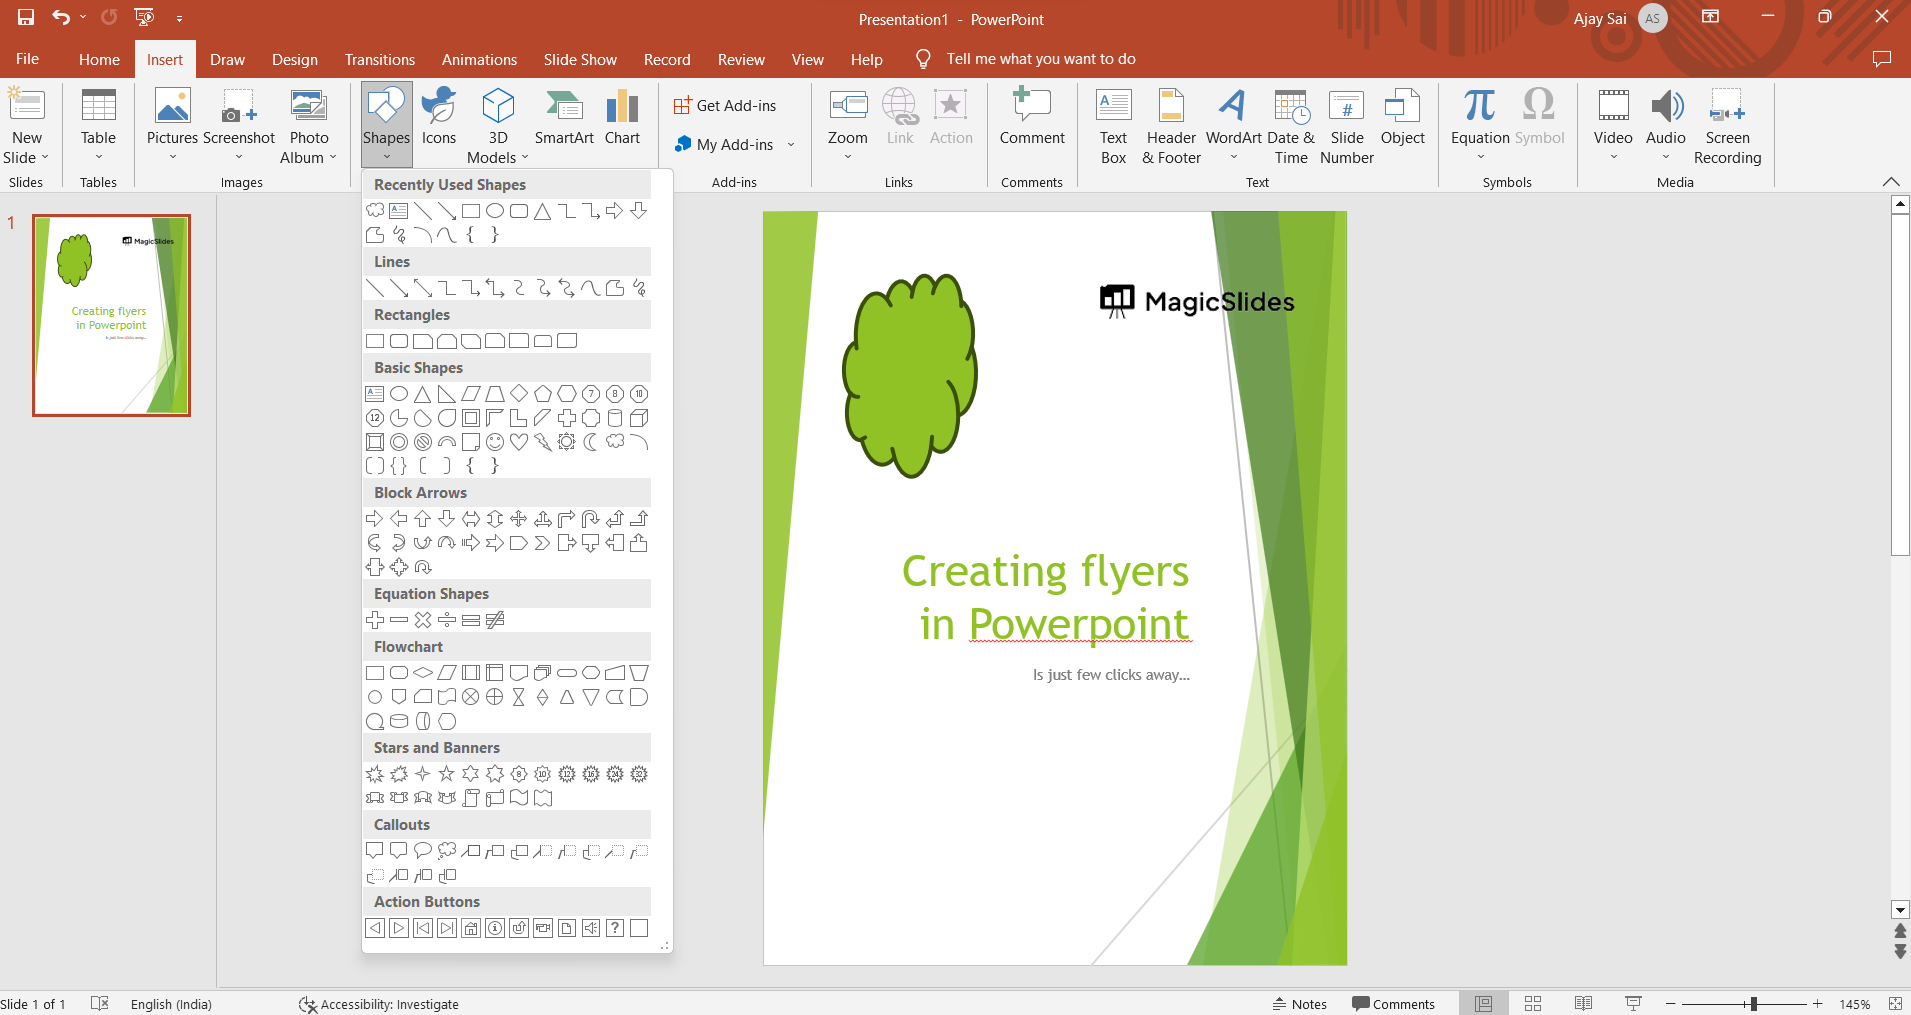
Step 8: Apply Shapes and Borders: To create visually interesting elements, use shapes or borders. You can find shapes in the Insert tab. Customize their colors, sizes, and positions to enhance your flyer's design.
Step 9: Add Additional Elements: Depending on your flyer's purpose, you might want to add elements like icons, logos, contact information, or QR codes. Insert these using the Insert tab and arrange them accordingly.
Step 10: Proofread and Review: Before finalizing your flyer, proofread the content for spelling and grammar errors. Review the overall design to ensure that everything looks balanced and aesthetically pleasing.
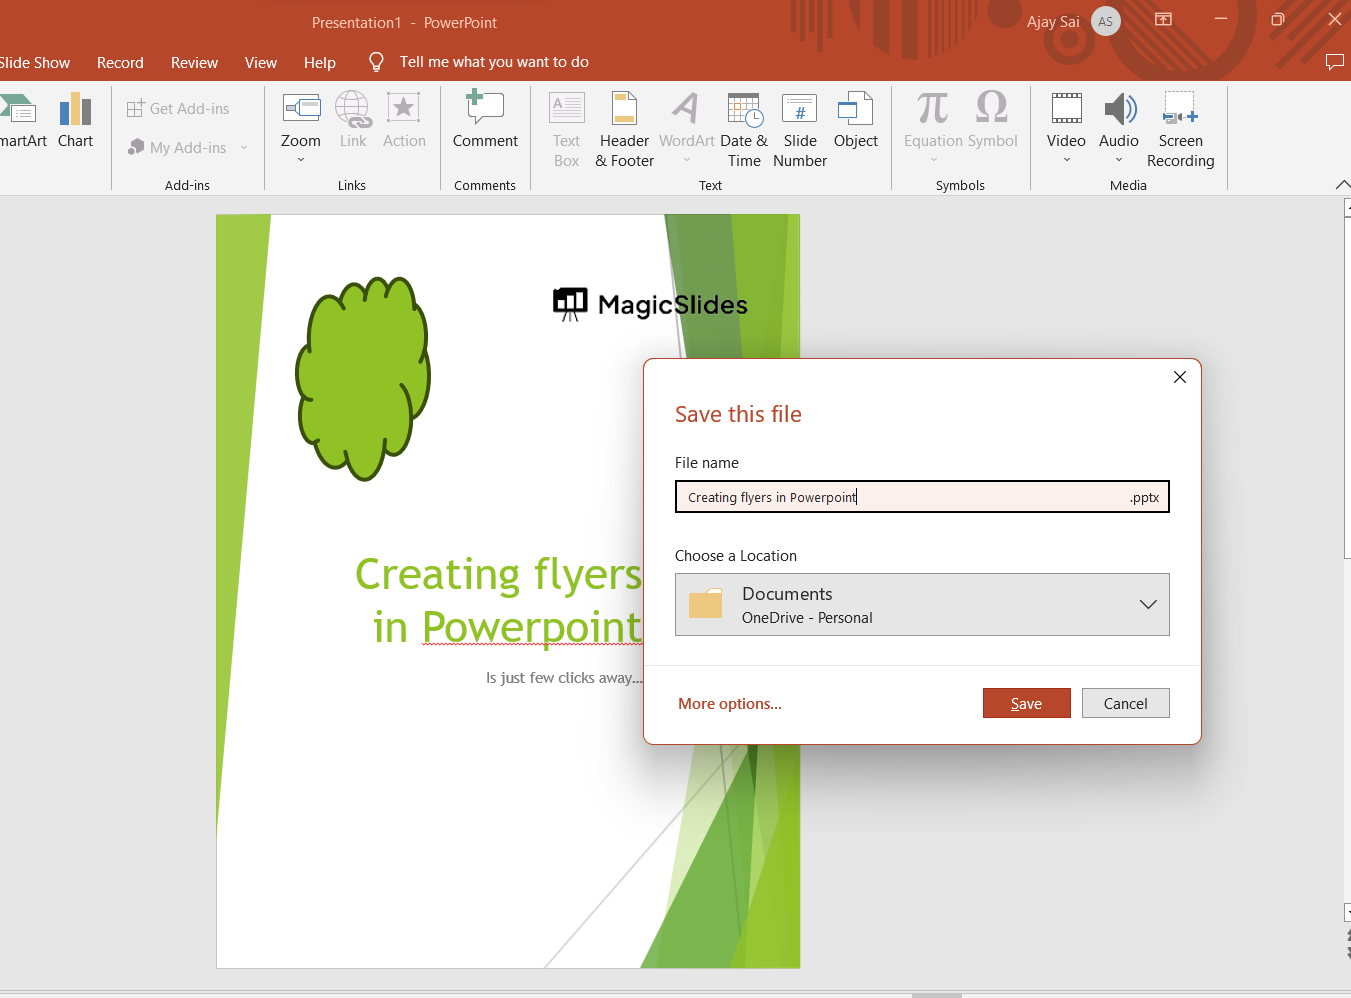
Step 11: Save and Export: Once you're satisfied with your flyer, save your PowerPoint presentation. If you need to share the flyer digitally or print it, you can export it as a PDF or image file. To do this, go to File > Save As and choose your preferred file format.
PowerPoint is not a specialized graphic design tool, you can create attractive flyers, more advanced design software might offer more intricate features and flexibility.


