How to Add bleed in Canva


Ensure professional, print-ready designs by learning how to add bleed in Canva with this guide
Adding a bleed to your design ensures that no essential content is cut off during printing.
Bleed is the area beyond the edge of your design that gets trimmed off, leaving your artwork flawless from edge to edge.
Canva makes it easy to add bleed with its intuitive tools. Follow this step-by-step guide to set up bleed in Canva and ensure your designs are print-ready.
How to Add Bleed in Canva | Steps to Add Bleed in Canva
Step 1: Open Canva and Choose Your Design
Log in to your Canva account and open an existing design or create a new one.

Select the dimensions of your project, such as flyers, posters, or business cards.
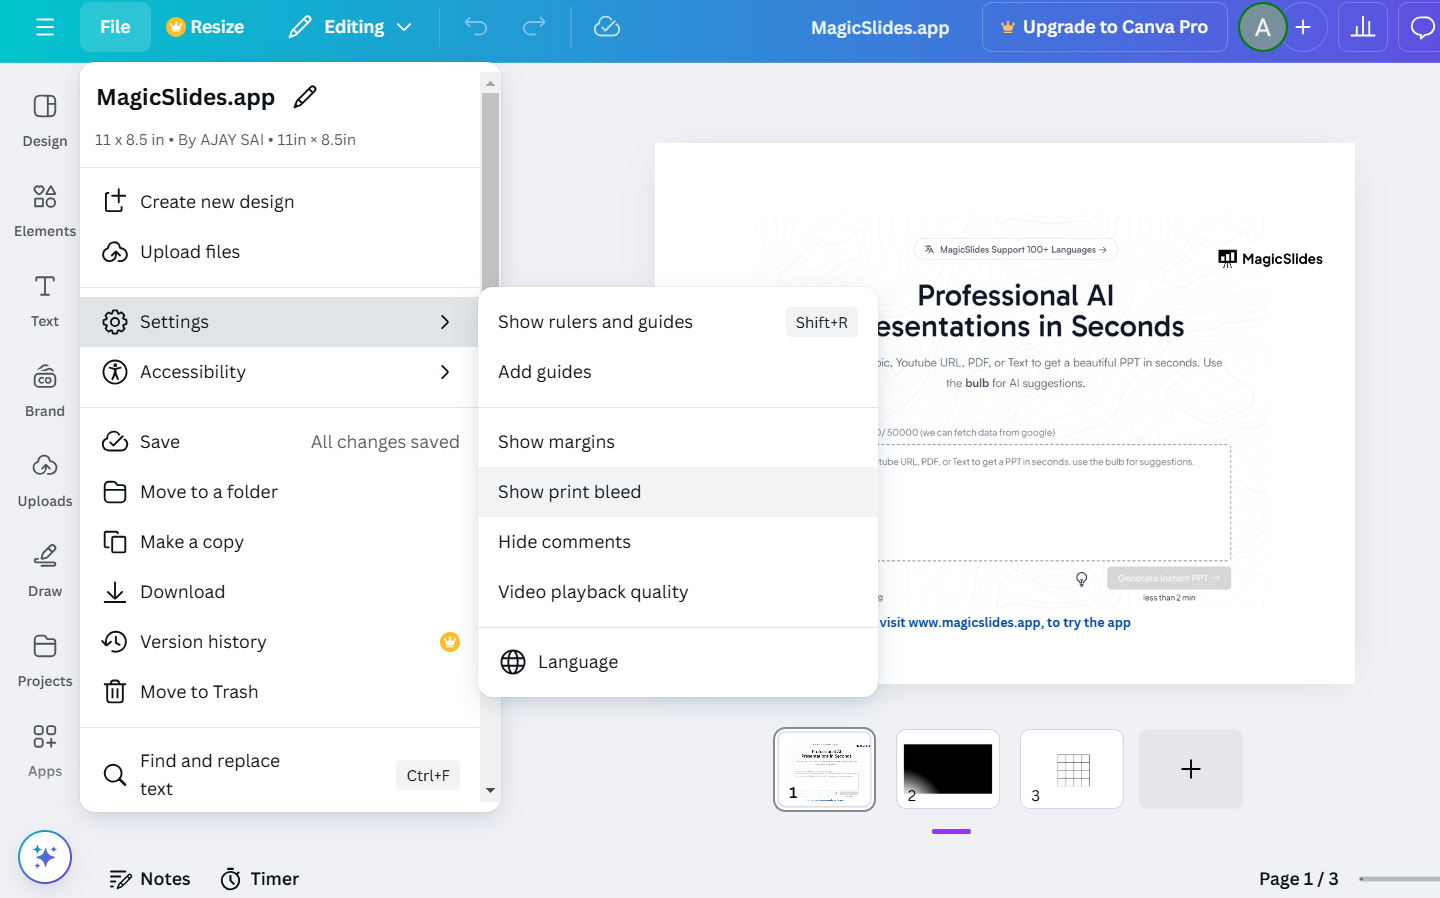
Step 2: Enable Print Bleed
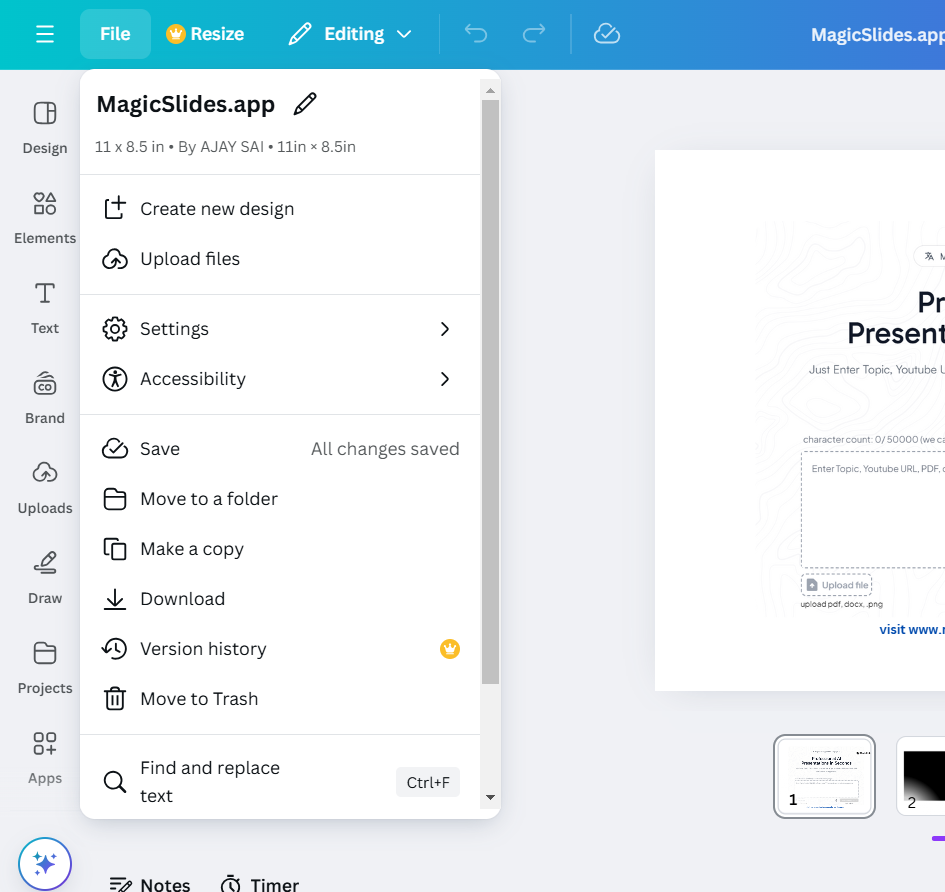
Once inside your design, click the File option from the top toolbar.
In the dropdown menu, toggle on the Show Print Bleed option.
A dashed line will appear around the edges of your design, indicating the bleed area.
Step 3: Extend Background and Elements to the Bleed Area
Drag your background or any elements that need to extend beyond the final cut lines to the edge of the bleed zone.
Ensure all essential content (text, logos, etc.) stays within the safe area, inside the dashed line.
Step 4: Double-Check the Design Layout
Verify that all critical elements are within the safe margin and that the bleed area is filled appropriately.
Zoom in to inspect edges for any gaps or misalignments.
Step 5: Download the Design with Bleed
Click the Share button in the top-right corner and select Download.
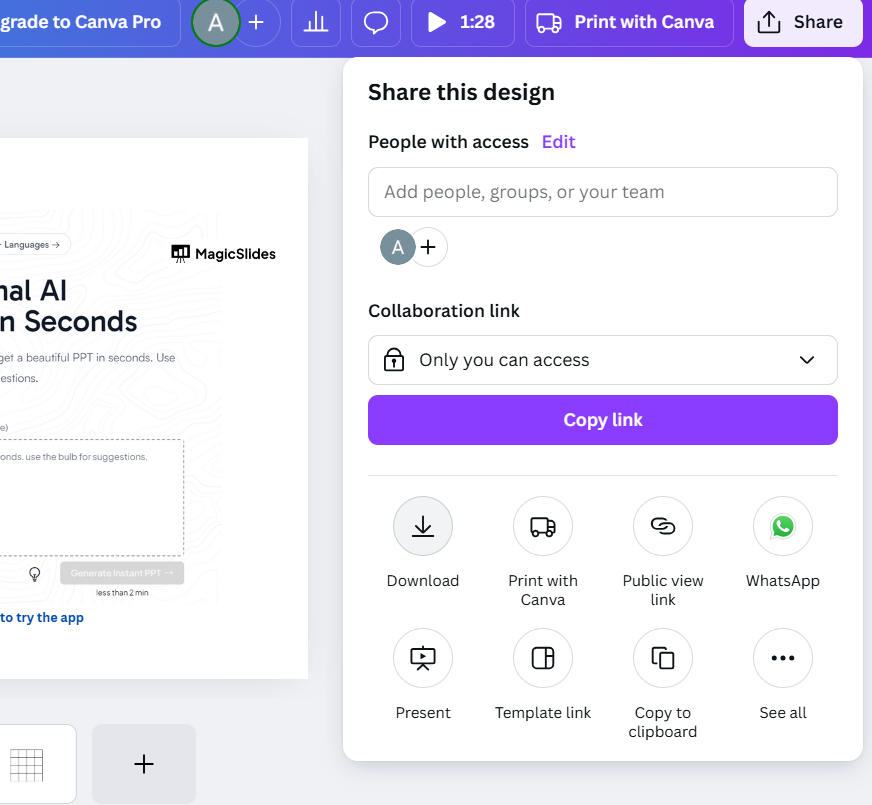
Choose PDF Print as the file format to include the bleed settings.
Check the box for Crop Marks and Bleed before downloading your design.
Step 6: Test Print Your Design
Print a test copy to ensure the bleed and layout appear as expected.
Make any necessary adjustments to your Canva design before printing in bulk.
Conclusion
Adding bleed in Canva is a simple yet crucial step for creating professional, print-ready designs.
By extending your design elements to the bleed area and downloading the file with crop marks, you can avoid unintentional white edges and ensure a flawless final product.
FAQs on Adding Bleed in Canva
What is the standard bleed size for printing?
The standard bleed size is typically 0.125 inches (3mm) on all sides, but confirm with your printer for specific requirements.
Can I add bleed to all Canva designs?
Yes, you can enable bleed for any Canva design intended for printing by using the Show Print Bleed option.
Why is the bleed area not visible in the downloaded file?
The bleed area is included in the PDF Print file format when you select Crop Marks and Bleed during download. It won’t appear in other formats like PNG or JPG.
With this guide, you can confidently add bleed in Canva and produce polished, print-ready designs every time!


