How to Auto Collage in PowerPoint


Effortlessly create stunning auto collages in PowerPoint to showcase multiple images with professional appeal
Creating a photo collage in PowerPoint is a fantastic way to showcase multiple images in a visually appealing layout.
Whether you’re working on a personal project or a professional presentation, PowerPoint’s tools make it easy to design a collage with minimal effort.
This step-by-step guide will help you create a stunning auto collage in PowerPoint quickly and effectively.
How to Auto Collage in PowerPoint | Steps to Auto Collage in PowerPoint
Step 1: Open PowerPoint and Create a New Slide
Launch PowerPoint and open your presentation or create a new one.
Insert a blank slide where you want the collage to appear by selecting Home > New Slide and choosing the blank layout.
Step 2: Insert Images
Go to the Insert tab on the ribbon and click Pictures. Choose either This Device, Stock Images, or Online Pictures based on where your images are stored.
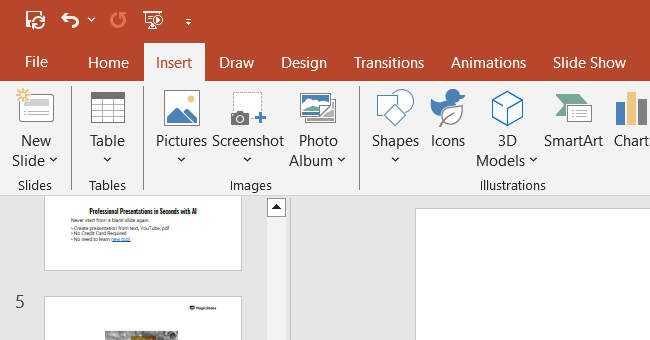
Select the images you want to include in your collage and click Insert.
Step 3: Arrange the Images
Drag and drop the images on the slide to position them. Use PowerPoint’s Smart Guides (red alignment lines) to align and space your images evenly.
Resize the images as needed by clicking and dragging the corner handles.
Step 4: Use the Picture Layout Option for Auto Collage
Select all the images on the slide by holding down the Shift key and clicking each one.
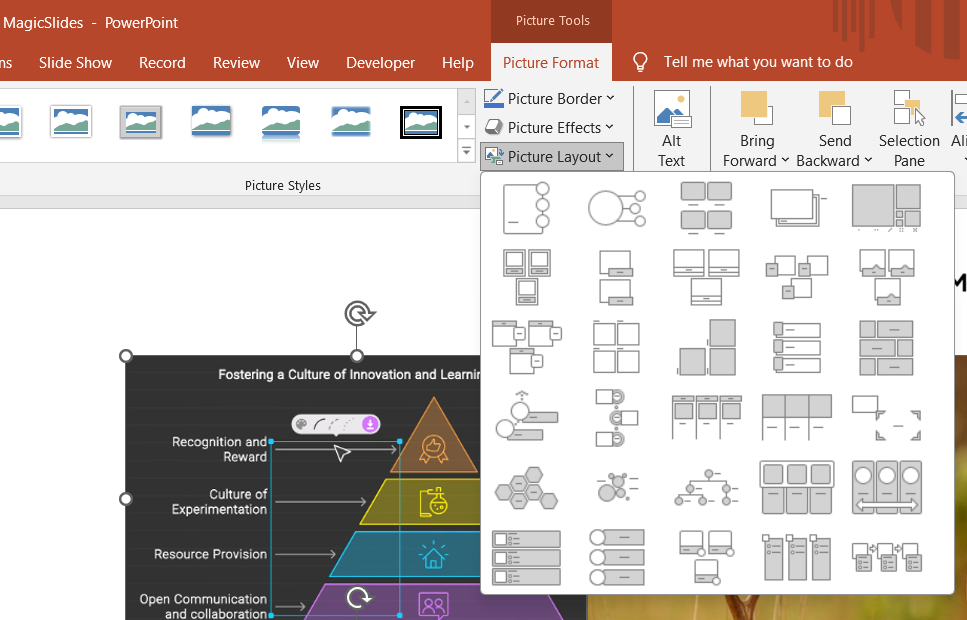
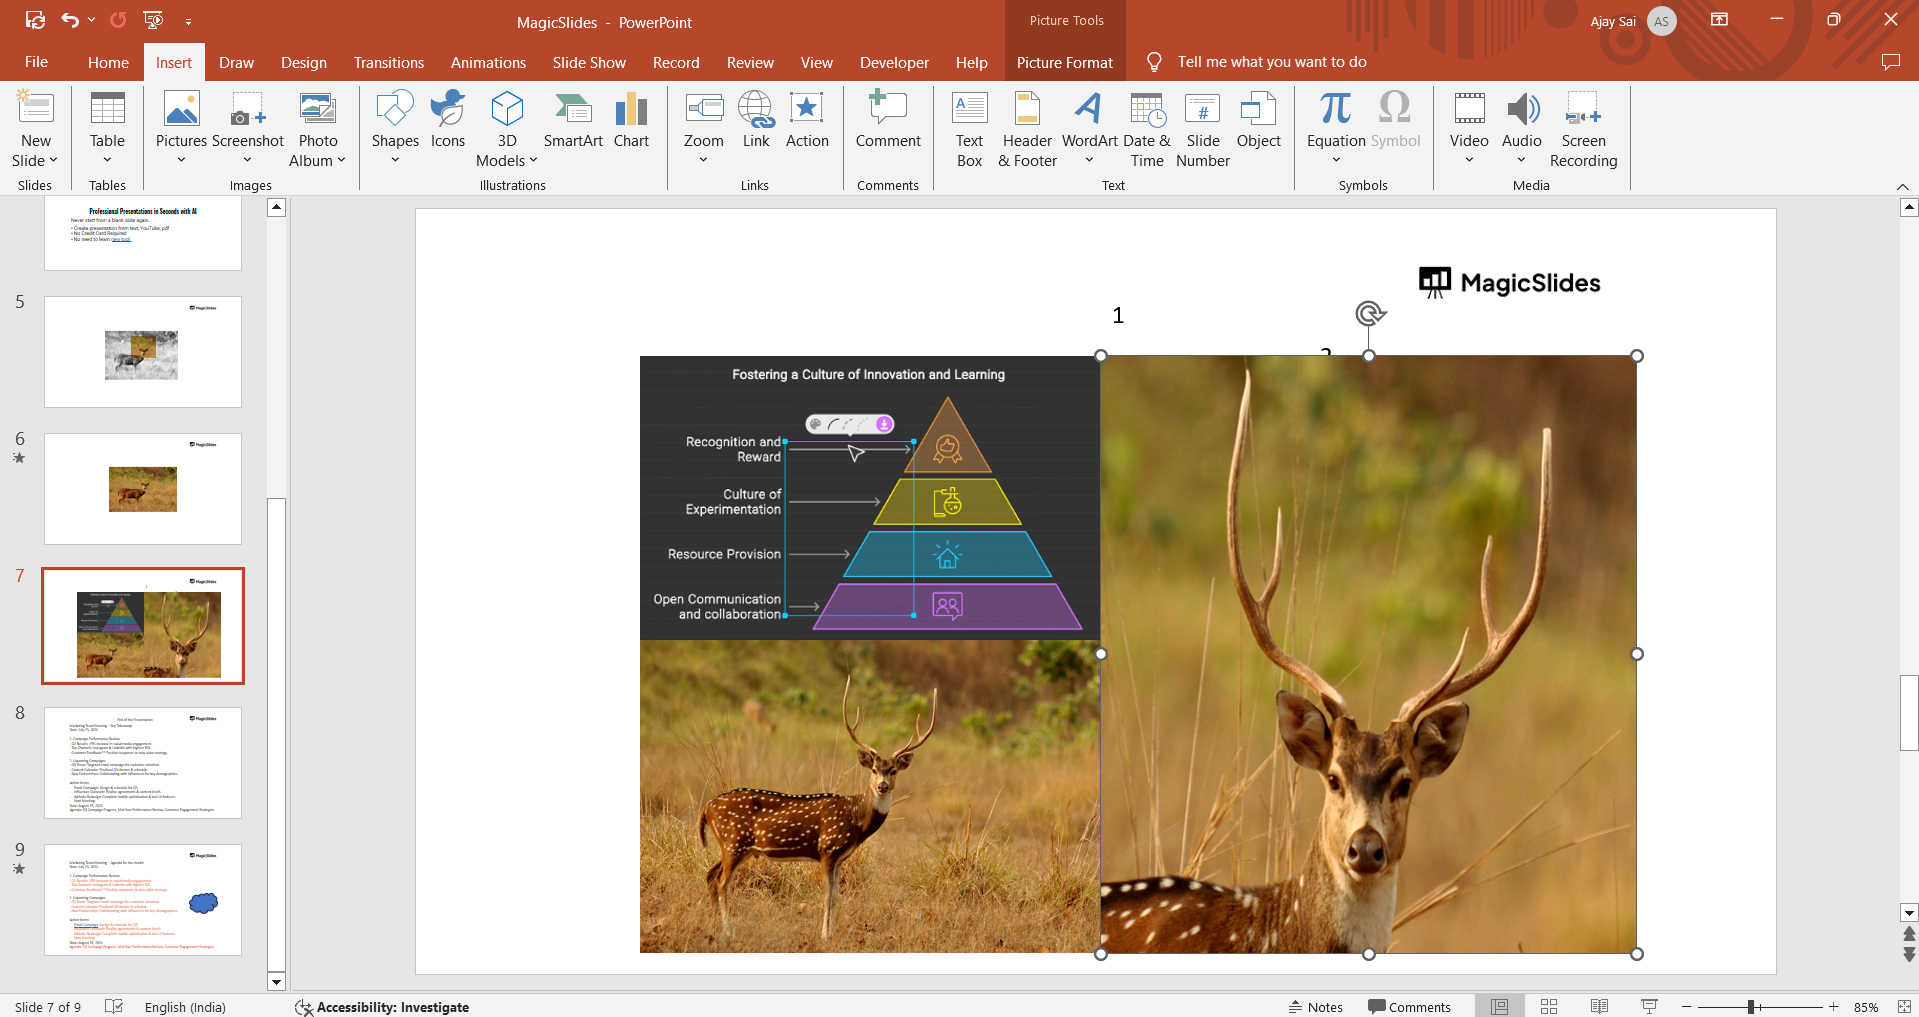
Navigate to the Picture Format tab and click Picture Layout in the Arrange group. Choose a layout from the options provided, such as grids, circles, or other artistic arrangements.
Step 5: Customize the Collage Design
Modify the collage by applying picture styles, such as borders or shadows, from the Picture Format tab.
Change the background color of the slide by right-clicking the slide, selecting Format Background, and choosing a color or gradient that complements your images.
Step 6: Save Your Collage
Save your work by selecting File > Save As and choosing the desired format, such as PPTX or PDF.
If you want to save the collage as an image, go to File > Save As, choose an image format (e.g., JPEG), and select the slide you want to export.
Conclusion
PowerPoint’s tools make it easy to design a professional-looking photo collage without needing additional software.
By following these steps, you can quickly create a visually engaging slide that combines images in a polished layout.
Experiment with different layouts and styles to make your collage uniquely yours.
FAQs on Auto Collage in PowerPoint
Can I adjust the spacing between images in an auto collage?
Yes, after applying a layout, you can manually adjust image spacing by moving and resizing them individually.
Can I use PowerPoint’s auto collage feature with different image shapes?
Yes, you can crop images into different shapes using the Crop > Crop to Shape option in the Picture Format tab.
Is there a way to animate the collage?
Yes, you can apply animations to individual images or the entire collage to make it dynamic. Use the Animations tab to explore options.
By leveraging PowerPoint’s auto collage features, you can turn a simple presentation into a creative and captivating visual experience!


