How to Bend Text in PowerPoint in Seconds


How to bend text in PowerPoint in a few clicks. I share quick methods that work in all modern PowerPoint versions. So, let’s discuss together.
How to Bend or Curve Text in PowerPoint – Beginner to Advanced
Using curved text in PowerPoint makes slides look more engaging and attractive. PowerPoint offers built-in text effects that let you curve text easily. In this step-by-step guide, we’ll explore how to bend text in PowerPoint, allowing you to add a touch of style and creativity to your slides. You will learn how to curve text in PowerPoint step by step using simple methods that work in all modern versions.
If you’re also working on improving overall slide aesthetics, you may find this guide on how to make PPT attractive helpful.
Why Curved Text in PowerPoint?
Before learning the steps, let me explain why curved text is useful in presentations:
- Make titles look better
- Helps create simple logos
- Curved text improves slide design
- Use it to highlight text
- Adds a creative touch
- Looks better than plain text
When used correctly, curved text makes slides more engaging and polished. It pairs especially well with visual elements, similar to techniques used in how to make a good presentation design.
#Method 1. Curve Text Using WordArt in PowerPoint
Step 1: Open Your PowerPoint Presentation
Begin by opening the PowerPoint presentation where you want to apply the text bending effect.
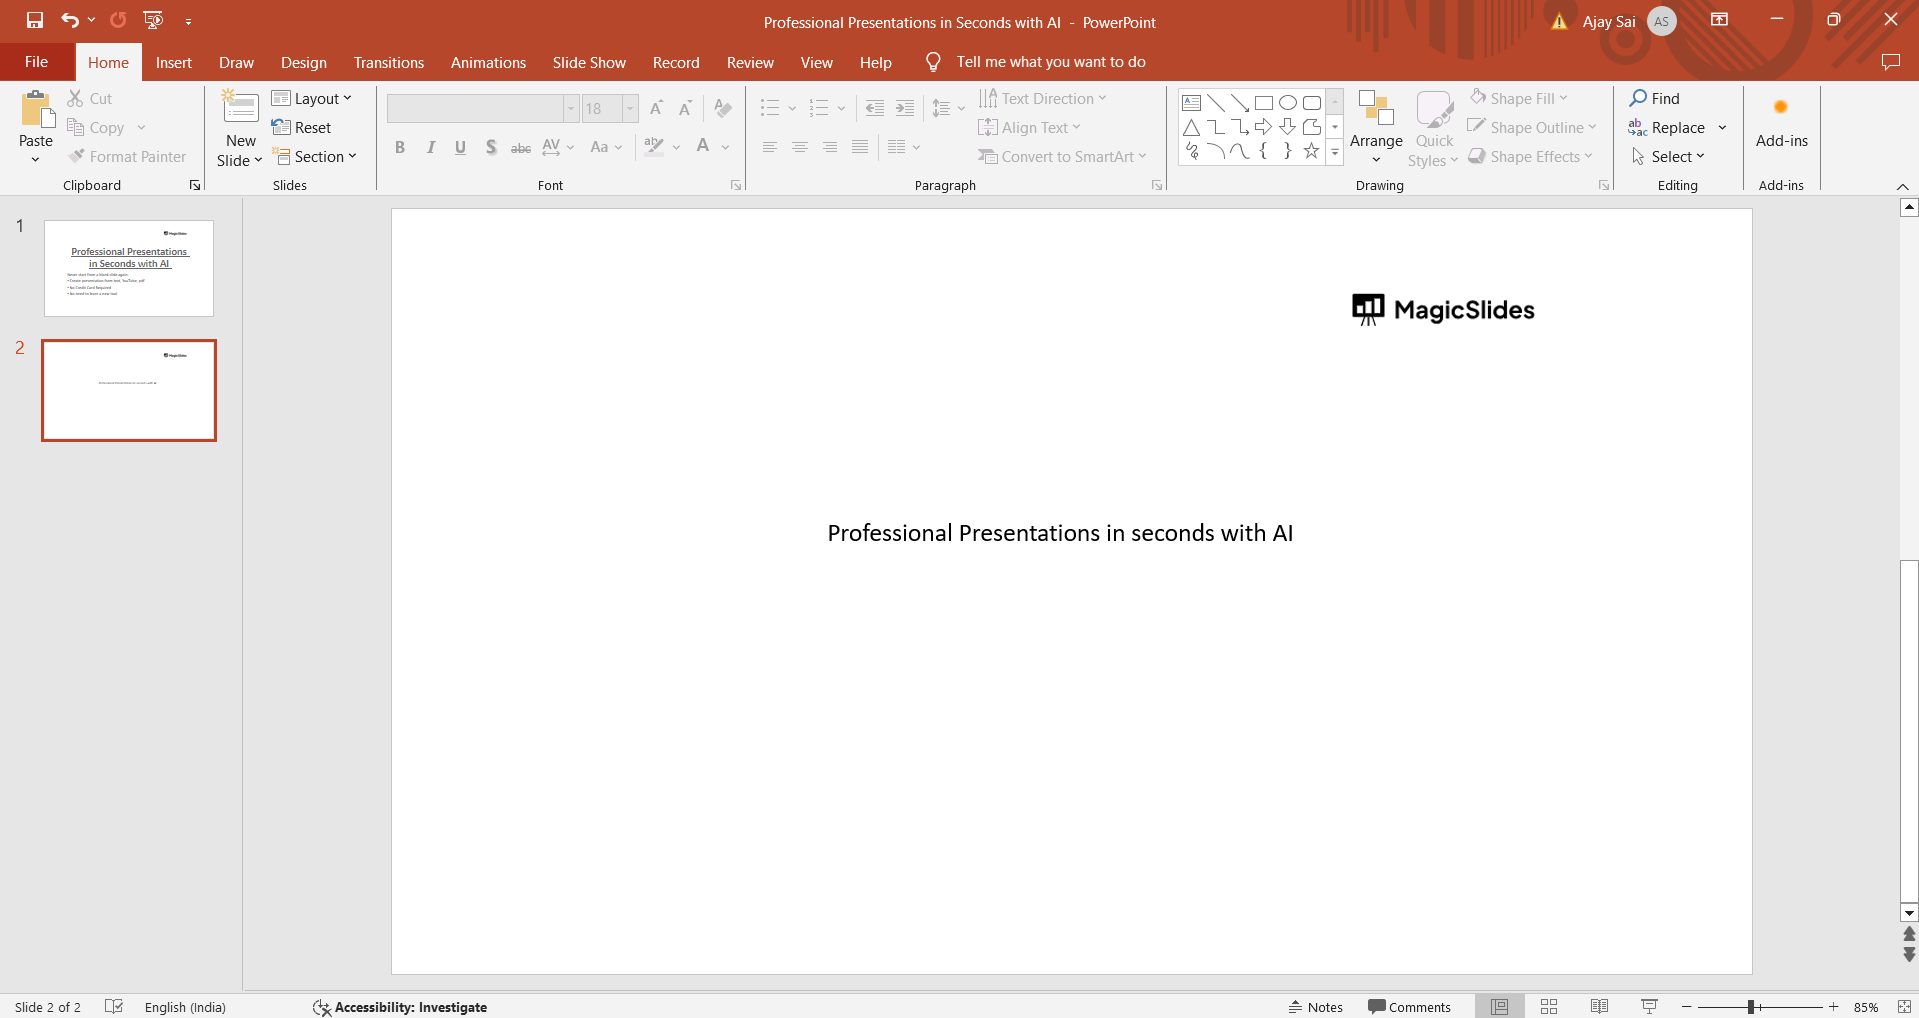
Step 2: Insert a Text Box
Click on the “Insert” tab in the PowerPoint ribbon, then select “Text Box” to insert a new text box on your slide.
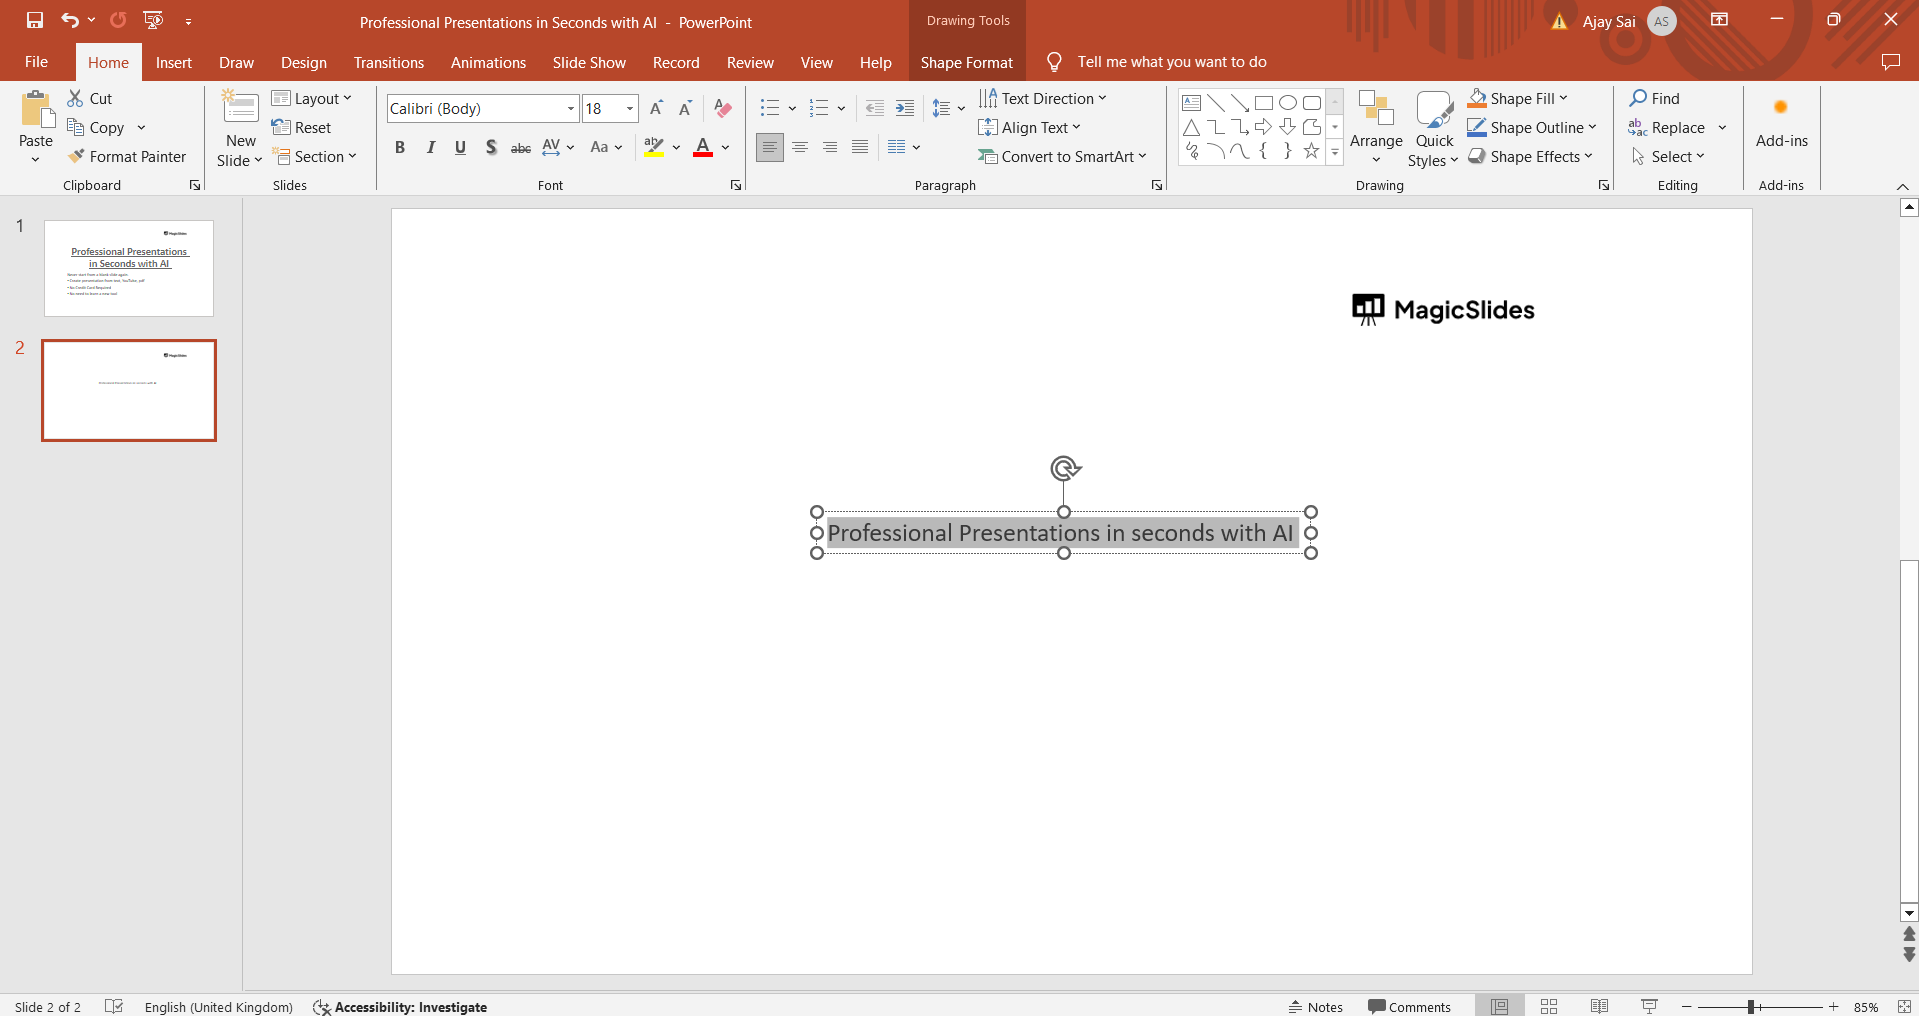
Step 3: Enter Your Text
Type or paste the text you want to bend into the text box. You can adjust the font, size, and color of the text as desired.
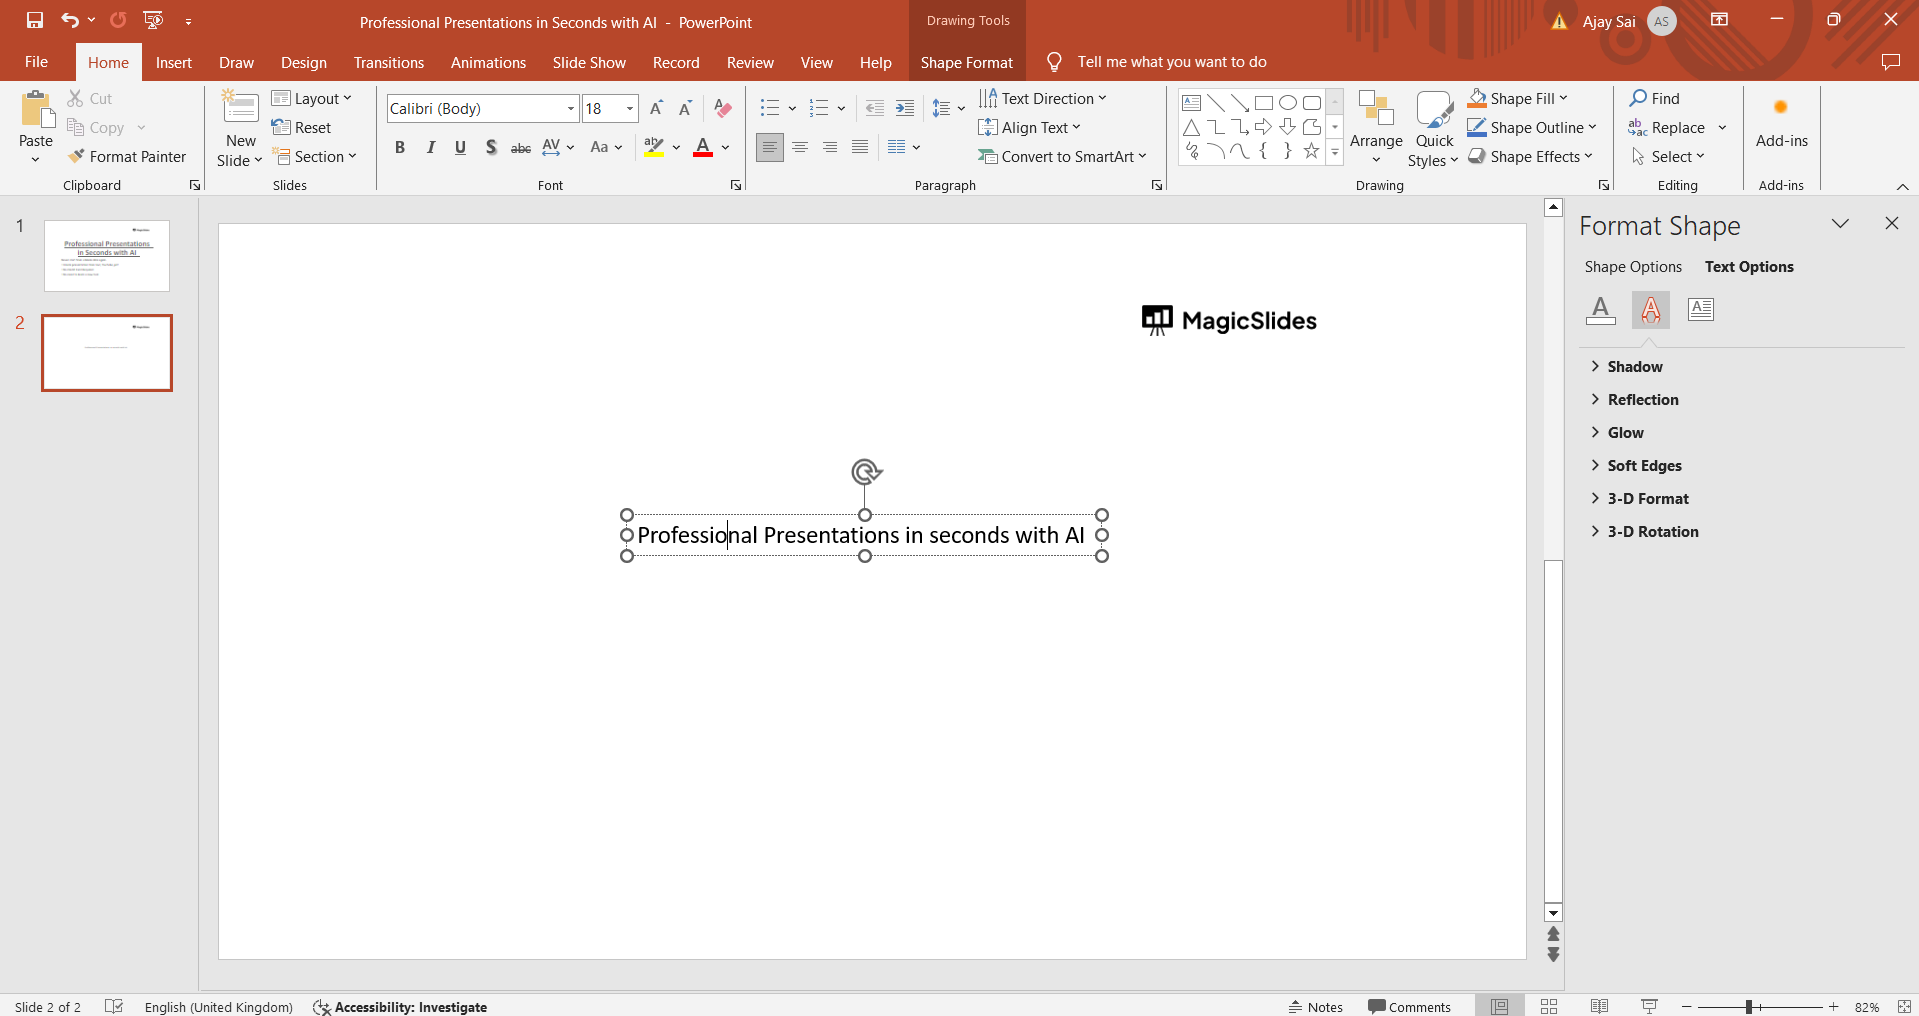
Step 4: Select the Text Box
Click on the text box to select it. You should see handles around the box indicating that it’s selected.
Step 5: Access the Text Effects Menu
Navigate to the “Format” tab in the PowerPoint ribbon. Look for the “Text Effects” option, usually located within the “WordArt Styles” or “Drawing Tools” section, depending on your PowerPoint version.
Step 6: Choose the Text Transform Effect
In the Text Effects menu, locate and click on “Transform” or “Warp Text.” This option allows you to choose various text-bending effects.
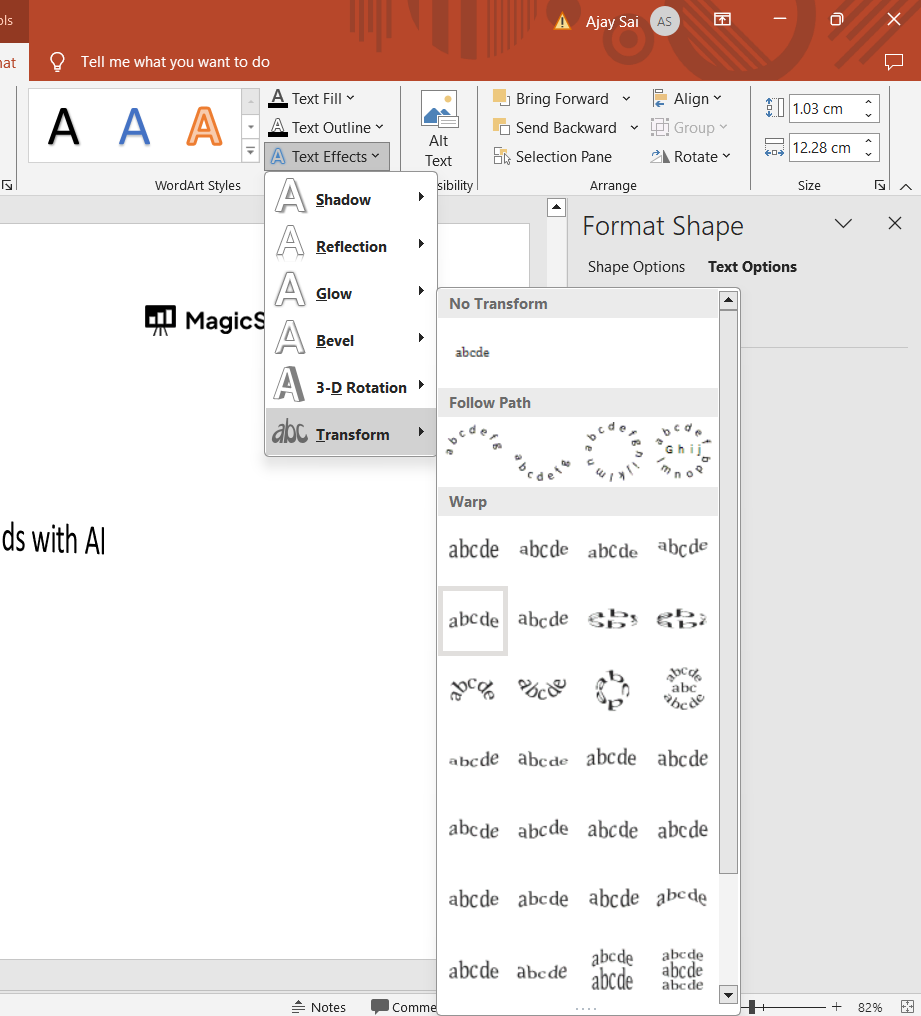
Step 7: Select a Bending Style
A drop-down menu will appear with different bending styles such as “Arch Up,” “Arch Down,” “Circle,” “Wave,” and more.
Click on the style that best fits your design concept.
Step 8: Adjust the Bending Options (if available)
Depending on the bending style you choose, you may have additional options to adjust the curvature, spacing, and other parameters.
Use these options to fine-tune the bending effect to your liking.
Step 9: Preview and Apply
Preview the bending effect on your text. Once you’re satisfied with how it looks, click on the desired effect to apply it to your text box.
#Method 2. How to Curve Text in PowerPoint Around a Shape
Sometimes, users want curved text to follow a design element. For the same:
- Insert a shape like a circle
- Add WordArt text
- Apply Text Effects > Transform
- Resize and align the text with the shape
This method helps you maintain consistent spacing and layout.
#Method 3. Curve Text Using Multiple Text Boxes
If you want custom positioning or to manually arrange text. Then:
- Split text into multiple short text boxes
- Rotate each box slightly
- Align them in a curved pattern
- Group them together
This approach takes more time, but it gives you more control over changing the intensity of text while curving.
How to Curve Text in PowerPoint Using a Cutting-edge Solution?
Curving text manually in PowerPoint using WordArt is simple. But there are times when users need to do so with multiple slides simultaneously. For the same reason, a manual solution is not practical; that’s why I’m suggesting an automated utility, i.e., MagicSlides AI PPT Creator, to generate structured slides quickly.

The solution helps you to create slide content and layouts in minutes, which can be further opened in PowerPoint, Google Slides, or any other preferred format. So, try this now for free, and create a polished presentation in minutes, with curved text, visuals, and more.
Best Practices to Follow When Curving Text in PowerPoint
Curved text can cause errors if not handled carefully. Here’s what to always keep in mind:
- Use curved text only when needed
- Keep the text short and clear
- Choose simple and readable fonts
- Keep enough space around the text
- Check how it looks on the full slide
Curved text works best for headings, labels, and highlights, not body content.
Common Problems I’ve Faced
Here are the most common issues that I personally faced while curving the text:
#1. Text Looks Distorted
- Reduce the font size
- Resize the WordArt container
#2. Curve Is Too Sharp
Stretch the text box horizontally
#3. Text Is Hard to Read
- Switch to bold fonts
- Increase spacing
Many of these issues are design-related and occurs formatting challenges. In such cases, knowing how to change shape transparency in PowerPoint can be useful.
Author’s Verdict
If you’re designing presentations for branding or marketing, knowing how to curve text in PowerPoint is a small skill that makes a big impact. In this discussion, we covered all the possible solutions and information about the same. I hope you enjoyed this complete walkthrough.
People Also Ask
Q1. Can I curve text in PowerPoint without WordArt?
No. WordArt is required to access text transform effects.
Q2. Does curved text work in all PowerPoint versions?
Yes, it works in PowerPoint 2013, 2016, 2019, and Microsoft 365.
Q3. Can I animate curved text?
Yes. One can apply standard text animations after curving the text.
Q4. Is curved text editable later?
Absolutely. You can edit the text anytime by clicking the WordArt object.
Q5. Can I bend text in specific directions, like vertically or diagonally?
Text bending in PowerPoint typically offers preset styles like arching or waving rather than specific directional control.
Q6. Does bending text affect its readability in a presentation?
Depending on the bending style and degree, text bending can enhance design without compromising readability.
Q7. Can I apply text bending to individual letters or characters in PowerPoint?
PowerPoint’s text-bending features usually apply to entire text boxes or paragraphs rather than individual characters.


