How to create seating chart over Picture in PowerPoint


Easily design a seating chart over a picture in PowerPoint with these step-by-step instructions
Designing a seating chart over a picture in PowerPoint is an effective way to visualize seating arrangements in venues like classrooms, weddings, or events.
By using PowerPoint’s versatile tools, you can overlay text, shapes, and graphics on an image to create a customized chart.
Follow these simple steps to create your own seating chart with ease.
Steps to Create a Seating Chart Over a Picture in PowerPoint
Step 1: Open PowerPoint and Insert Your Background Picture
Open PowerPoint and start a new blank presentation.
Click on the Insert tab, select Pictures, and choose the picture you want as the background.
Resize and position the image to fill the slide as needed.

Step 2: Lock the Background Image (Optional)
To prevent accidental movement of the picture, right-click on it and choose Send to Back.
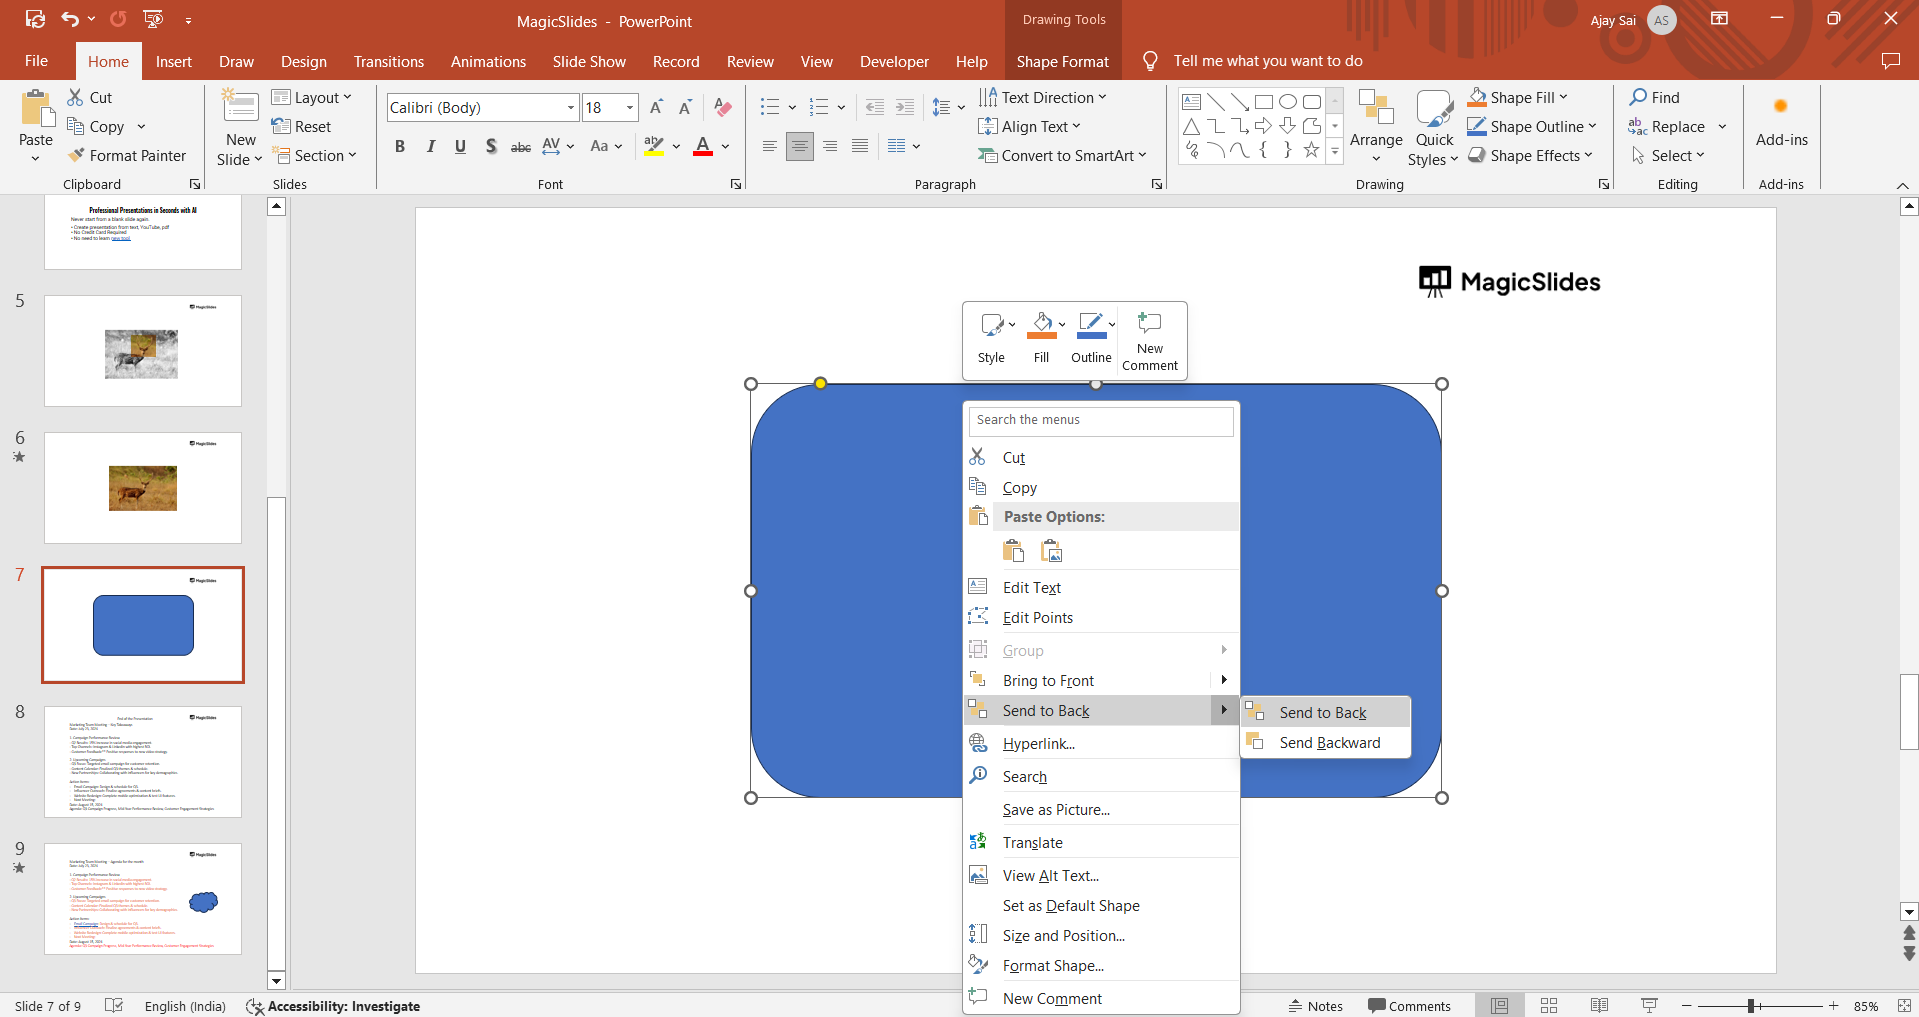
Alternatively, go to Format Picture, set the picture as a background, or lock it in place.
Step 3: Add Shapes for Seating Areas
Click on the Insert tab and select Shapes from the dropdown menu. Choose shapes like rectangles, circles, or ovals to represent seats.
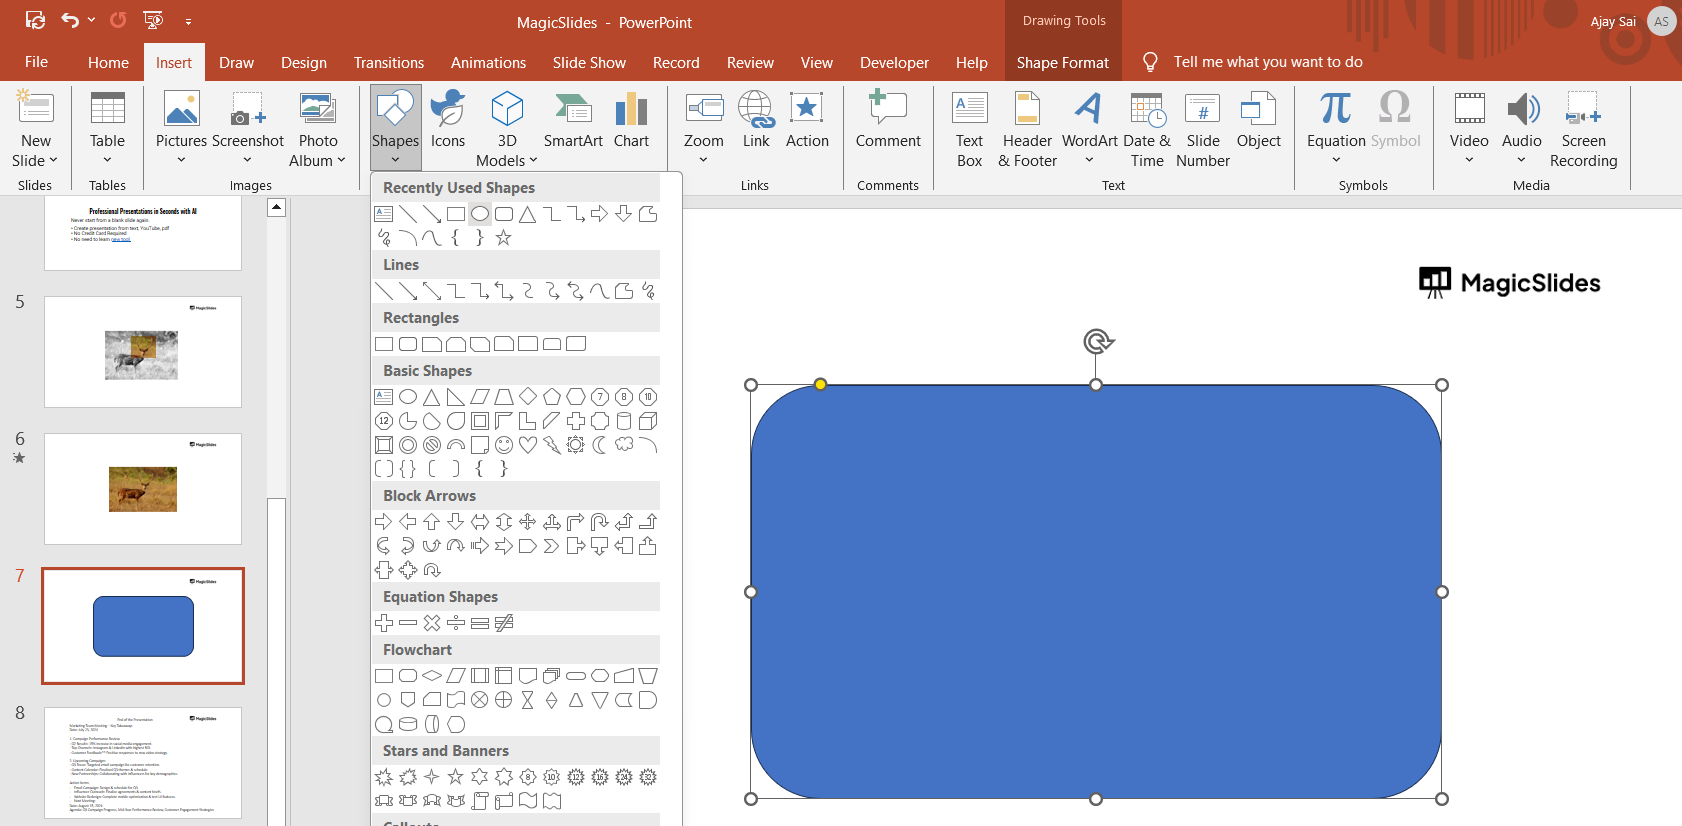
Place the shapes over the areas in the picture where seats will be located.
Step 4: Label Each Seat
Add text to each shape by right-clicking the shape and selecting Edit Text.
Enter the names, numbers, or labels for each seat (e.g., “Table 1, Seat A”).
Customize the font, size, and color for better readability.
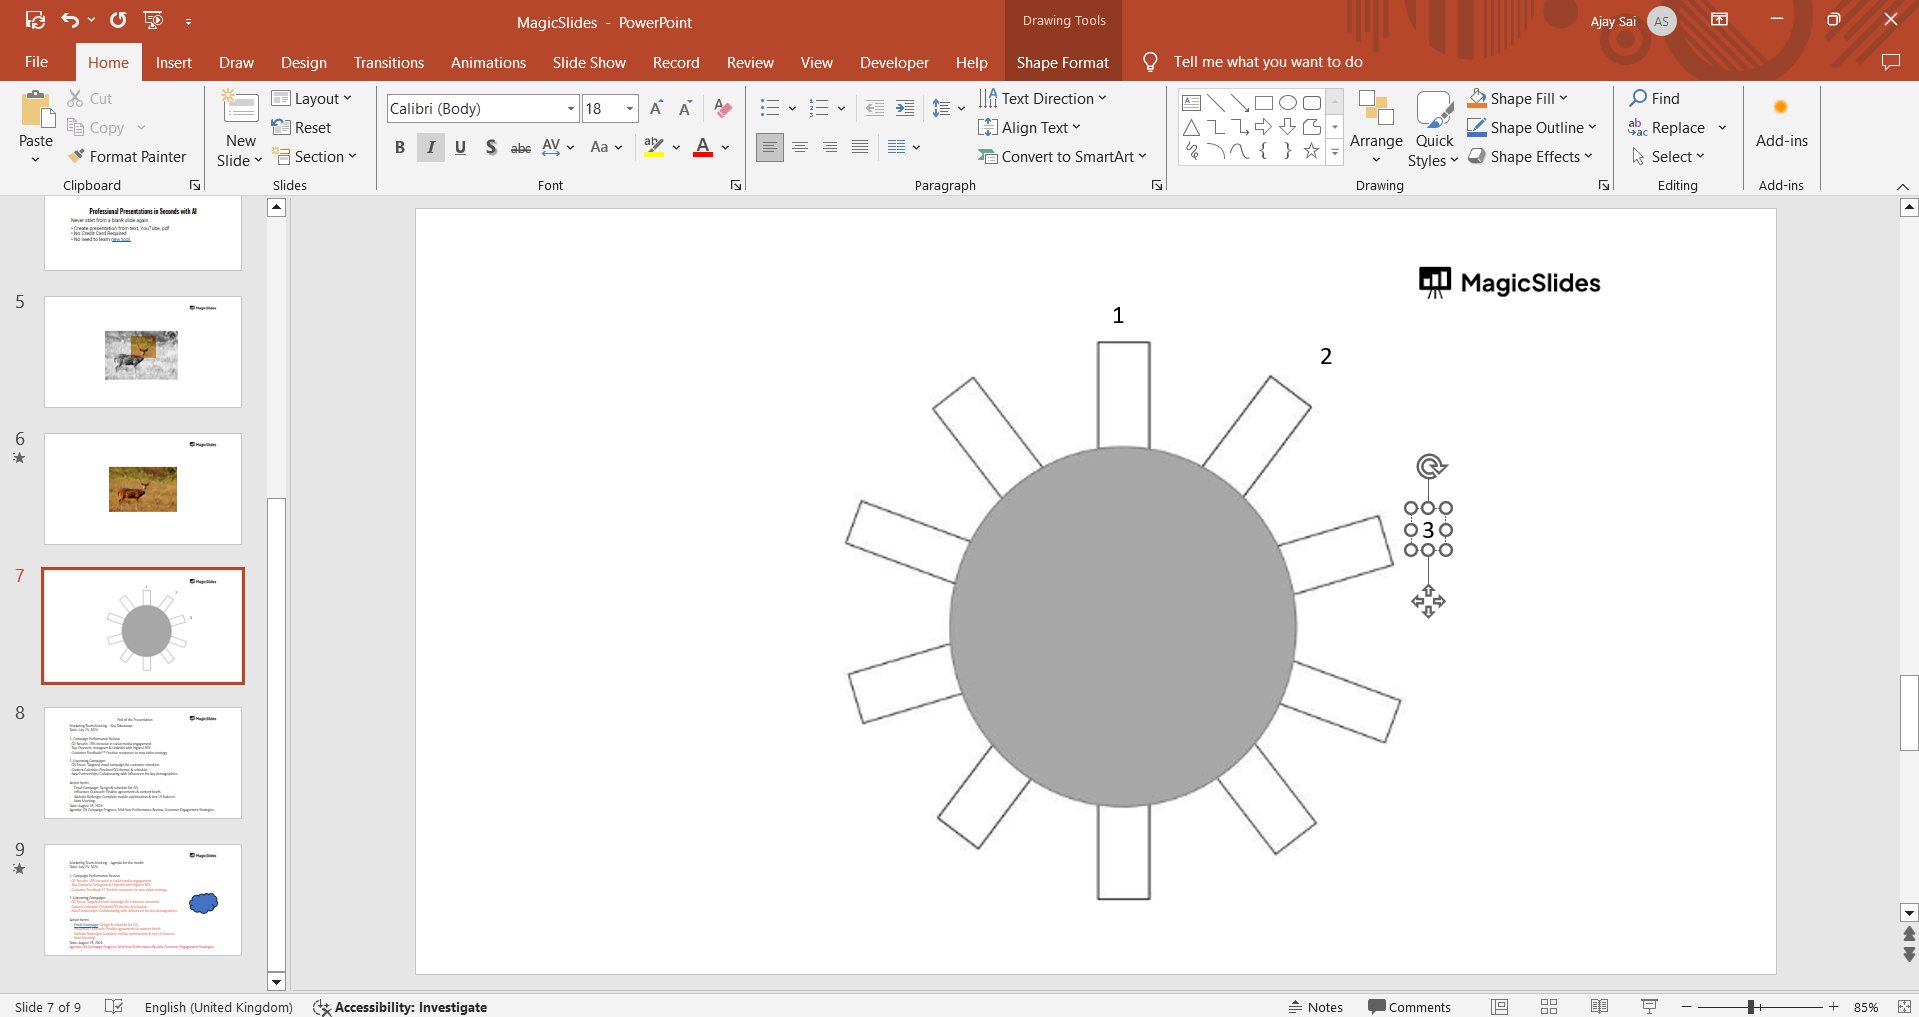
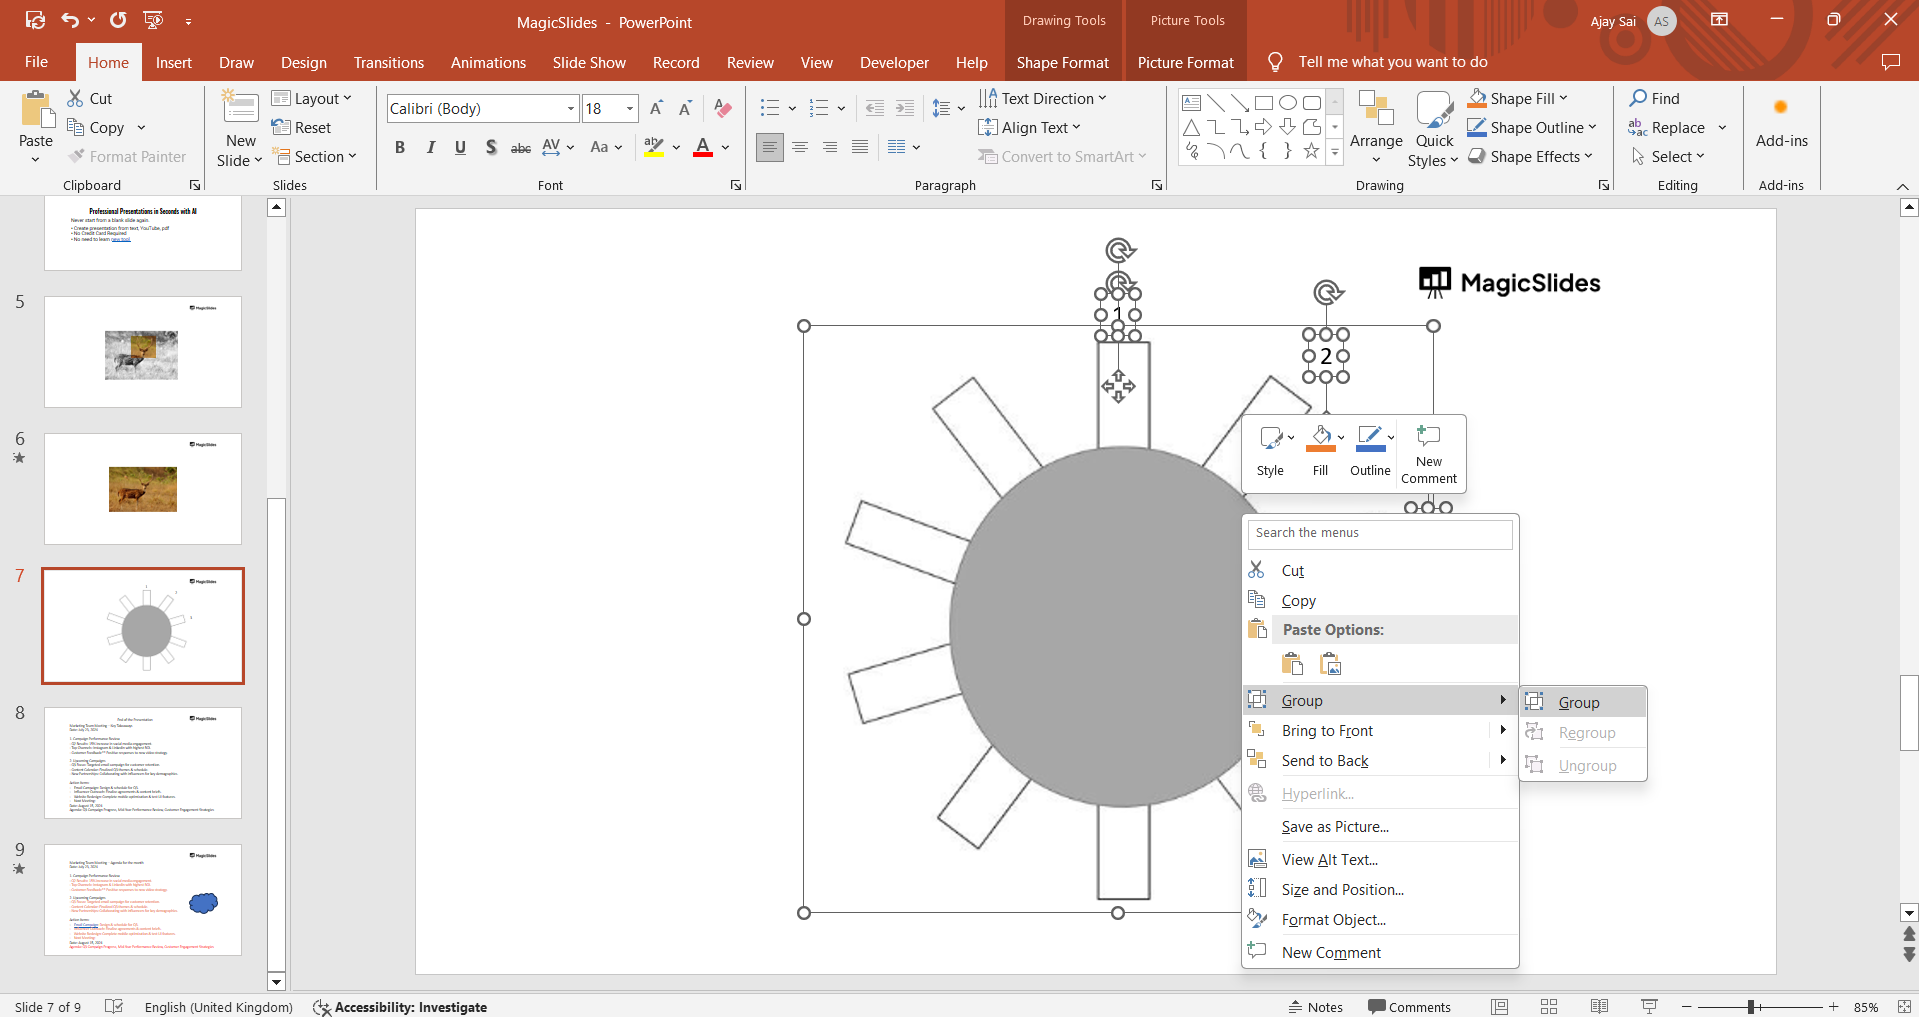
Step 5: Group or Arrange the Shapes
Select all shapes and labels for a specific seating area. Right-click and choose Group to keep them together.
Arrange and align the grouped shapes for a neat layout.
Step 6: Customize Colors, Styles & Save
Use the Format tab to change the shape colors, outlines, and effects.
Apply different colors to distinguish between sections, such as VIP areas or reserved seating.
Conclusion
Creating a seating chart over a picture in PowerPoint is a simple yet powerful way to organize seating visually.
By combining background images with customizable shapes and labels, you can design a chart that’s both functional and visually appealing.
Whether for an event, classroom, or workspace, these steps help ensure an organized layout that meets your needs.
FAQs on Creating a Seating Chart Over a Picture in PowerPoint
Can I use any picture as the background for the seating chart?
Yes, you can use any picture, but ensure it is clear and relevant to your seating layout.
How do I ensure the shapes stay aligned while moving them?
Use PowerPoint’s Align tools under the Arrange menu to align and distribute shapes evenly.
Can I make the background image slightly transparent?
Yes, select the image, go to Format Picture, and adjust the transparency slider for better visibility of the seating chart.
By following these steps, you can efficiently create a professional seating chart that is tailored to your specific needs!


