How to crop a picture into a square in PowerPoint


Enhance your PowerPoint slides with a square picture crop using these easy steps.
Cropping pictures into specific shapes can significantly enhance the visual appeal of your PowerPoint presentations. If you're looking to crop a picture into a square shape within PowerPoint, this step-by-step guide will walk you through the process. Whether you're resizing images for consistency or creating a unique layout, mastering this technique can elevate your slide designs.
How to crop a picture into a square in PowerPoint
Step 1: Insert the Picture
Begin by opening your PowerPoint presentation and navigating to the slide where you want to insert the picture. Click on the "Insert" tab in the PowerPoint ribbon at the top of the screen.
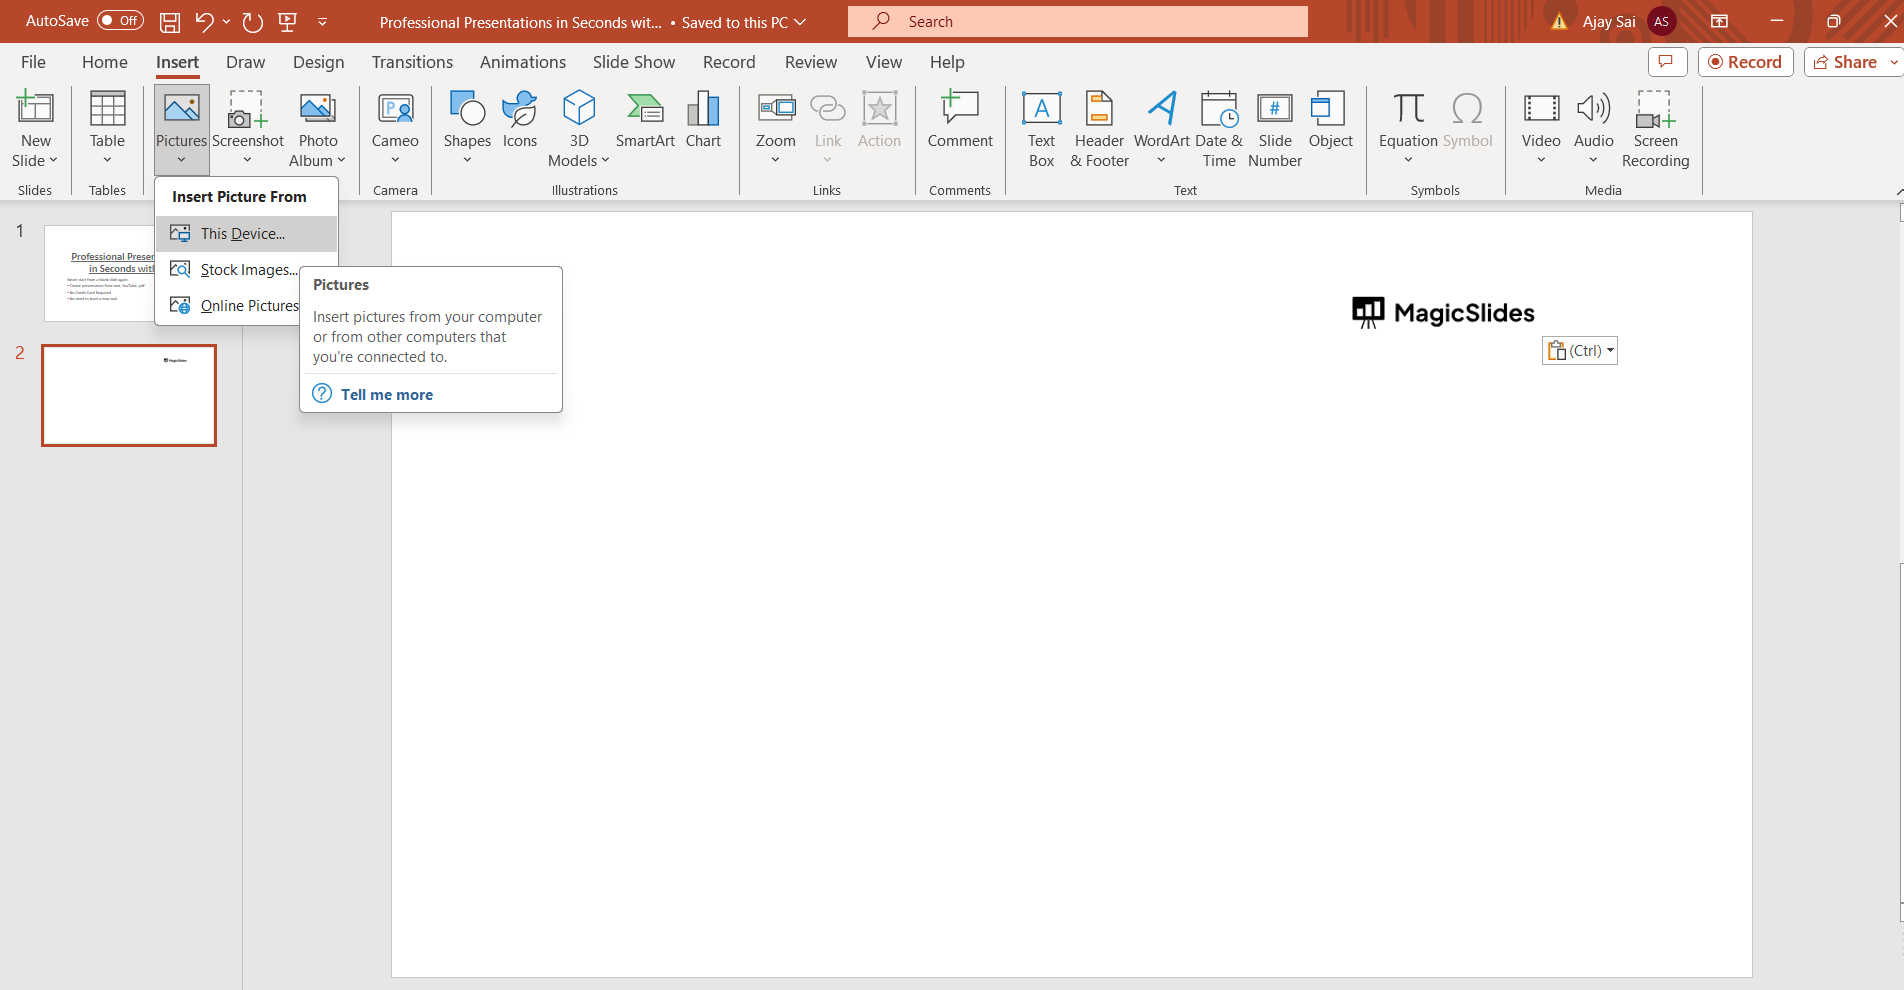
Step 2: Select the Picture
In the Insert tab, click on the "Pictures" button to choose the image you want to insert into your slide. Once inserted, the picture will appear on your slide.
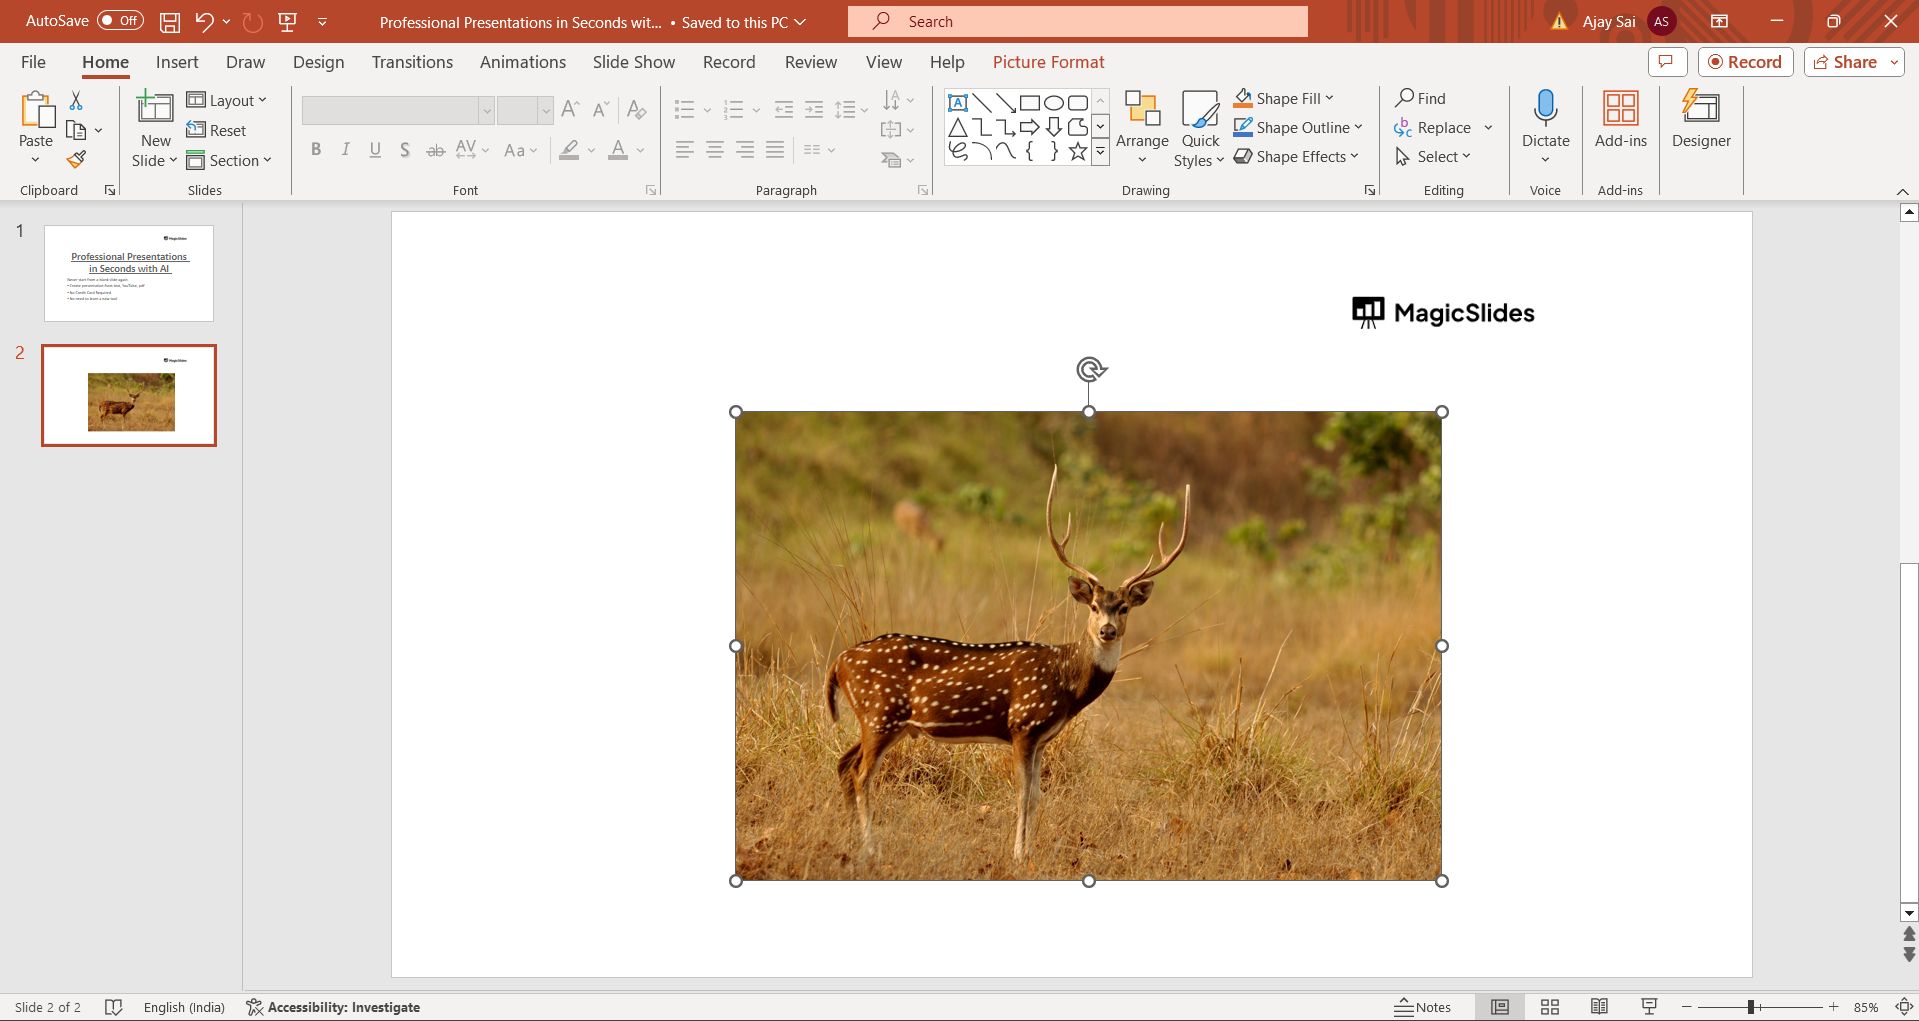
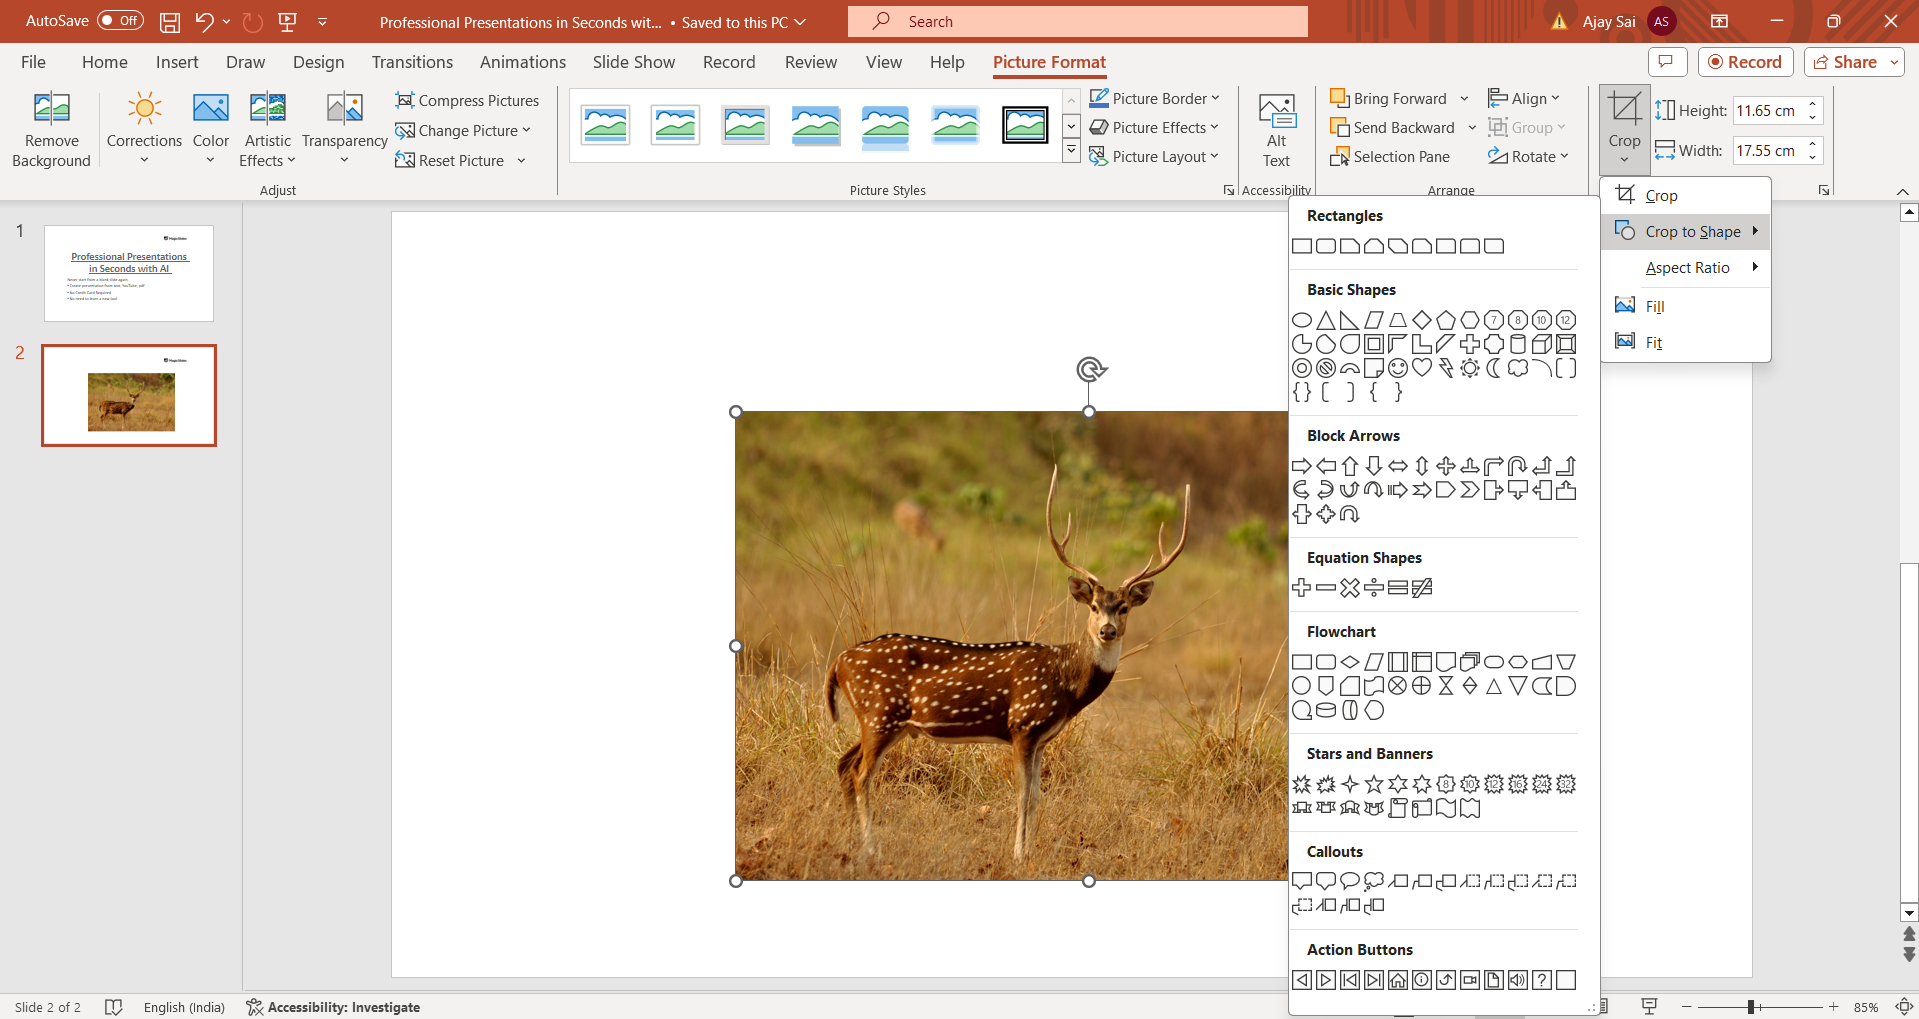
Step 3: Access the Crop Tool
Click on the inserted picture to select it. This action will activate the Picture Tools format tab in the ribbon. Click on the "Format" tab to access additional picture editing options.
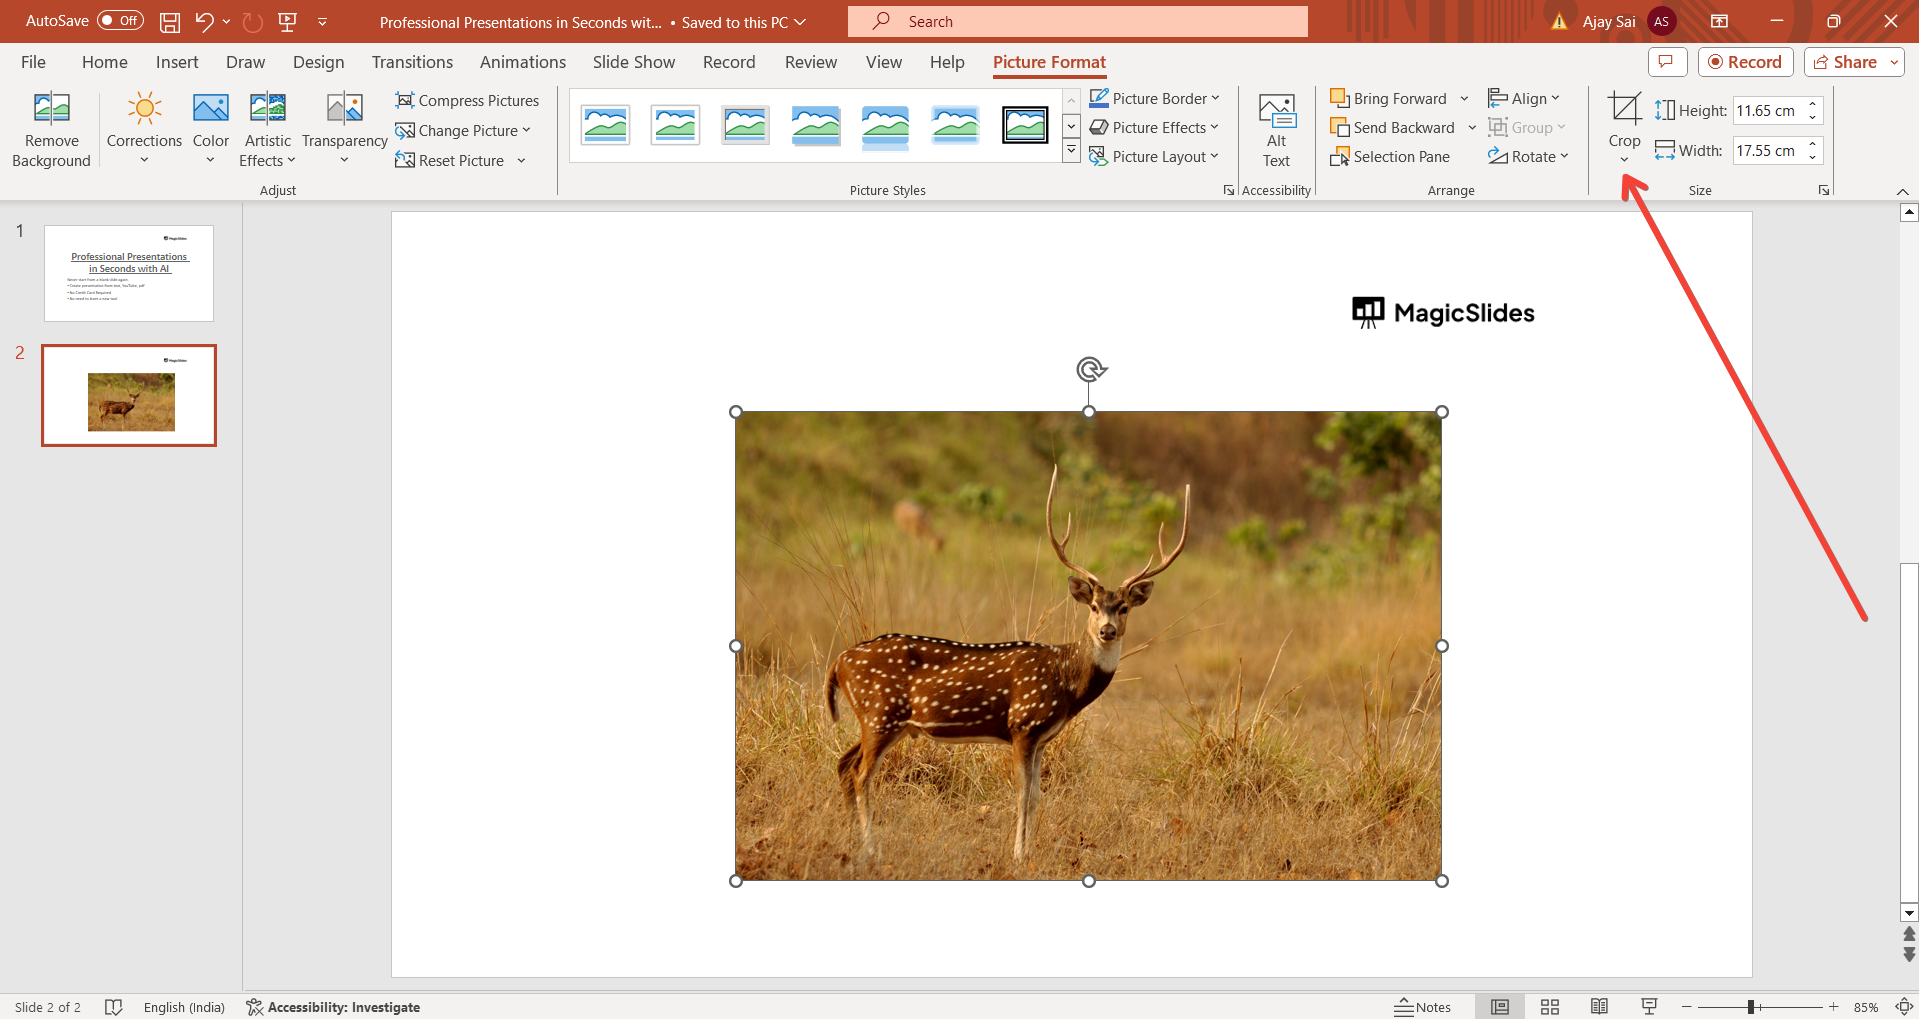
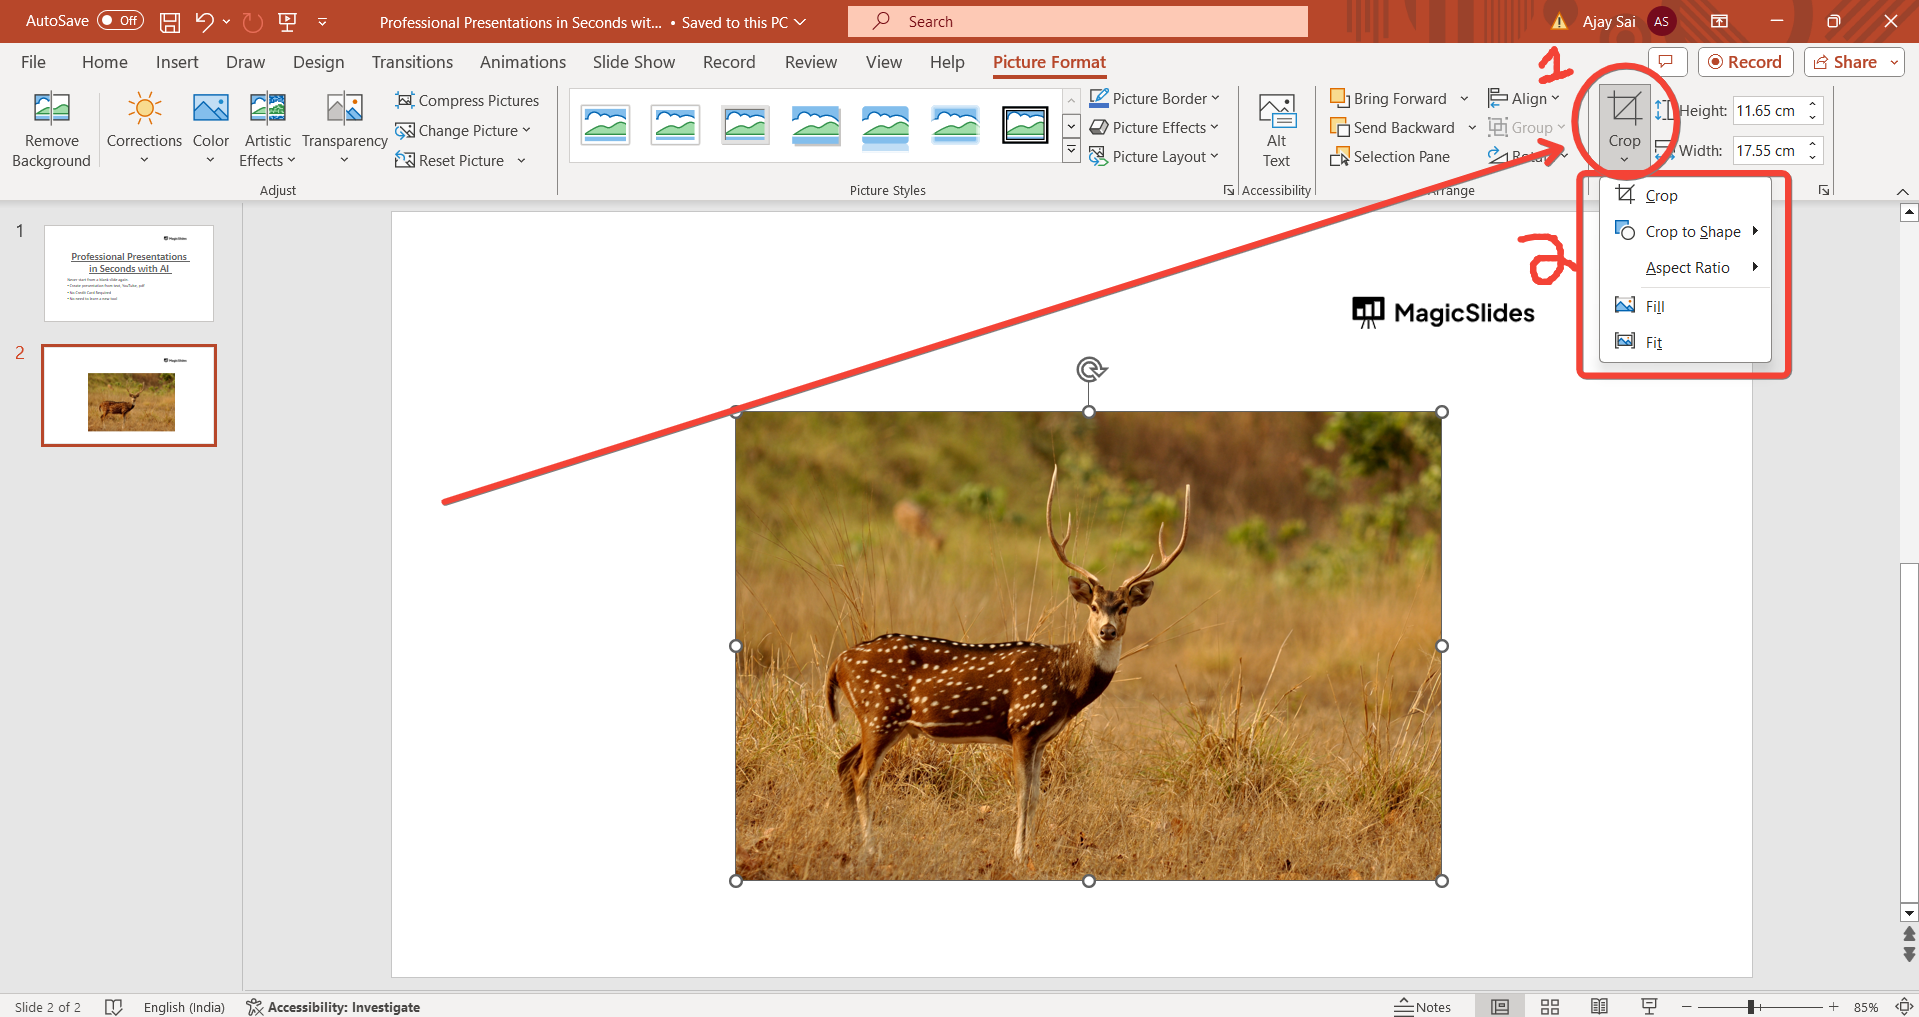
Step 4: Crop the Picture
In the Format tab, locate the "Crop" button in the Size group. Click on the drop-down arrow next to the Crop button to reveal more options. Choose "Crop to Shape" from the dropdown menu.
Step 5: Choose the Square Shape
After selecting "Crop to Shape," a menu of shape options will appear. Scroll down and choose the square shape from the list of shapes available. PowerPoint will automatically crop the picture into a square shape.
Step 6: Adjust the Cropped Image
You can fine-tune the cropped square image by clicking and dragging the crop handles that appear around the picture. Position the image within the square frame as desired.
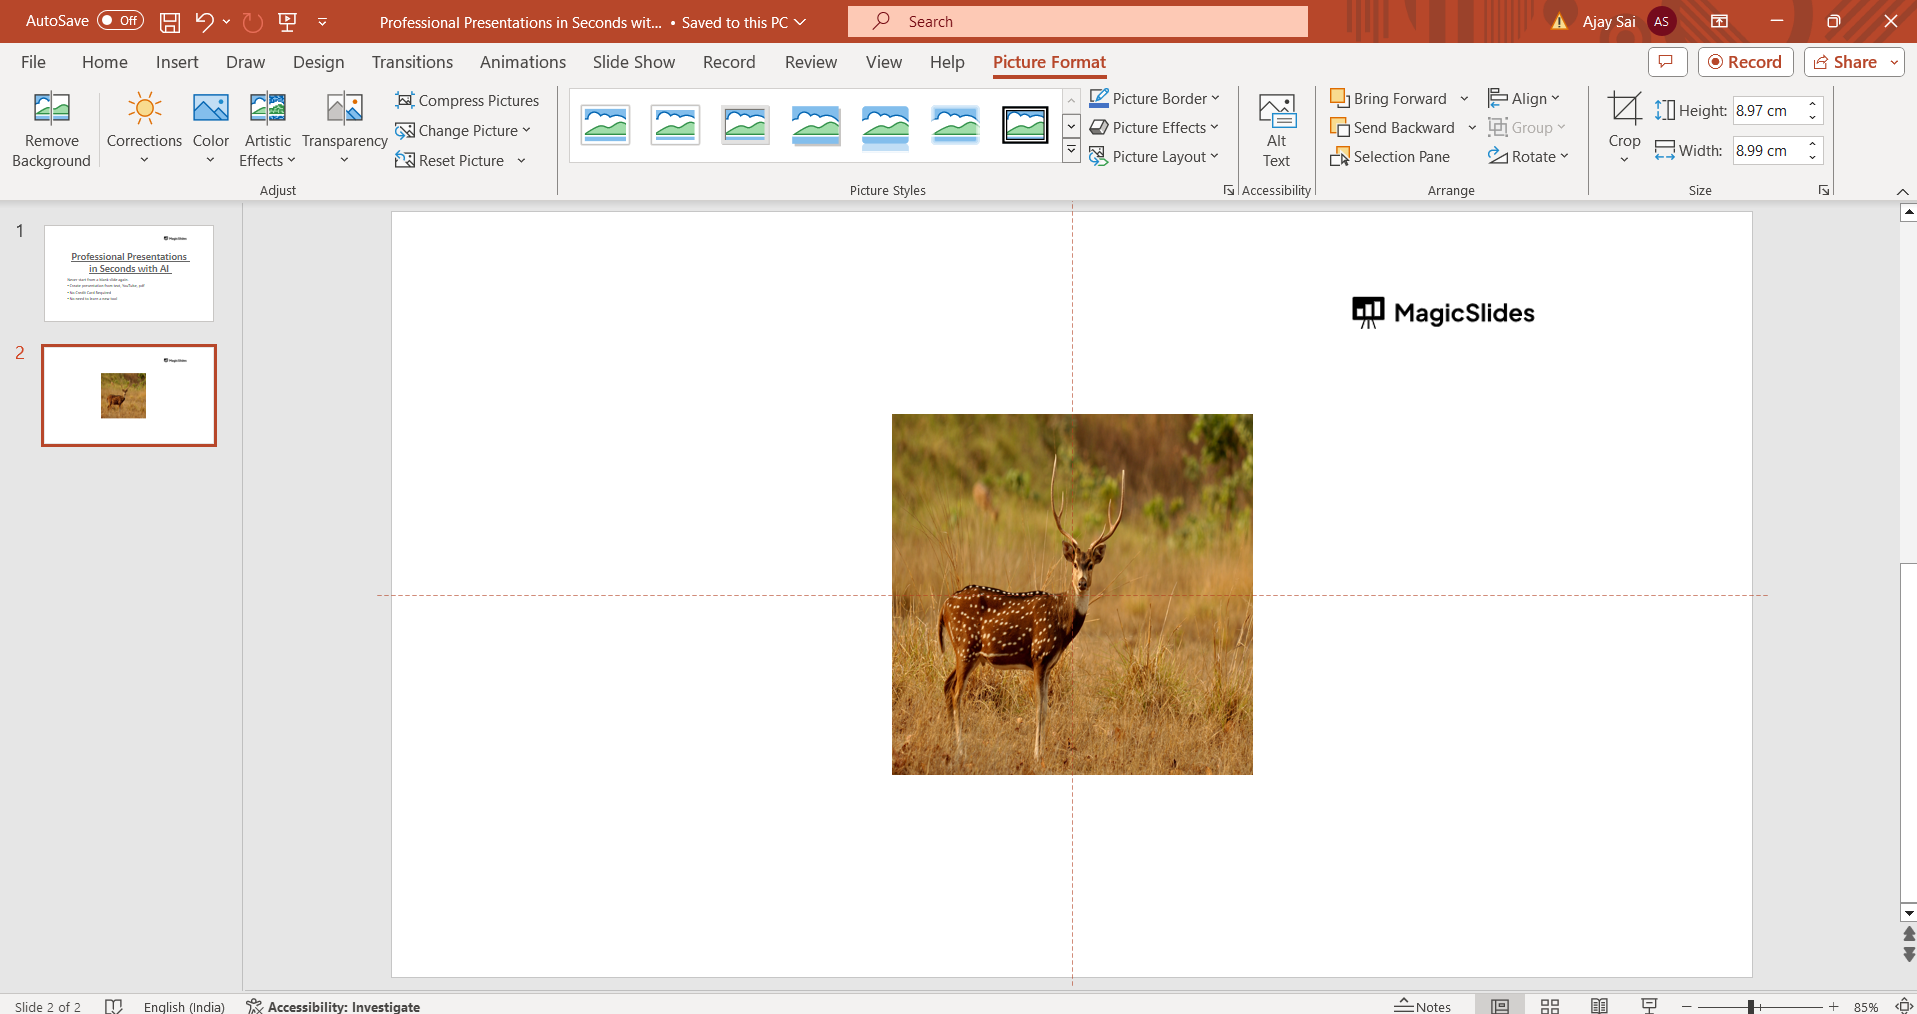
Step 7: Confirm and Finalize
Once you are satisfied with the cropping and positioning, click outside the picture or press Enter on your keyboard to finalize the changes. Your picture is now cropped into a square shape.
Conclusion:
Cropping a picture into a square shape in PowerPoint is a simple yet powerful editing technique that can enhance the visual appeal of your presentations. By following these step-by-step instructions, you can easily crop and resize images to fit your design needs, whether you're creating professional slides or engaging visual content. Mastering this skill allows you to create cohesive and visually appealing presentations that captivate your audience.
Frequently Asked Questions:
Can I crop multiple pictures into squares simultaneously in PowerPoint?
No, PowerPoint does not have a batch crop feature for multiple pictures at once.
Will cropping a picture into a square affect its resolution or quality?
No, cropping a picture into a square shape in PowerPoint does not affect its resolution or quality.
Can I undo a cropping action if I make a mistake?
Yes, you can. Press "Ctrl + Z" on your keyboard to undo the cropping action and revert to the original image.
Is it possible to add borders or frames to the cropped square picture?
Yes, after cropping, you can use PowerPoint's formatting options to add borders or frames to the picture.


