How to Format Google Docs Like a Booklet?


Learn how to format Google Docs like a booklet effortlessly with these expert tips for a professional and polished finish.
Creating a booklet in Google Docs can be a convenient way to produce professional-looking documents, whether it's for a brochure, a manual, or any other purpose. By formatting your Google Docs document correctly, you can achieve a booklet layout that is easy to read and visually appealing. In this guide, we'll walk you through the steps to format your Google Docs like a booklet.
How to Format Google Docs Like a Booklet?
Before you begin formatting your document, ensure that you have a Google account and access to Google Docs. If you don't have a Google account, you can create one for free. Once you're logged in to your Google account, follow these steps:
Step 1: Open Google Docs
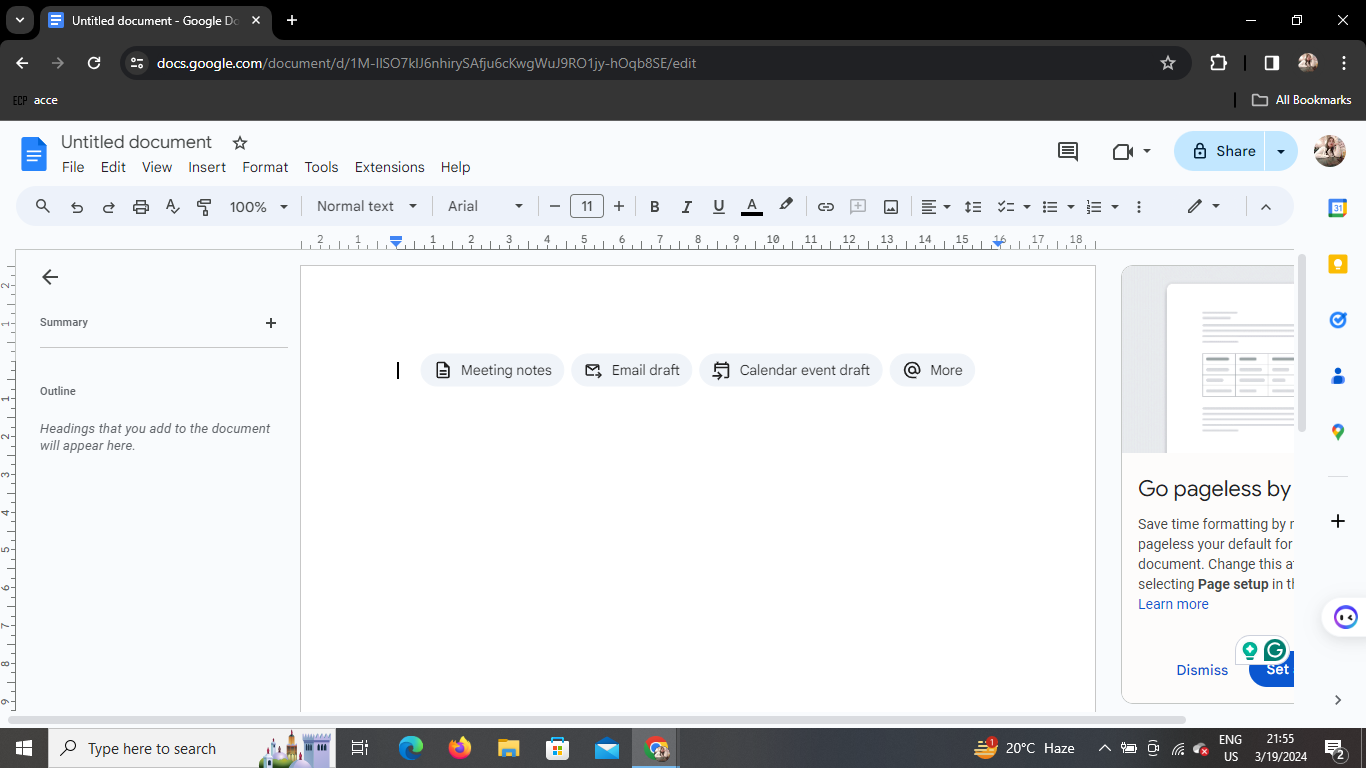
Navigate to the Google Docs website (docs.google.com) and sign in with your Google account credentials. If you're already signed in, you'll be directed to your Google Docs dashboard.
Step 2: Click on the File Tab
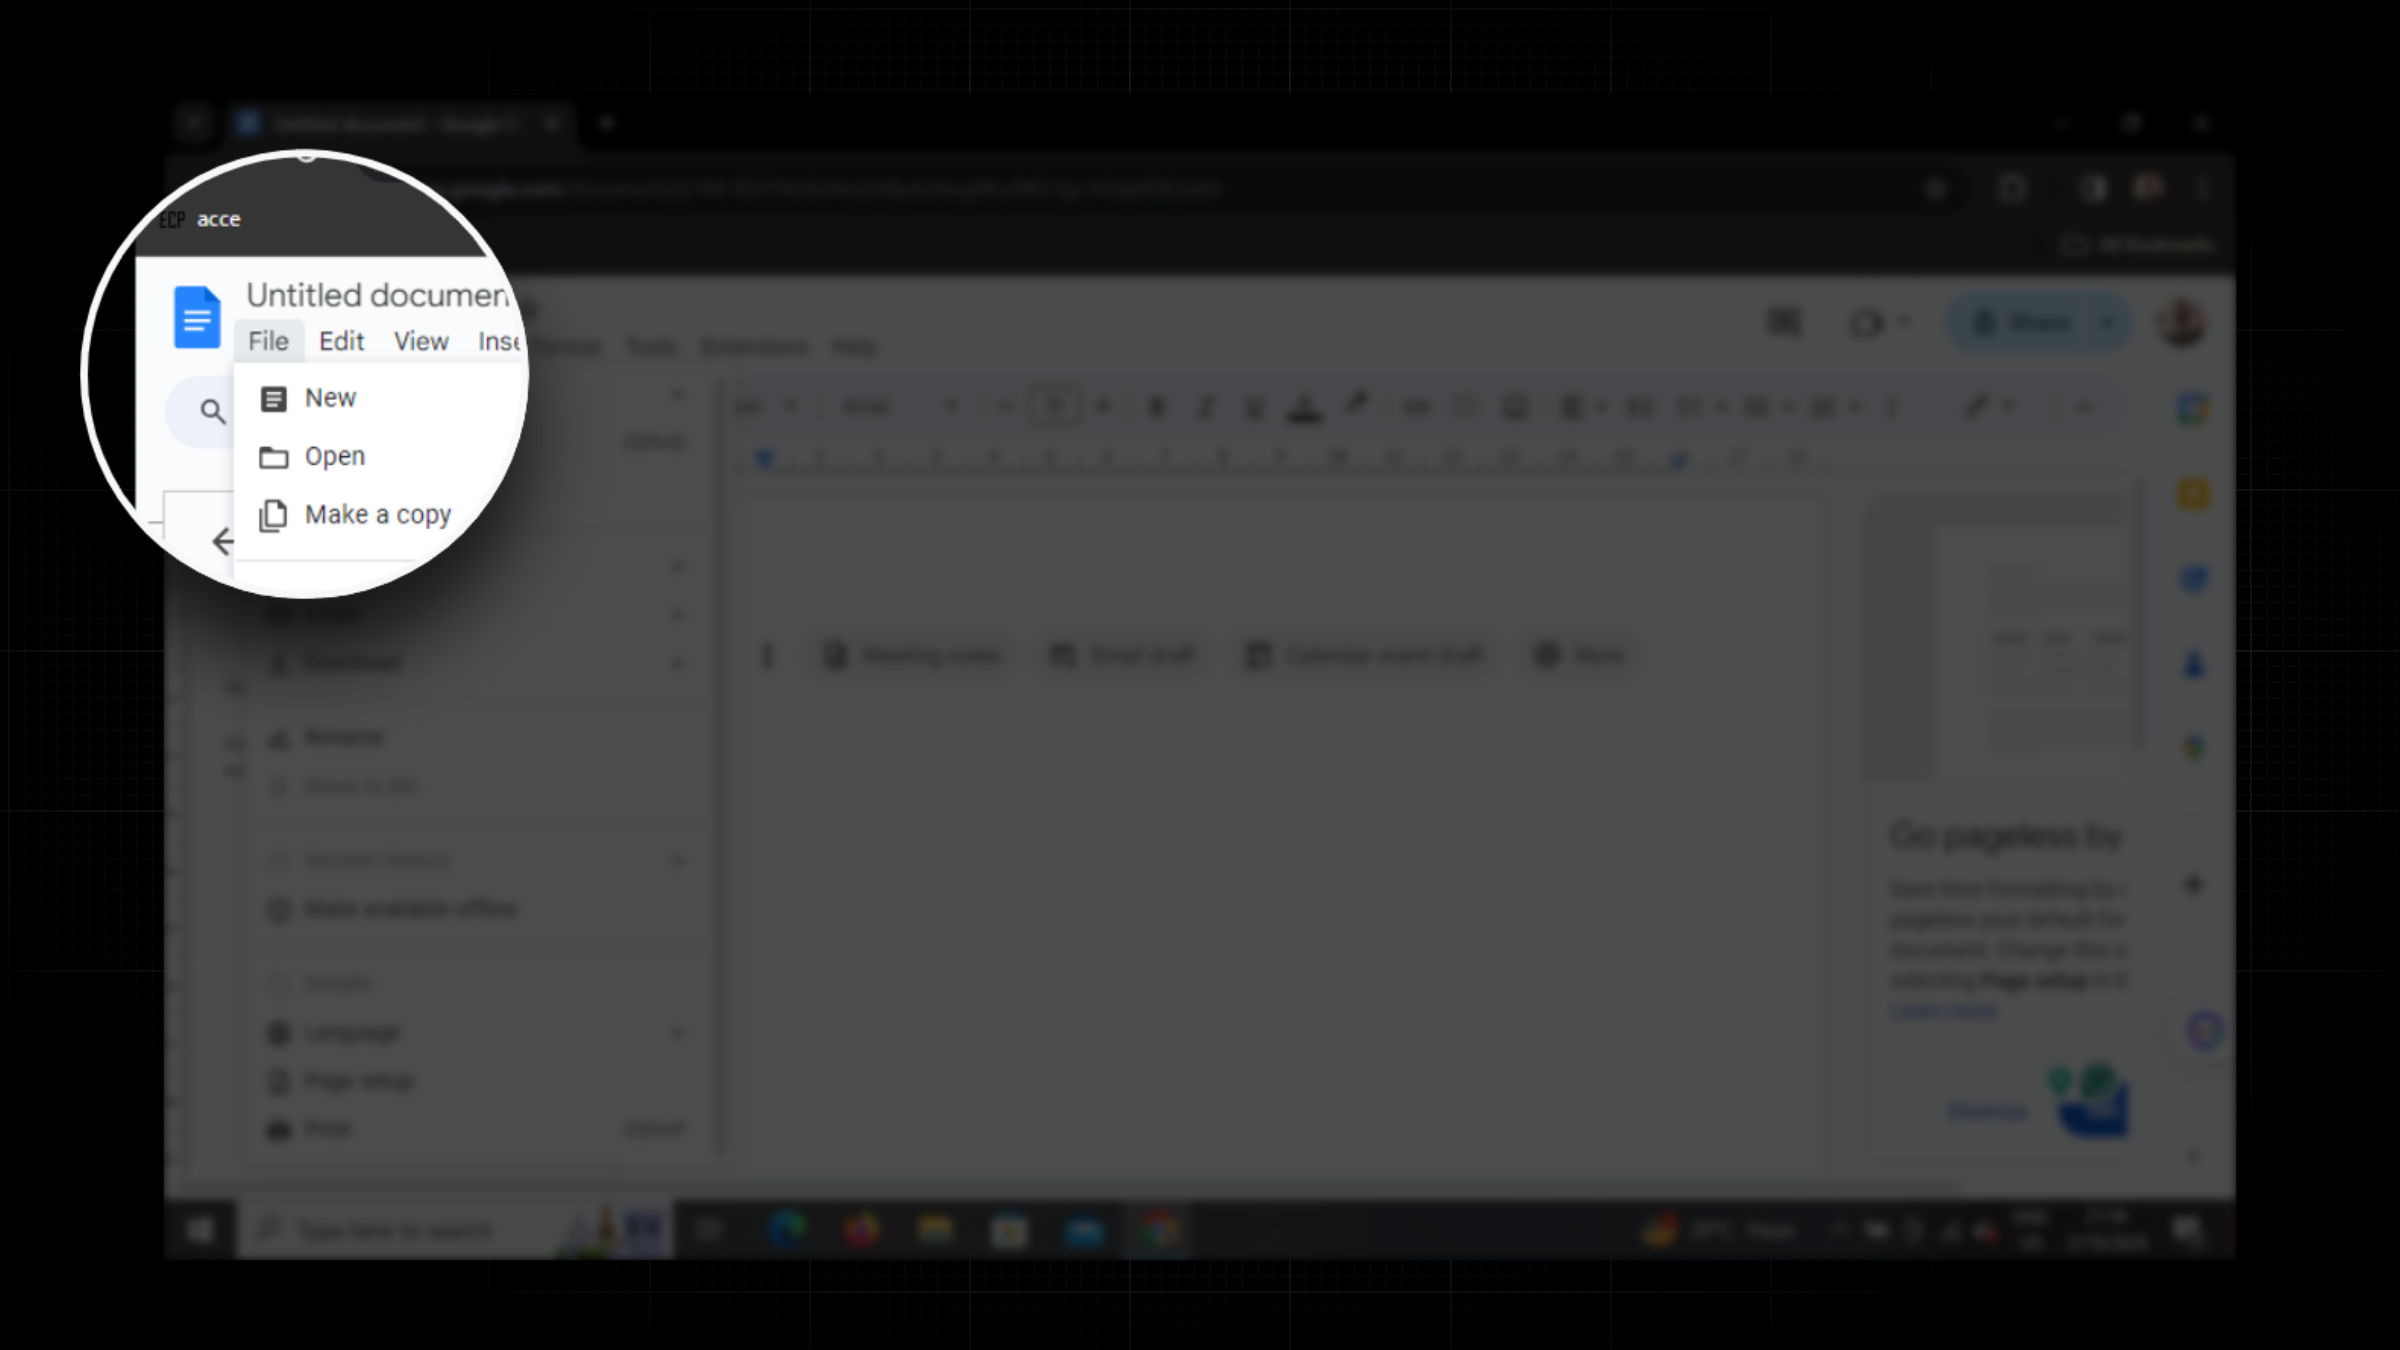
Once you're in Google Docs, locate the "File" tab in the top-left corner of the screen. Click on it to reveal a dropdown menu with various options.
Step 3: Access Page Setup
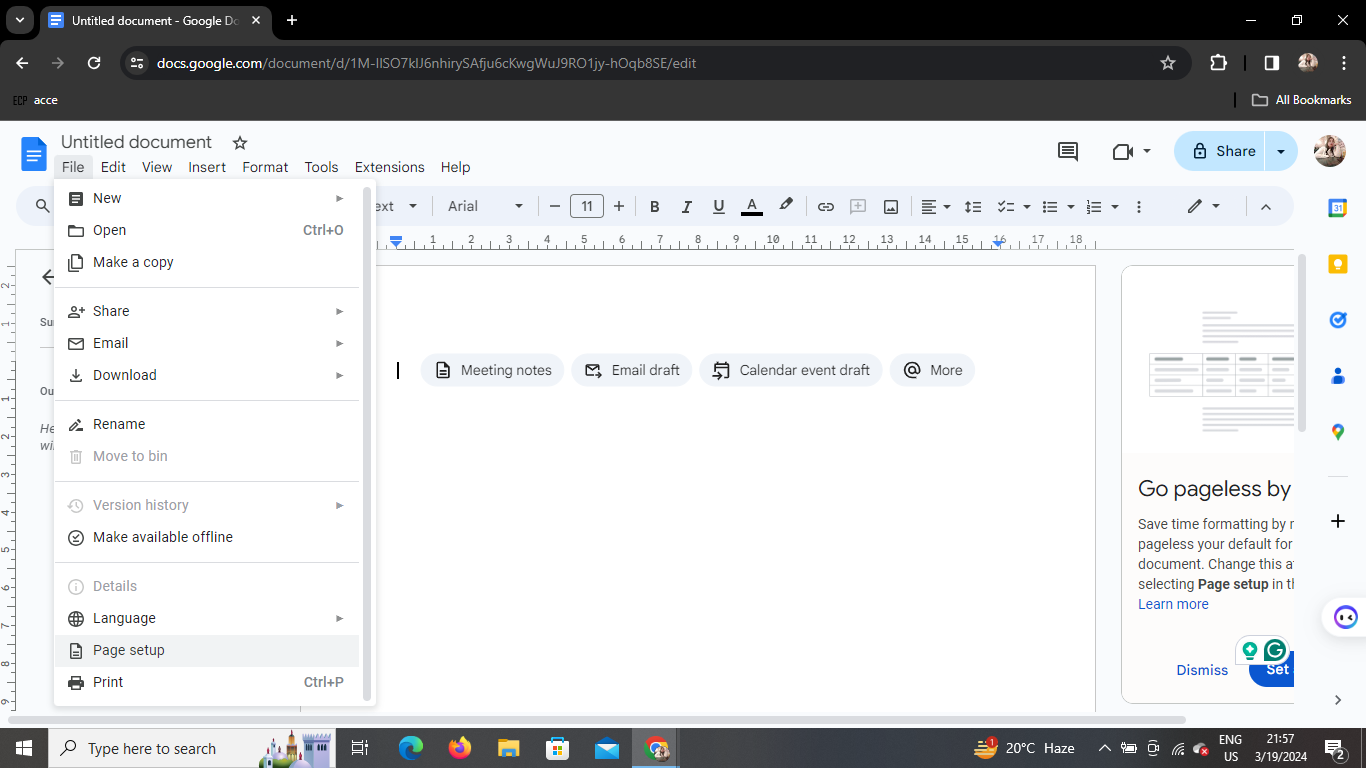
In the dropdown menu, find and click on the "Page setup" option. This will open a dialog box where you can adjust the settings for your document's page layout.
Step 4: Adjust Margin Measurements
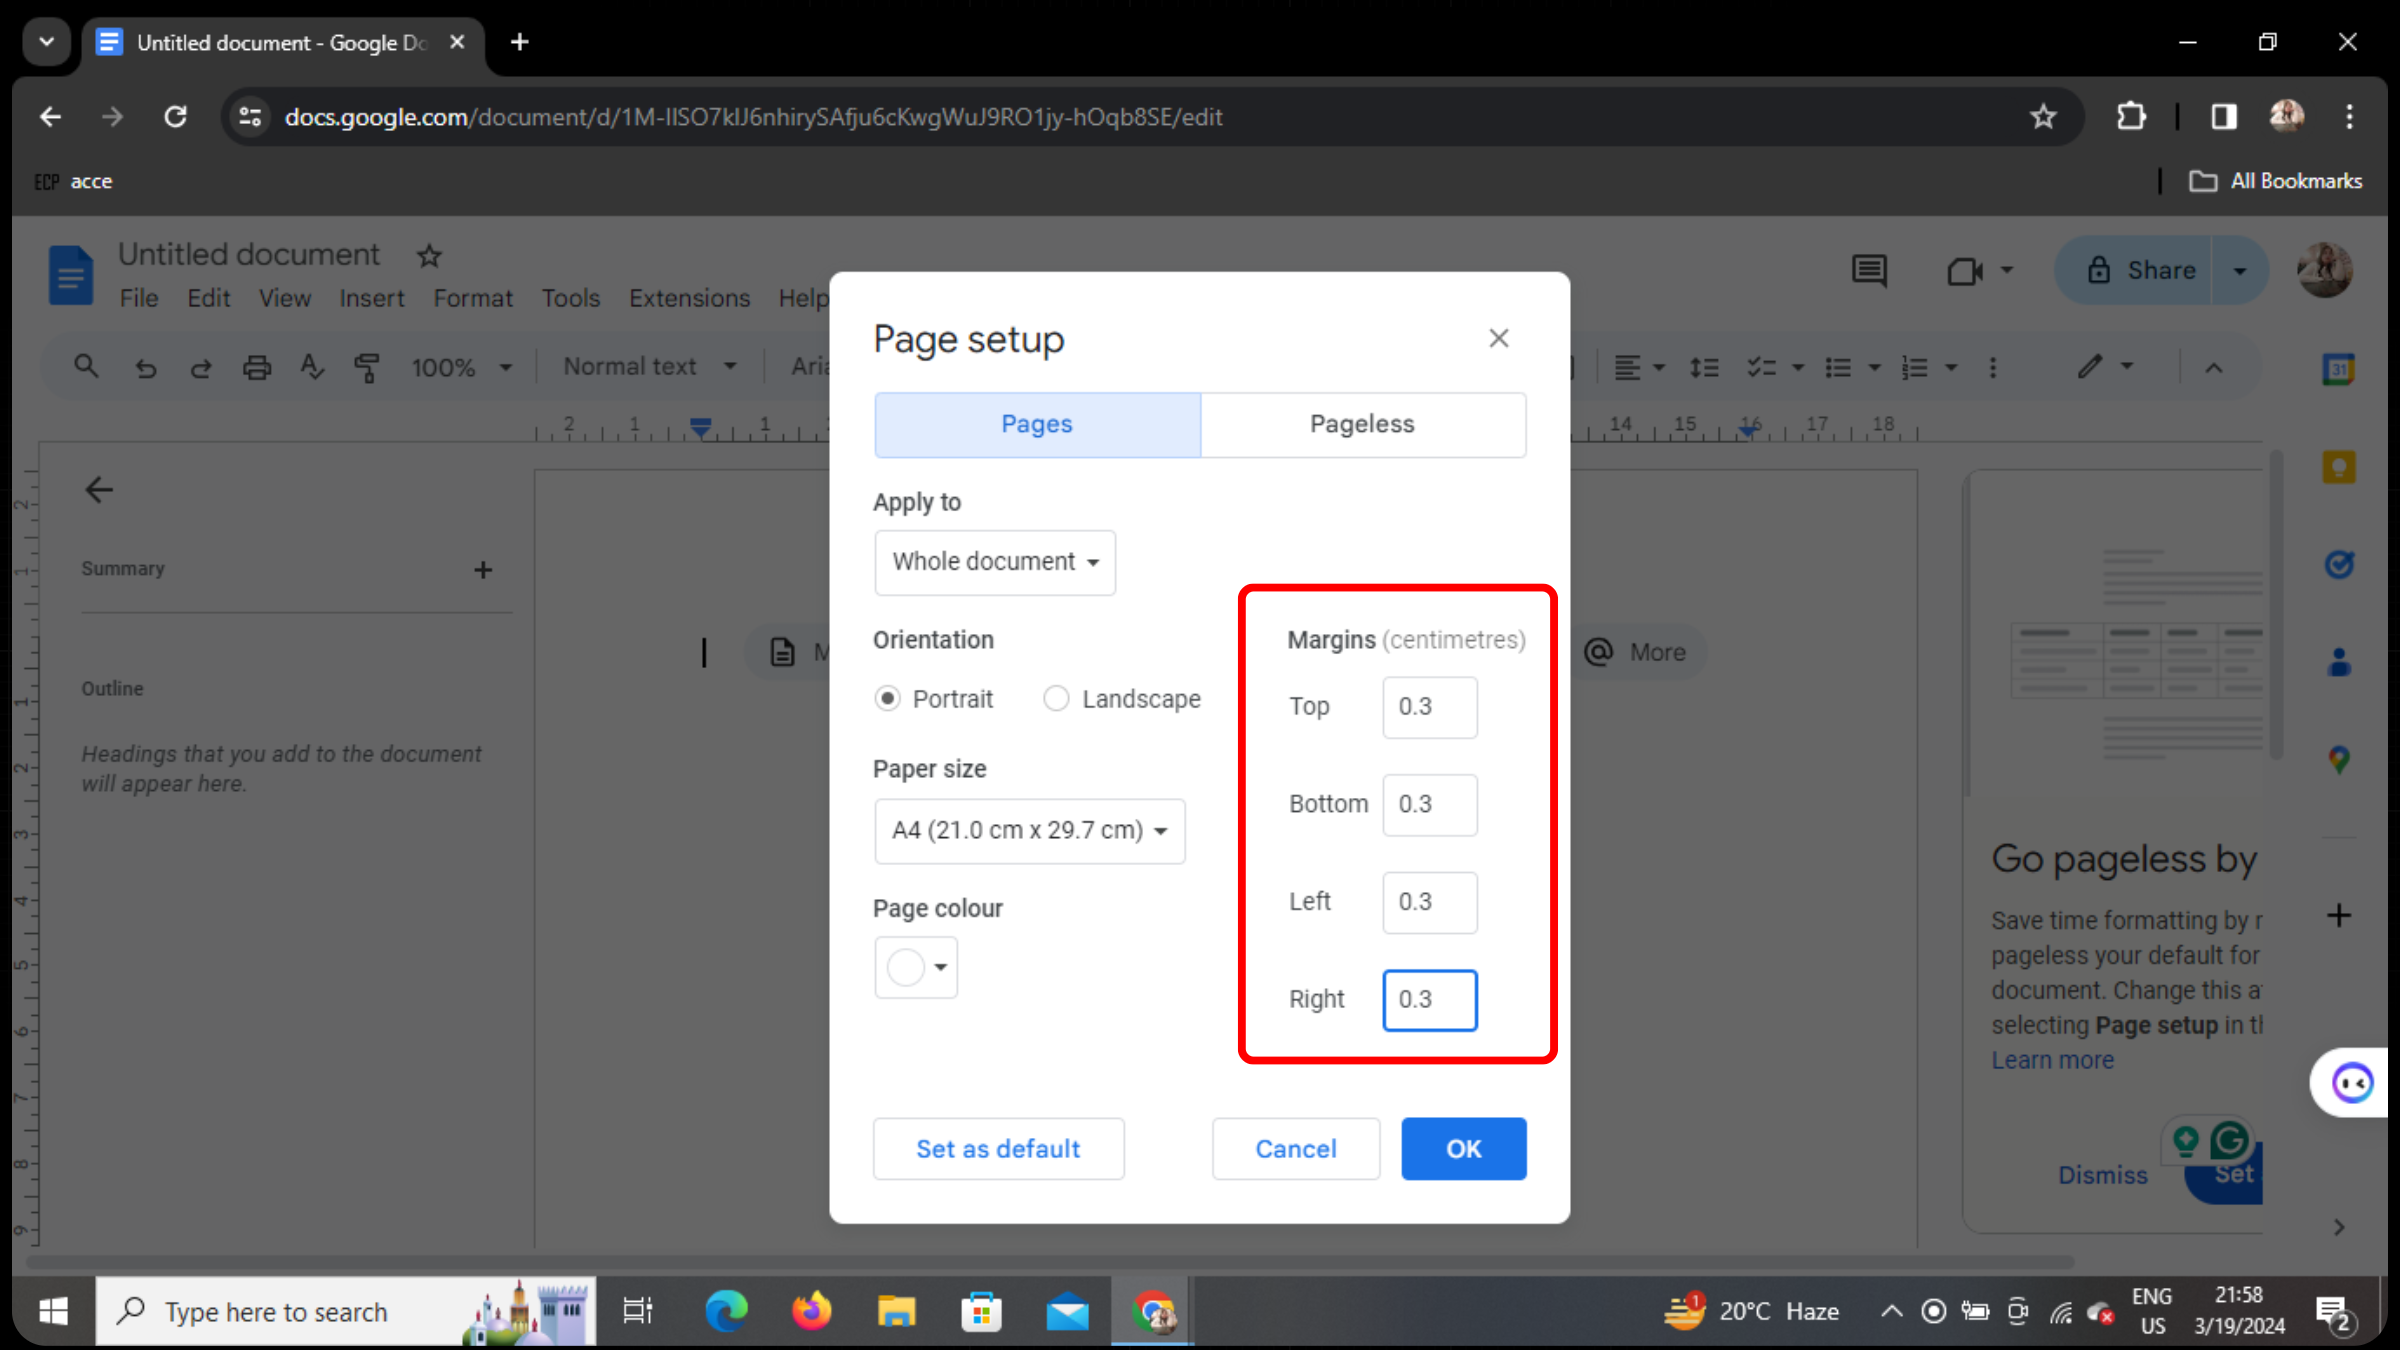
In the Page Setup dialog box, locate the section for margin measurements. Change all margin measurements to 0.3 cm. This narrow margin setting is suitable for booklet formatting and ensures that your content fits well within the page boundaries.
Step 5: Confirm Changes
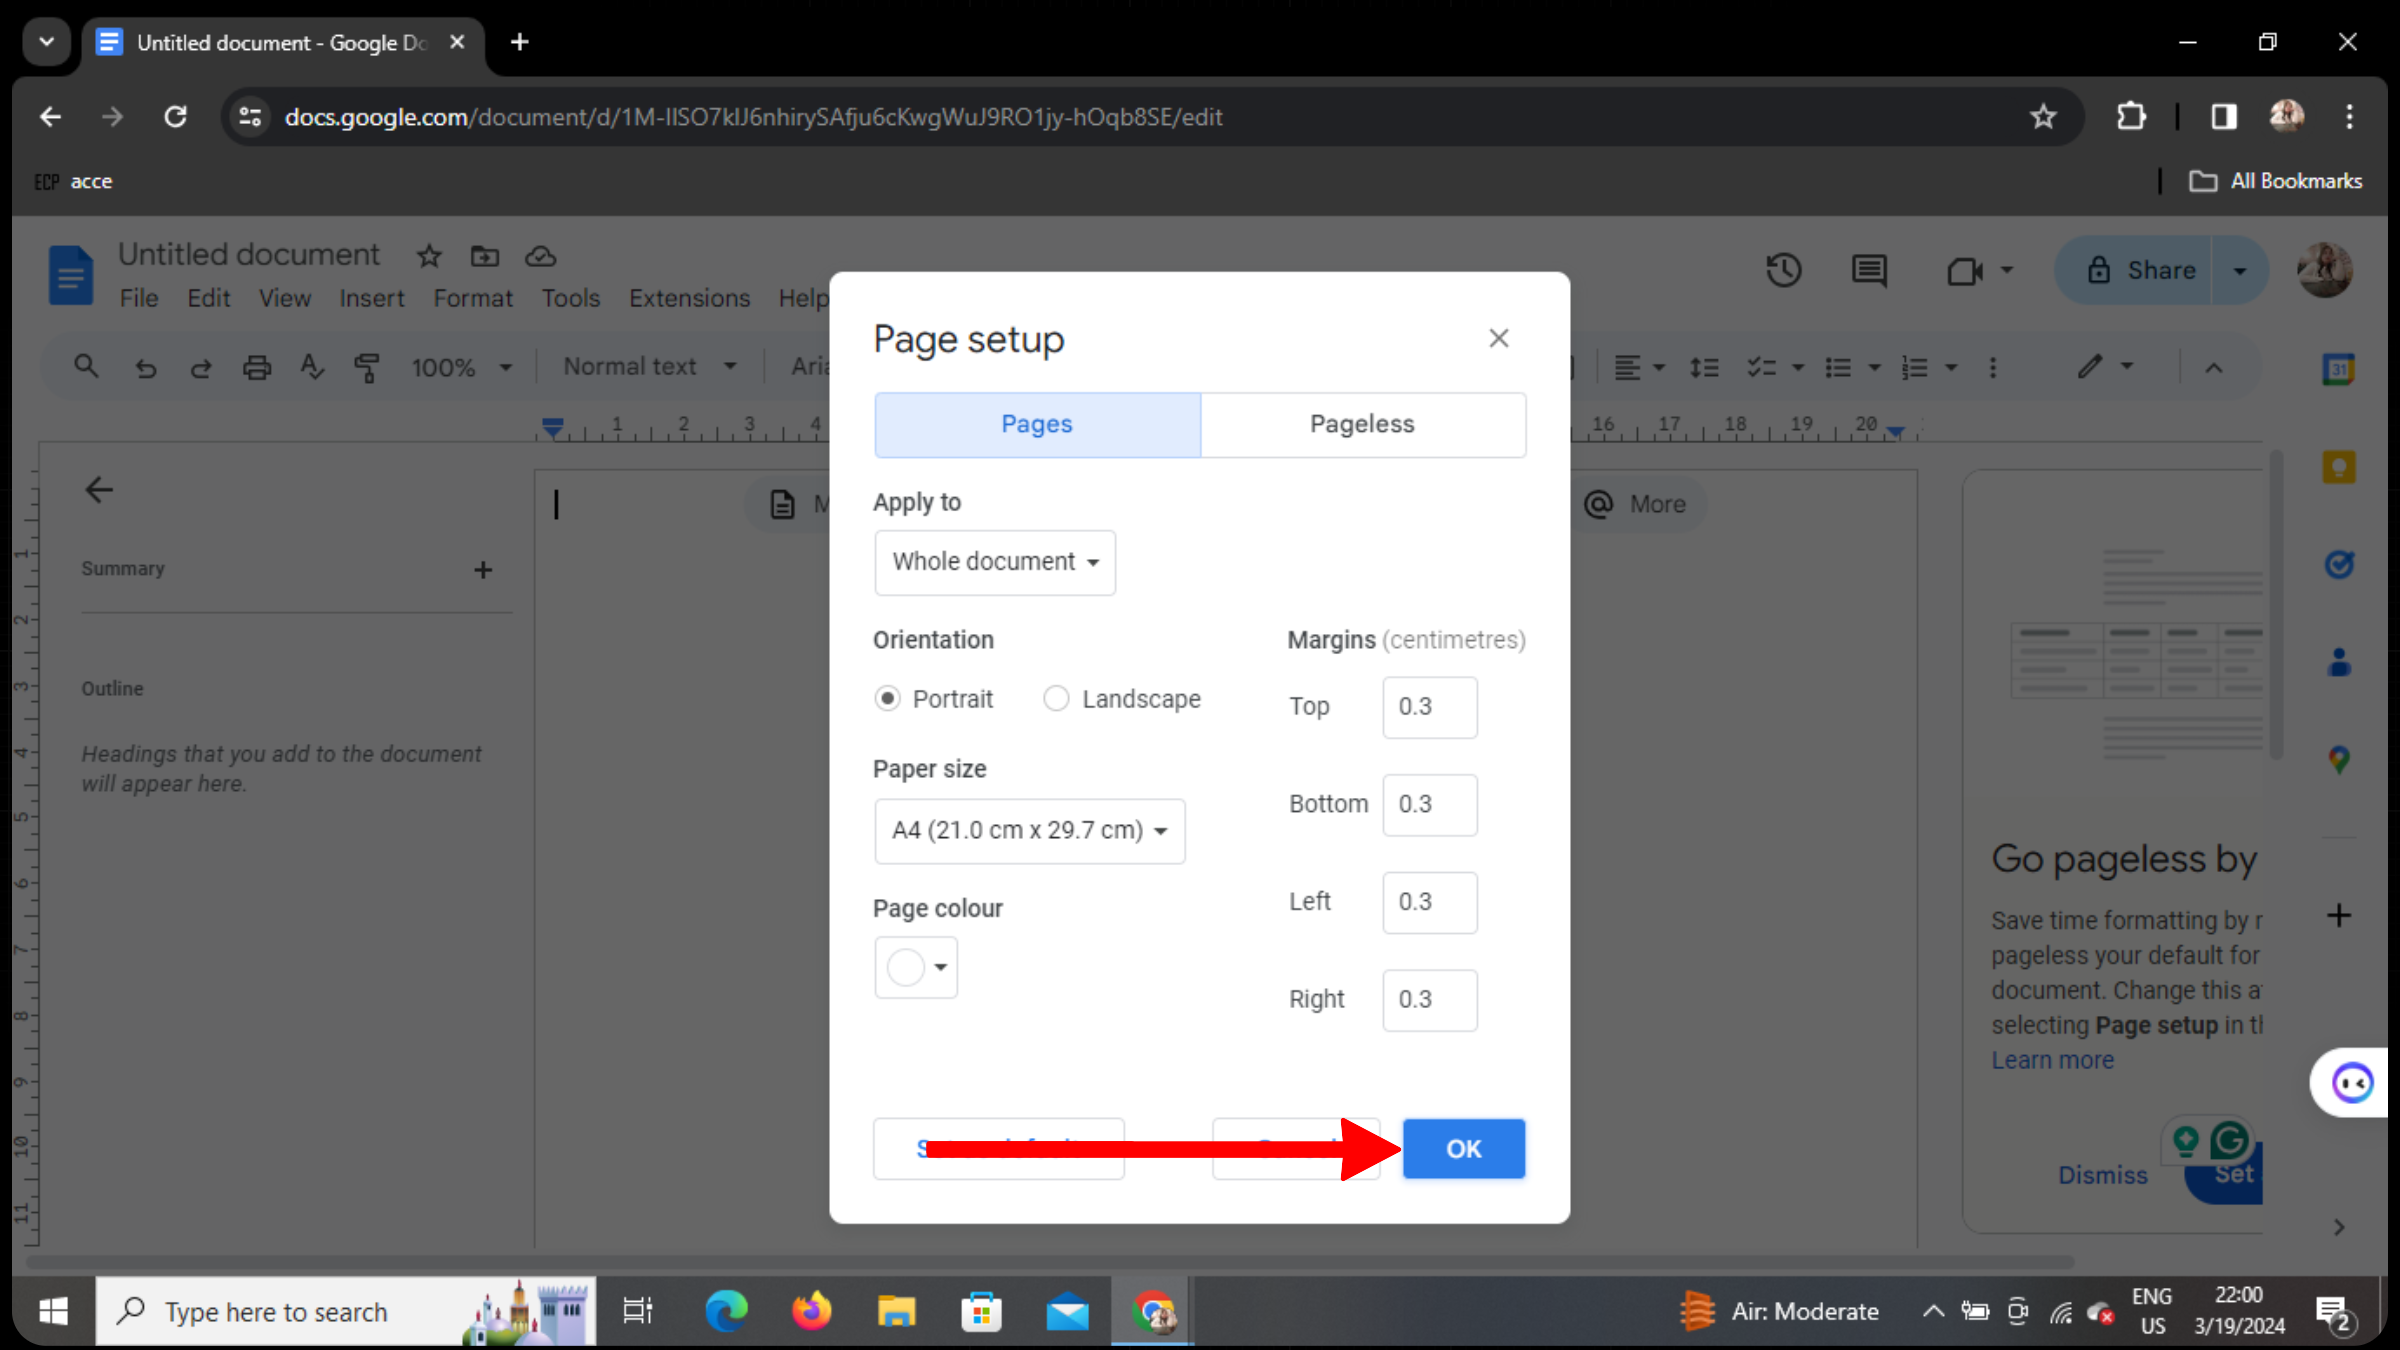
After adjusting the margin measurements, click on the "OK" button to confirm the changes and close the Page Setup dialog box. Your Google Docs document will now be formatted with narrow margins suitable for a booklet layout.
Step 6: Insert Images and Content
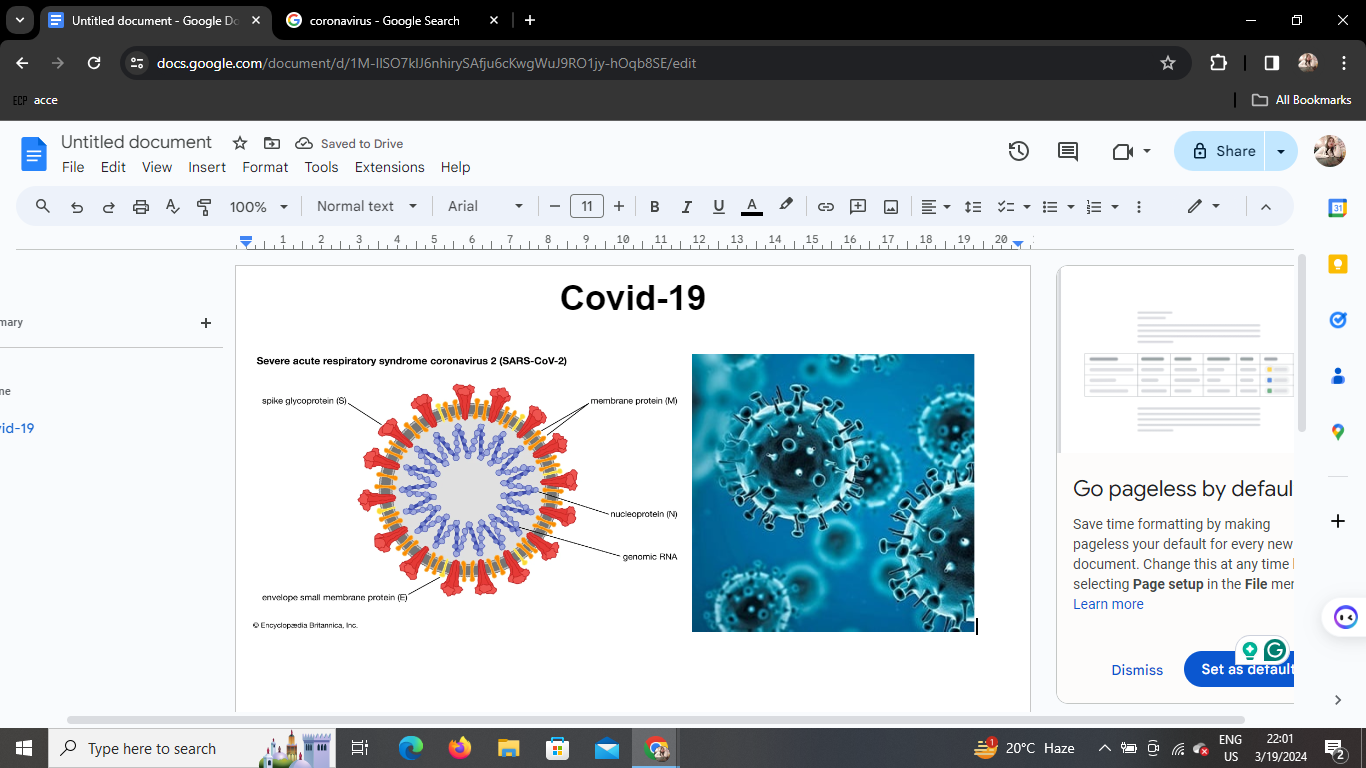
With your document formatted like a booklet, you can now insert images, text, and other content as desired. Use the "Insert" menu at the top of the Google Docs interface to add images, tables, or other elements to your document. Be sure to arrange your content in a way that complements the booklet layout.
Step 7: Finalize Your Booklet
Once you've added all the necessary content, review your document to ensure that everything looks as intended. Pay attention to formatting, spacing, and alignment to maintain a professional appearance. Make any additional adjustments as needed.
Formatting Google Docs is creative, but for presentations, MagicSlides.app does the heavy lifting. Generate polished slides from documents and more in seconds. Try it today!
Conclusion
Formatting your Google Docs document like a booklet is a straightforward process that can elevate the presentation of your content.
By following the steps outlined in this guide, you can create visually appealing booklets for various purposes, from promotional materials to instructional guides.
Experiment with different layouts and design elements to achieve the desired look for your booklet.
Frequently Asked Questions (FAQs)
How do I add page numbers to my booklet?
To add page numbers to your booklet, click on the "Insert" menu, select "Page numbers," and choose the desired location and format for your page numbers.
Can I customize the font and styling of my booklet?
Yes, you can customize the font, size, color, and other styling options for your text using the formatting tools in Google Docs.
Is it possible to create a booklet with multiple columns?
Yes, you can create a booklet with multiple columns by adjusting the column settings in the "Format" menu of Google Docs.


