how to hide slide in google slides


Master the art of concealing slides in Google Slides, enhancing your presentation’s clarity and relevance.
Efficient presentations are all about clarity and relevance. In Google Slides, sometimes you may have slides that aren't necessary for your current audience or that you want to keep hidden for later. Hiding slides can help you streamline your presentation and maintain your audience's focus.
In this blog post, we'll guide you through the process of hiding slides in Google Slides step by step. With this feature, you can customize your presentations to make them more engaging and concise.
Steps to Hide a Slide in Google Slides:
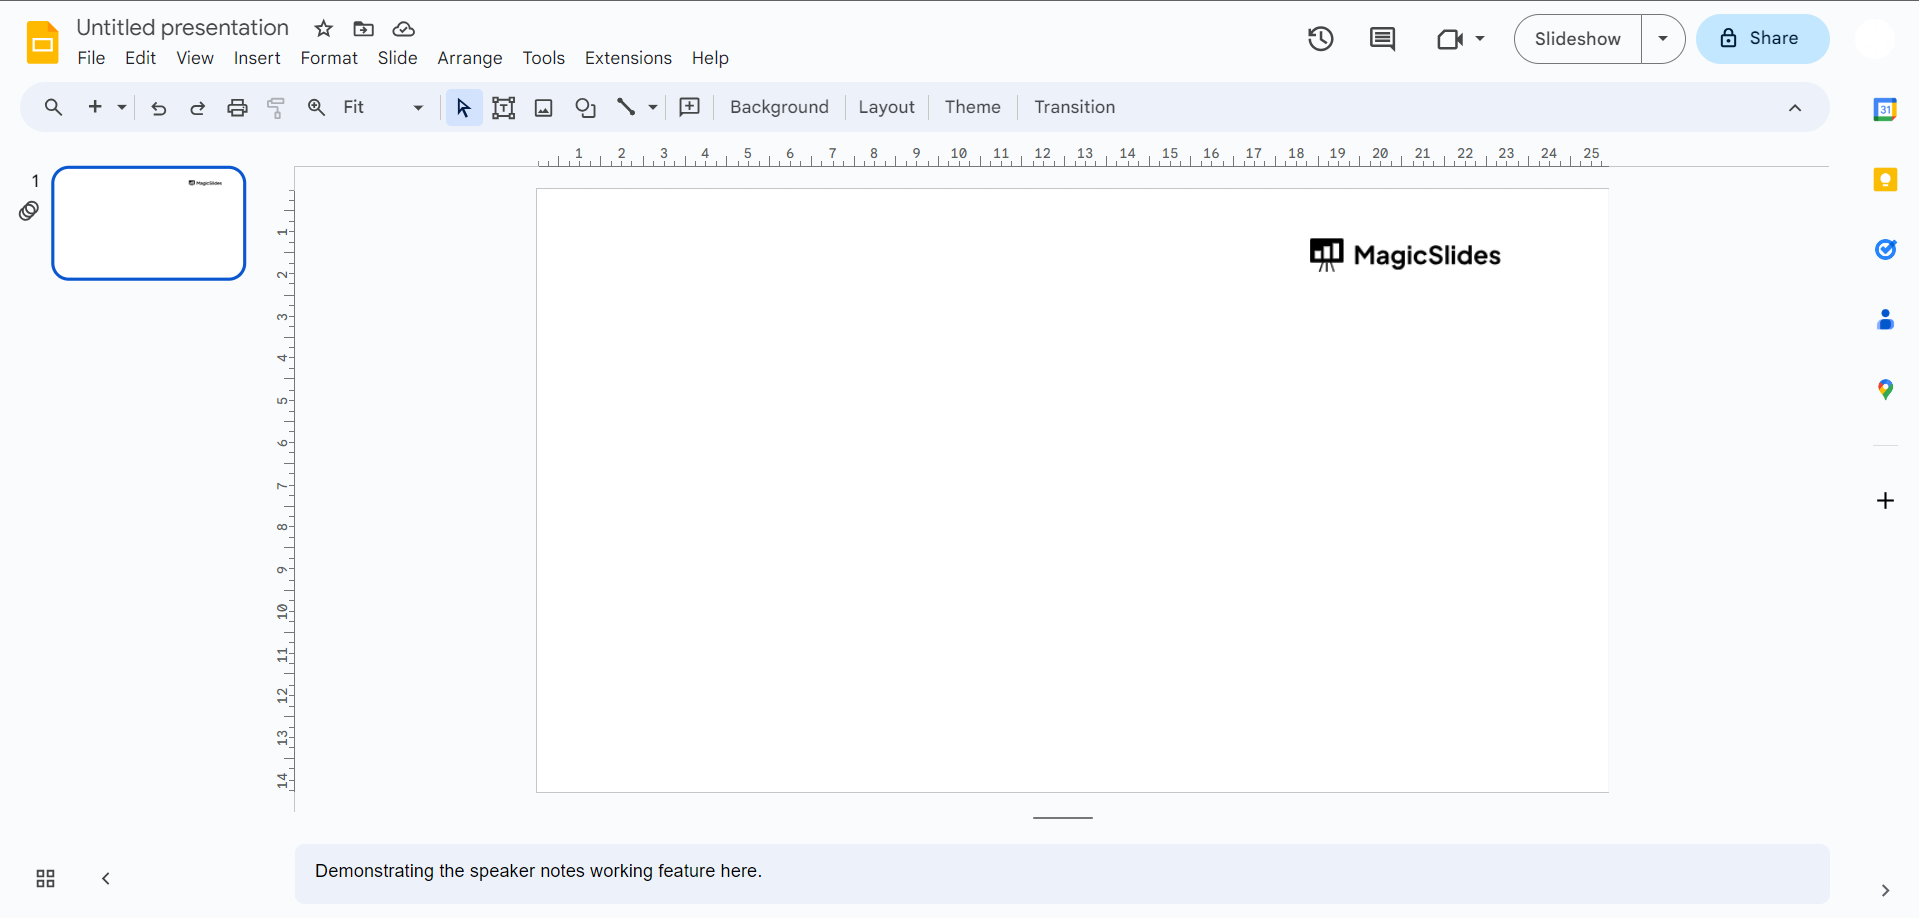
Step 1: Open Your Presentation Begin by opening your Google Slides presentation in your web browser. If you don't have a presentation yet, create a new one by clicking "Blank" or selecting a template to work with.
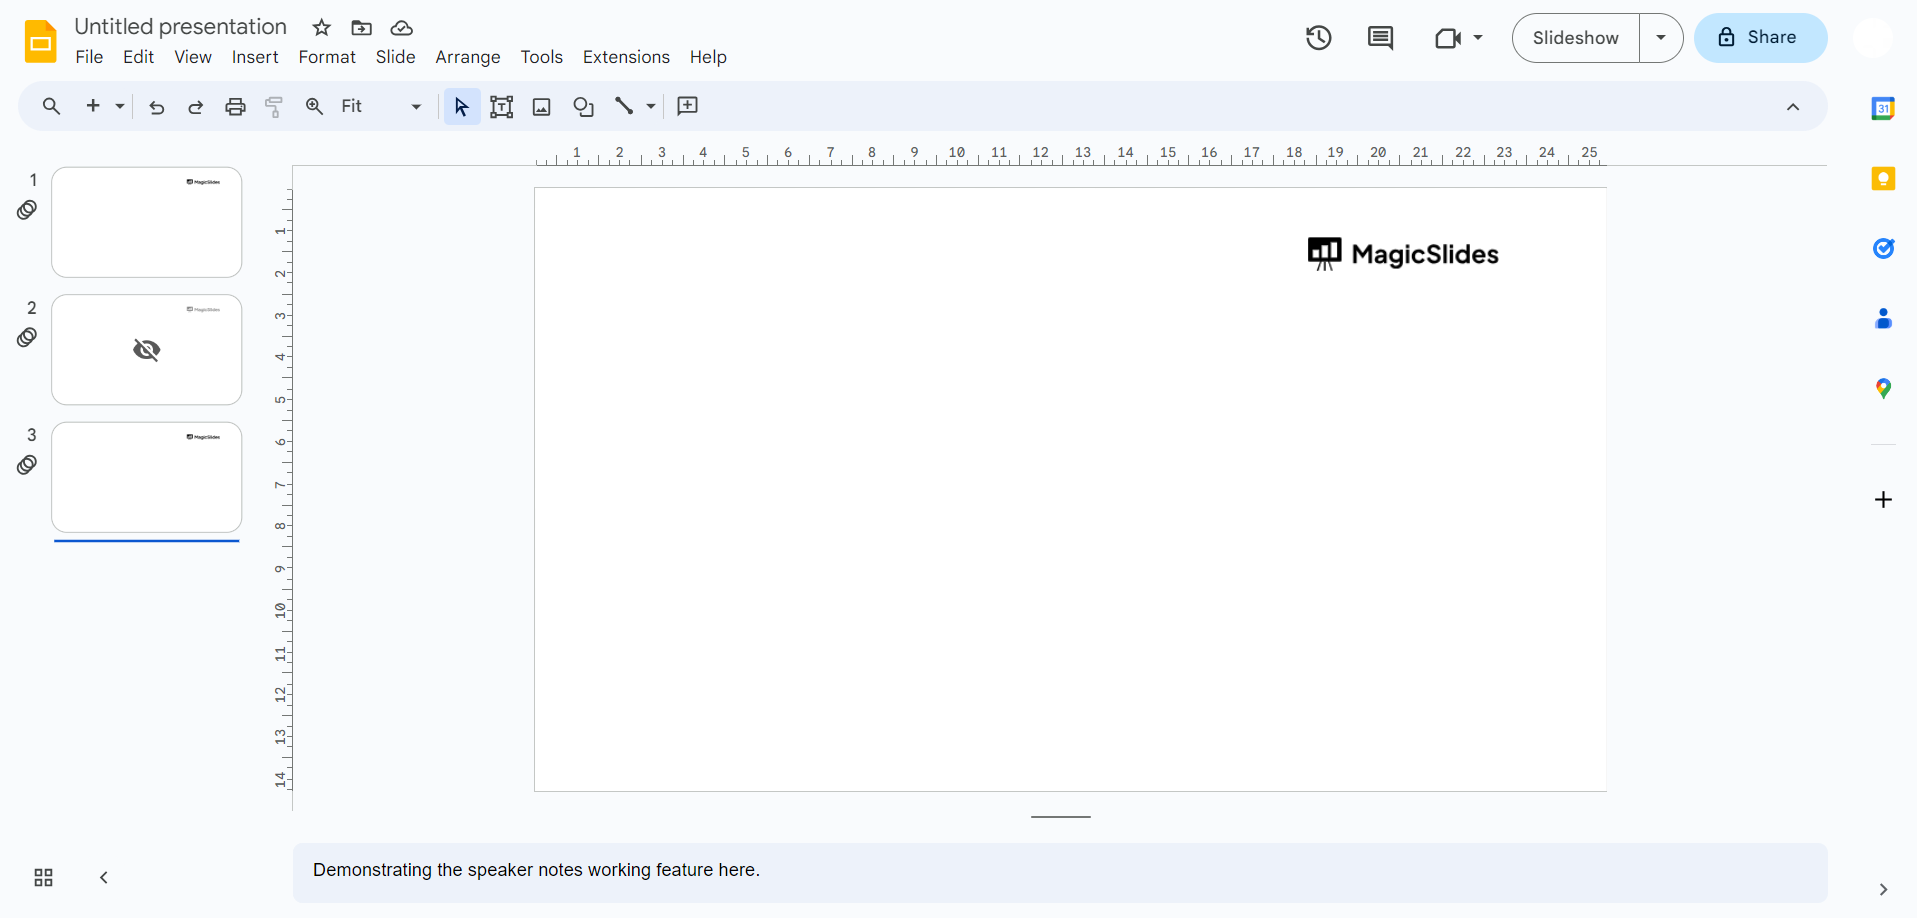
Step 2: Select the Slide On the left side of the screen, you'll see a list of all the slides in your presentation. Click on the slide you want to hide to select it. It will be highlighted.
Step 3: Access the Slide Options With the slide selected, go to the "Slide" menu located at the top of your screen. Click on "Slide" to open a dropdown menu.

Step 4: Hide Slide In the dropdown menu, you will see the "Hide slide"/”skip slide” option. Click on it. This action will hide the selected slide from the presentation.
Step 5: Confirm Your Choice Once you've clicked "Hide slide," Google Slides will ask you to confirm your choice since hiding a slide is a non-reversible action. If you're sure you want to hide the slide, click "OK."
Step 6: Review Your Presentation Now, your selected slide is hidden from view. You can continue working on your presentation or proceed with your slideshow, knowing that the hidden slide won't be displayed during your presentation.
Step 7: Unhide a Slide (if needed) If you need to show the hidden slide during your presentation, you can always unhide it. To do this, select the slide you've hidden, go to the "Slide" menu, and click "Slide" in the dropdown menu. This time, you'll see an "Unhide slide" option.
Conclusion:
Hiding slides in Google Slides is a valuable feature for customizing your presentations to suit your audience's needs and maintaining a clear, concise message.
With these simple steps, you can make your presentations more engaging and organized, ensuring that only the most relevant information is shared with your audience. Streamline your presentations today and make your point more effectively with hidden slides in Google Slides.
Frequently Asked Questions:
Why would I want to hide a slide in Google Slides?Answer: Hiding a slide is useful when you have content that isn't relevant to your current audience or if you want to save it for later in the presentation.
Can I unhide a hidden slide during my presentation?Answer: Yes, you can unhide a hidden slide during your presentation. Simply select the hidden slide, go to the "Slide" menu, and choose "Unhide slide."
Is there a limit to how many slides I can hide in a presentation?Answer: No, there's no specific limit to how many slides you can hide in a Google Slides presentation. You can hide as many as needed.
Will the hidden slides be visible when I share my presentation with others?Answer: No, when you share your presentation with others, the hidden slides will remain hidden and won't be visible in the shared view.
Can I hide slides on mobile devices using the Google Slides app?Answer: Yes, you can hide slides on the Google Slides app for mobile devices. Follow the same steps as you would on a computer.


