how to make a poster in powerpoint


In this article let’s explore the different ways in how to make a poster in powerpoint
Posters are a dynamic way to visually communicate information, ideas, or events. While you might think of PowerPoint as primarily a presentation tool, it's also a fantastic platform for designing posters.
In this blog post, we'll guide you through the process of creating eye-catching posters in PowerPoint using just four simple steps. We'll explore the key features and functionalities that PowerPoint offers to make your poster design a breeze, whether it's for a school project, business promotion, or any other creative endeavor.
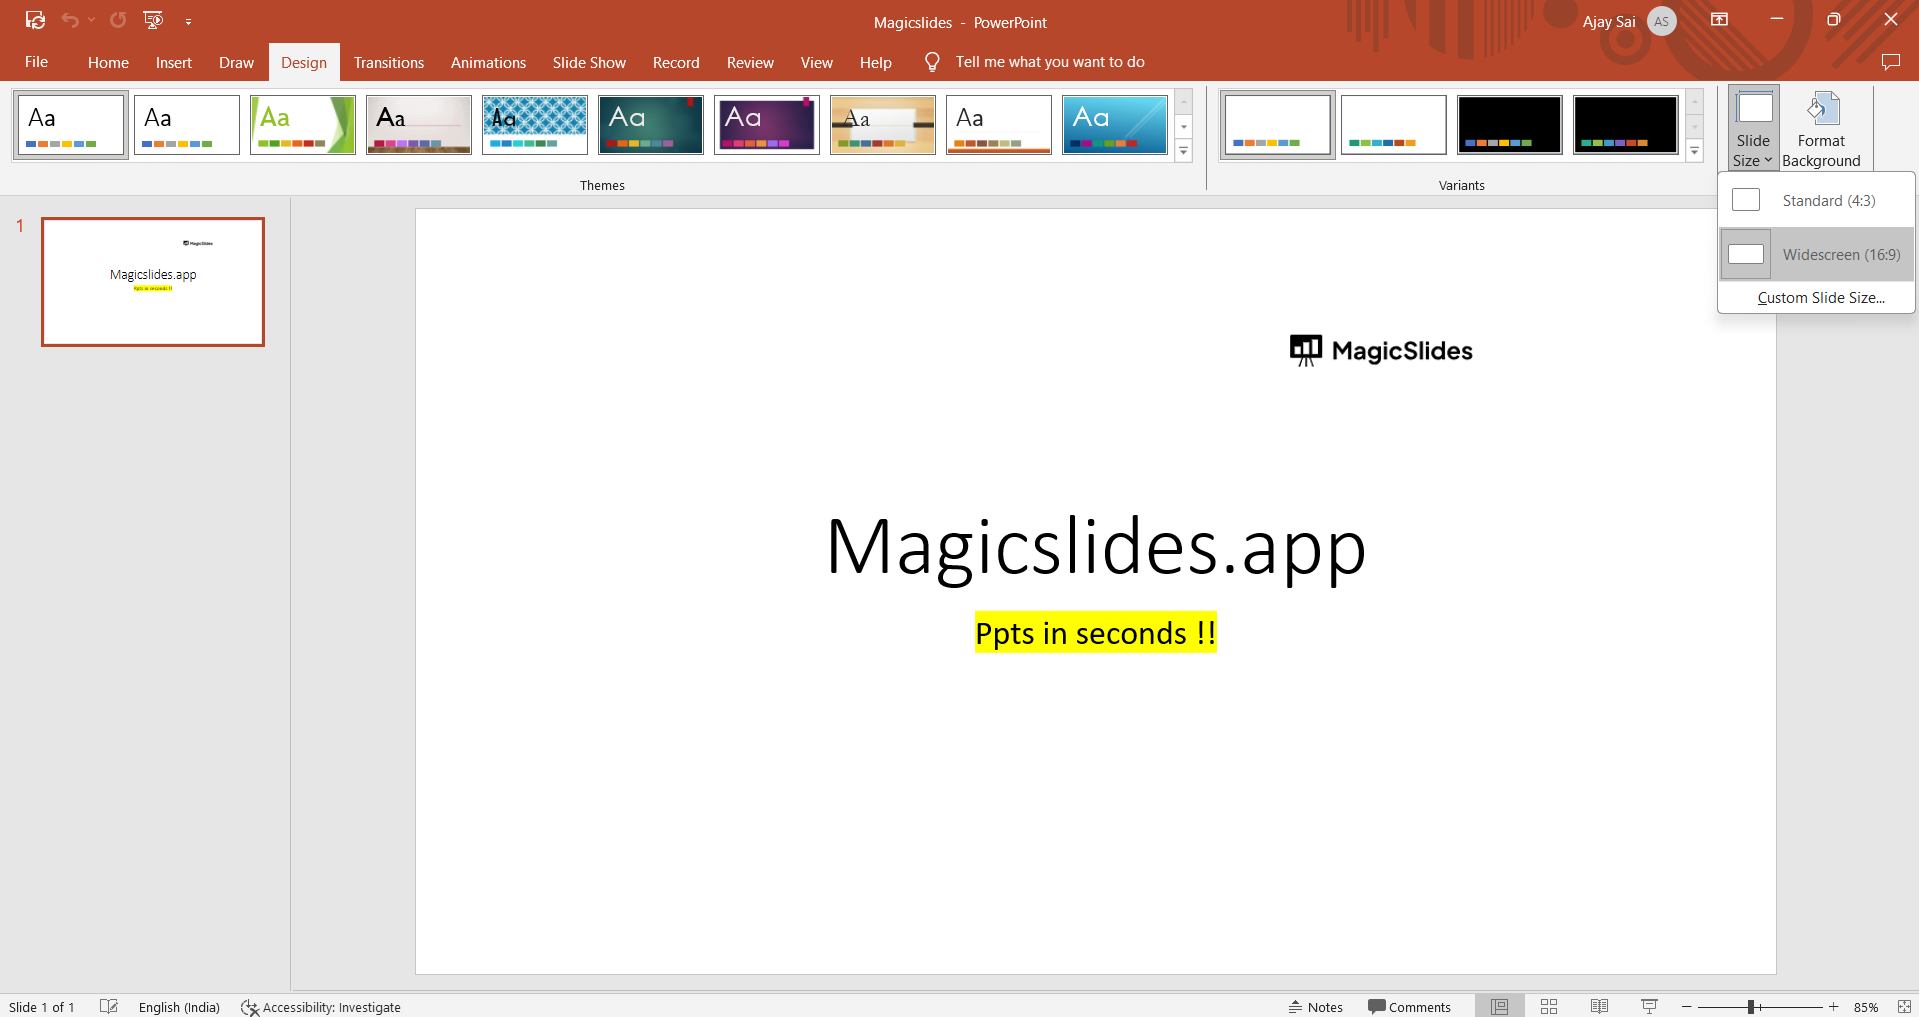
1. Setting Up Your Poster:
- Open PowerPoint and create a new presentation.
- Go to the "Design" tab, and under "Slide Size," select "Custom Slide Size." Here, you can input the dimensions for your poster, ensuring it matches your desired size. Common poster sizes include A3, A2, or custom sizes like 24×36 inches.
- Adjust the orientation (portrait or landscape) based on your design concept.
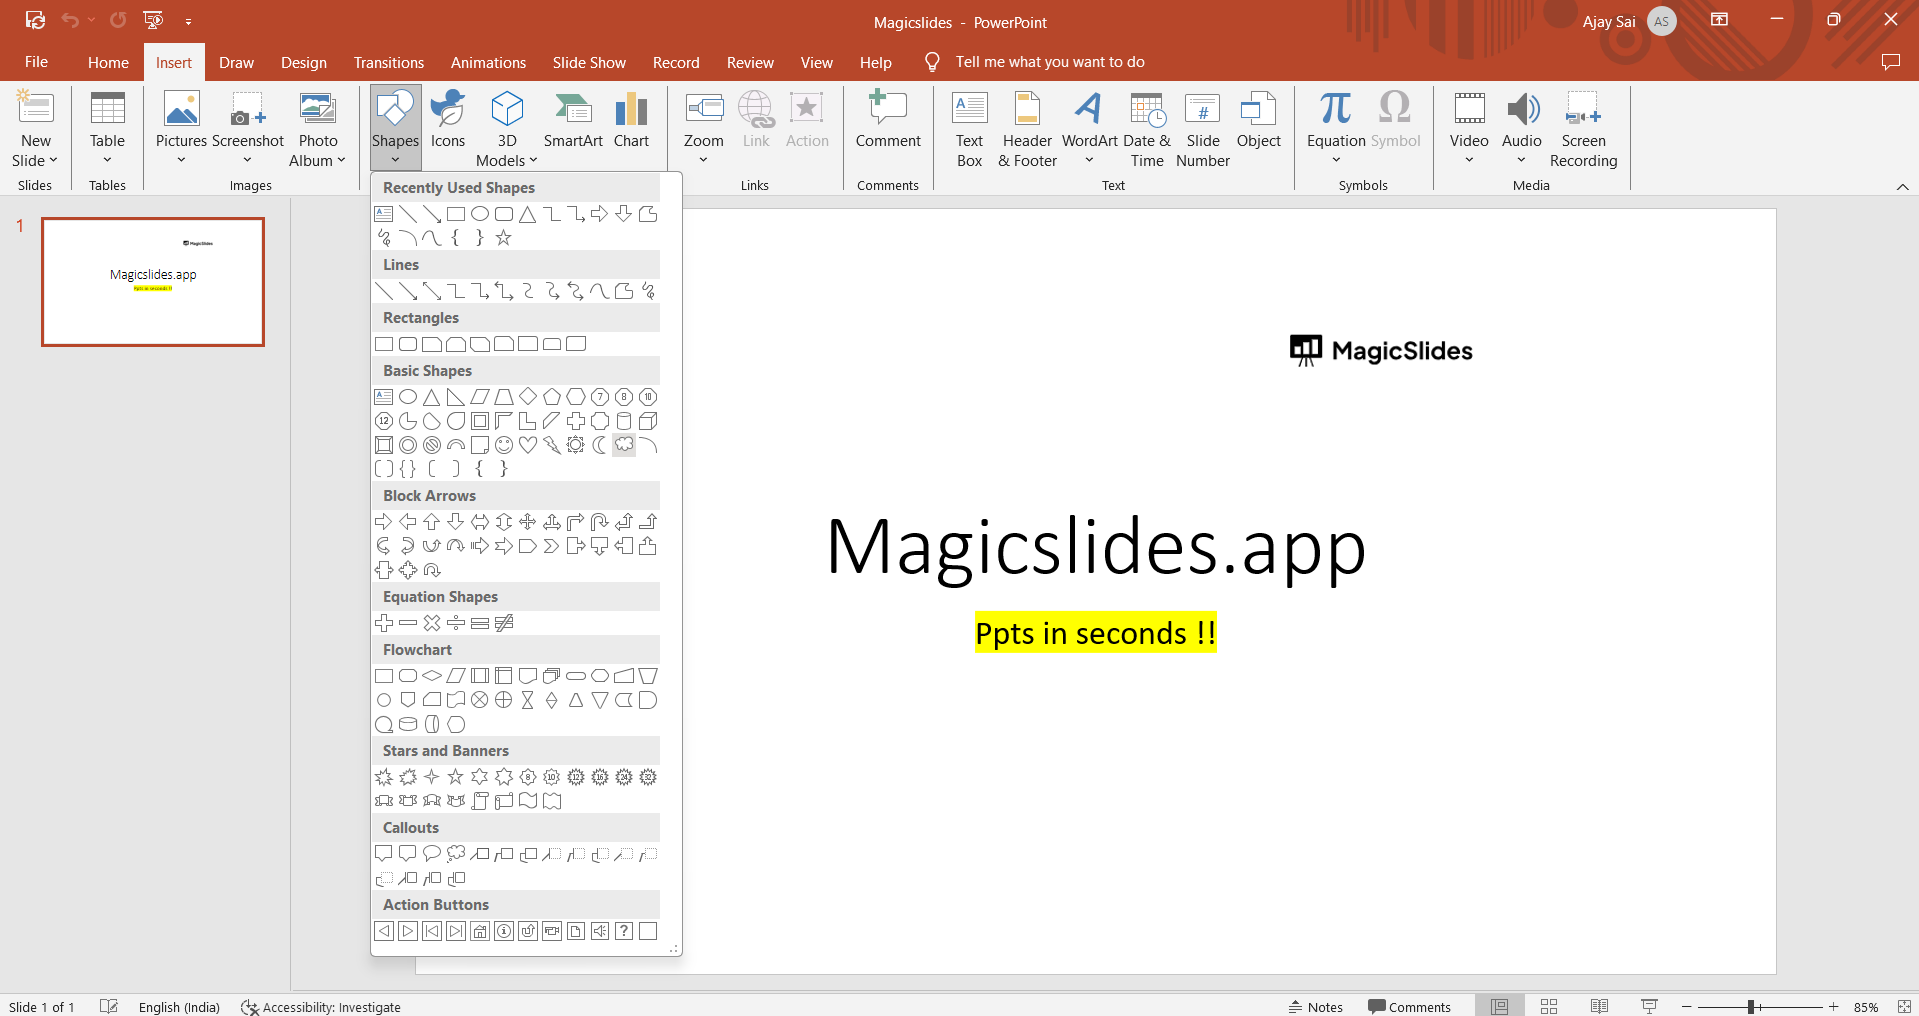
2. Designing Your Poster:
- Get creative with backgrounds: Use the "Background Styles" feature to apply solid colors, gradients, patterns, or even images to your poster. Customize the background to suit your theme.
- Insert shapes, text, and images: Utilize the "Shapes" tool to add text boxes, images, and icons to your poster. You can format these elements with different colors, gradients, and effects.
- SmartArt and charts: If your poster involves data or complex concepts, consider using SmartArt for visual representations or inserting charts directly from Excel.
3. Layout and Alignment:
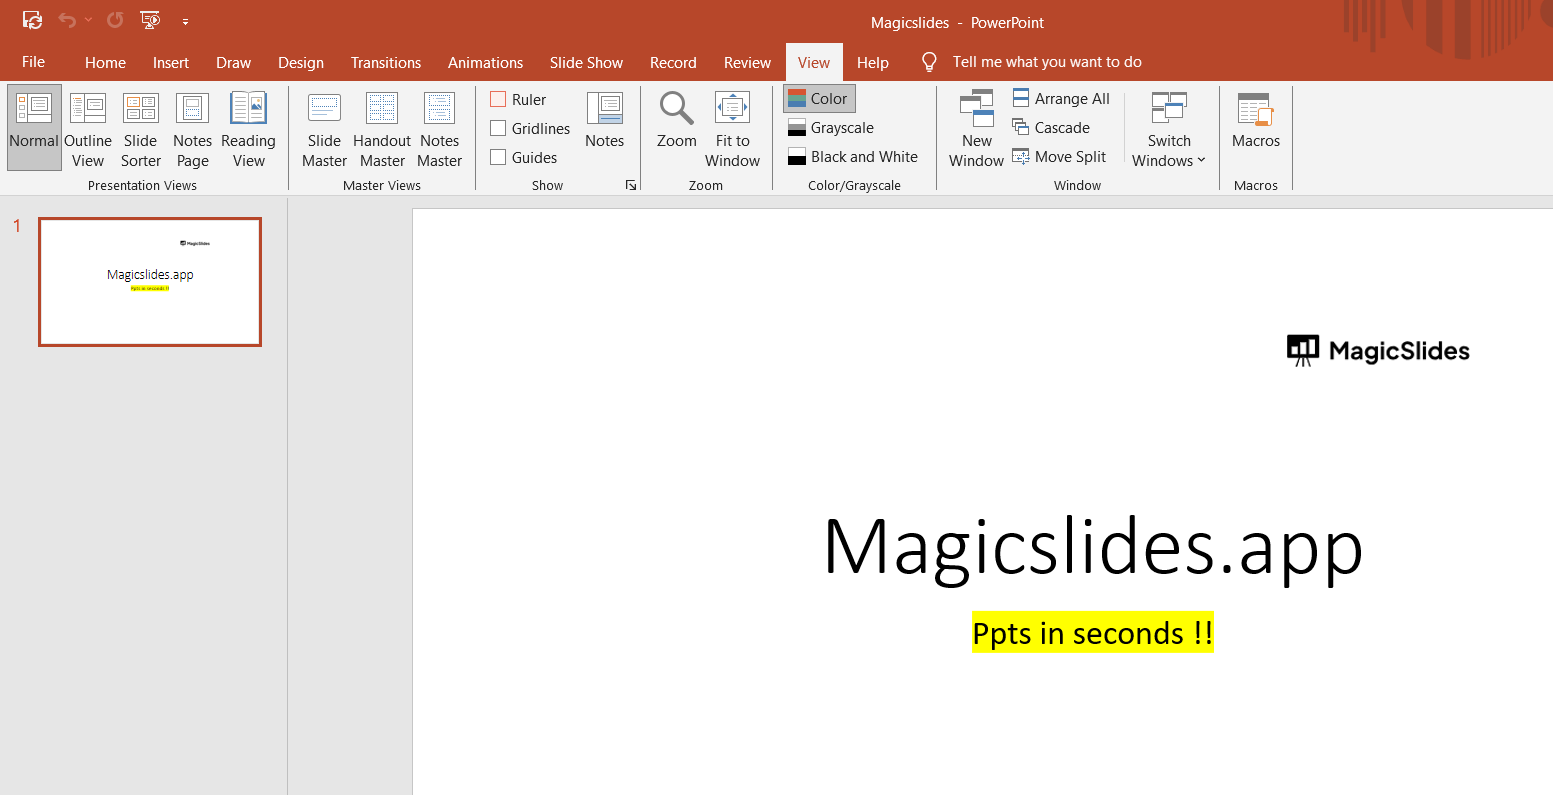
- Rulers and grids: Enable rulers and grids under the "View" tab to help you align objects precisely and maintain a balanced layout.
- Guides: PowerPoint allows you to create custom guides to assist in the placement and alignment of your poster's elements.
4. Saving and Printing Your Poster:
- Before saving, double-check the dimensions and resolution (at least 300 dpi for print) of your poster under "File" > "Options" > "Advanced."
- To save for print, select "File" > "Save As" and choose your preferred format, such as PDF or JPEG.
- For printing, consider using a professional printing service or a high-quality printer that can handle the size and resolution requirements of your poster.
Conclusion: PowerPoint is not just for presentations; it's a versatile tool for creating impressive posters with ease. In just four simple steps, you can design a stunning poster that suits your unique vision and purpose, be it for educational projects, promotional materials, or personal creative endeavors.
By making the most of PowerPoint's features, from custom slide sizes to design elements and alignment tools, you can craft posters that captivate your audience and effectively convey your message. So, dive into the world of poster design with PowerPoint and start bringing your ideas to life on a large canvas.


