How to Make PowerPoint Slides Advance Automatically


Making PowerPoint slides advance automatically ensures smooth, hands-free transitions for your presentations
PowerPoint presentations are often used for self-running slideshows or timed events where slides need to advance automatically without manual intervention.
Whether you're setting up a presentation for a kiosk, an event, or simply for a seamless flow during meetings, PowerPoint allows you to set automatic slide transitions.
In this guide, I'll walk you through the simple steps to make your PowerPoint slides advance automatically.
How to Make PowerPoint Slides Advance Automatically: A Step-by-Step Guide
Step 1: Open Your PowerPoint Presentation
Begin by opening the PowerPoint presentation where you want to set automatic slide transitions.
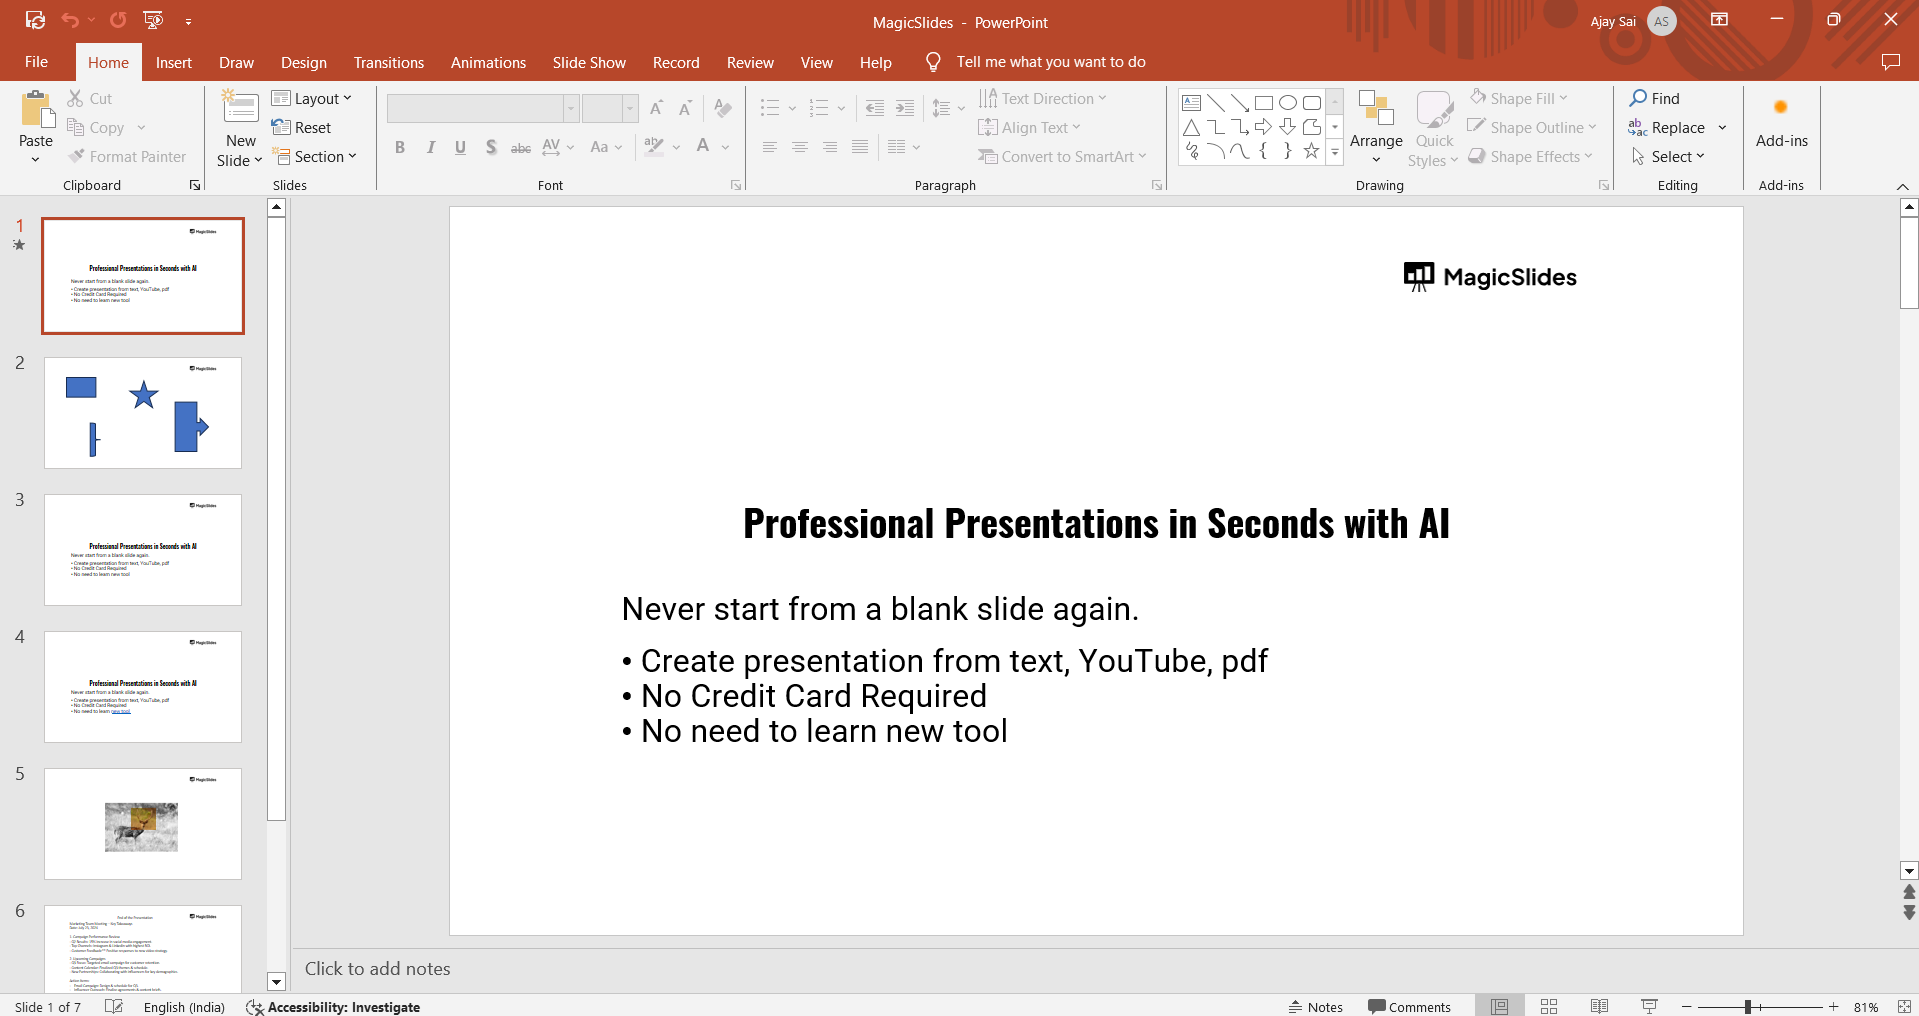
If you’re starting a new presentation, create your slides as usual. Make sure that all the content and elements on the slides are finalized before setting the automatic transitions.
Step 2: Select the Slide You Want to Advance Automatically
Navigate to the slide you want to set up for automatic advancing.
If you want all slides to advance automatically, you can select multiple slides at once by holding down the "Shift" key and clicking on each slide thumbnail in the slide navigation pane on the left.
Step 3: Open the "Transitions" Tab
At the top of your screen, click on the "Transitions" tab.
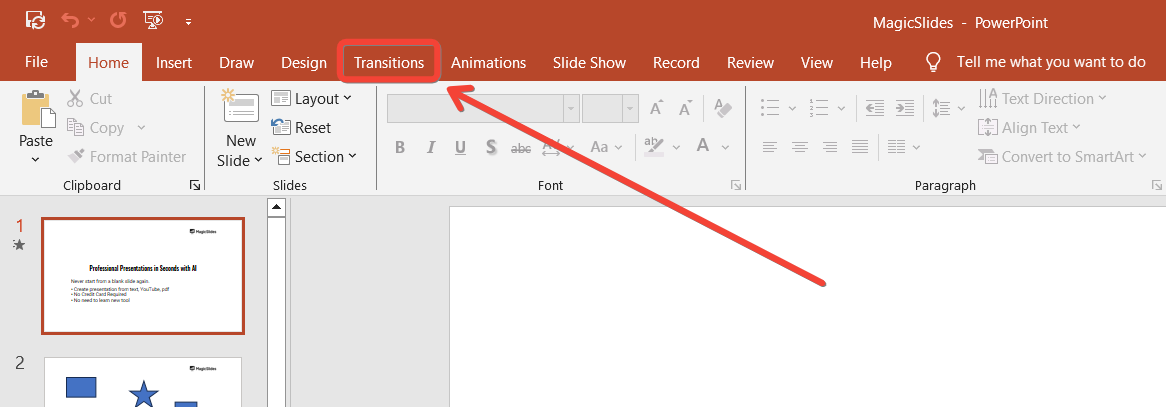
This will open the transition options for your slides.
Here, you can choose different transition effects, but more importantly, this is where you’ll find the settings for automatic slide advancement.
Step 4: Set the Slide Timing
In the "Timing" section under the "Transitions" tab, uncheck the box next to "On Mouse Click" if it’s selected.
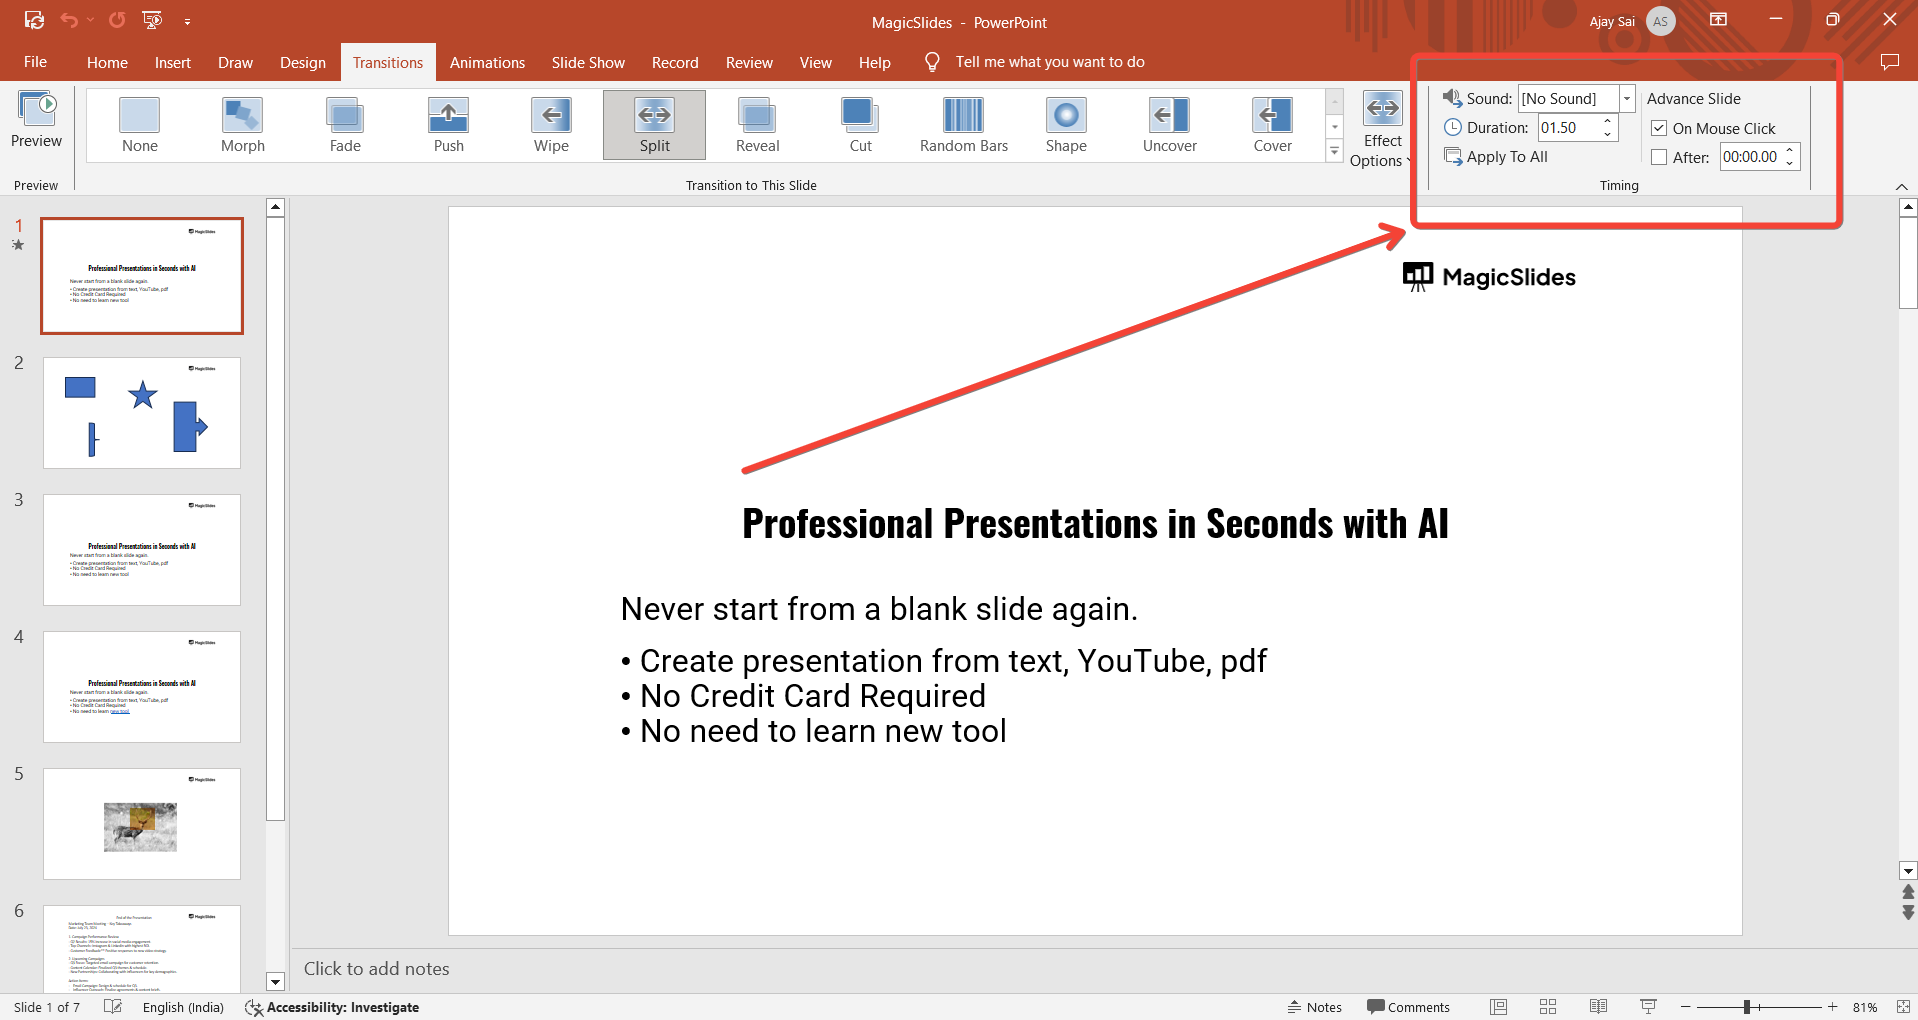
Then, check the box next to "After" and set the duration (in seconds) that you want the slide to stay on screen before automatically advancing.
For example, if you want the slide to remain visible for 5 seconds before moving to the next slide, enter "5" in the field.
Step 5: Apply to All Slides (Optional)
If you want to apply the same timing and settings to every slide in the presentation, click the "Apply to All" button in the "Timing" section.
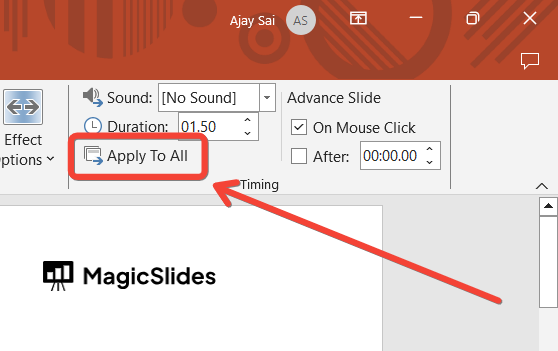
This will ensure that all your slides advance automatically at the specified time interval.
Step 6: Test Your Slideshow
Once you've set the timing, it's essential to test your slideshow to make sure everything is working as expected.
Click on the "Slide Show" tab and select "From Beginning" to start the presentation.
Observe how the slides advance automatically and check if the timing feels right. If needed, you can adjust the timing by returning to the "Transitions" tab.
Conclusion
Setting PowerPoint slides to advance automatically is a simple yet powerful feature that can add smoothness and professionalism to your presentations.
Whether for a self-running slideshow or a timed presentation, following these easy steps will ensure that your slides transition seamlessly without any manual intervention.
Use this feature to maintain focus and create a polished flow in your next PowerPoint presentation!
FAQs can come handy!
Can I set different timings for each slide?
Yes, you can assign different timing durations for each slide individually under the "Transitions" tab.
Can I still advance slides manually after setting automatic transitions?
Yes, even with automatic transitions, you can manually advance slides using the keyboard or mouse.
Can I disable automatic slide transitions once they are set?
Yes, go to the "Transitions" tab, uncheck "After," and select "On Mouse Click" to revert to manual.


