How to make text wrap around an image in Google slides


Transform your Google Slides with this guide on wrapping text around images for enhanced presentations.
Google Slides is a powerful presentation tool that allows users to create visually appealing slideshows. One key feature that enhances the visual appeal of presentations is the ability to make text wrap around images. This not only adds a professional touch to your slides but also makes your content more engaging. In this step-by-step guide, we'll walk you through the process of making text wrap around an image in Google Slides.
How to make text wrap around an image in Google slides
Step 1: Inserting an Image
Open your Google Slides presentation and navigate to the slide where you want to add the image.
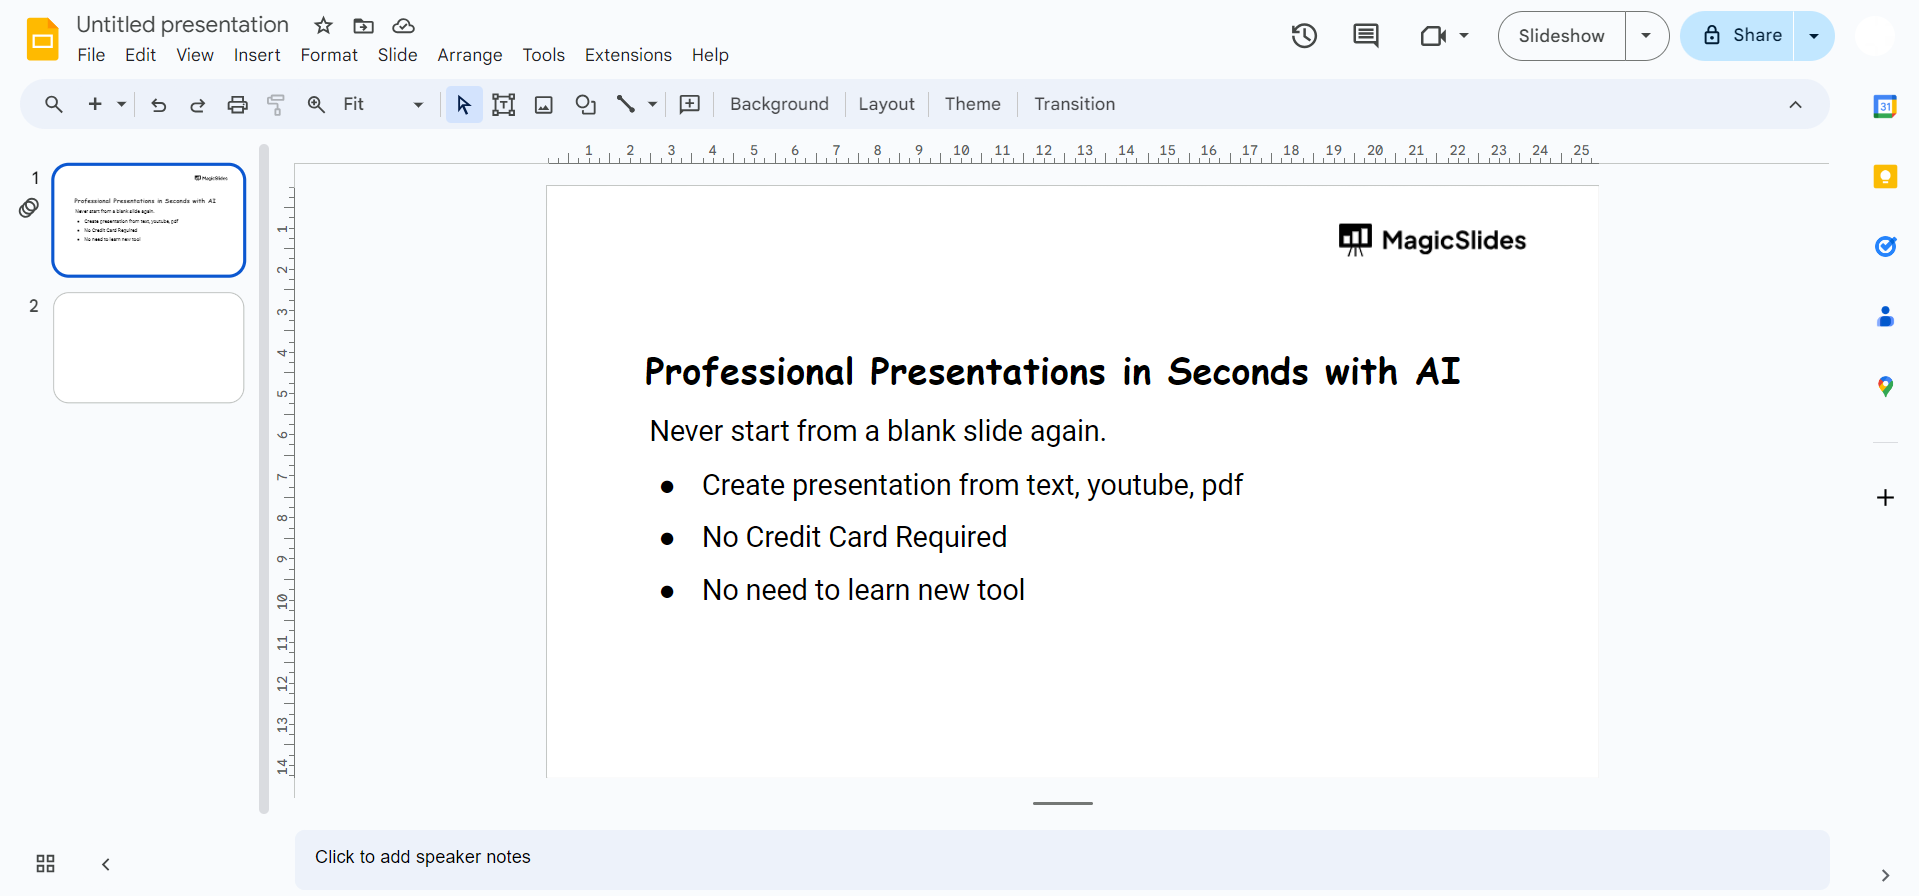
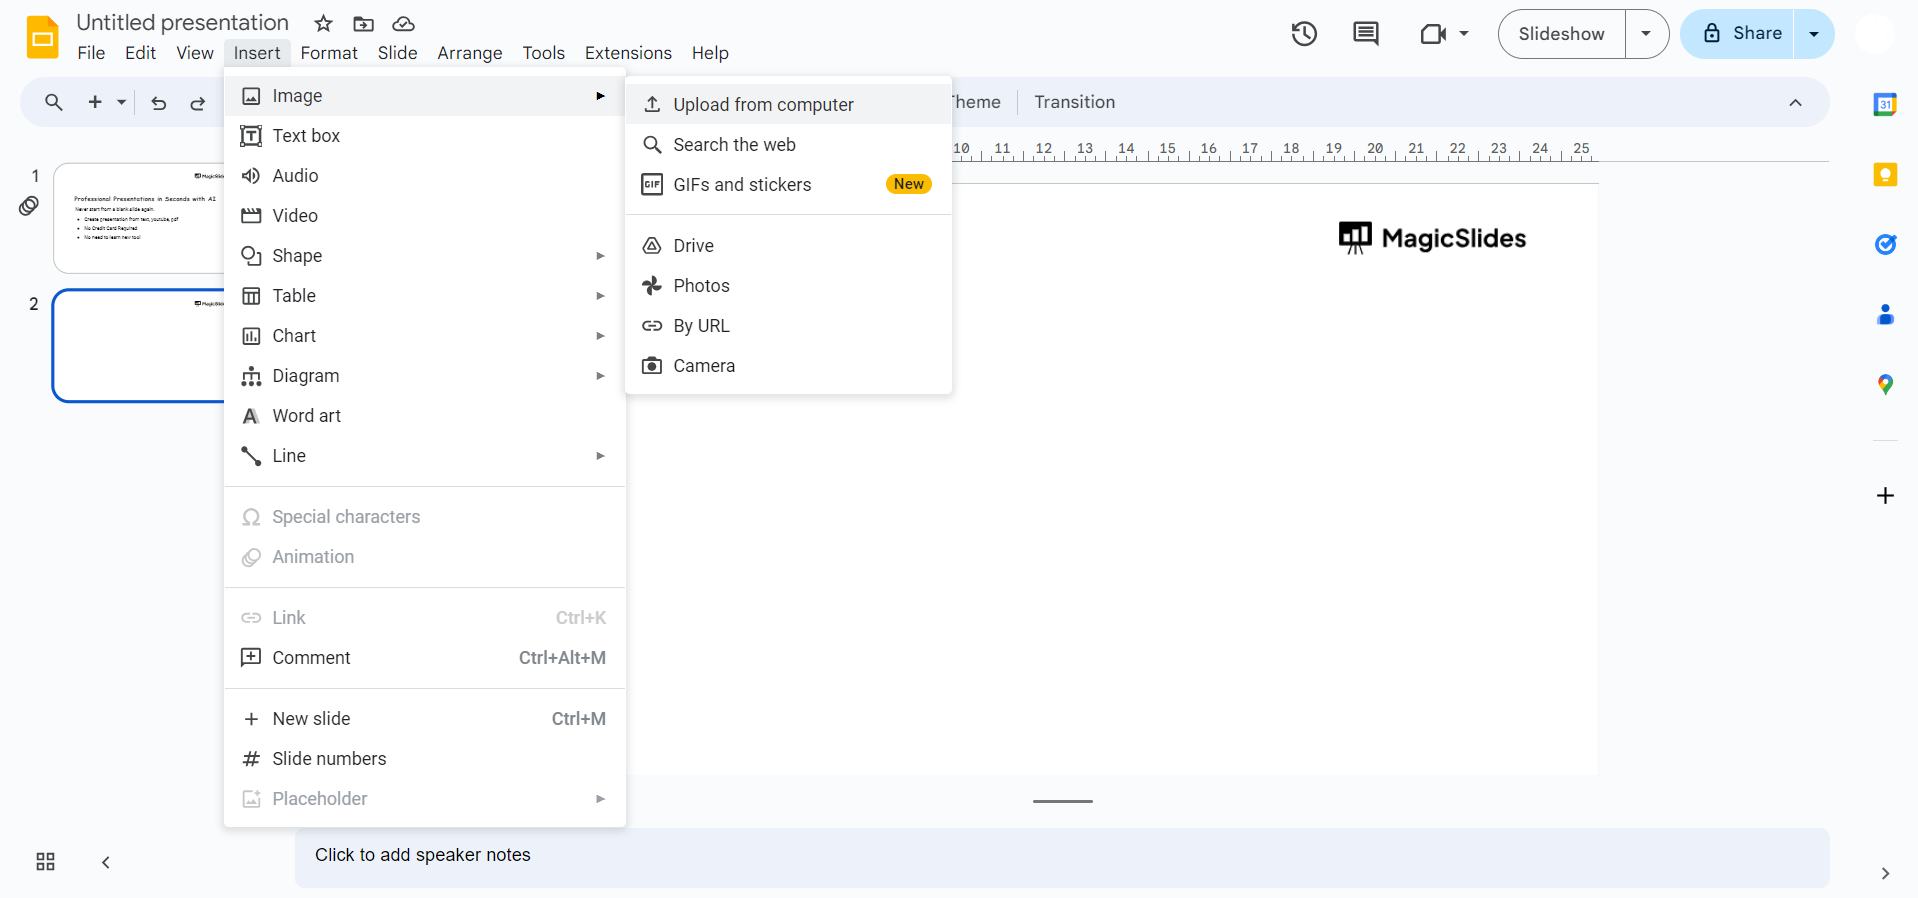
Click on the "Insert" tab in the top menu. Choose "Image" and select the image you want to insert from your computer or Google Drive.
Step 2: Adjusting Image Size and Position
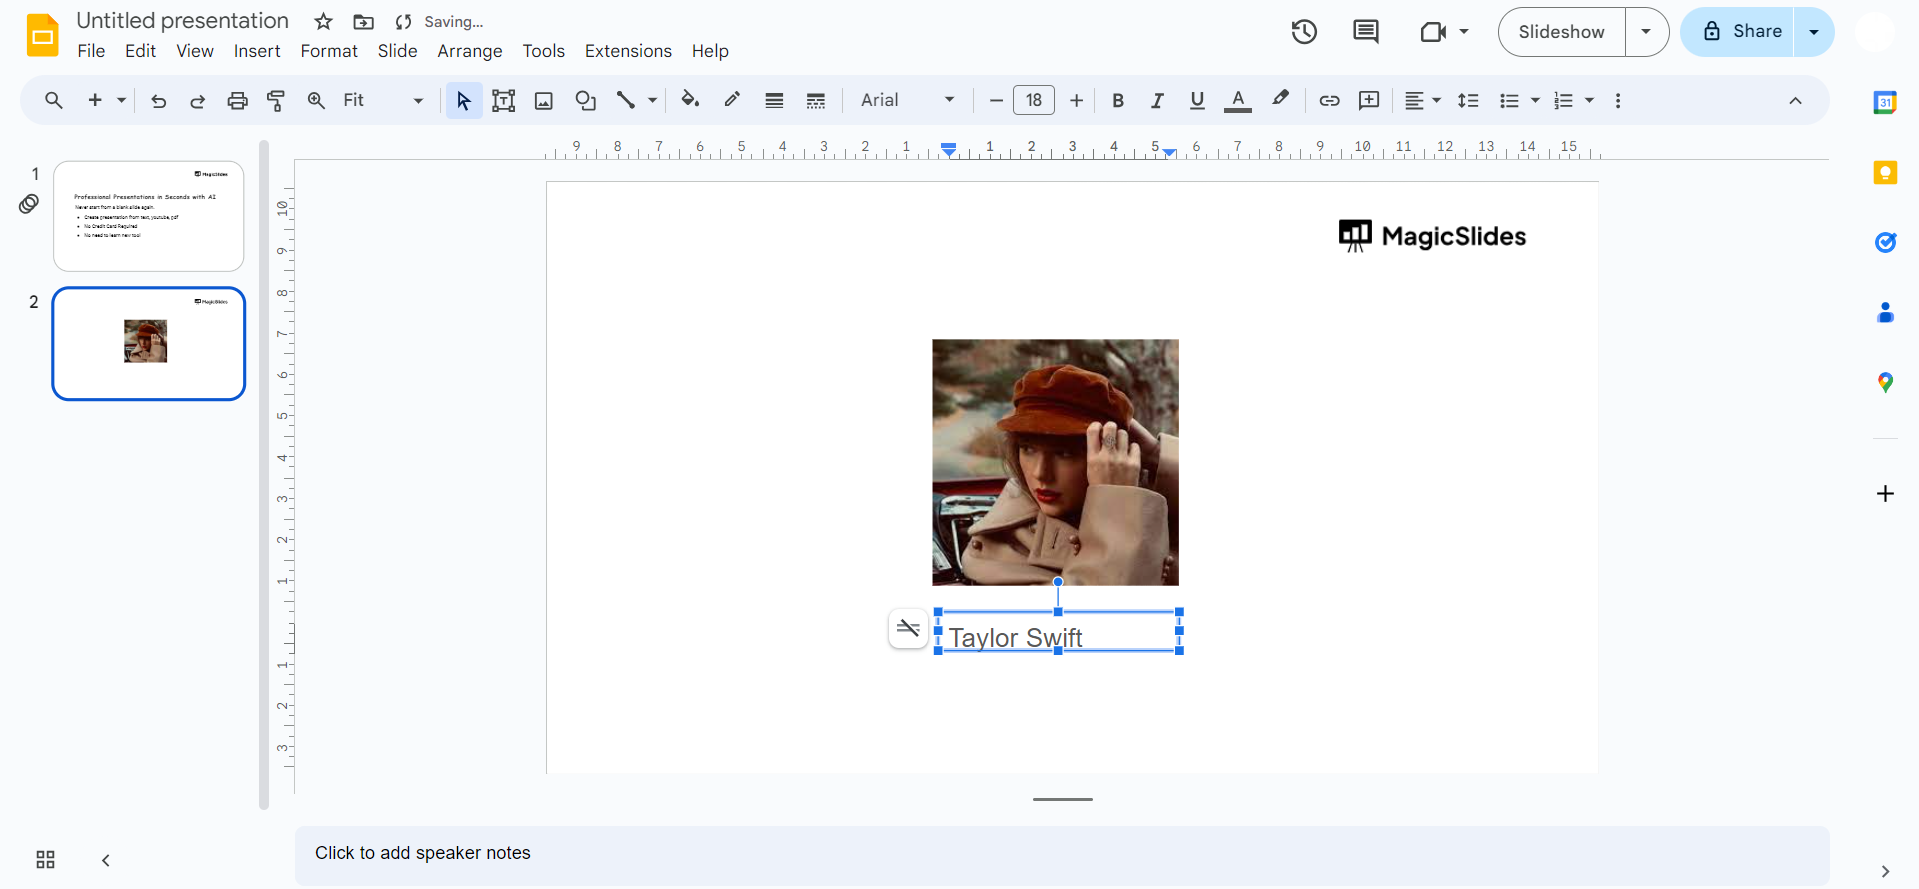
Click on the inserted image to select it. Use the resizing handles to adjust the size of the image according to your preference. Drag the image to the desired location on the slide.

Step 3: Text Box Creation
Click on the "Text box" icon in the toolbar (T icon) or go to the "Insert" tab and choose "Text box." Click and drag to create a text box near the image, ensuring it does not overlap with the image.
Step 4: Wrapping Text Around the Image
Click on the text box to select it. Go to the "Format options" in the toolbar. Under the "Text box" tab, find the "Wrap text" option and choose either "Wrap" or "Break text."

Conclusion:
Incorporating images into your Google Slides presentations can significantly enhance their visual appeal. By following these simple steps, you can ensure that your text wraps around the images seamlessly, creating a polished and professional look. Now, go ahead and apply this technique to make your presentations more visually captivating and engaging for your audience.
Frequently Asked Questions:
Can I wrap text around multiple images in Google Slides?
Yes, you can apply text wrapping individually to each image, allowing for customized layouts.
Does text wrapping affect the responsiveness of my slides?
No, text wrapping primarily impacts the visual layout and does not affect slide responsiveness or loading.
Can I edit the text wrapping settings after applying them?
Absolutely, you can revisit the "Image options" sidebar to modify text wrapping settings at any time.
Do text wrapping settings remain when exporting slides or sharing presentations?
Yes, text wrapping settings are preserved when exporting or sharing presentations, maintaining your intended design.


