How to Overlap Images in Google Slides


Overlapping images in Google Slides enhances visual appeal, creating dynamic and engaging layouts for presentations
Overlapping images in Google Slides can add depth and creativity to your presentation, creating a visually engaging layout.
Although Google Slides doesn’t have a specific "overlap" tool, you can achieve this effect by adjusting the positioning and layering of images.
Follow this guide to learn how to overlap images in Google Slides effectively.
How to Overlap Images in Google Slides: A Step-by-Step Guide
Step 1: Open Google Slides and Insert Your Images
Open Google Slides, navigate to the slide where you want to overlap images, and insert the images you need.
To add images, go to the "Insert" menu, select "Image," and choose your source, such as "Upload from computer" or "Search the web."
Step 2: Resize and Position the Images
Click on each image to resize it as necessary by dragging the corner handles.
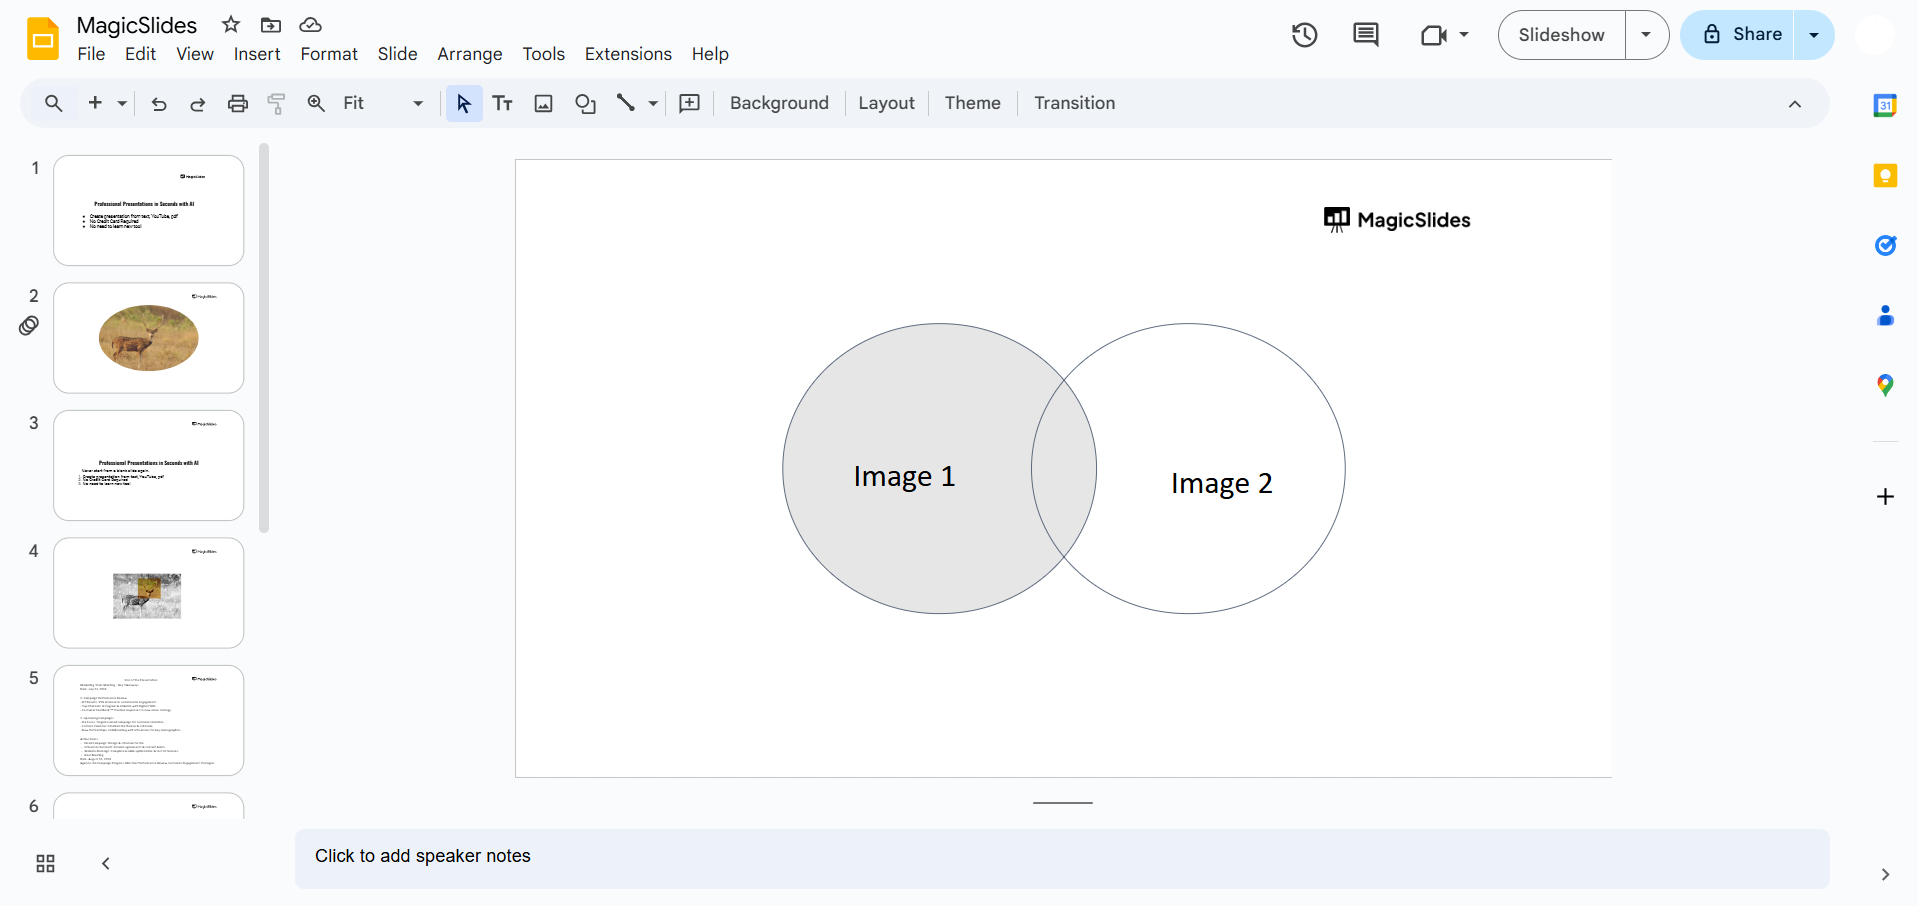
Position the images roughly where you want them to overlap by clicking and dragging each one into place.
Adjust the size of each image until they fit well together on the slide.
Step 3: Arrange the Image Order
To control which image appears on top, right-click on the image you want to move forward or backward.
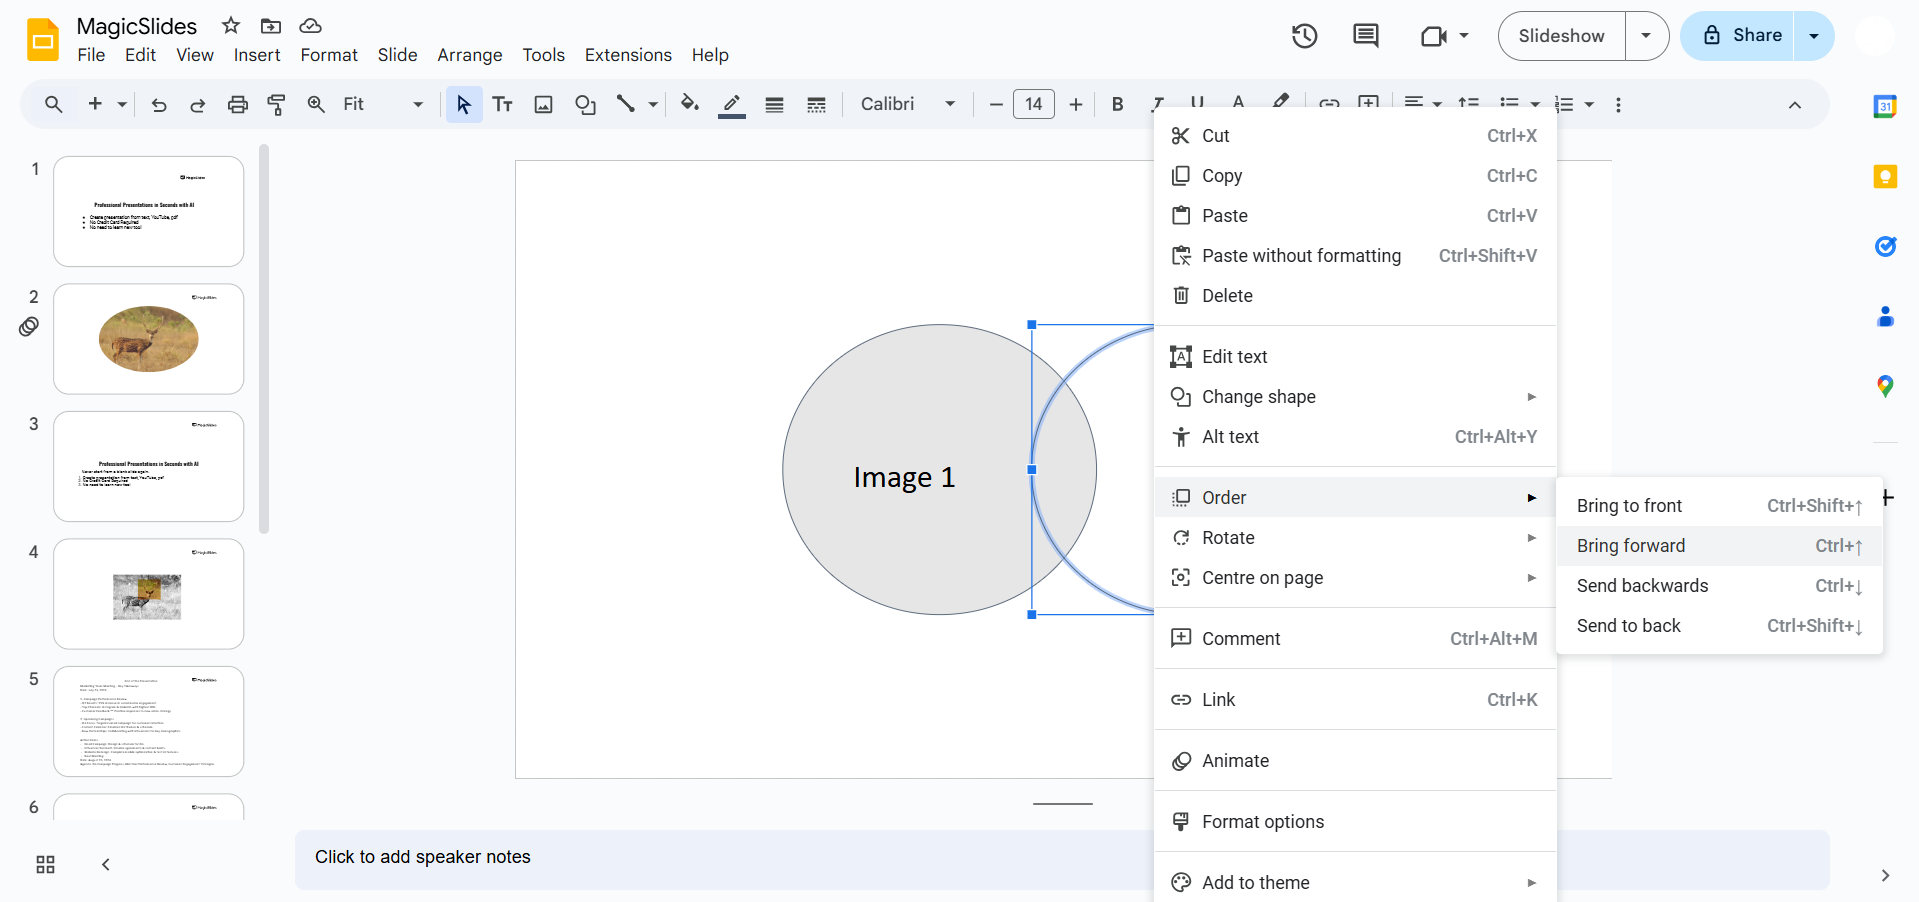
Select "Order" from the dropdown menu, and then choose "Bring to front" or "Send to back" to layer the images.
Repeat this for each image until you achieve the desired overlap.
Step 4: Adjust Transparency (Optional)
If you want a subtle overlap effect, you can adjust the transparency of the images.
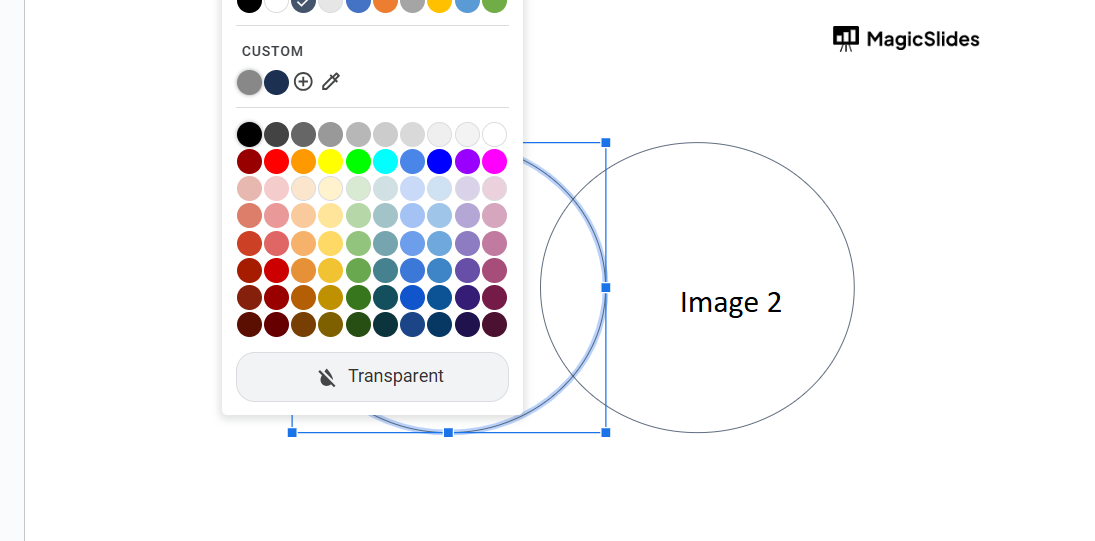
Select an image, click on "Format options" in the toolbar, go to "Adjustments," and use the "Transparency" slider to make the image semi-transparent.
This can create a layered effect that blends the images together.
Step 5: Fine-Tune Positioning
Once the images are in the correct order, make small adjustments by clicking and dragging each image to perfect the overlap.
You can also use the arrow keys for finer positioning to ensure that the images align smoothly.
After mastering image overlapping in Google Slides, dive into how to animate text in PowerPoint to create compelling visual stories.
Conclusion
Overlapping images in Google Slides allows for a creative, layered look that enhances the visual appeal of your presentation.
With a few adjustments in positioning and order, you can create a unique, engaging layout.
Use this method to bring a fresh style to your slides and make your presentations stand out.
FAQs can take you forward!
Can I overlap text with images in Google Slides?
Yes, you can layer text over images by inserting a text box, positioning it, and adjusting the order to place it above or below an image.
Can I adjust transparency on only part of an image in Google Slides?
No, transparency adjustments apply to the entire image. For partial transparency, consider using an external editor and re-uploading the image.
How can I add a shadow to images to enhance the overlap effect?
You can add a drop shadow by selecting the image, going to "Format options," and enabling "Drop shadow" for added depth.


