How to Record a Google Slides Presentation


Recording a Google Slides presentation lets you share it widely, adding flexibility for viewers and presenters
Recording a Google Slides presentation can be helpful for sharing with an audience who may not attend live.
Whether you're recording for a class, business presentation, or tutorial, Google Slides and third-party tools make it easy to capture your slides with narration.
Here’s how to record a Google Slides presentation step-by-step.
How to Record a Google Slides Presentation: A Step-by-Step Guide
Step 1: Open Your Google Slides Presentation
Open Google Slides and navigate to the presentation you want to record.
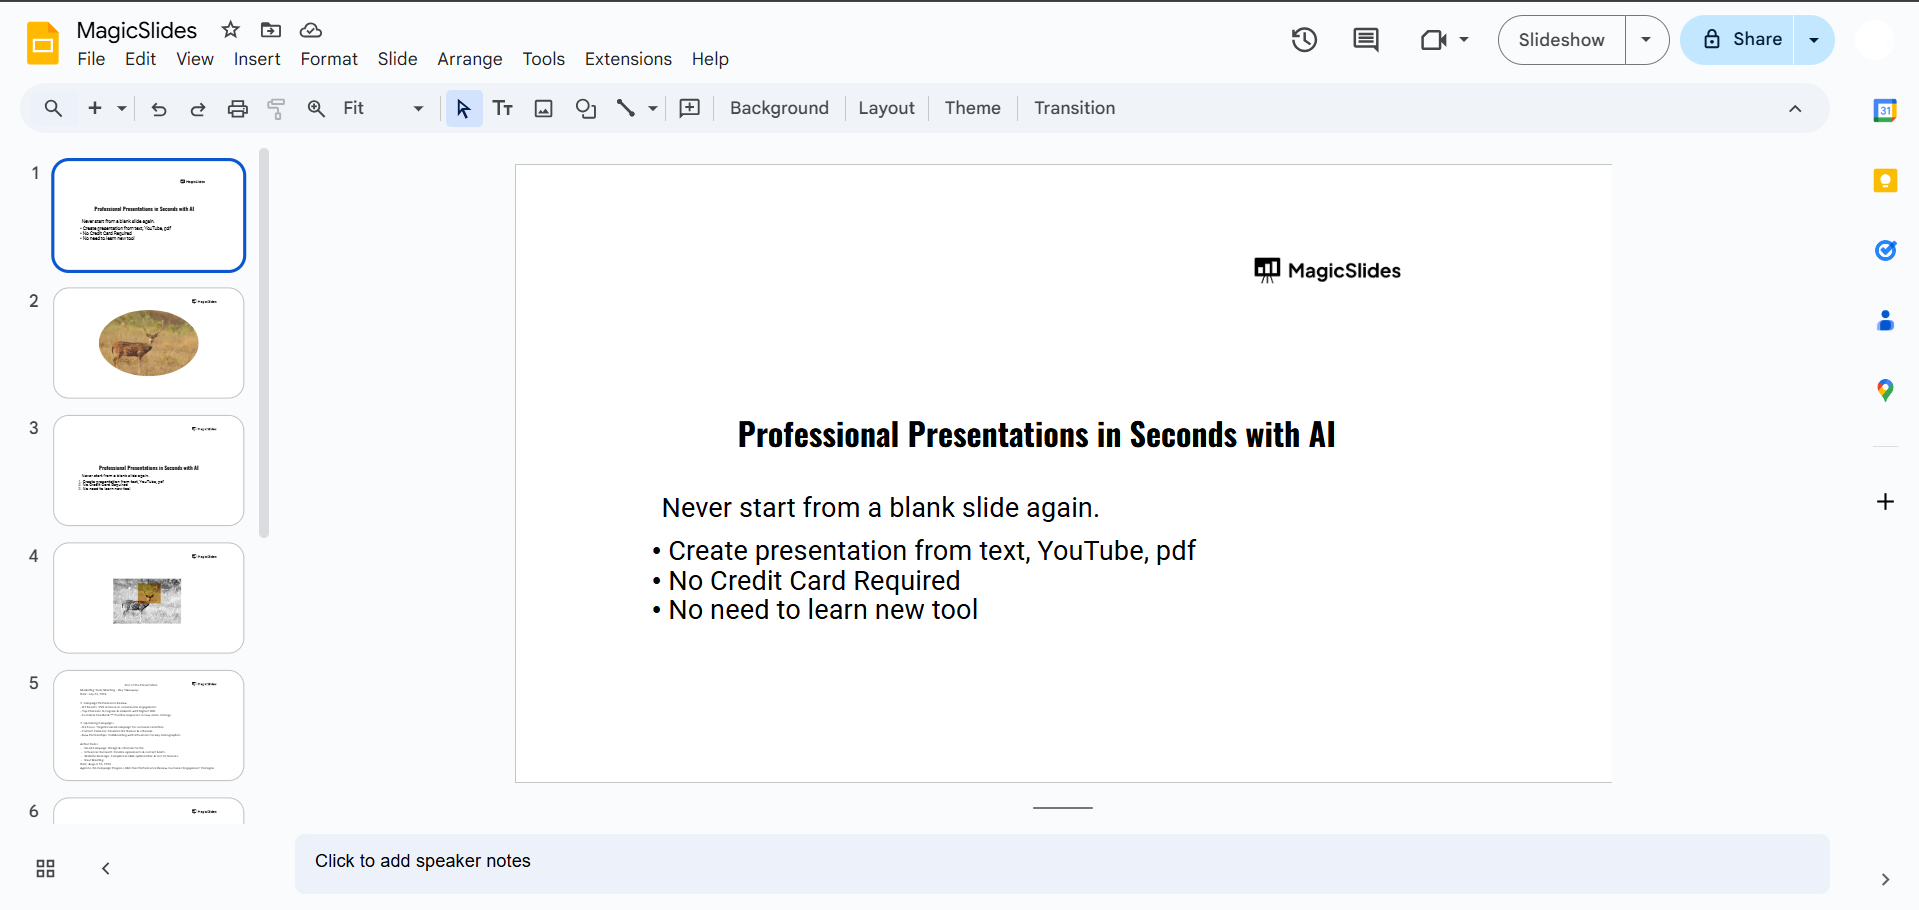
Make sure your slides are final, as editing while recording may disrupt the flow.
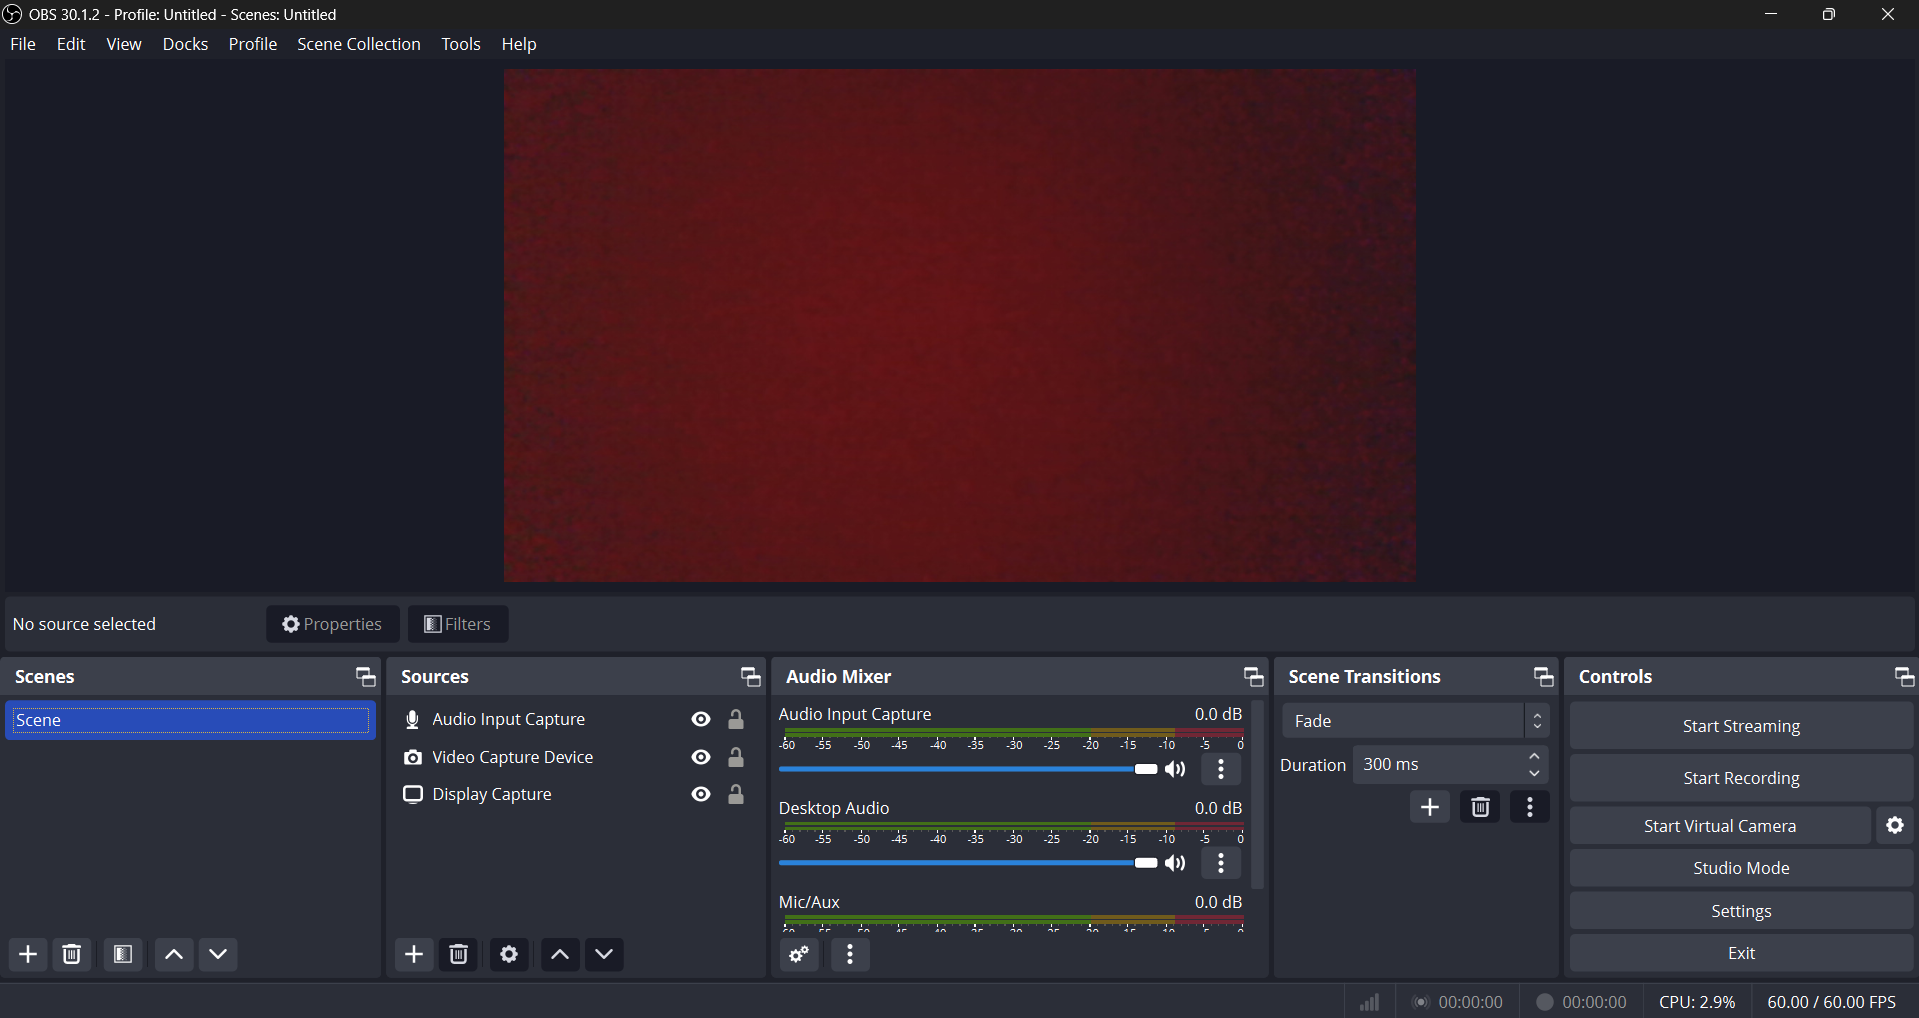
Step 2: Use a Screen Recording Tool
Google Slides doesn’t have a built-in recording feature, so you’ll need to use a screen recording tool.

Options like Loom, Screencastify, or OBS Studio work well with Google Slides. Install the tool of your choice if you haven’t already.
Step 3: Start the Screen Recorder
Open your chosen screen recording tool and select the option to record your screen.
Some tools also allow you to record both your screen and webcam, which can be useful if you want to add a personal touch with a video of yourself in the corner.
Step 4: Set Up Audio (Optional)
If you want to narrate during the presentation, ensure your microphone is selected as the audio source in the recording tool.
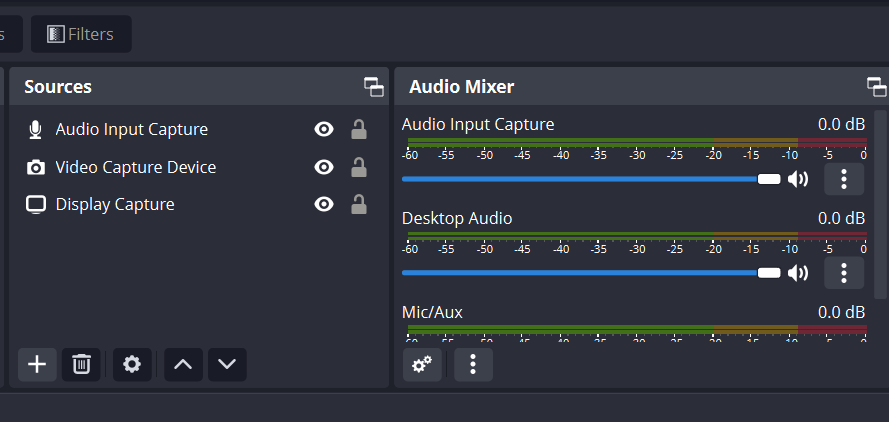
Test the microphone for sound quality, as clear audio enhances the viewer’s experience.
Step 5: Begin Presenting and Recording
In Google Slides, click "Present" to start your presentation.
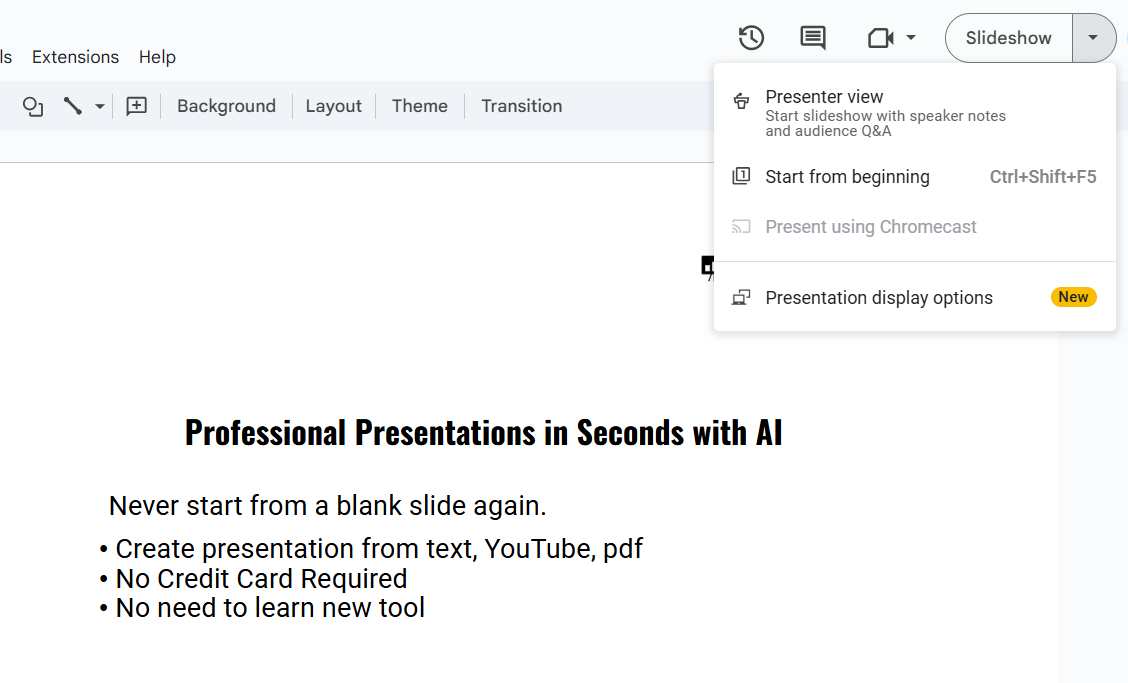
Begin recording with your screen recording tool, making sure to capture the entire screen or browser window, depending on your presentation setup.
Step 6: Navigate Through the Slides
Go through each slide as you would in a live presentation.

Keep your narration clear and consistent, and remember that pauses and transitions can be edited later in some tools.
Step 7: Stop the Recording
When you finish your presentation, exit the "Present" mode in Google Slides and stop the recording in your screen recording tool.
Most tools will automatically save your recording, or prompt you to select a folder to store the file.
Step 8: Edit and Save (Optional)
Some screen recording tools offer basic editing options to trim any unwanted parts, like pauses at the beginning or end.
Save your recording in a preferred format (such as MP4) and upload or share it as needed.
After recording a Google Slides presentation, make your presentation even more dynamic by learning how to add voice recordings directly in Google Slides.
Conclusion
Recording a Google Slides presentation is a straightforward process with the help of a screen recording tool.
This setup allows you to share your content with an audience at any time, making it ideal for online learning, business, and marketing purposes.
Now, with these steps, you’re ready to create and share your recorded presentations with ease.
FAQs are here to guide!
Can I record audio directly in Google Slides?
No, Google Slides doesn’t have built-in audio recording. You’ll need to use a screen recording tool to capture audio and video together.
Are there any free screen recording tools I can use with Google Slides?
Yes, free tools like Loom, Screencastify, and OBS Studio allow you to record your screen, audio, and even webcam.
Can I edit the recording after finishing the presentation?
Yes, many recording tools offer editing features to trim, add effects, or make other adjustments to your video after recording.


