How to take screenshots in Powerpoint


Elevate your presentations with impactful visuals learn to effortlessly integrate screenshots into your PowerPoint slides today.
Unlock the power of visuals in your PowerPoint presentations by mastering the art of taking screenshots. In this guide, we'll explore user-friendly methods on both Windows and Mac platforms, allowing you to seamlessly integrate screenshots into your slides. Elevate your presentation game and make your content more dynamic and engaging with this essential skill.
How to take screenshots in Powerpoint
Open PowerPoint:
Open the PowerPoint presentation you want to capture.
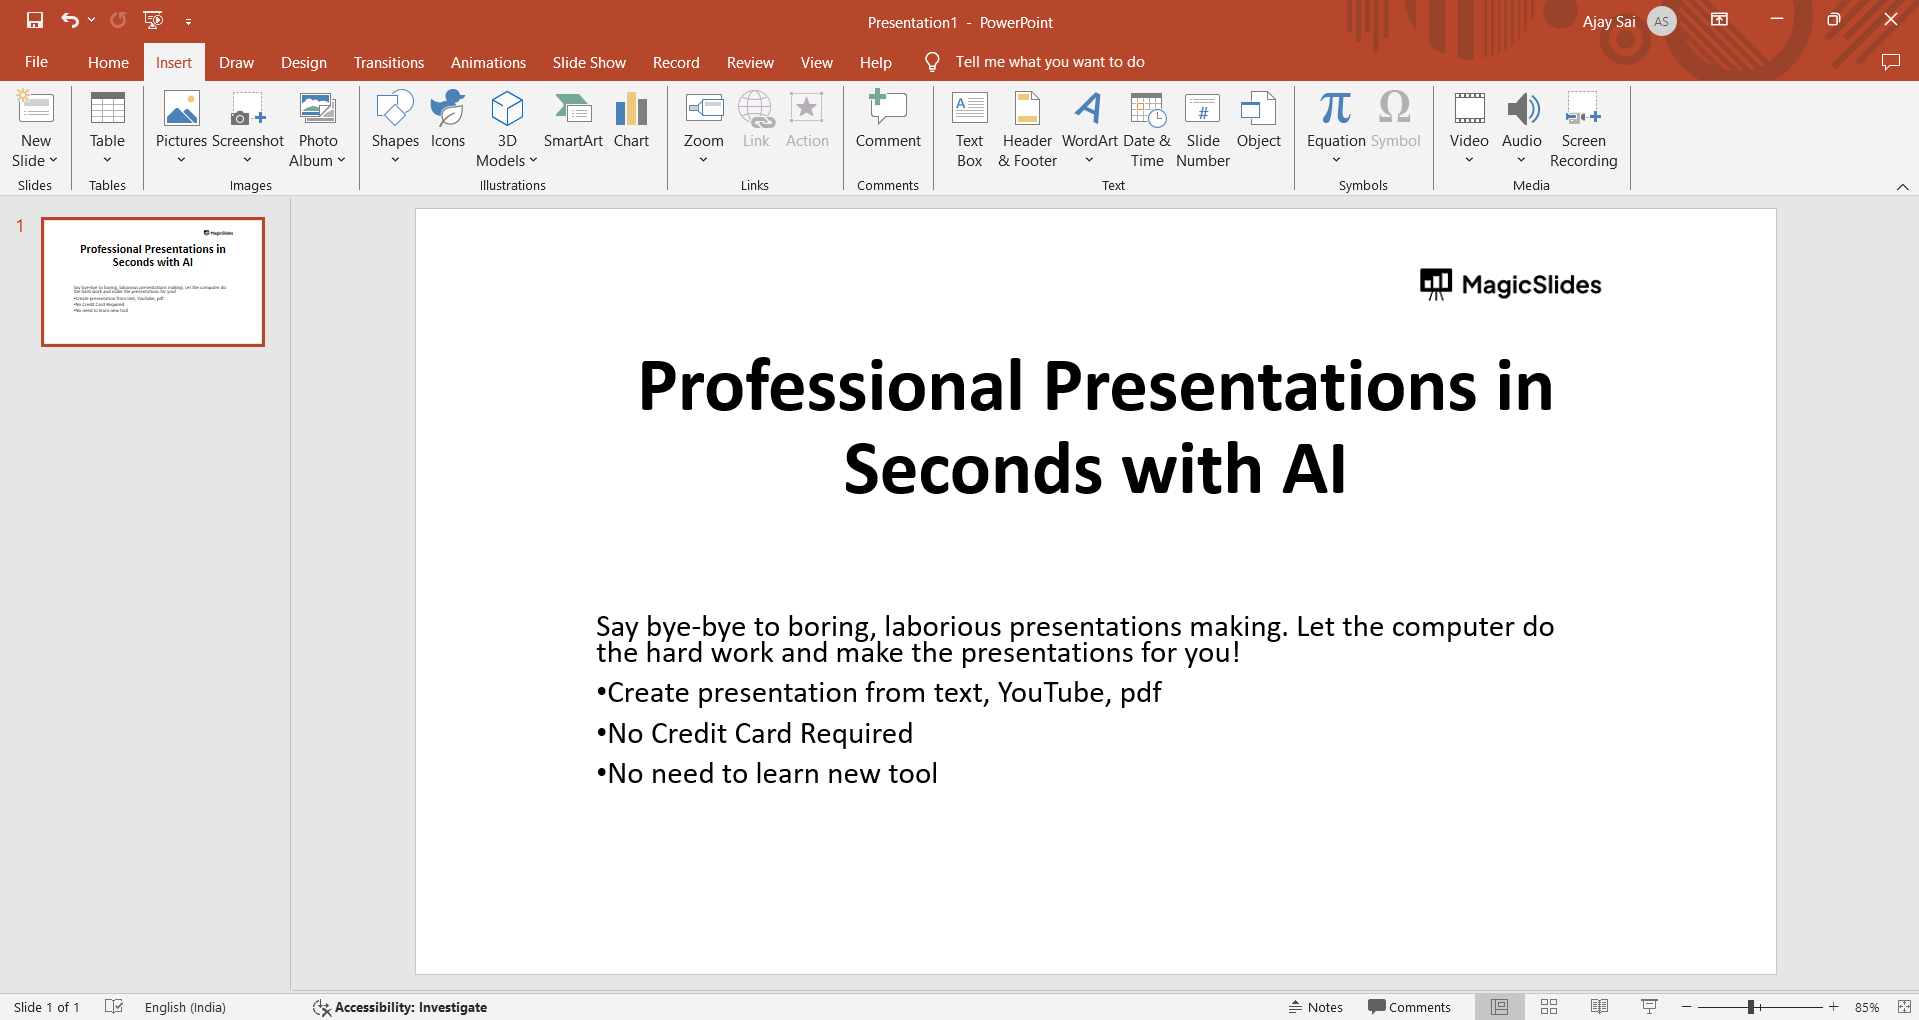
Select the Slide:
Navigate to the specific slide you want to capture.
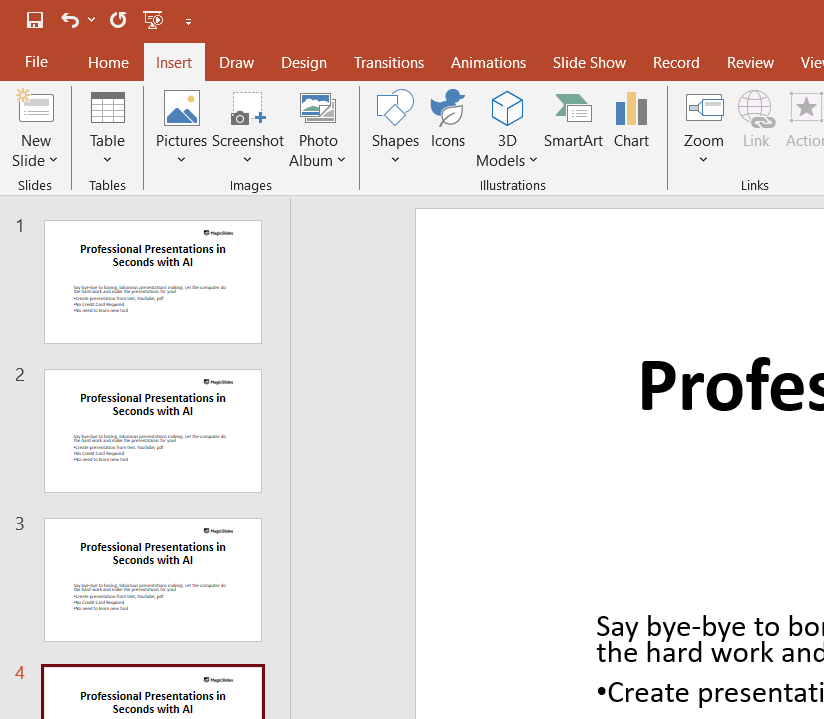
Press "Print Screen" (PrtScn):
Press the "Print Screen" key on your keyboard. This captures the entire screen.
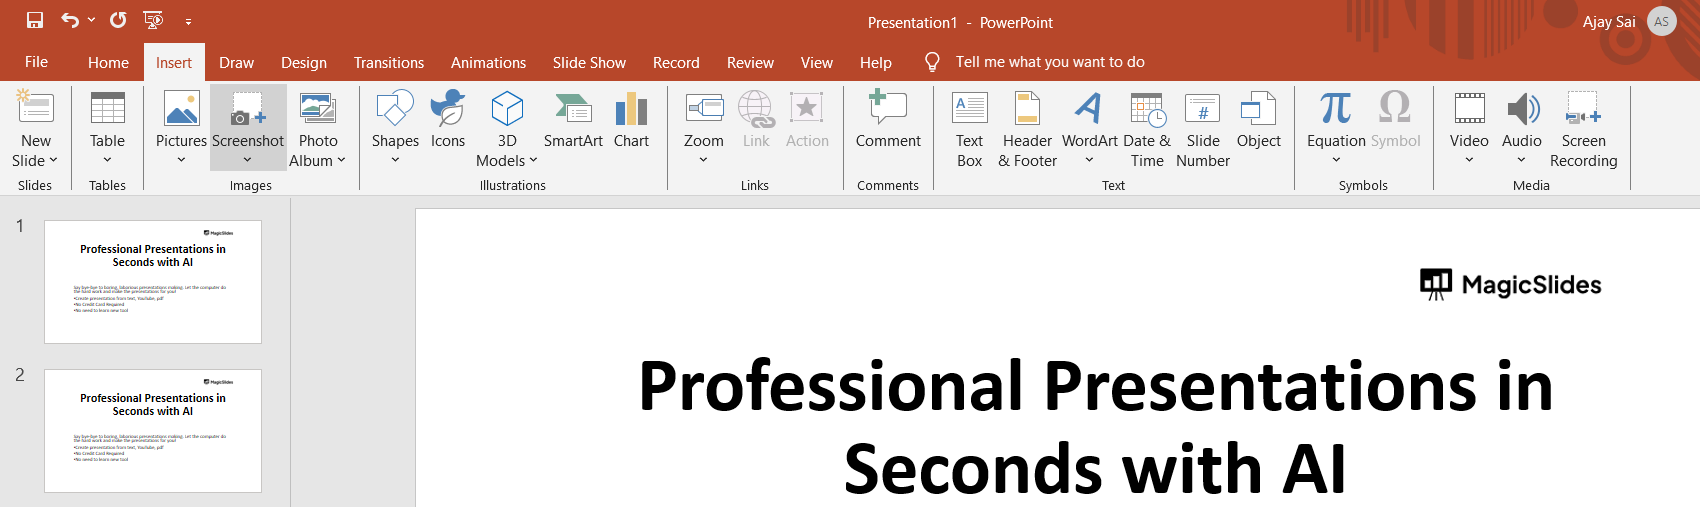
Paste in PowerPoint:
Open PowerPoint and go to the slide where you want to insert the screenshot.
Press Ctrl + V to paste the screenshot onto the slide.
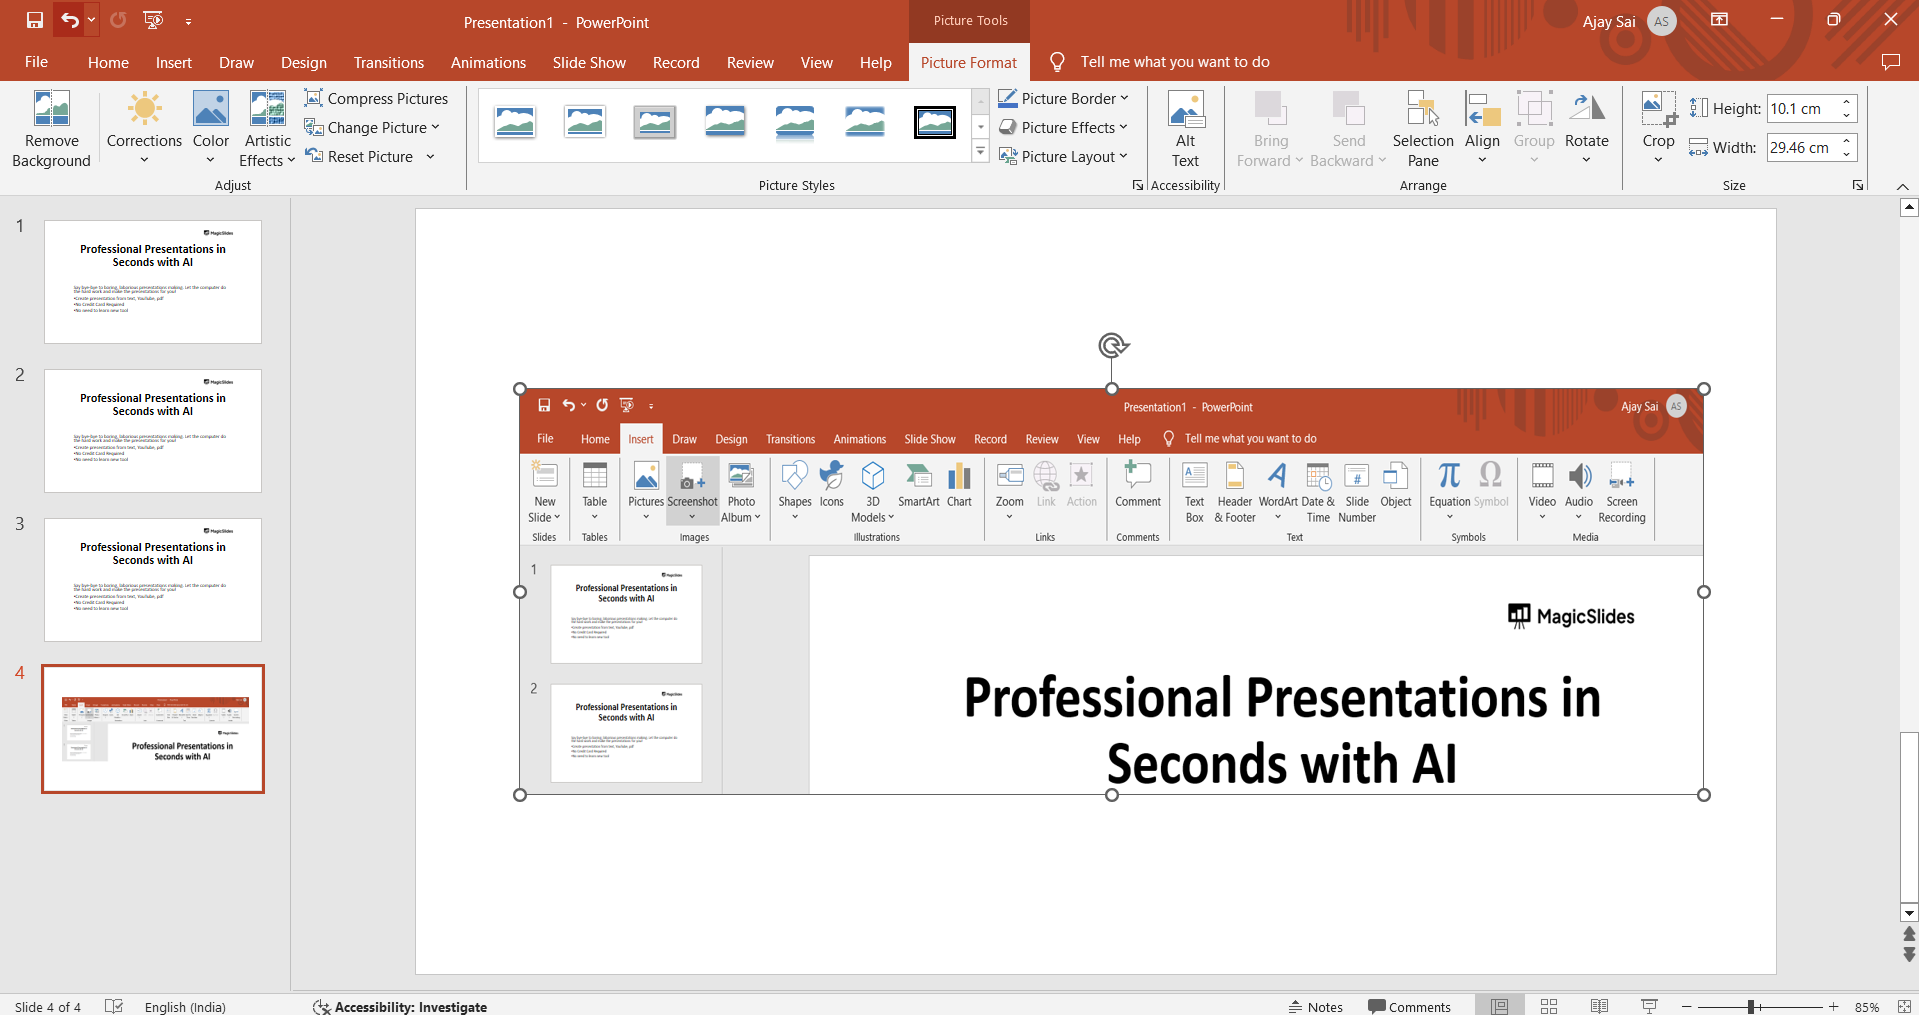
Conclusion:
Armed with the ability to effortlessly capture and insert screenshots, you've acquired a valuable tool for enhancing your PowerPoint presentations. Whether you're highlighting specific slides, showcasing details, or simply adding visual flair, these methods empower you to convey your message with precision and impact. Elevate your presentations by incorporating the art of the screenshot, and let your visuals speak volumes. Change Design of Slides and make them aesthetic
Frequently Asked Questions:
Can I capture specific elements of a PowerPoint slide, not just the entire screen?
Yes, using Snipping Tool (Windows) or Shift + Command + 4 (Mac) allows precise capture.
Are screenshots only for visuals, or can I use them for annotations?
Absolutely! Tools like Snip & Sketch (Windows) offer annotation features to enhance your screenshots.
Can I take screenshots in PowerPoint Online, or is it limited to desktop apps? Screenshot features depend on your operating system. Desktop apps offer more flexibility than online versions.


