How to use Eraser on a Layer uploaded canva


Learn how to effectively use the Eraser tool on uploaded layers in Canva for precise edits
Canva offers a variety of tools to enhance your designs, but sometimes you need to erase specific parts of an uploaded image or layer.
Whether you’re looking to remove a background or delete unwanted elements, the Eraser tool can help.
In this guide, we will show you how to effectively use the Eraser tool on an uploaded layer in Canva, step by step.
How to Use the Eraser on an Uploaded Layer in Canva | Steps to Use the Eraser on an Uploaded Layer in Canva
Step 1: Upload Your Image or Layer
Open your Canva design and select the project where you want to use the Eraser tool.
On the left panel, click Uploads and then click Upload Media to upload your image or layer.
Once the image is uploaded, drag it onto the canvas to begin editing.
Step 2: Select the Image or Layer
Click on the uploaded image or layer to select it.
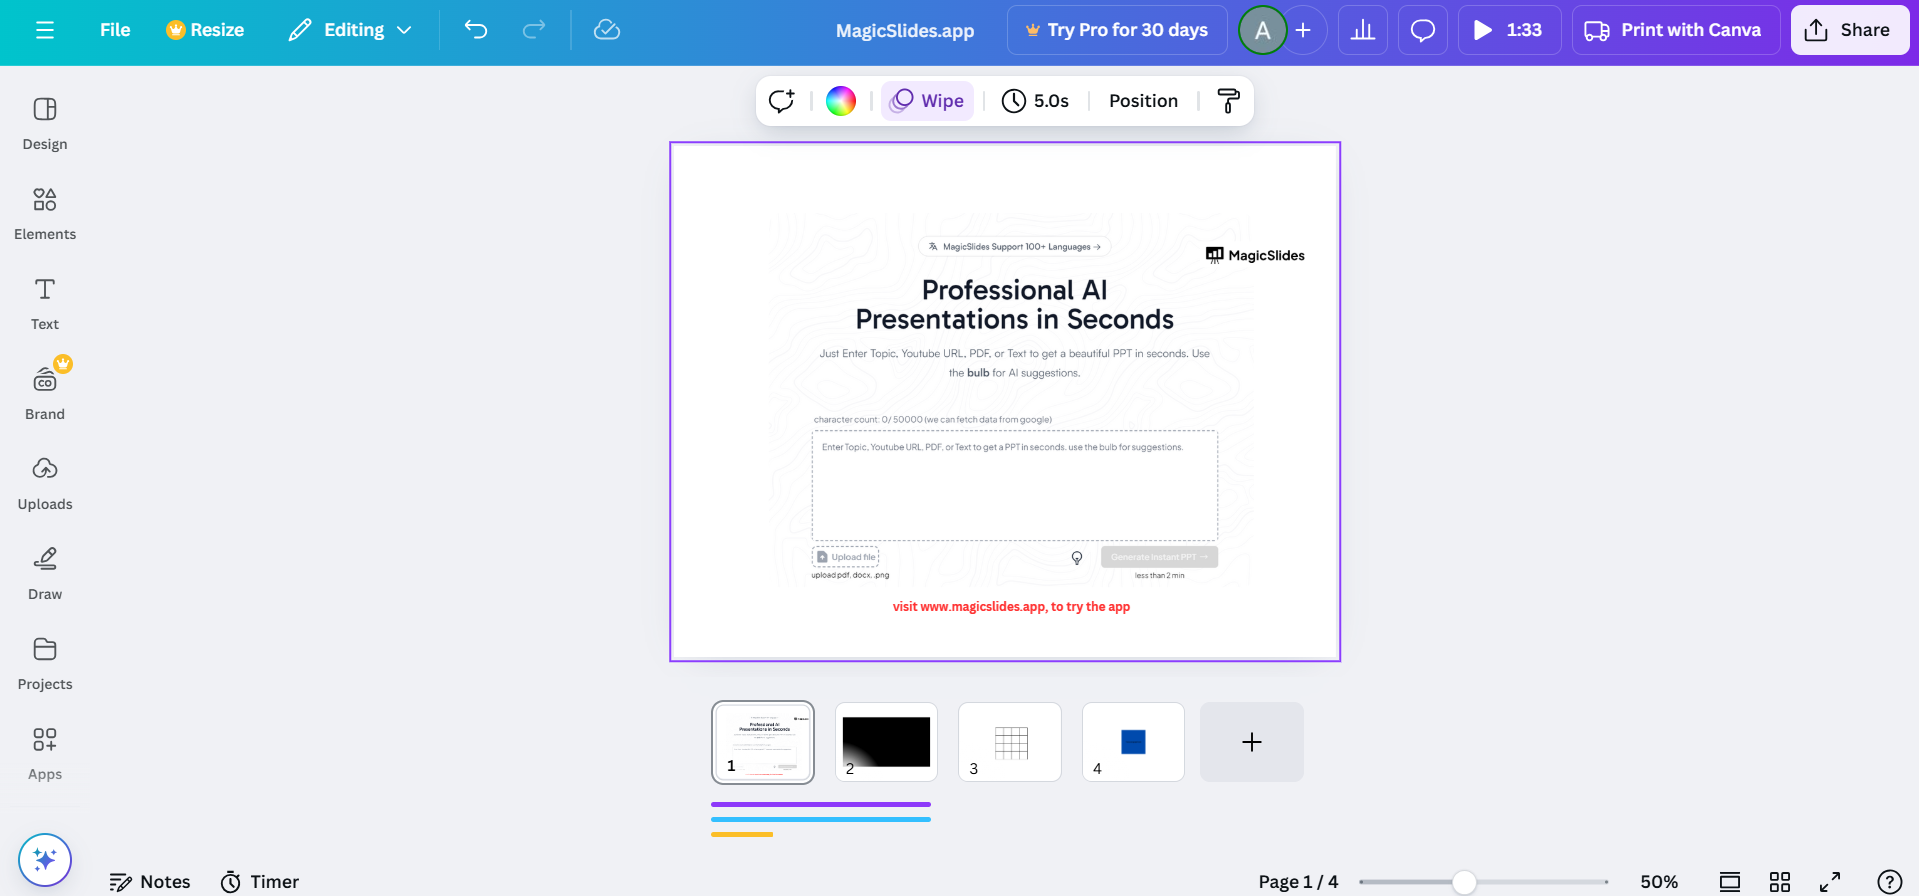
This will open the image options on the toolbar at the top of the screen.
Step 3: Enter the Edit Image Mode
With the image selected, click on the Edit Image button located on the toolbar.
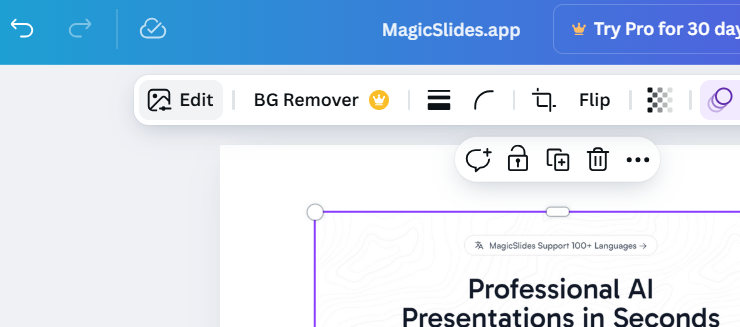
Scroll down to find the Background Remover tool, which also includes the Eraser feature.
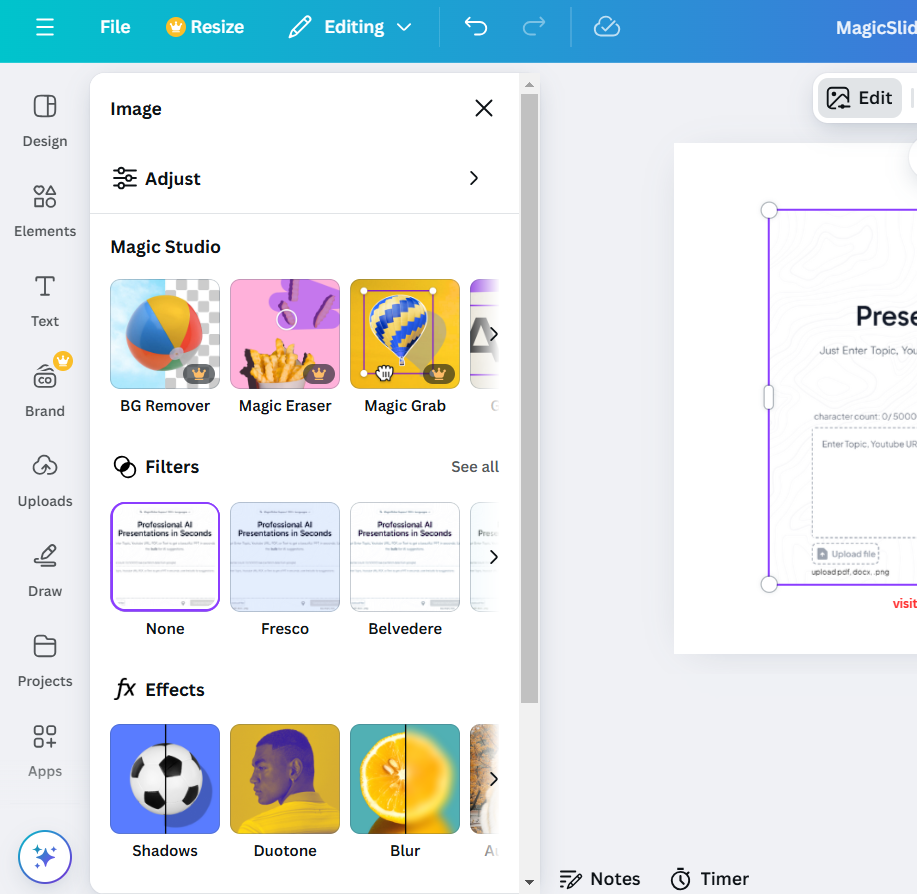
Step 4: Activate the Eraser Tool
After selecting the Background Remover, click on the Eraser option. Adjust the size and softness of the Eraser by using the slider options.
Step 5: Fine-Tune and Preview
After using the Eraser, check the image to ensure that the unwanted areas have been removed as expected.
If necessary, use the Restore tool to bring back any parts of the image you accidentally erased. Once you’ve figured out how to use the eraser on a Canva layer, explore how to create a repeated pattern in Canva to elevate your designs.
Editing layers in Canva is a creative task, but generating stunning presentations shouldn’t take hours. MagicSlides.app turns your input be it images, PDFs, or even a YouTube URL into flawless slides in seconds. Discover how MagicSlides.app can streamline your presentation creation today!
Conclusion
The Eraser tool in Canva allows you to remove specific parts of an uploaded image or layer with ease.
Whether you need to refine your design or remove a background, the Eraser tool can make the process more efficient.
By following the steps outlined above, you’ll be able to enhance your designs and create professional-quality visuals in no time.
FAQs on Using the Eraser on Uploaded Layers in Canva
Can I use the Eraser tool on any image in Canva?
Yes, you can use the Eraser tool on uploaded images, but it works best with the Background Remover feature.
Is the Eraser tool available in the free version of Canva?
The Eraser tool is available for Canva Pro users. However, you can try it with a free trial of Canva Pro.
Can I undo or redo my erasing actions?
Yes, Canva allows you to undo or redo your actions by using the undo button or keyboard shortcuts (Ctrl + Z or Command + Z).
By mastering the Eraser tool in Canva, you’ll gain more control over your design and refine your visual projects with ease.


