How to loop through the Google Slides in few simple clicks


Looping in Google Slides allows presentations to continuously play, ensuring the audience sees content consistently, ideal for kiosks or exhibitions.
Step 1: Create Duplicate Slides: Duplicate your entire presentation to create multiple copies of the same slides. You can do this by right-clicking on a slide in the slide sorter on the left side of the Google Slides interface and selecting "Duplicate slide." Repeat this for all the slides in your presentation.
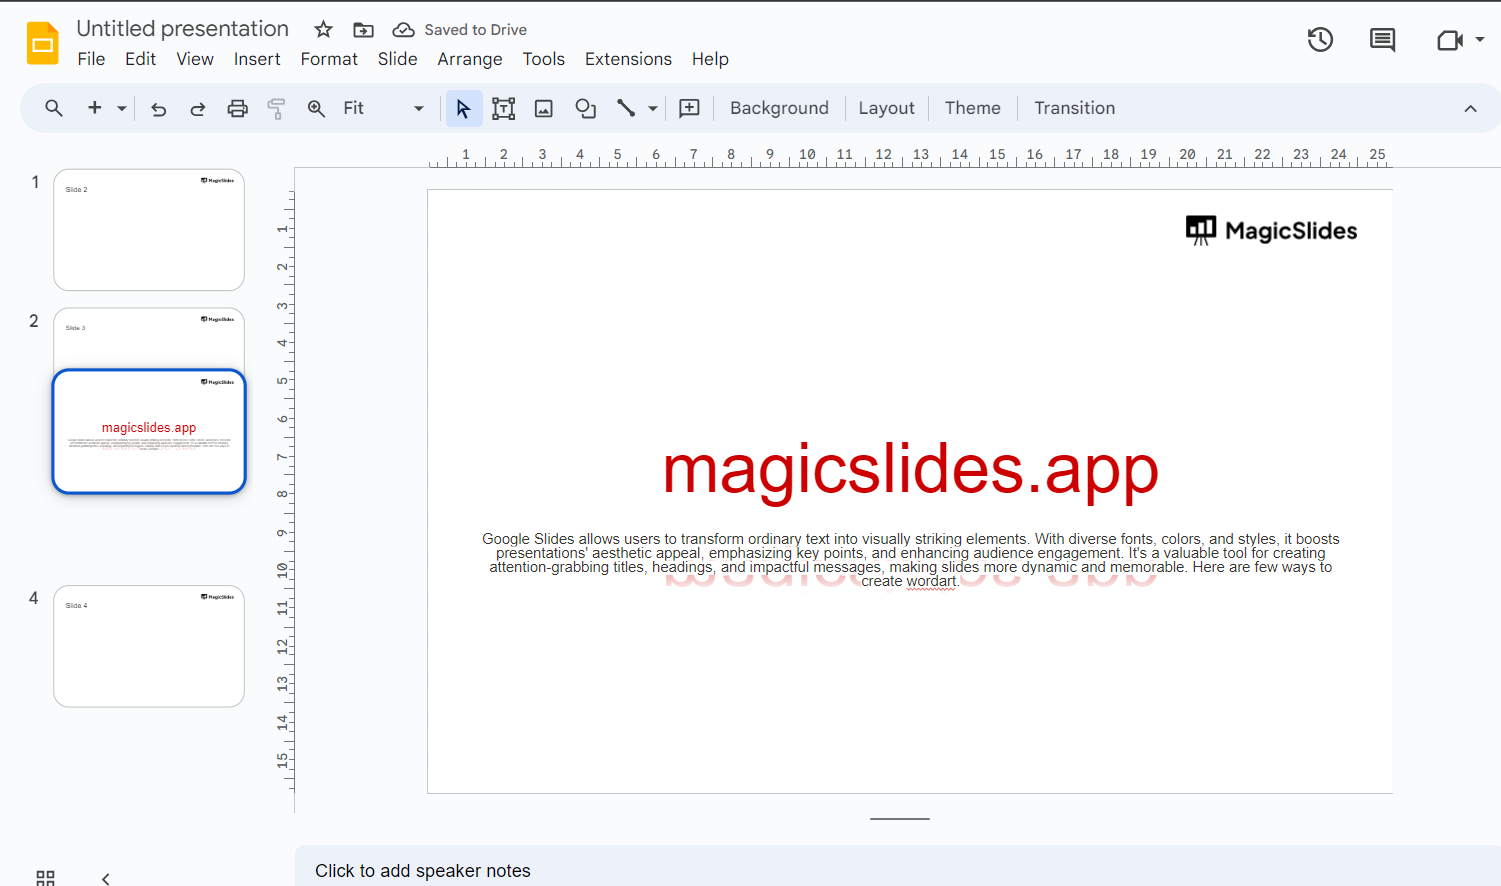
Step 2: Rearrange Slides: Now that you have duplicated slides, you'll need to rearrange them to create a continuous loop. The last slide in your presentation should link back to the first slide to create the loop. Here's how you can do it:
- Click and drag the last slide and move it to the position immediately after the first slide.
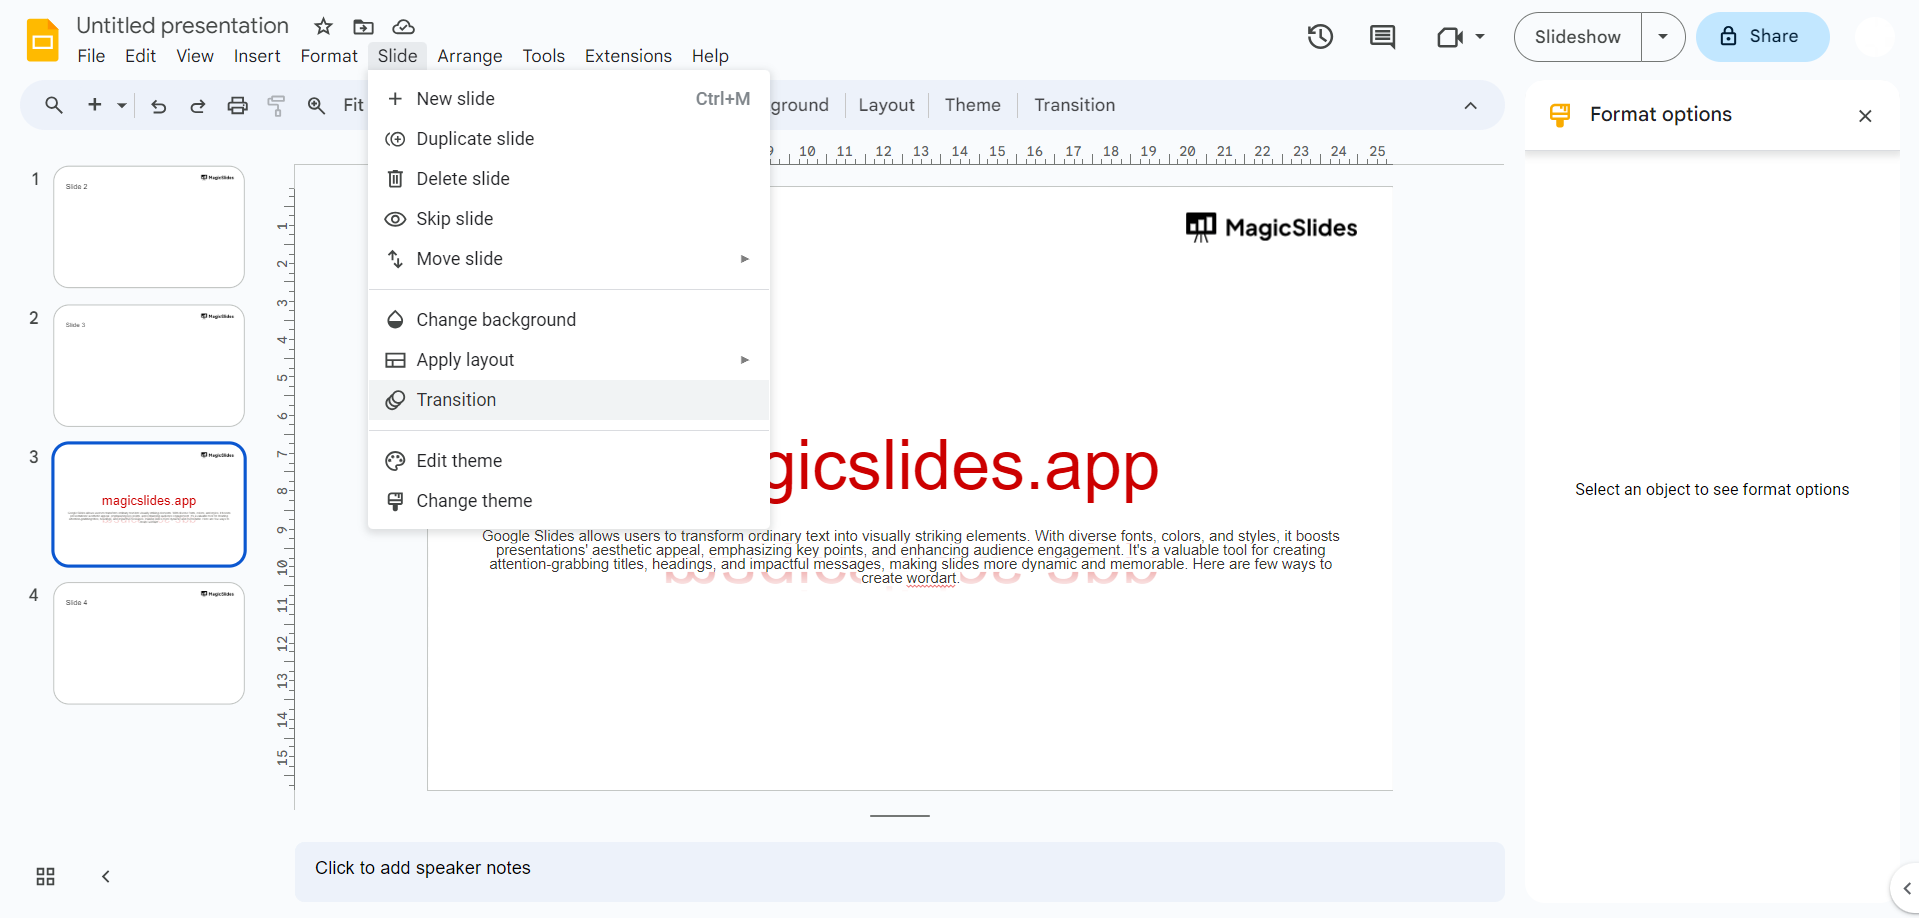
Step 3: Set Slide Transitions:
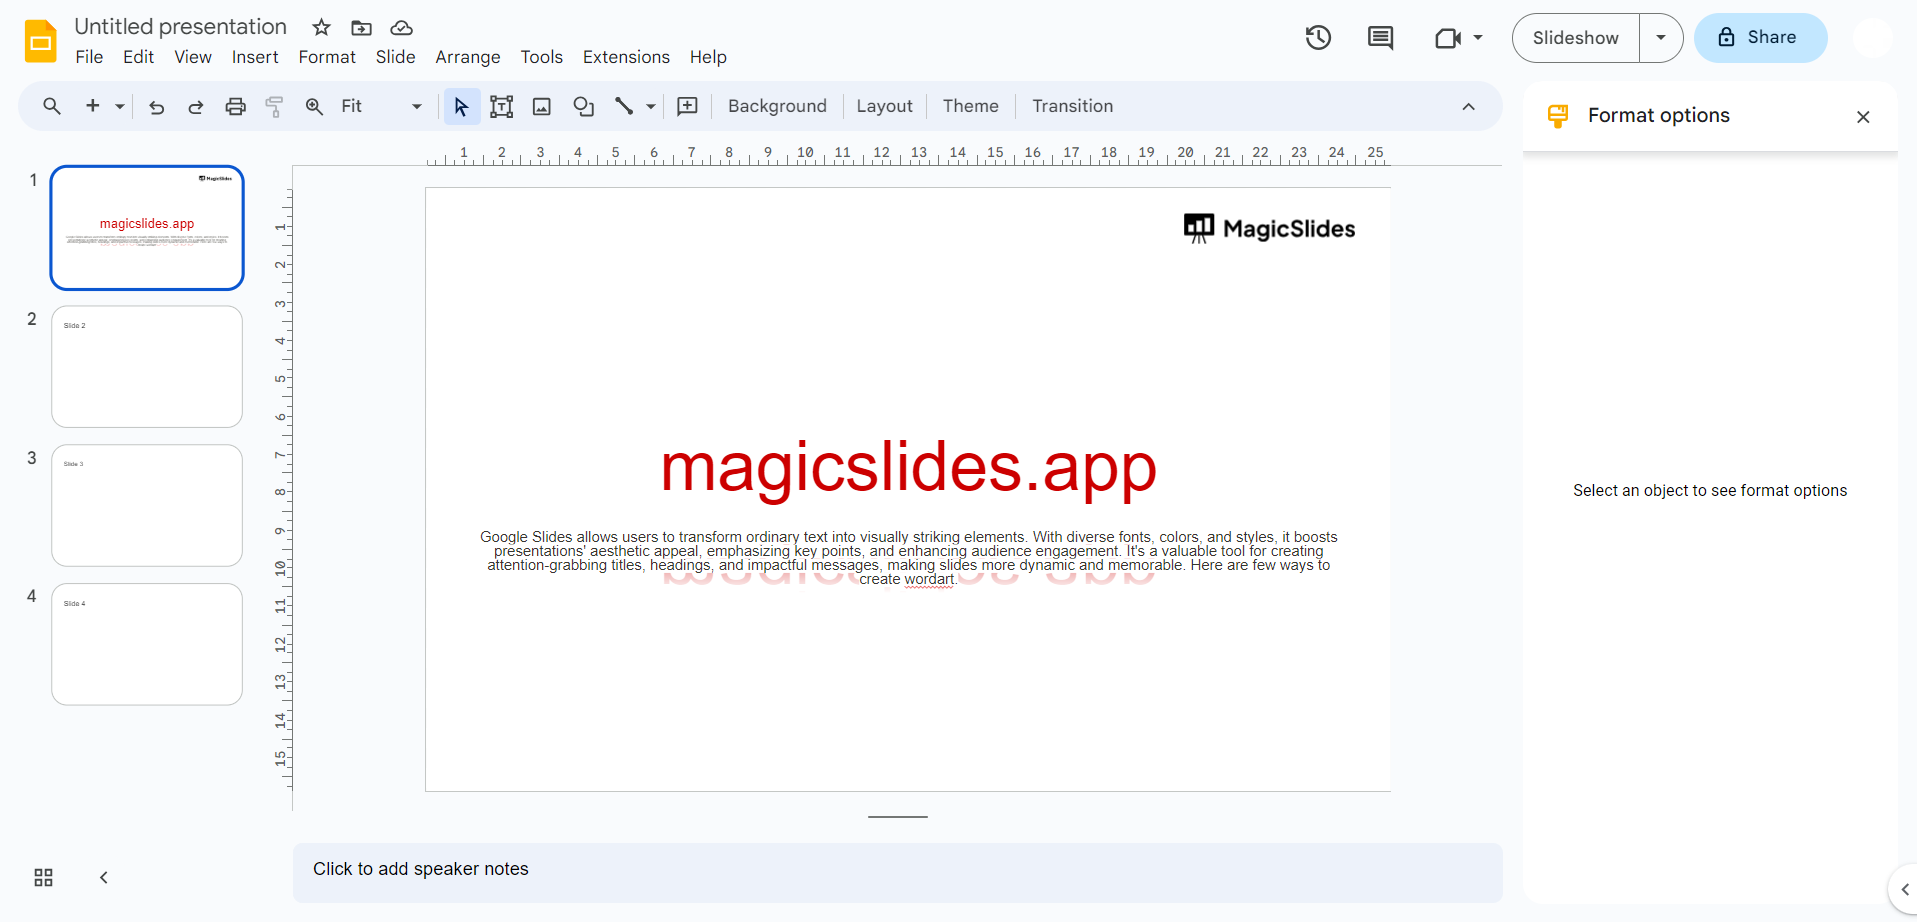
- Click on the first slide.
- Go to the "Slide" menu.
- Select "Transition."
Step 4: Configure Slide Transition Options:
- In the "Transition" pane on the right side of the screen, choose a transition effect (e.g., "Fade").
- Set the transition duration (e.g., 1 second).
- Under "Advance slide," select "Automatically."
- Set the time duration for how long each slide should be displayed (e.g., 5 seconds). This is the time each slide will be visible before transitioning to the next one.
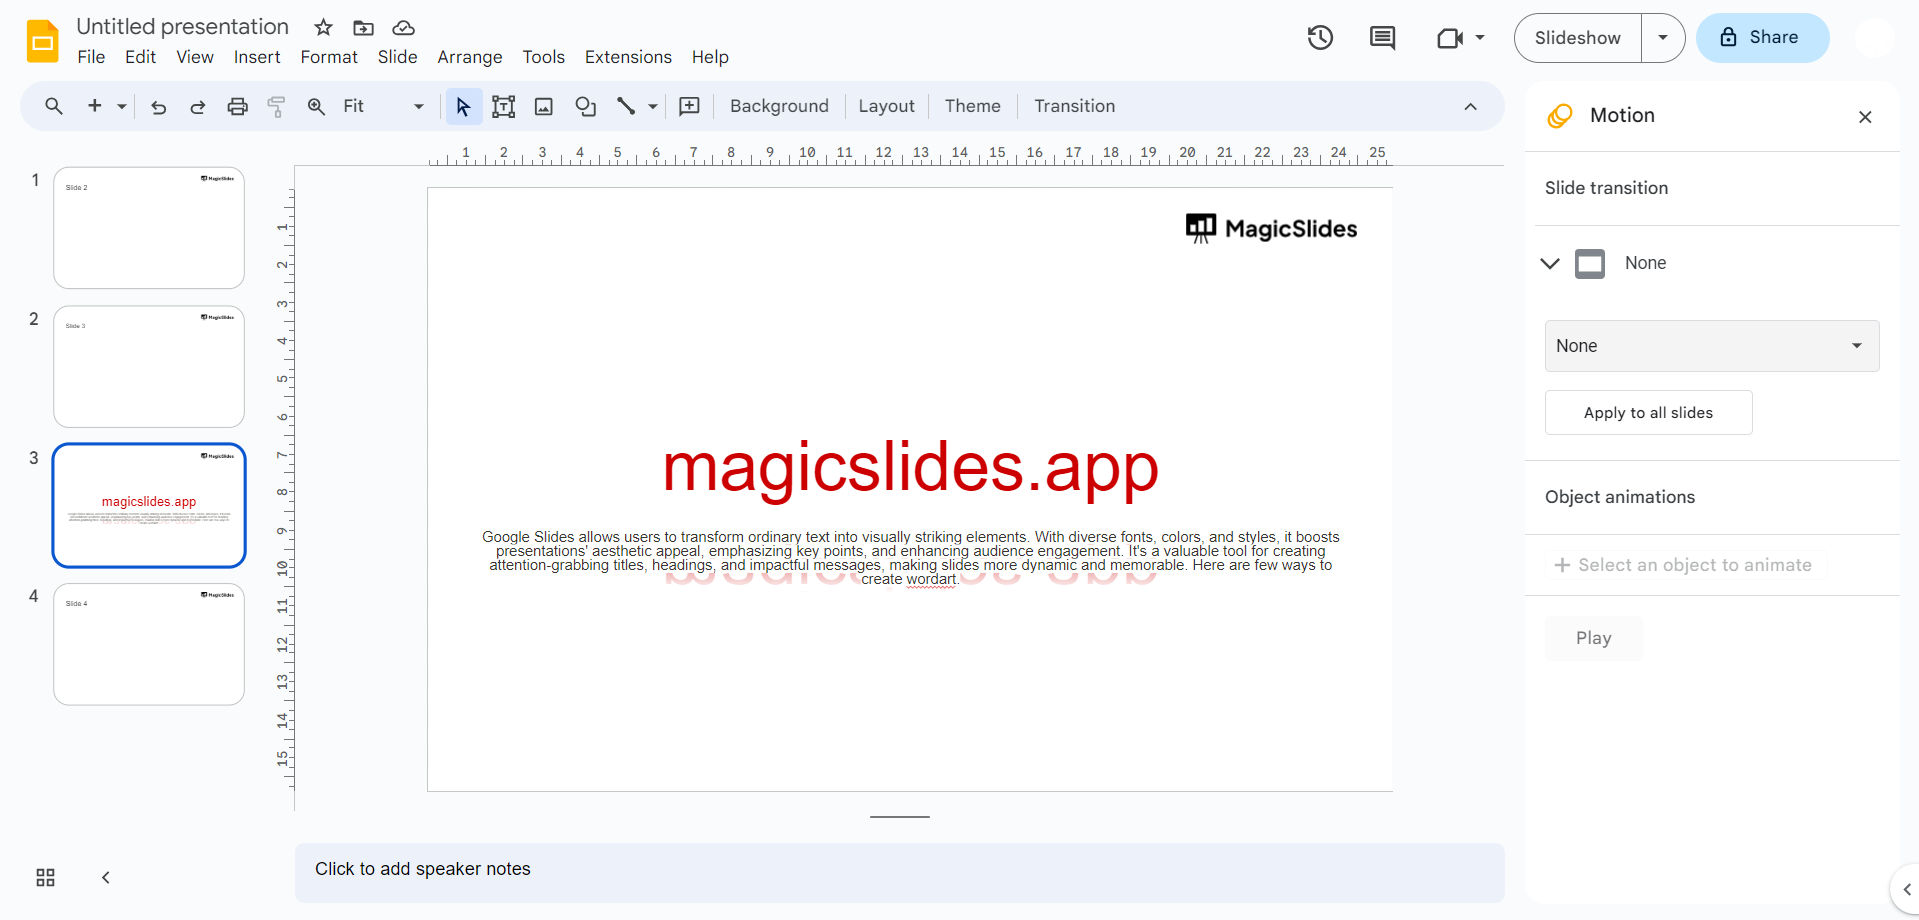
Step 5: Apply Transition to All Slides:
- Click the "Apply to all slides" button at the top of the "Transition" pane. This will apply the same transition settings to all slides in your presentation.
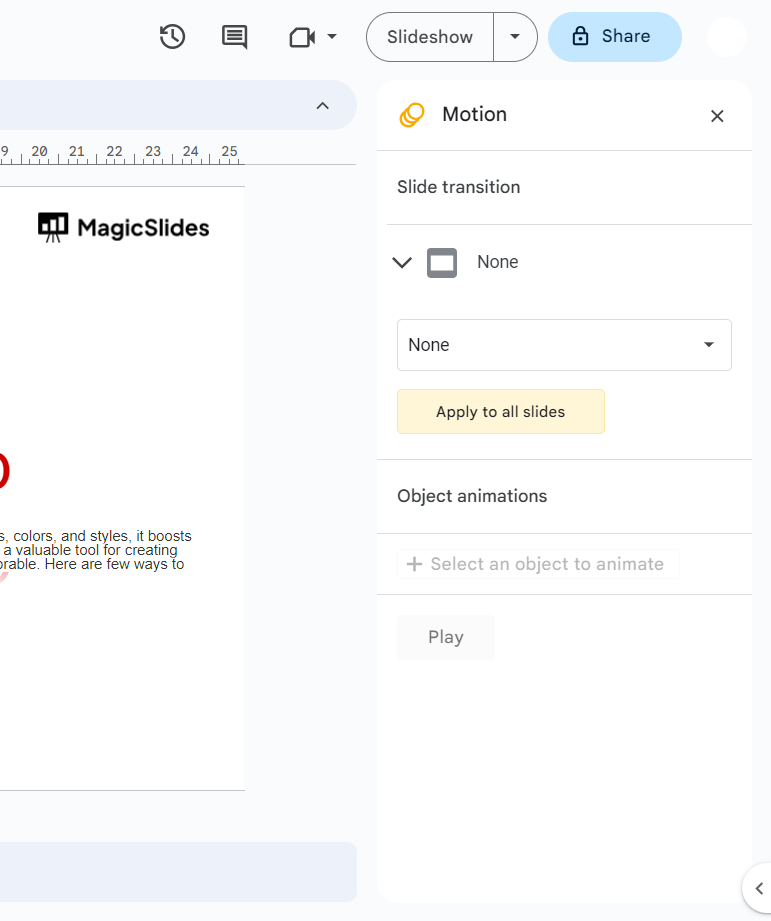
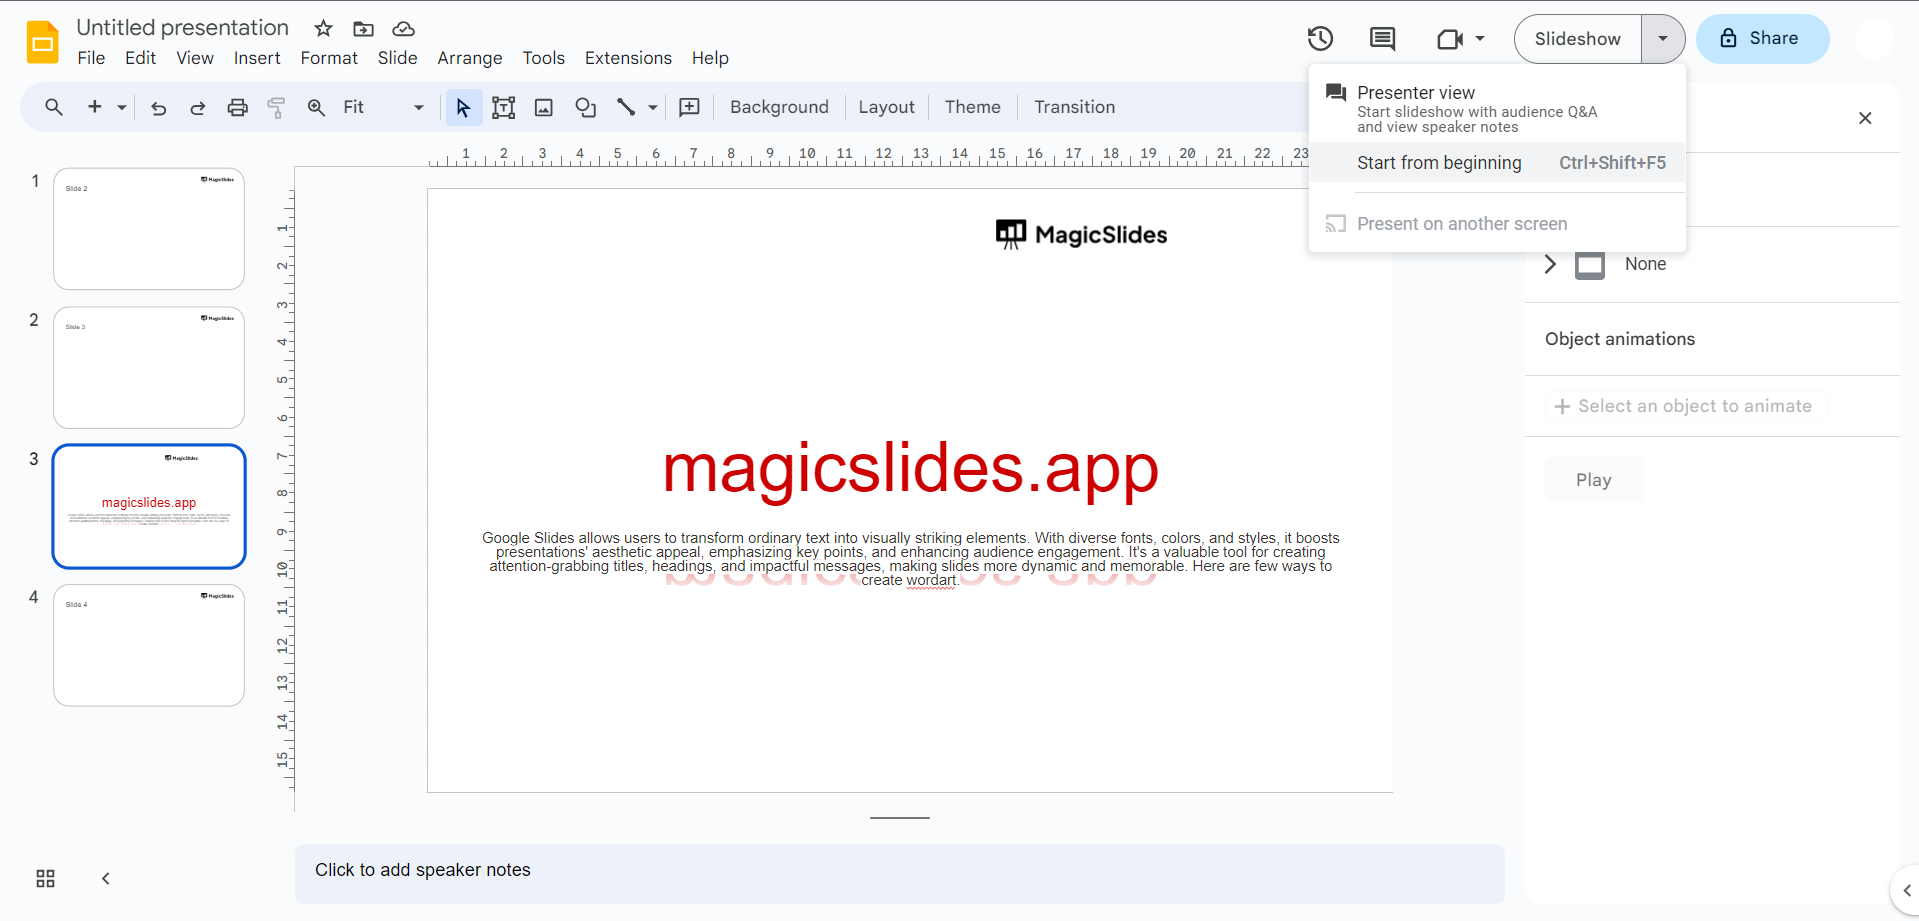
Step 6: Start the Presentation:
- Go to the "Present" button in the top-right corner and click it to start the presentation.