How to move an image to back in Google Slides in simple steps


Often while using Google Slides we might need to move an image to back in Google Slides, here is the guide..
Step 1: Insert the Image:
- Open your Google Slides presentation.
- Click on the slide where you want to add the image.
- Click on the
Insertmenu at the top.
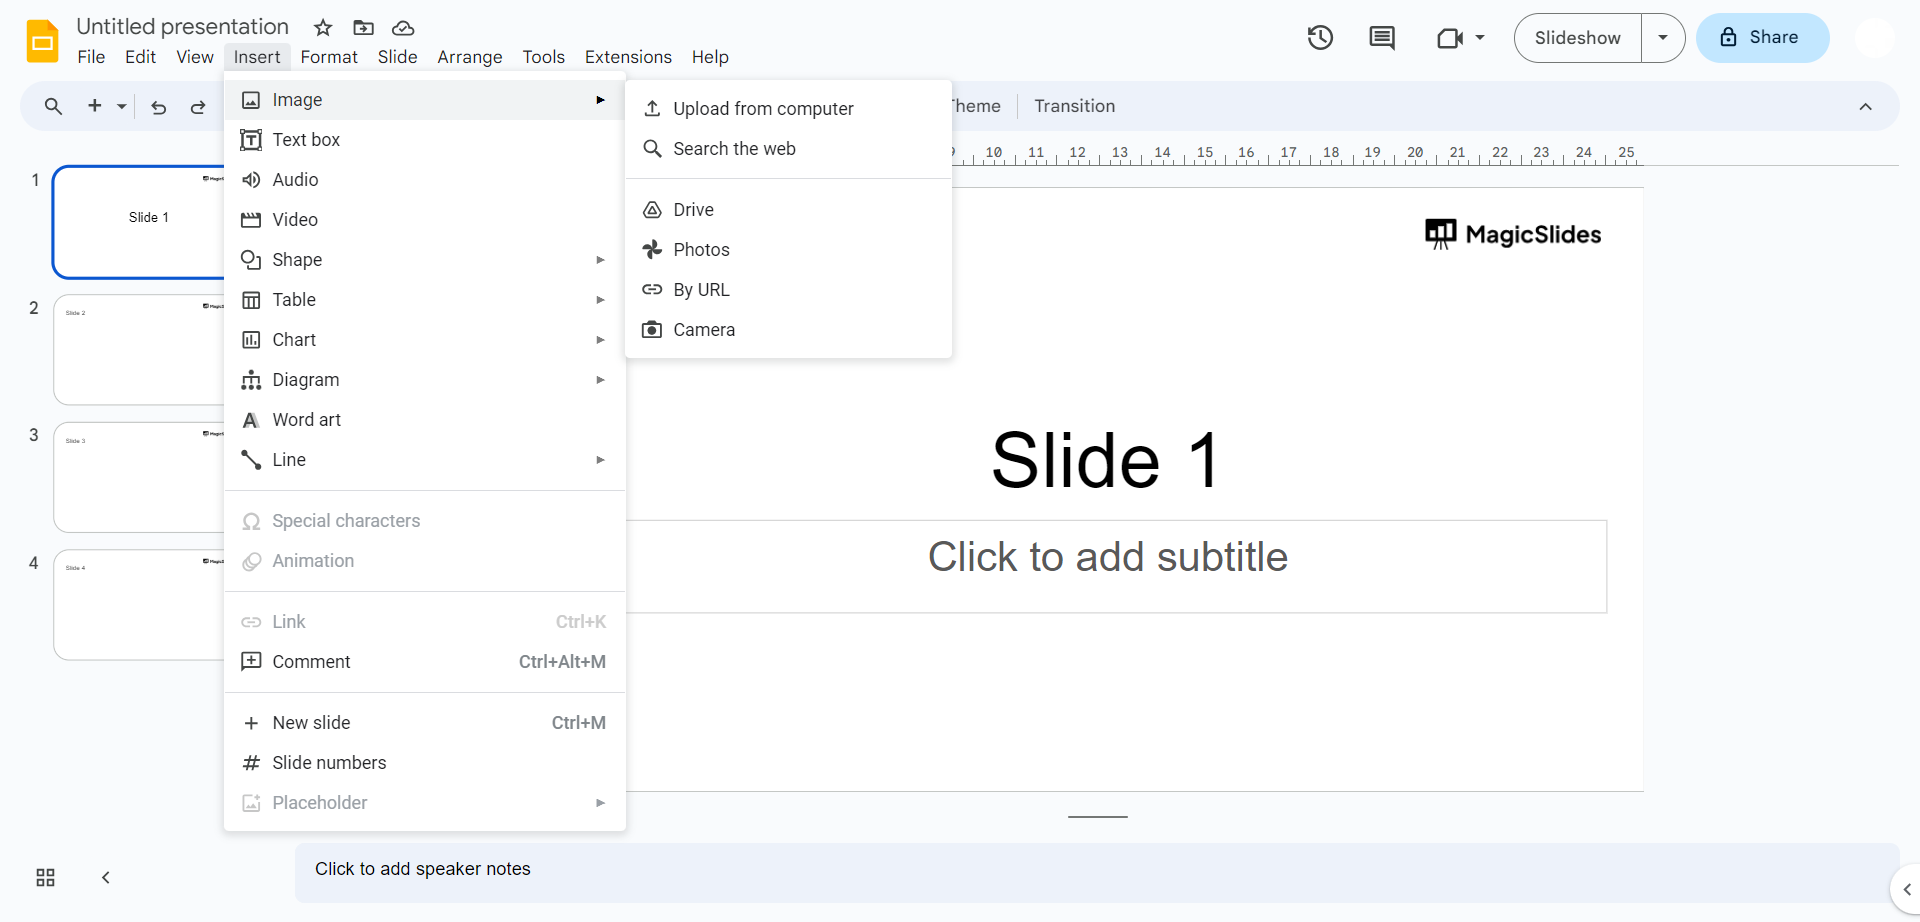
- Choose
Image, and then select the image you want to insert.
Step 2: Position the Image:
- Click on the inserted image to select it.
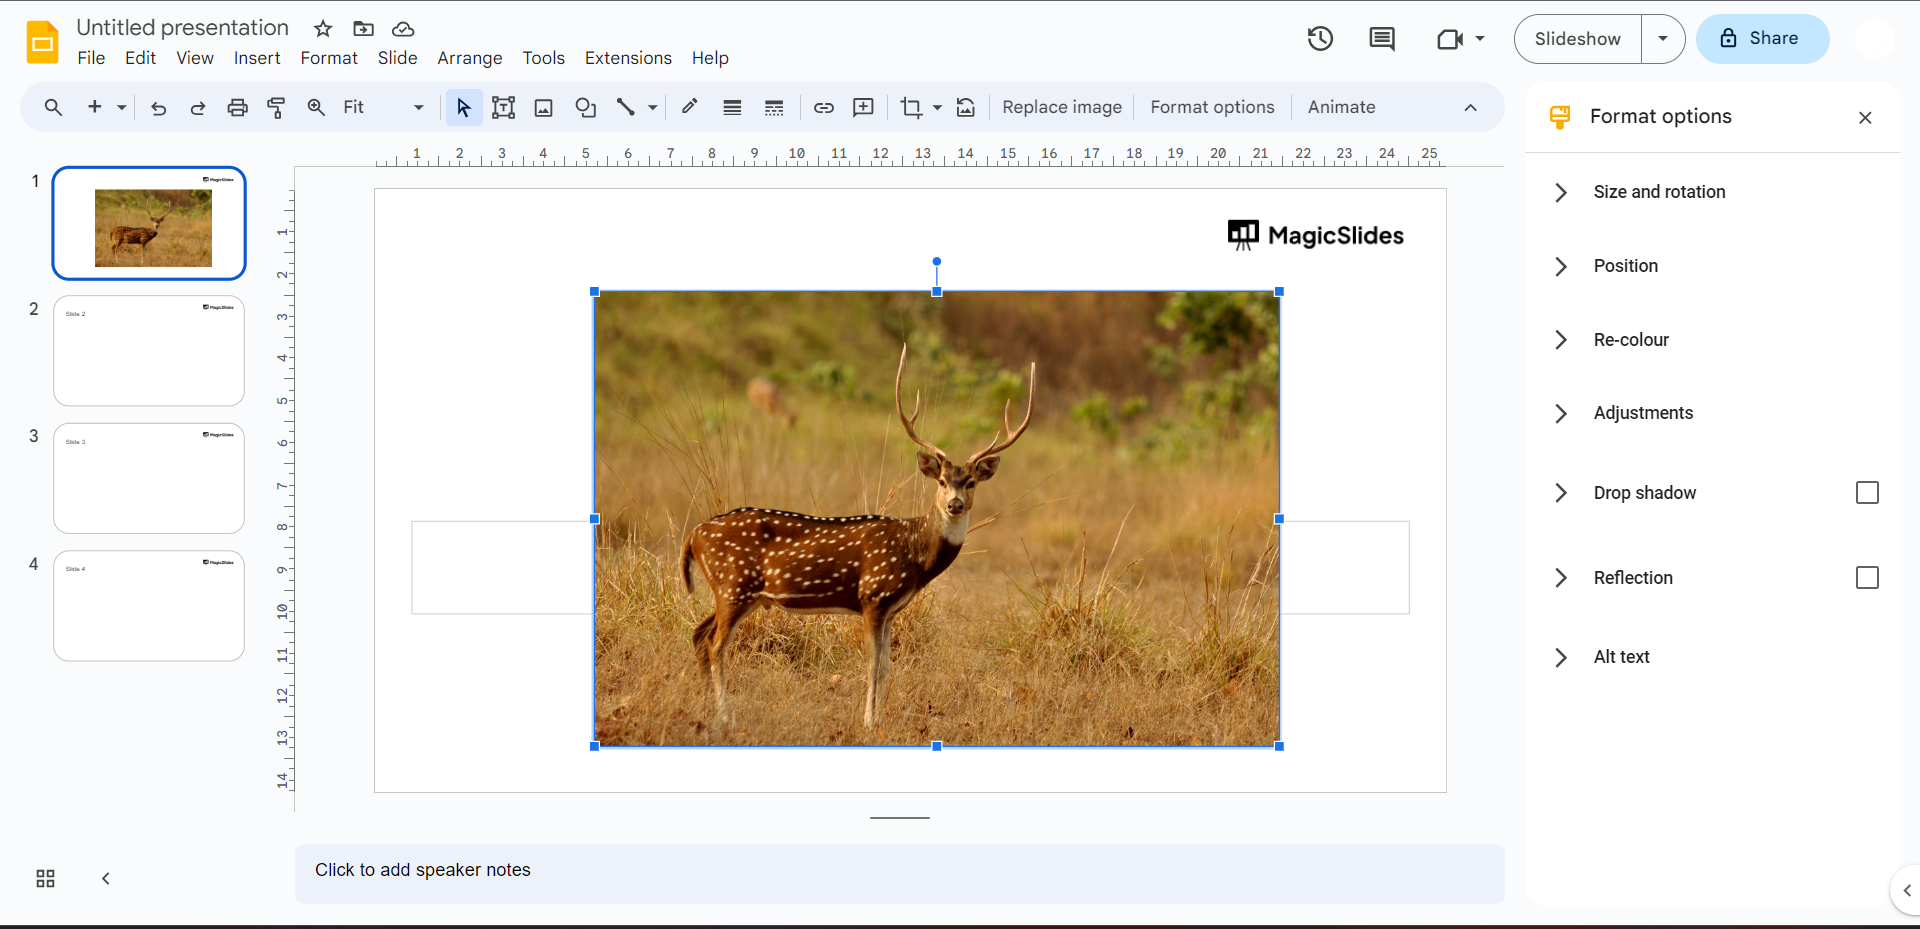
- If the "Format options" pane appears on the right side of the screen, click on the "Arrange" tab within it. If not, right-click the image and select "Format options."
Step 3: Arrange the Image:
- Within the "Arrange" section, you'll find options to arrange the image's position.
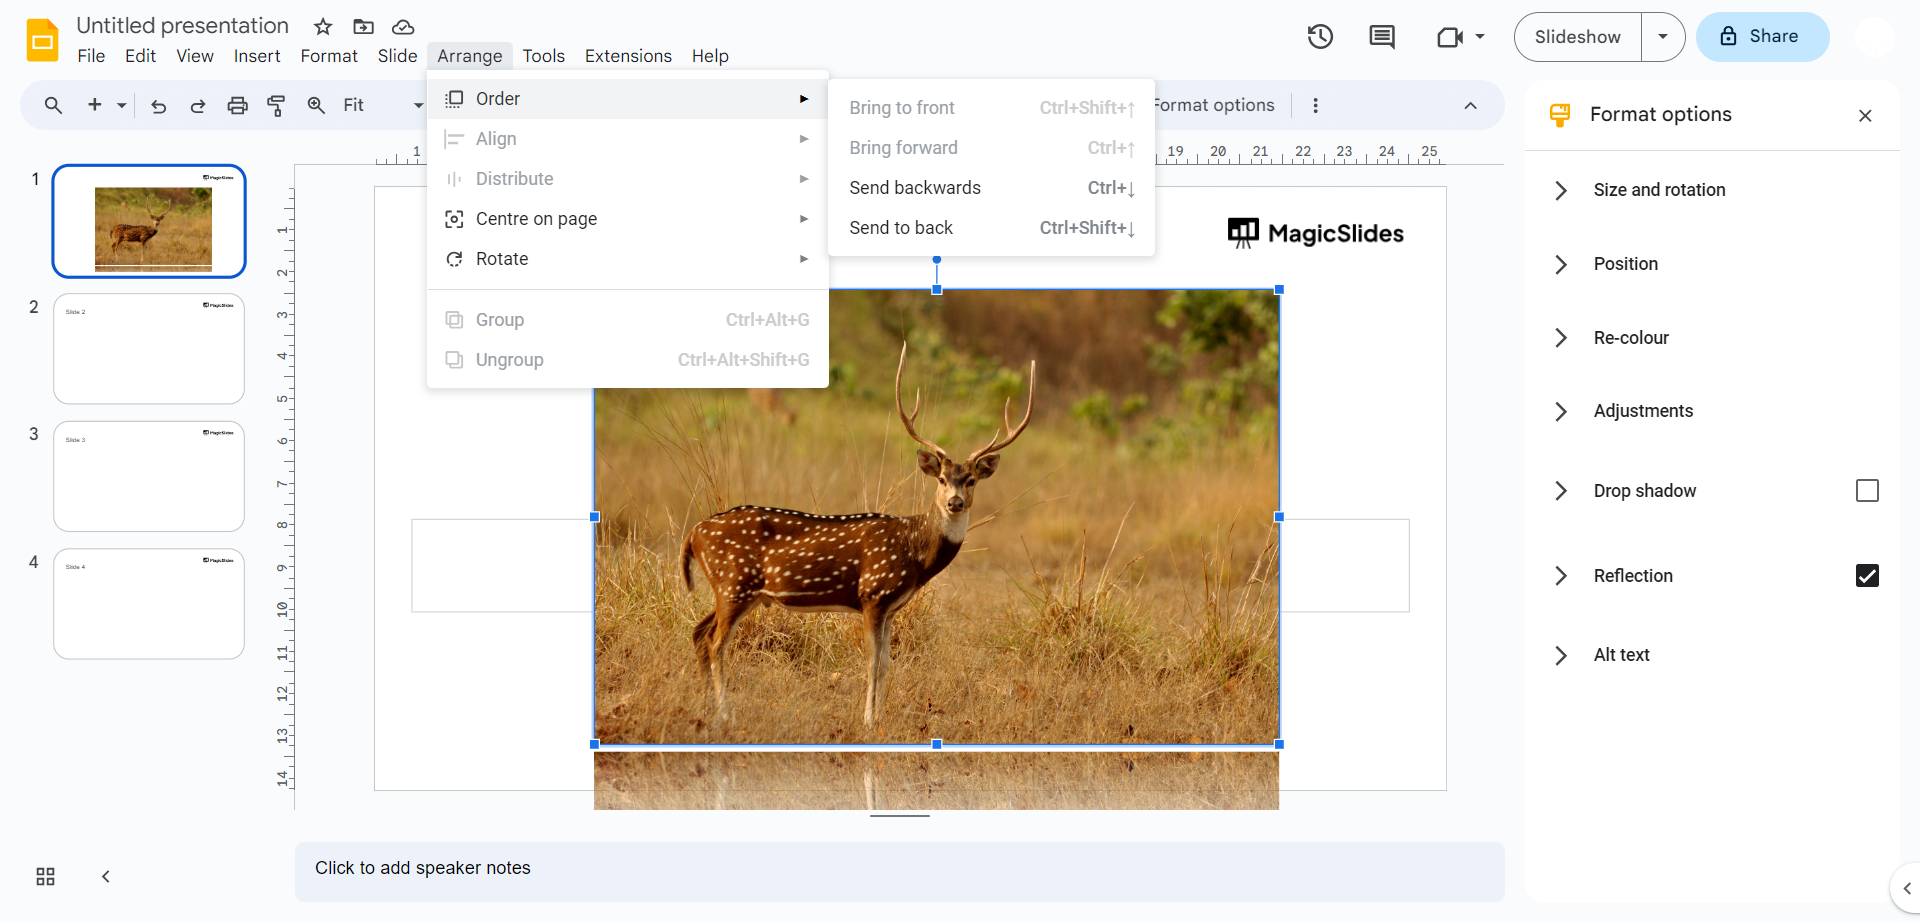
- Look for the "Order" dropdown menu. It might have options like "Order" or "Bring forward" and "Send backward."
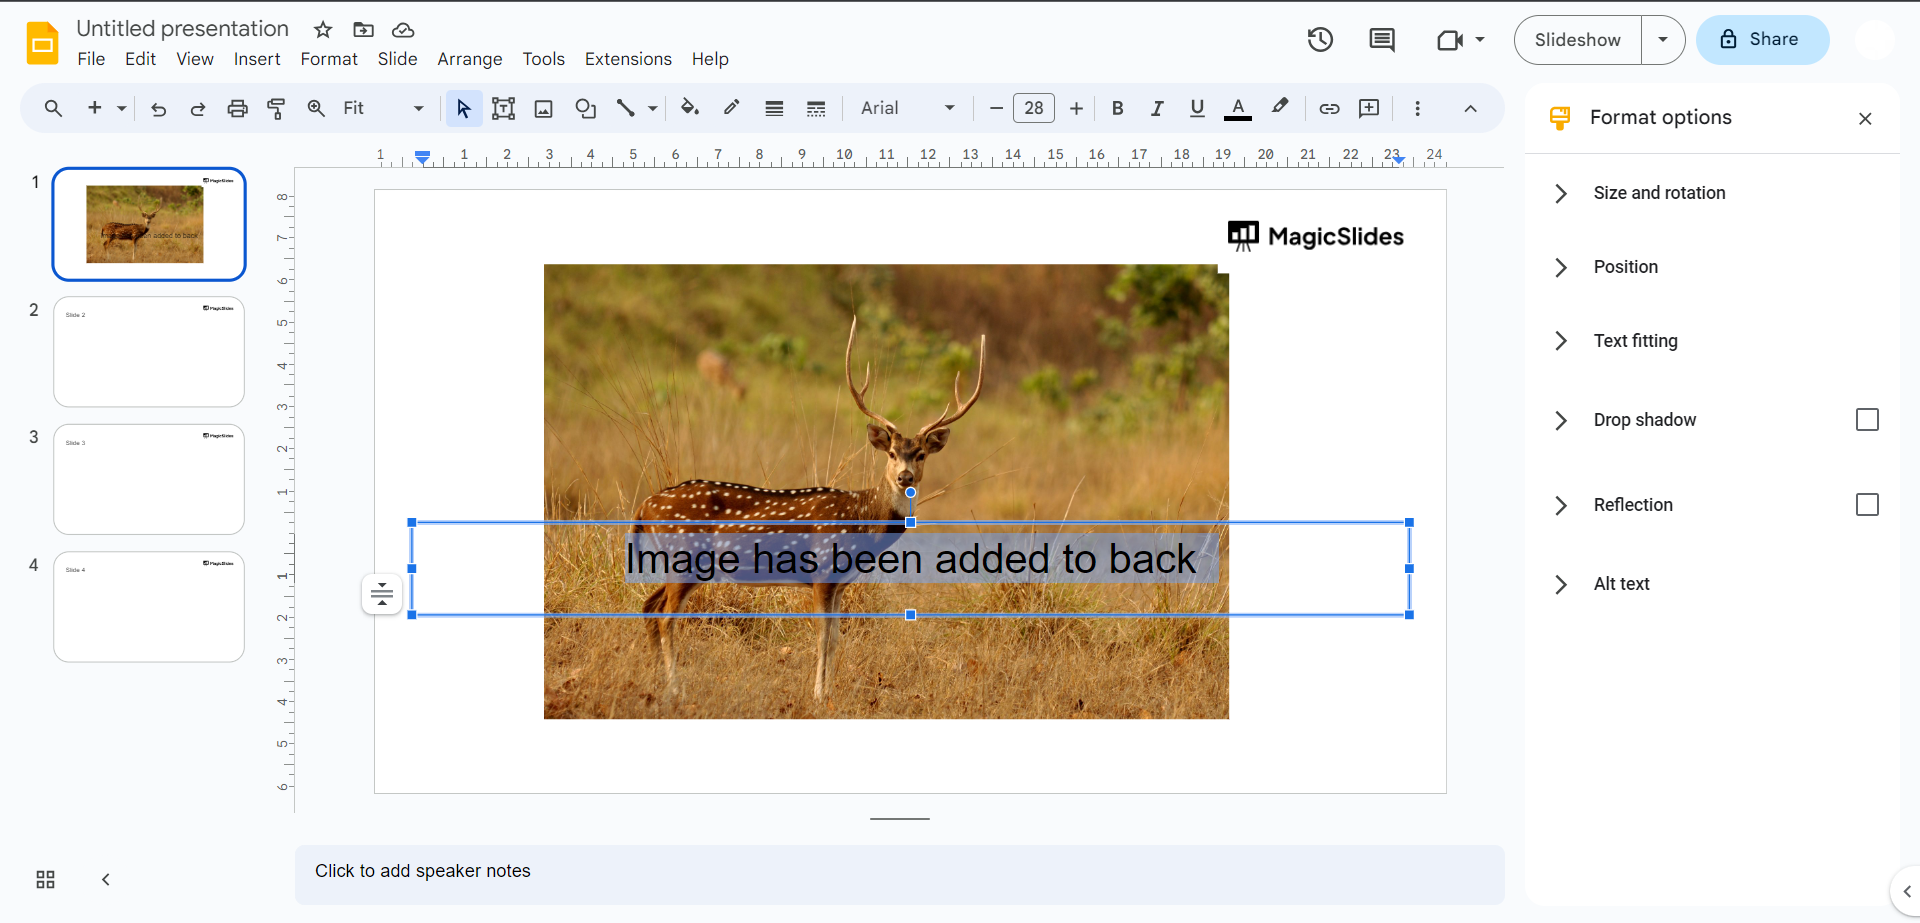
- To move the image to the back, select the "Send backward" option. This should place the image behind other objects on the slide.


