Which option can be better used to set custom timings for slides in a presentation


Custom slide timings in PowerPoint enhance your presentation’s flow, ensuring smooth transitions and effective delivery.
Setting custom slide timings in a PowerPoint presentation can greatly enhance the flow of your presentation, especially when you're creating a self-running slide show or preparing for a timed delivery.
By adjusting the timings, you can ensure that each slide transitions at the perfect moment, allowing your audience to absorb the content without rushing or waiting too long.
In this blog post, we'll walk you through the steps to set custom slide timings using the best options available in PowerPoint.
Option used to set custom timings for slides in a presentation
Step 1: Open Your PowerPoint Presentation
Begin by opening the PowerPoint presentation where you want to set custom slide timings. You can do this by searching for "PowerPoint" in your Start menu and selecting the appropriate file.
Once your presentation is open, make sure all your slides are arranged in the correct order.
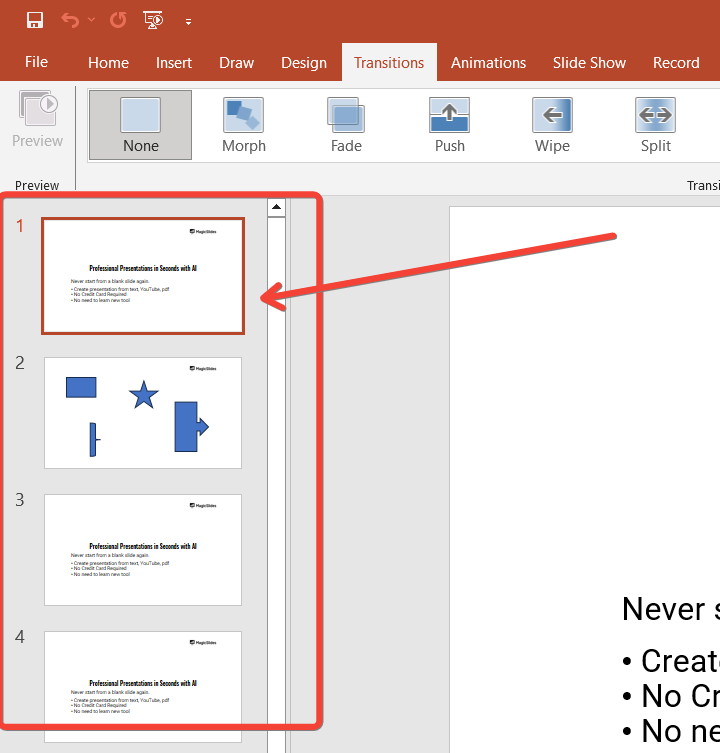
Step 2: Go to the "Transitions" Tab
To start setting custom timings, navigate to the "Transitions" tab in the PowerPoint ribbon at the top of the screen.

This tab contains options for slide transitions, including the ability to set specific timings for each slide. Click on the "Transitions" tab to access these features.
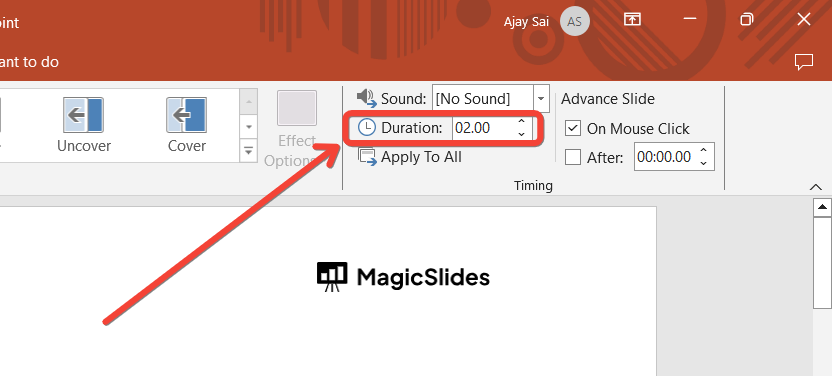
Step 3: Select a Slide and Set the Timing
Click on the slide for which you want to set a custom timing. In the "Timing" group on the right side of the "Transitions" tab, you will see a box labeled "After" with a time next to it. This is where you can specify how long the slide will stay on the screen before automatically advancing to the next slide.
Use the up and down arrows next to the "After" box to set the desired timing in seconds. For example, if you want the slide to remain on the screen for 10 seconds, adjust the timing to "00:10."
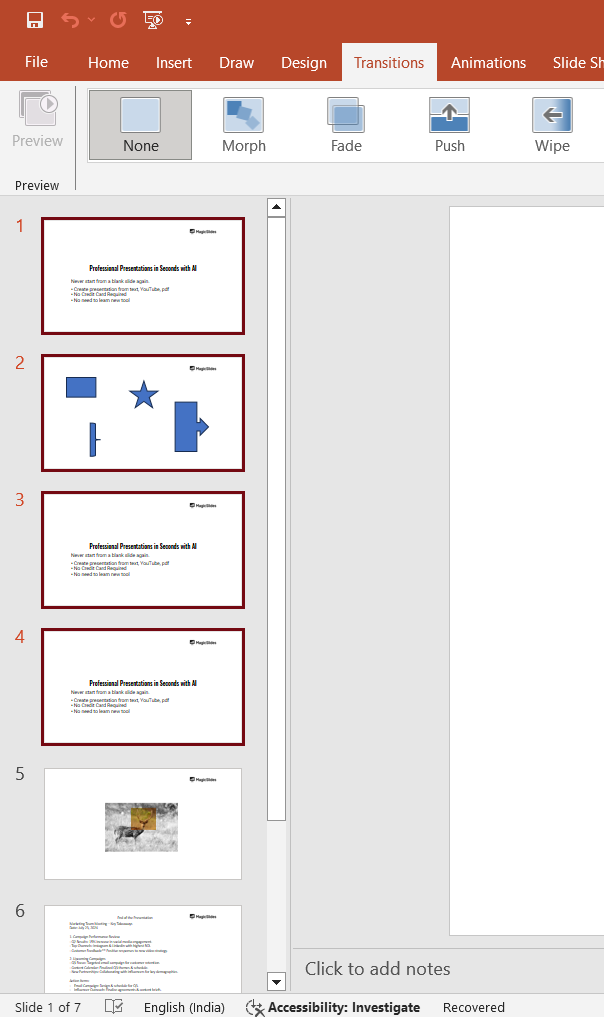
Step 4: Apply the Timing to Multiple Slides
If you want to apply the same timing to multiple slides, you can do so by selecting multiple slides at once. Hold down the Ctrl key (or Cmd key on Mac) and click on each slide you want to select.
Once selected, adjust the timing in the "After" box as described in Step 3. The timing will be applied to all selected slides.
Step 5: Preview Your Timings
After setting the custom timings, it's important to preview your presentation to ensure everything flows as intended. To do this, go to the "Slide Show" tab and click on "From Beginning" or "From Current Slide" to start the presentation.
As the slides progress, you can see how the timings affect the transitions and make any necessary adjustments. Often we may have to adjust transparency in pictures in PowerPoint, know how to do it from here.
Step 6: Save Your Presentation
Once you're satisfied with the custom slide timings, save your presentation by clicking "File" and then "Save" or "Save As." This ensures that your timings are preserved and ready for use in your final presentation.
Conclusion
Setting custom slide timings in PowerPoint is a powerful tool for controlling the flow and pacing of your presentation. By following these steps, you can easily tailor the timing of each slide to match your content and audience, whether you're preparing for a live presentation or creating a self-running slideshow.
Custom timings ensure that your presentation runs smoothly and effectively, helping you deliver your message with precision.
Tired of maing presentations? what if we tell you you can make presentation with just a prompt, convert YouTube videos to PPTs, convert website content to PPTs? Yes! checkout magicslides.app that does all and enjoy the free credits to make presentations in seconds
FAQs that might help!
Can I set different timings for each slide in my presentation?
Yes, you can set different timings for each slide in your PowerPoint presentation. Simply select the slide you want to customize, go to the "Transitions" tab, and adjust the timing in the "After" box under the "Timing" group.
This allows you to tailor the duration each slide stays on the screen according to its content.
How do I ensure my slide timings work properly during a live presentation?
To ensure your slide timings work properly during a live presentation, preview your slides by going to the "Slide Show" tab and clicking "From Beginning" or "From Current Slide."
This lets you see how your timings flow in real-time, allowing you to make any necessary adjustments before the actual presentation.


