How to change Landscape to portrait in PowerPoint


Learn how to switch from landscape to portrait in PowerPoint to fit your content’s unique needs
PowerPoint presentations are set to landscape orientation by default, but there are times when switching to portrait mode better suits your content.
Changing the slide orientation to portrait can be useful for posters, infographics, or presentations that require a vertical layout.
In this guide, I’ll walk you through the steps to change the orientation from landscape to portrait in PowerPoint.
How to Change Landscape to Portrait in PowerPoint: A Step-by-Step Guide
Step 1: Open Your PowerPoint Presentation
Start by opening the PowerPoint presentation where you want to change the slide orientation.
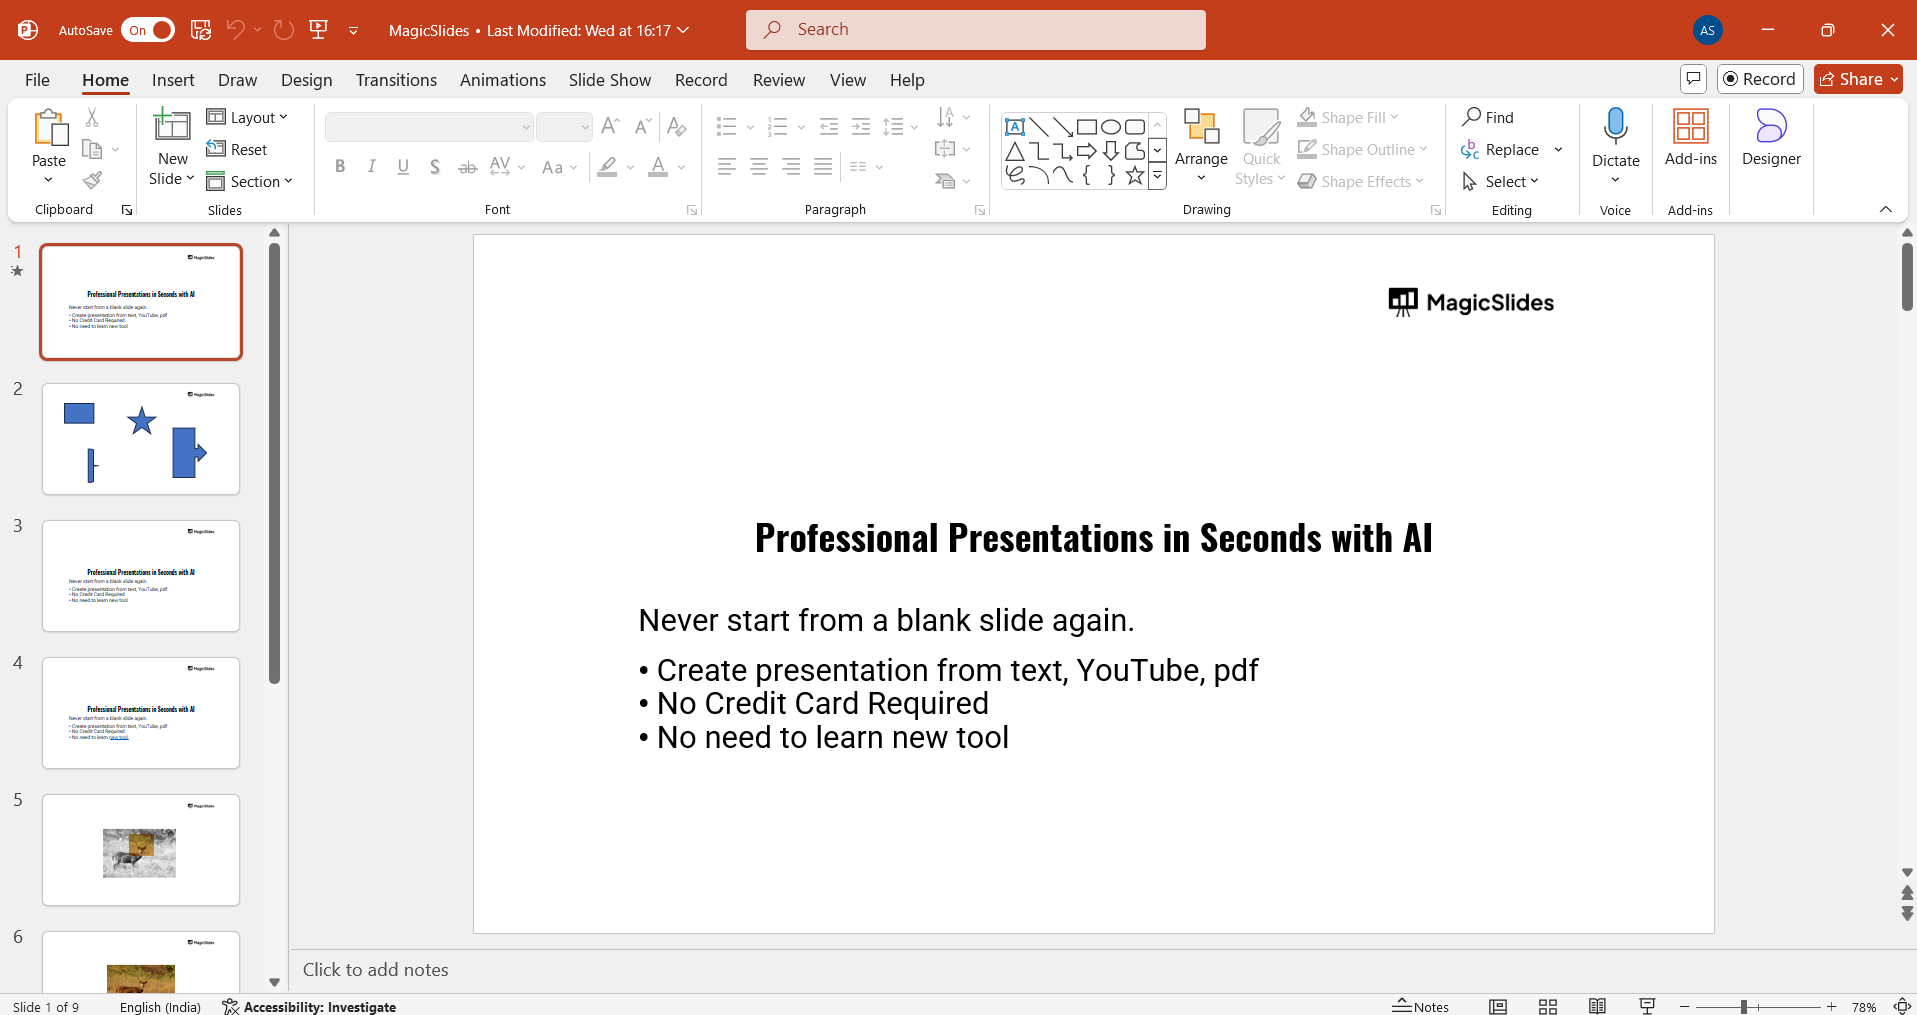
You can either open an existing presentation or create a new one from scratch if you’re starting fresh.
Step 2: Go to the "Design" Tab
Once the presentation is open, navigate to the "Design" tab located on the PowerPoint toolbar at the top of the screen.
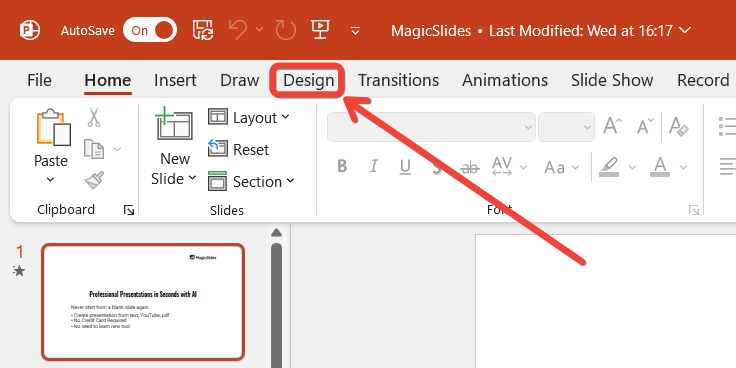
This tab contains options related to slide themes, background styles, and layout settings.
Step 3: Click on "Slide Size"
In the "Design" tab, locate the "Slide Size" button on the far-right corner of the ribbon.
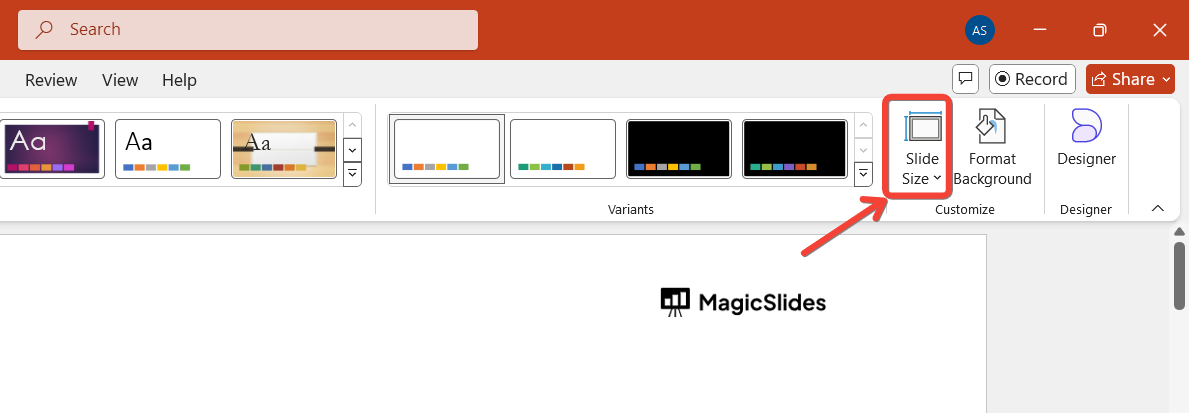
Click on the "Slide Size" button to reveal a drop-down menu that gives you options to customize your slide dimensions.
Step 4: Select "Custom Slide Size"
From the drop-down menu, click on the "Custom Slide Size" option.
A new window will pop up that allows you to adjust the orientation and size of your slides.
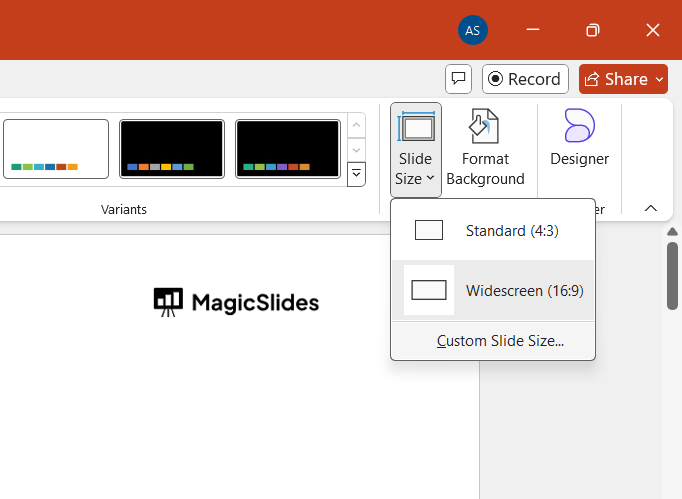
Here, you can specify the dimensions and orientation of your slides.
Step 5: Choose "Portrait" Orientation
In the "Slide Size" window, you’ll see two orientation options: "Landscape" and "Portrait."
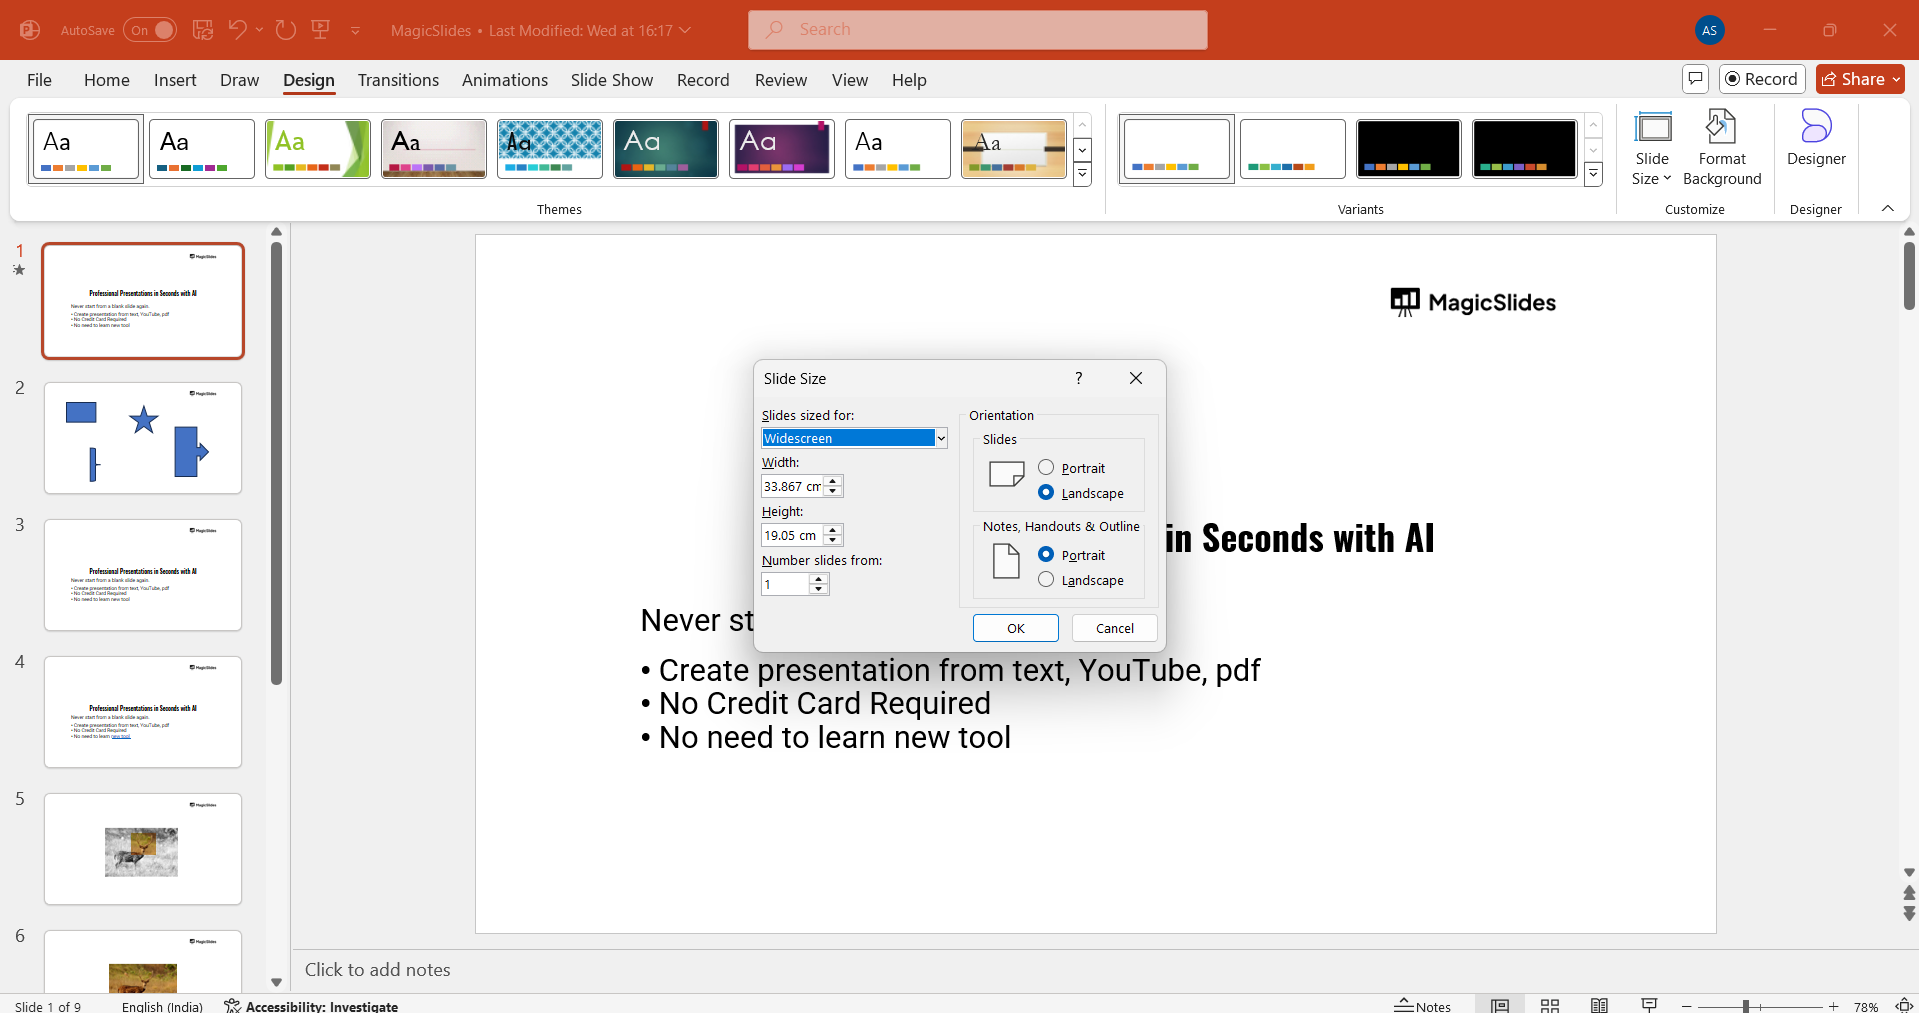
Under the "Orientation" section, select "Portrait" for the slides.
You can also choose whether you want the portrait orientation for just the slides or for both the slides and handouts/notes.
Step 6: Apply the Changes
Once you’ve selected the "Portrait" orientation, click the "OK" button to apply the changes.
PowerPoint may ask you to scale the content up or down to fit the new slide dimensions.
Choose the appropriate scaling option depending on how you want the content to adjust.
Conclusion
Switching from landscape to portrait in PowerPoint is quick and easy, and it allows you to tailor your presentation to specific design needs.
By following these simple steps, you can adjust the orientation of your slides for a more vertical display, making your presentation more suited for posters, documents, or presentations that benefit from a portrait layout.
FAQs can take you forward!
Can I switch only certain slides to portrait while keeping others in landscape?
PowerPoint only allows one orientation for the entire presentation, so you cannot mix portrait and landscape within the same file.
Will changing the slide orientation affect my content layout?
Yes, changing the orientation might affect the positioning of your content, but you can adjust it manually after the change.
Can I revert back to landscape after switching to portrait?
Yes, you can easily switch back to landscape by following the same steps and selecting "Landscape" orientation instead of "Portrait."


