How to change opacity in PowerPoint


Enhance your PowerPoint designs with this guide on changing opacity for impactful visual effects.
Adjusting the opacity of objects in your PowerPoint presentation can be a powerful way to create visual effects, emphasize certain elements, or blend objects seamlessly into the background. Whether you're working with shapes, images, or text boxes, understanding how to change opacity can significantly enhance the aesthetics and impact of your slides. In this step-by-step guide, we'll explore how to easily modify the opacity of objects in PowerPoint, allowing you to unleash your creativity and design skills.
How to change opacity in PowerPoint
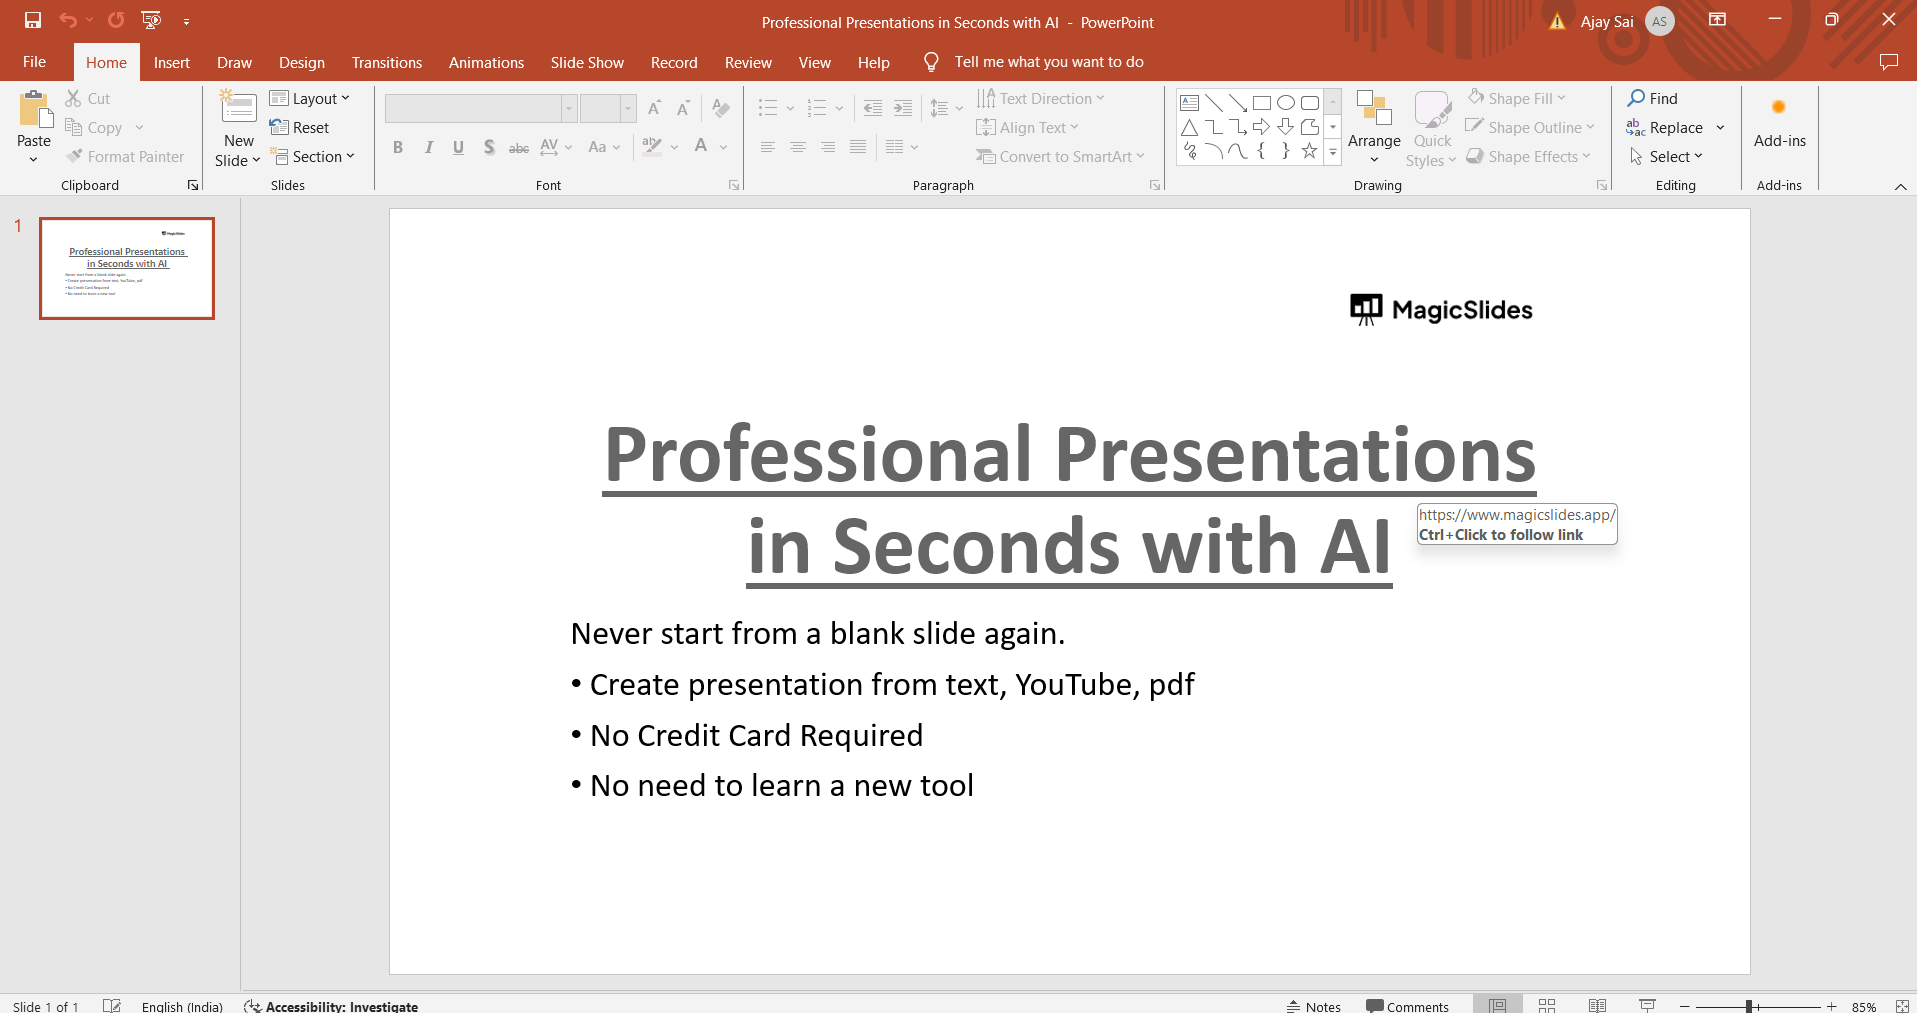
Step 1: Open Your PowerPoint Presentation
Begin by opening the PowerPoint presentation where you want to adjust the opacity of objects. Navigate to the slide containing the object you wish to modify.
Step 2: Select the Object
Click on the object (shape, image, text box, etc.) whose opacity you want to change. Ensure that the object is selected before proceeding to the next step.
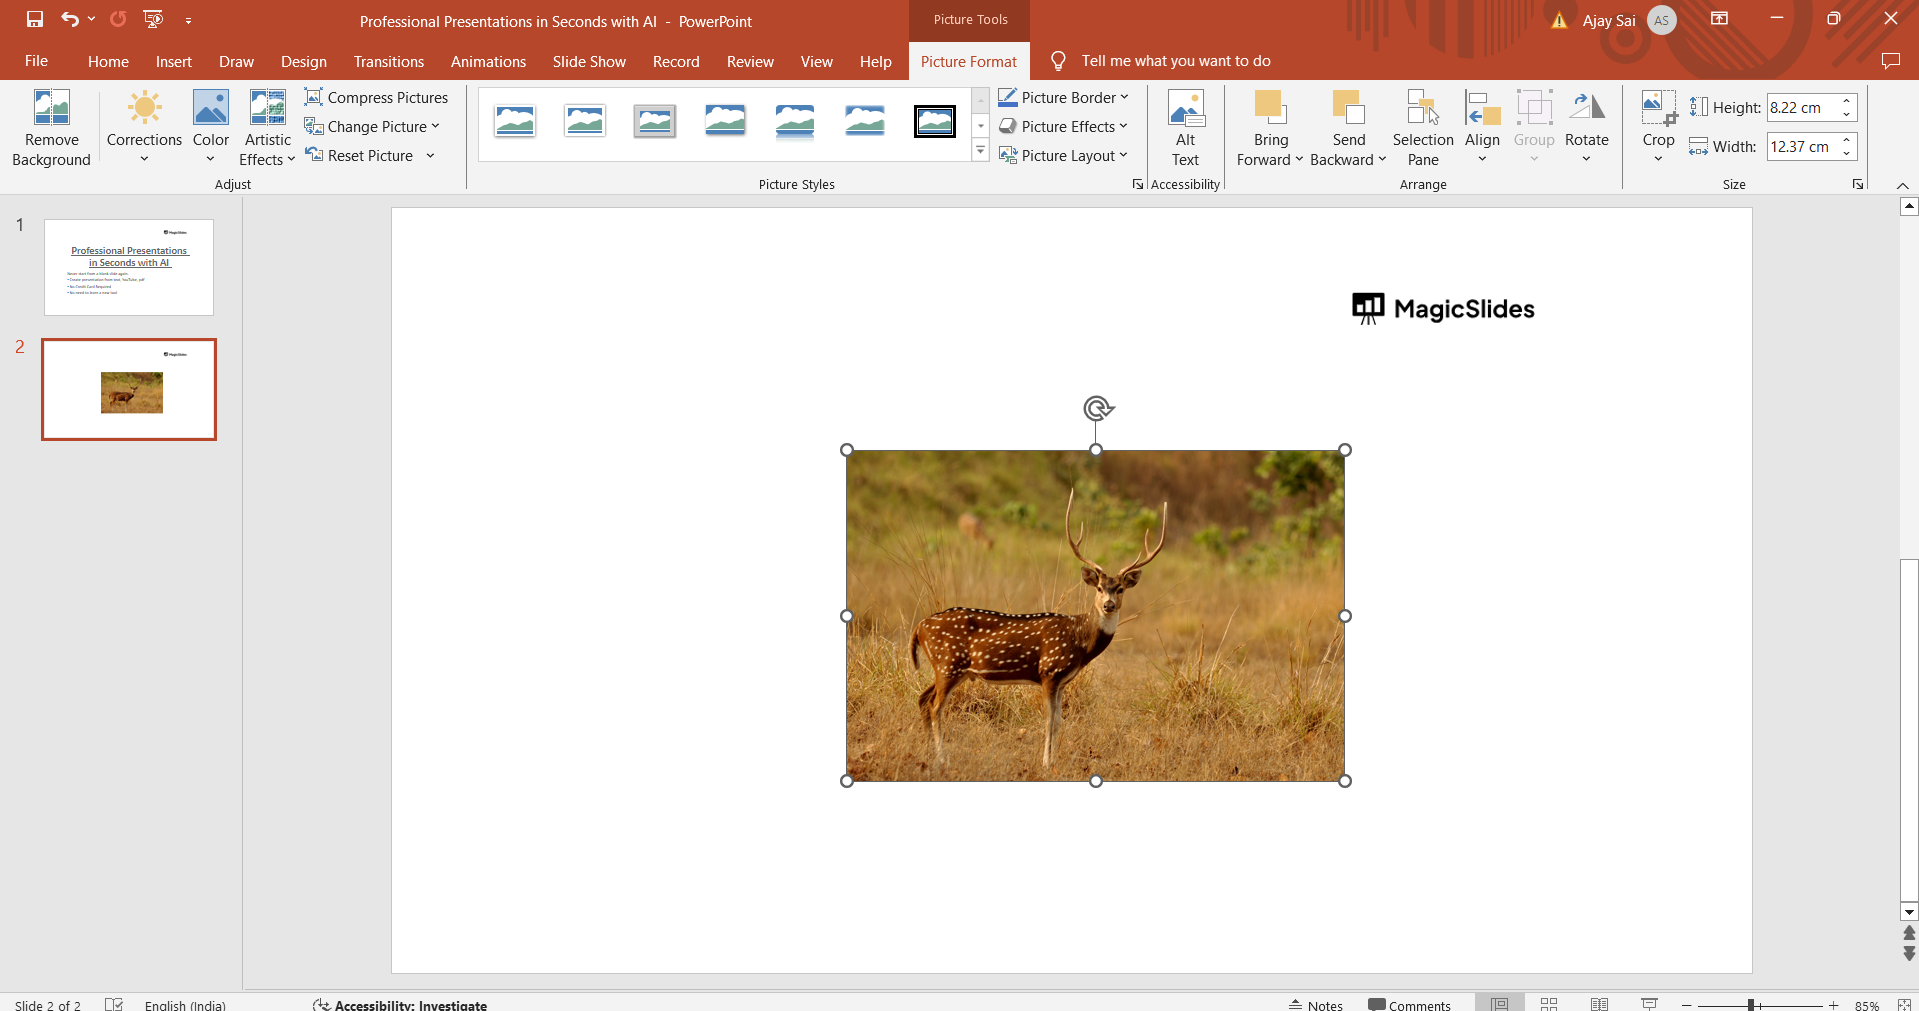
Step 3: Access the Format Shape or Format Picture Pane
With the object selected, go to the "Format" tab on the PowerPoint ribbon. Depending on the type of object (shape, image, etc.), you may need to choose either "Format Shape" or "Format Picture" to access additional formatting options.
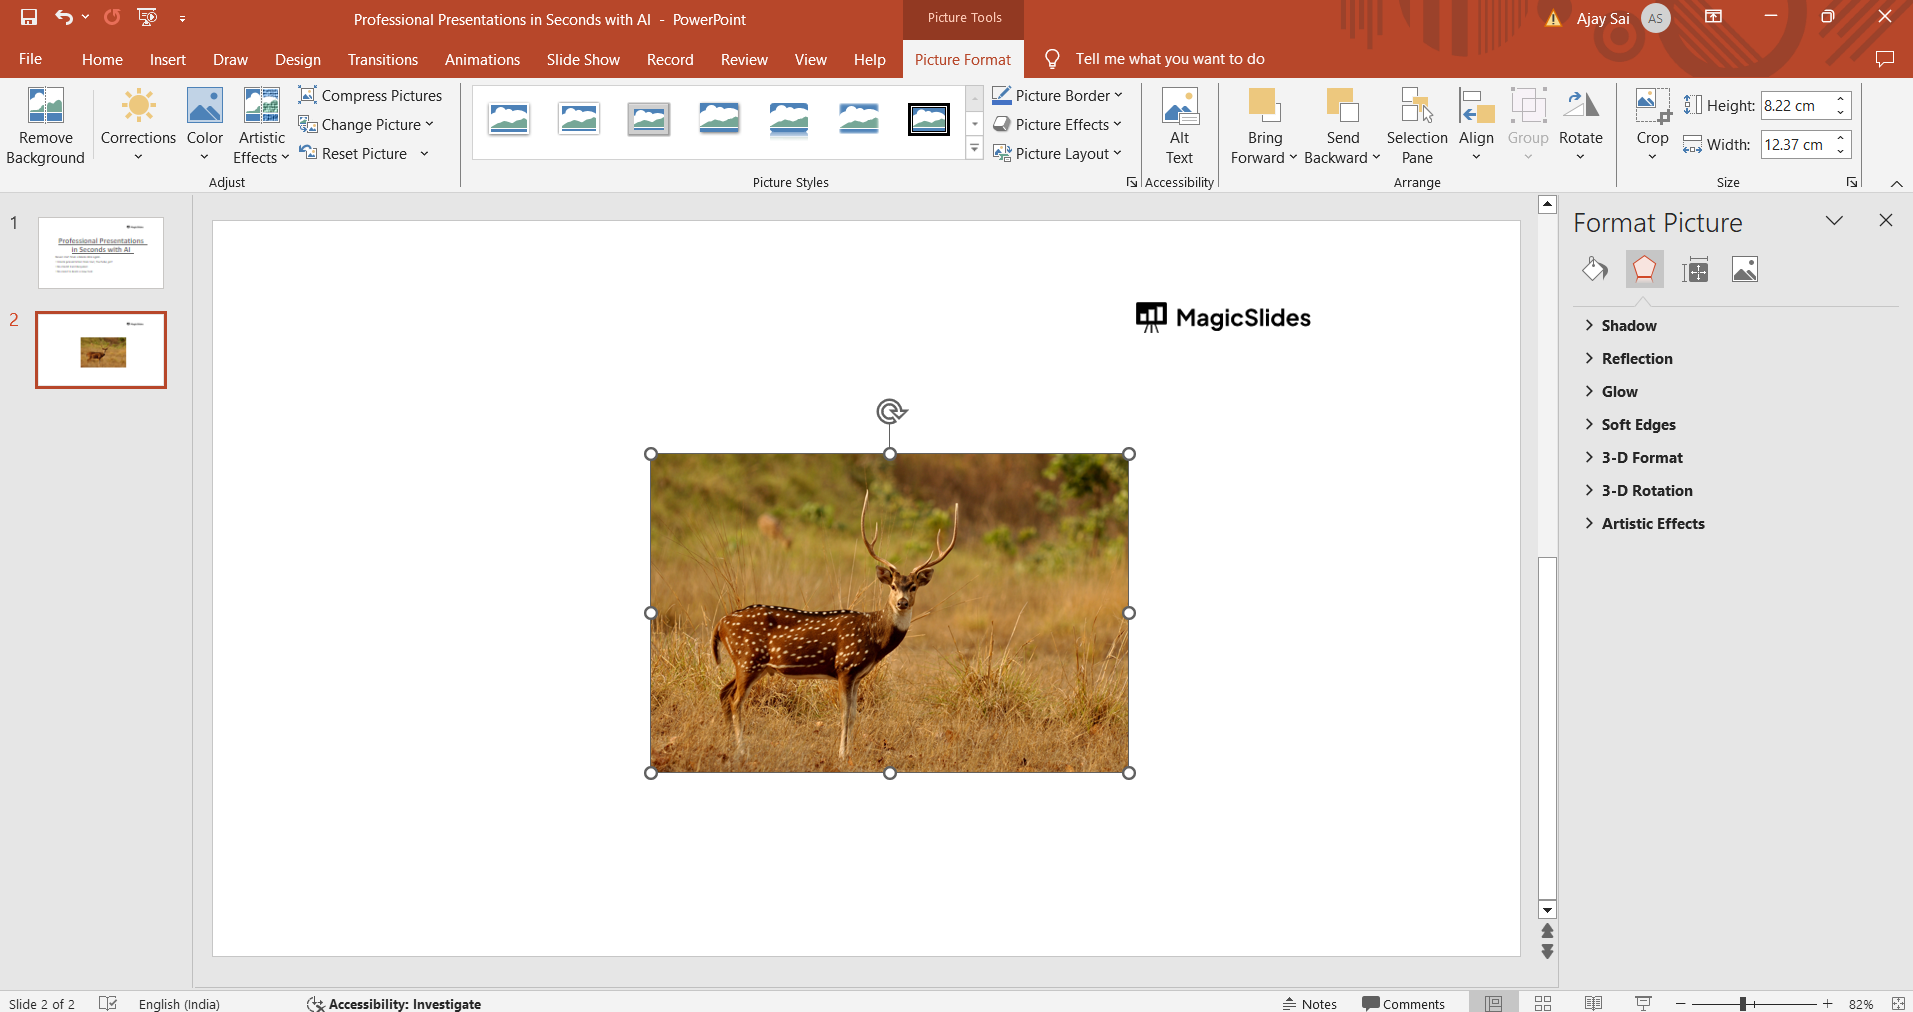
Step 4: Adjust the Transparency or Opacity
Within the Format Shape or Format Picture pane, look for the option related to transparency or opacity. This option is often labeled as "Transparency" or "Opacity." You can typically adjust the transparency using a slider or by entering a specific percentage.
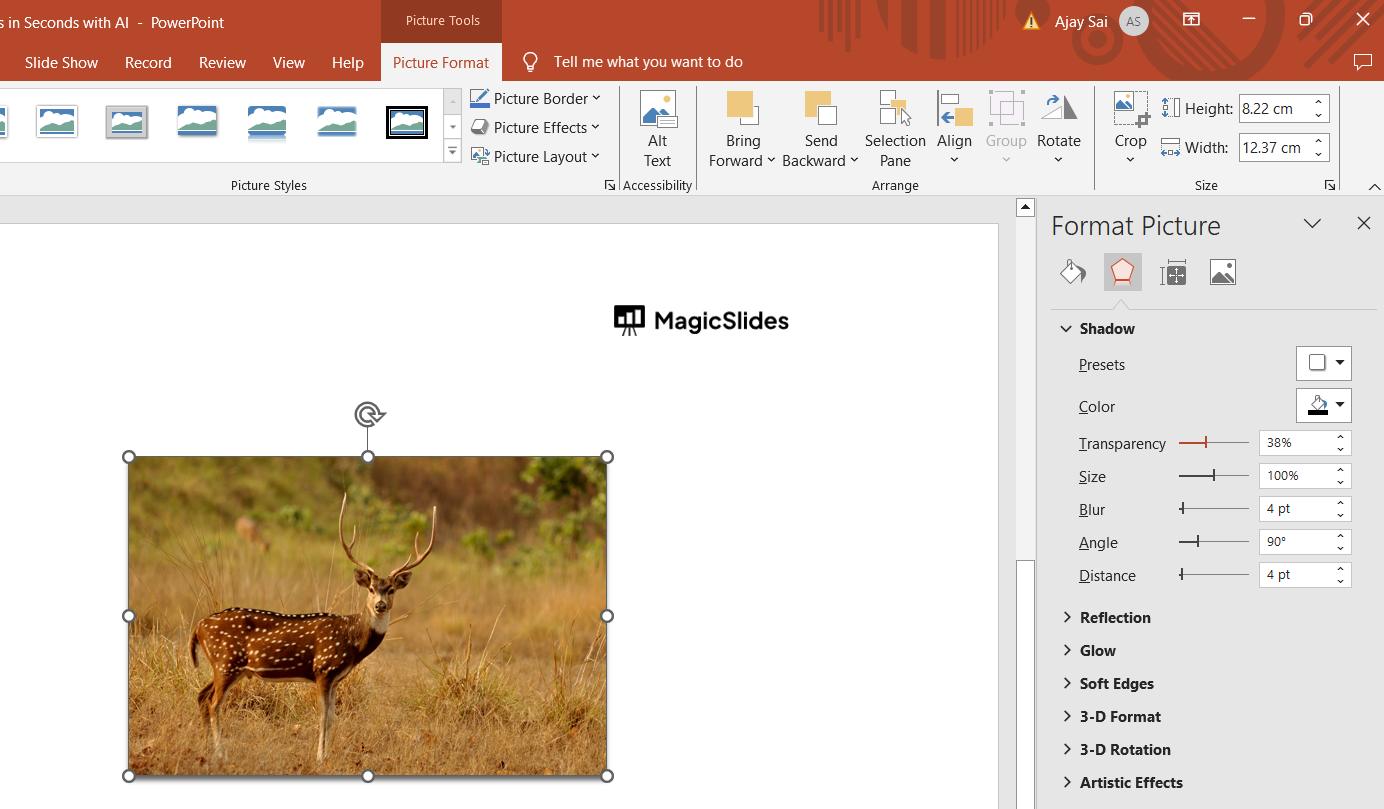
Step 5: Preview and Apply the Changes
As you adjust the transparency or opacity settings, you'll see a live preview of how the object's appearance changes. Once you're satisfied with the level of opacity, click "Apply" or "OK" to confirm the changes.
Conclusion:
Changing the opacity of objects in PowerPoint presentations offers a versatile way to enhance your design and visual storytelling. Whether you want to create subtle overlays, highlight specific content, or blend elements harmoniously, mastering opacity adjustments can elevate the overall look of your slides. By following the simple steps outlined in this guide, you can confidently modify the opacity of shapes, images, text, and other objects in PowerPoint, unlocking a range of creative possibilities for your presentations. Experiment with different opacity levels to find the perfect balance that complements your content and captivates your audience.
Frequently Asked Questions:
Why would I want to change opacity in PowerPoint?
Changing opacity can help create visual depth, emphasize content, or blend elements seamlessly.
Can I adjust opacity for different types of objects in PowerPoint?
Yes, you can adjust opacity for shapes, images, text boxes, and other elements in PowerPoint.
Does changing opacity affect the overall readability of text in PowerPoint?
Carefully adjusting opacity can enhance readability by creating contrast or highlighting key text.
Is changing opacity a reversible process in PowerPoint?
Yes, you can easily revert opacity changes by accessing the object's formatting options again.


