How to change Overlay in Google Slides


Learn how to effectively change overlays in Google Slides to create visually dynamic and engaging presentations
Overlays in Google Slides are a fantastic way to layer images, colors, and text to create visually appealing presentations.
Changing or customizing overlays can help enhance your design and make your message more impactful.
This guide provides step-by-step instructions to modify overlays effectively in Google Slides.
How to Change an Overlay in Google Slides | Steps to Change an Overlay in Google Slides
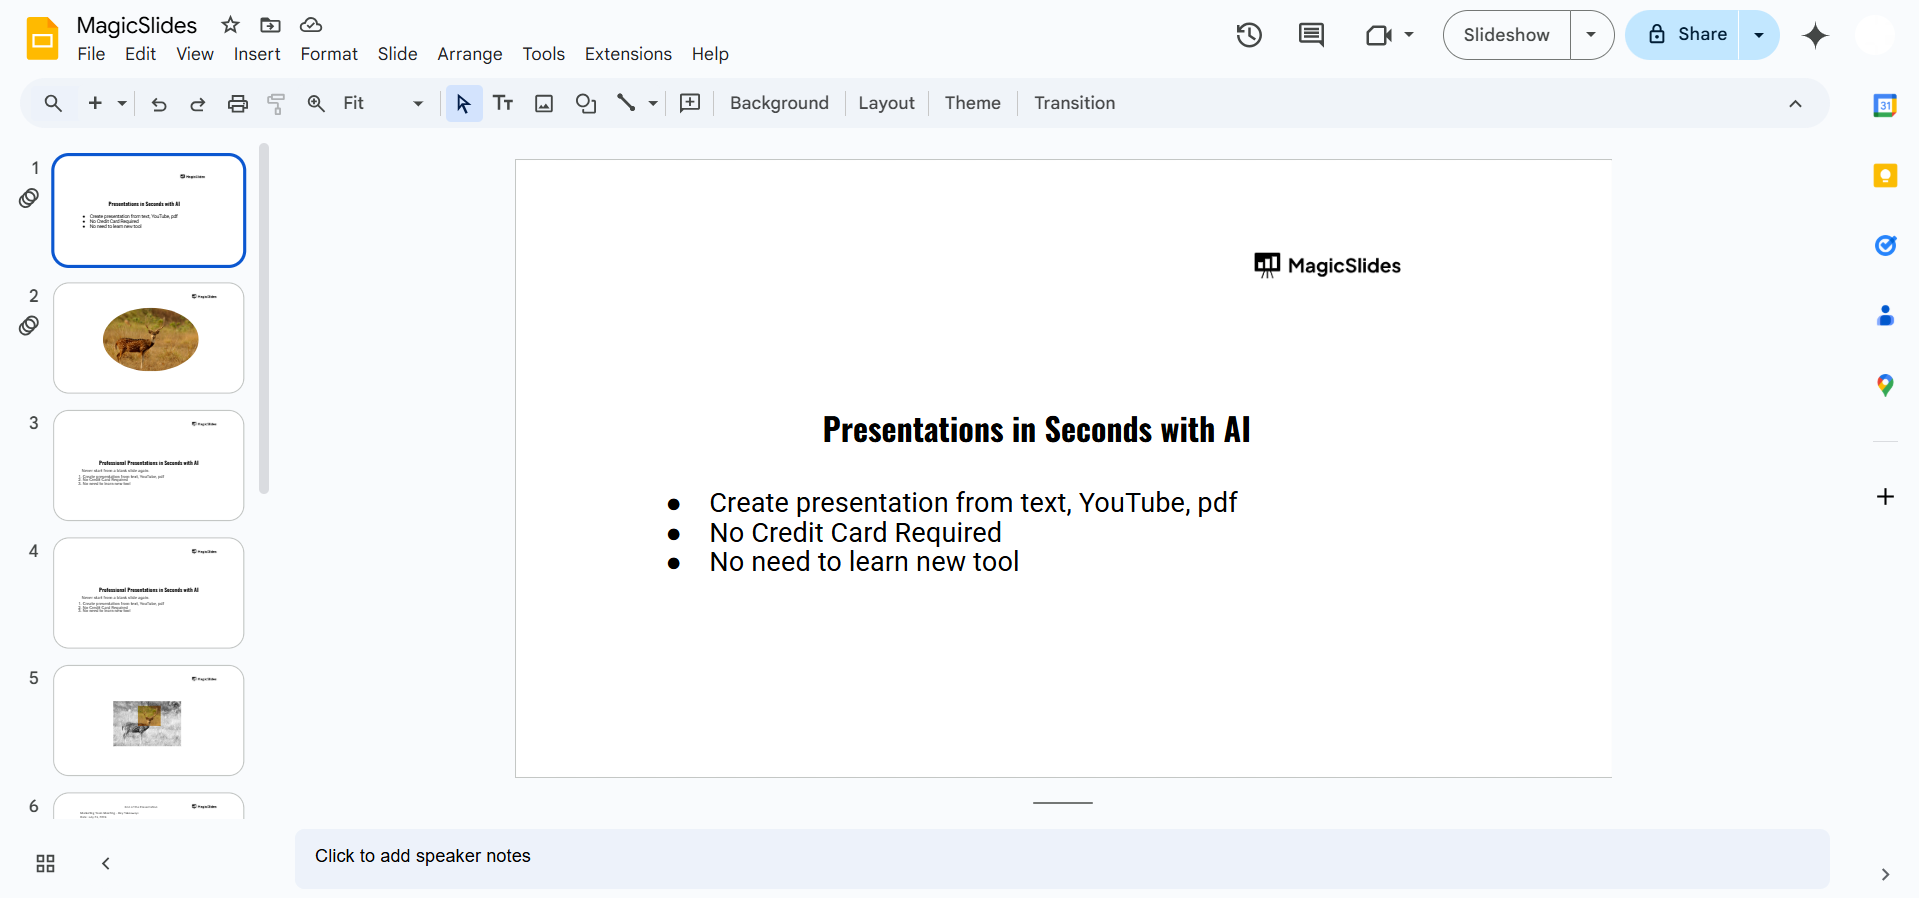
Step 1: Open Your Google Slides Presentation
Log in to your Google account and navigate to Google Slides. Open the presentation where you want to change the overlay.
Step 2: Select the Slide Containing the Overlay
Browse through your slides in the left panel and select the slide with the overlay.
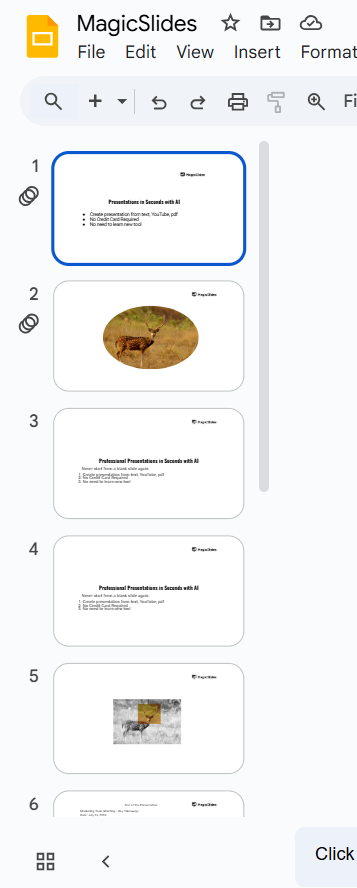
Click on the specific object (image, text box, or shape) that you want to adjust.
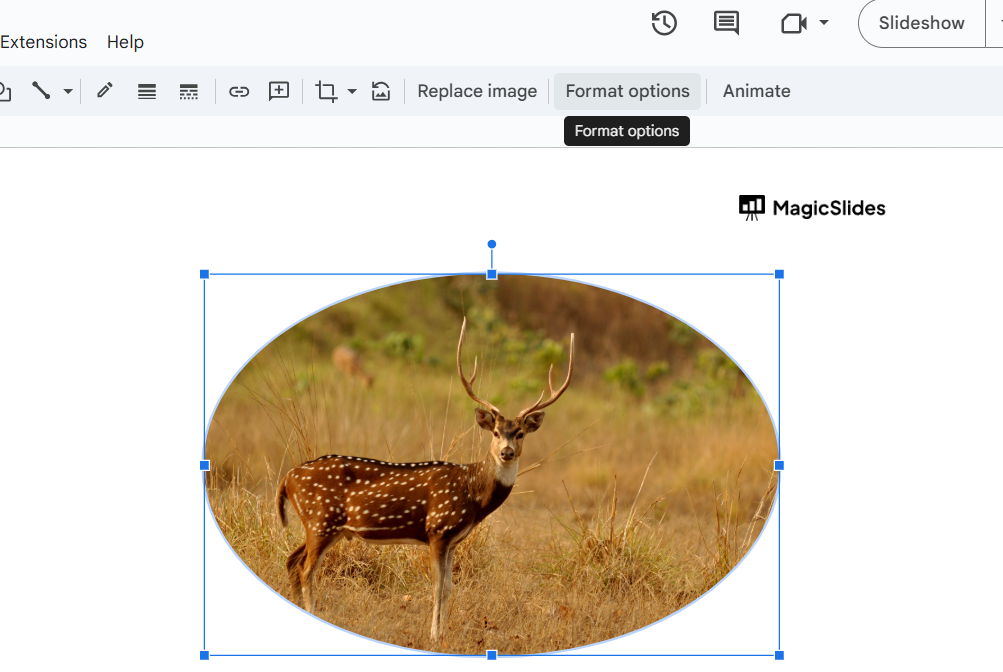
Step 3: Adjust the Overlay’s Transparency
Click on the overlay object to select it. Go to the toolbar and click on the “Format options” button.
In the right-hand panel, expand the “Adjustments” section. Use the “Transparency” slider to increase or decrease the overlay’s opacity to your preference.
Step 4: Change the Overlay’s Color
If the overlay is a shape, click on it to select it. Navigate to the “Fill color” icon in the toolbar.
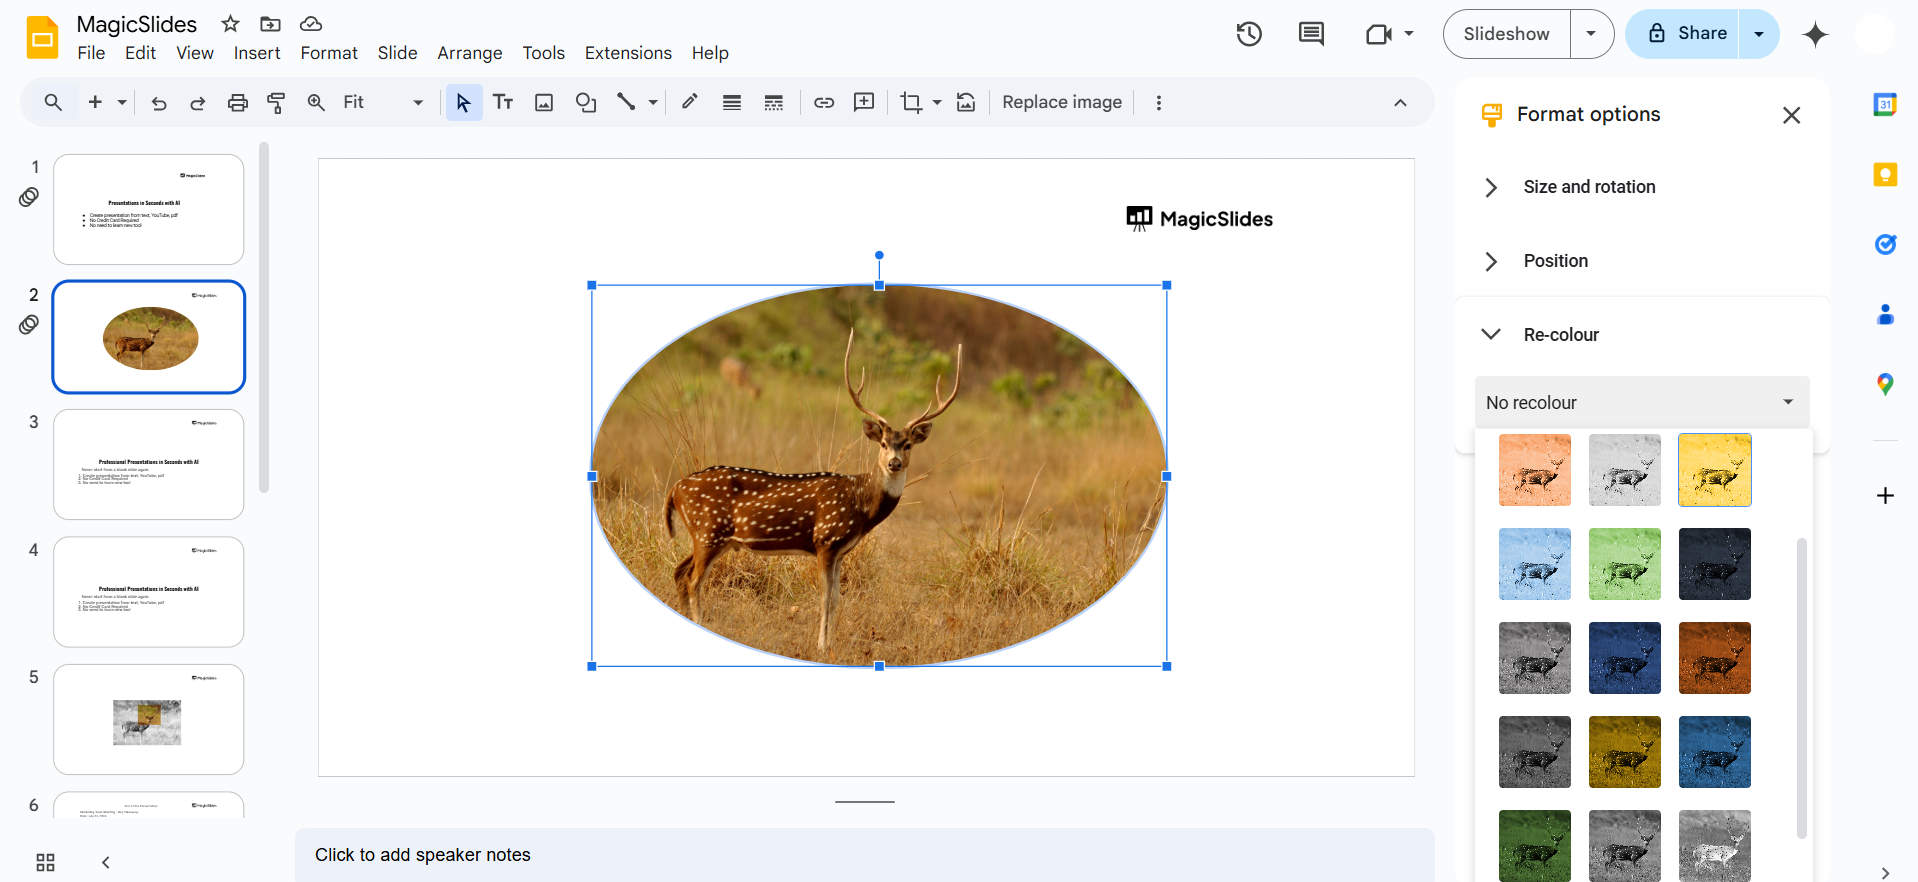
Choose a new color from the palette or use the “Custom” option to create a unique color.
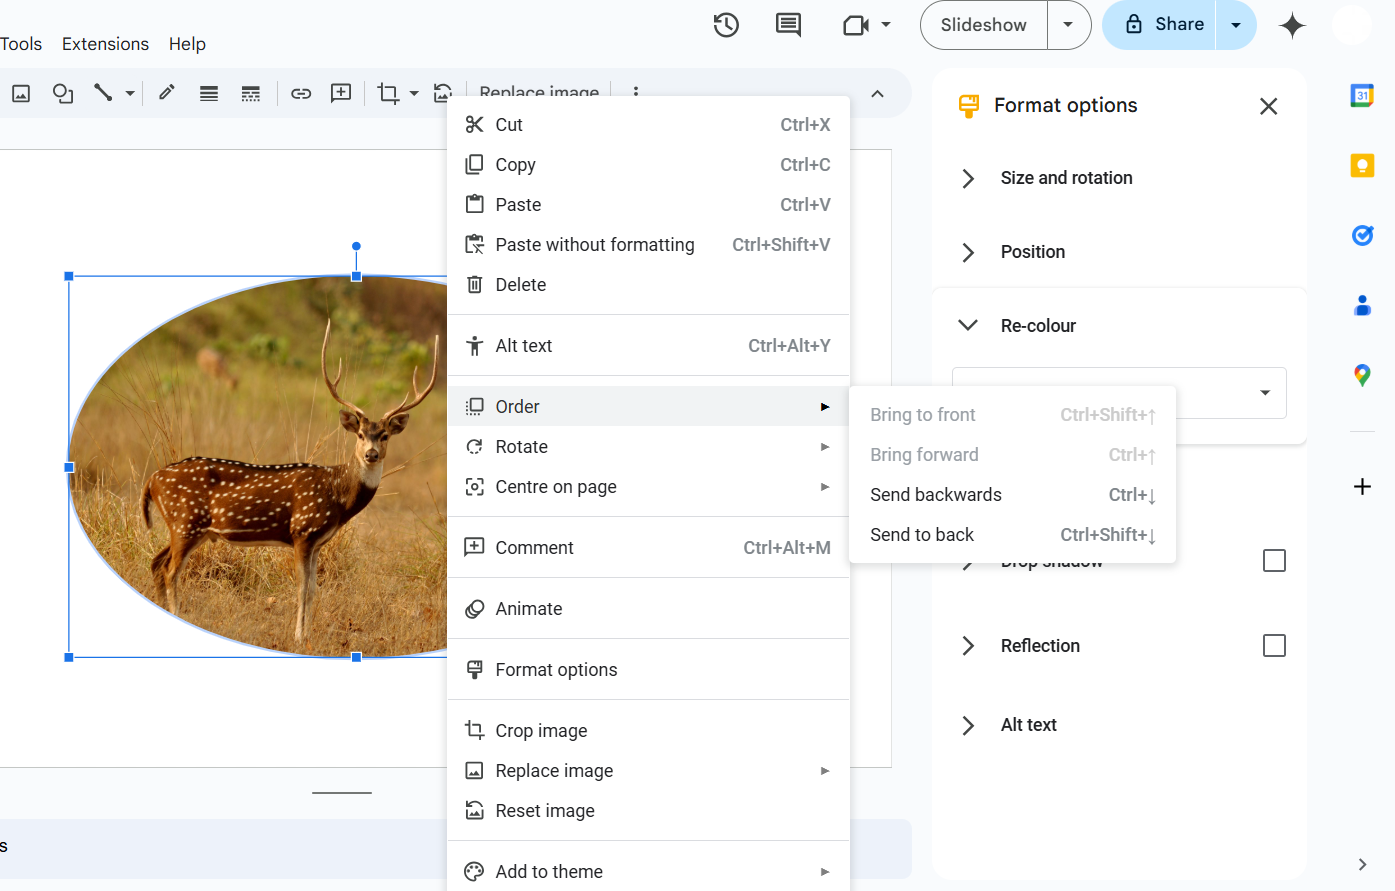
Step 5: Layer Elements Correctly
Right-click on the overlay object and use the “Order” option to adjust its layering.
- Use “Bring to front” or “Send to back” to place the overlay in the desired position.
Combine layering with transparency adjustments for a polished look. Once you've mastered changing overlays in Google Slides, explore how to add animation to all slides in PowerPoint to bring your presentations to life.
While learning how to change overlays in Google Slides can enhance your presentation, why not save time and effort? With MagicSlides.app , you can generate professional-grade slides in seconds just input your topic, PDF, or even a YouTube URL, and let AI handle the rest. Explore MagicSlides.app now to revolutionize your slide creation process!
Conclusion
Changing overlays in Google Slides is a simple yet effective way to elevate your presentations.
By adjusting transparency, colors, and layering, you can create dynamic visuals that capture your audience's attention.
Experiment with these techniques to transform your slides into professional and engaging presentations.
FAQs on Changing Overlays in Google Slides
Can I apply transparency to text in Google Slides?
Yes, select the text box, go to “Format options”, and adjust the transparency under “Fill color”.
How do I undo overlay changes if I make a mistake?
Use the Undo button in the toolbar or press Ctrl+Z (Windows) or Command+Z (Mac).
Can I add multiple overlays to one slide?
Yes, you can layer multiple images, shapes, or text boxes on a single slide by adjusting their order and transparency.
Now that you know how to change overlays in Google Slides, you can enhance your presentations with stunning designs!


