How to change shape of picture in PowerPoint


Transform your PowerPoint slides with our easy guide to changing picture shapes creatively.
PowerPoint presentations often rely on visuals to convey information effectively. One way to enhance your slides is by changing the shape of pictures, adding creativity and emphasis. In this guide, we'll explore a step-by-step process to help you easily transform the shape of pictures in PowerPoint, allowing you to create visually engaging and professional presentations.
How to change shape of picture in PowerPoint
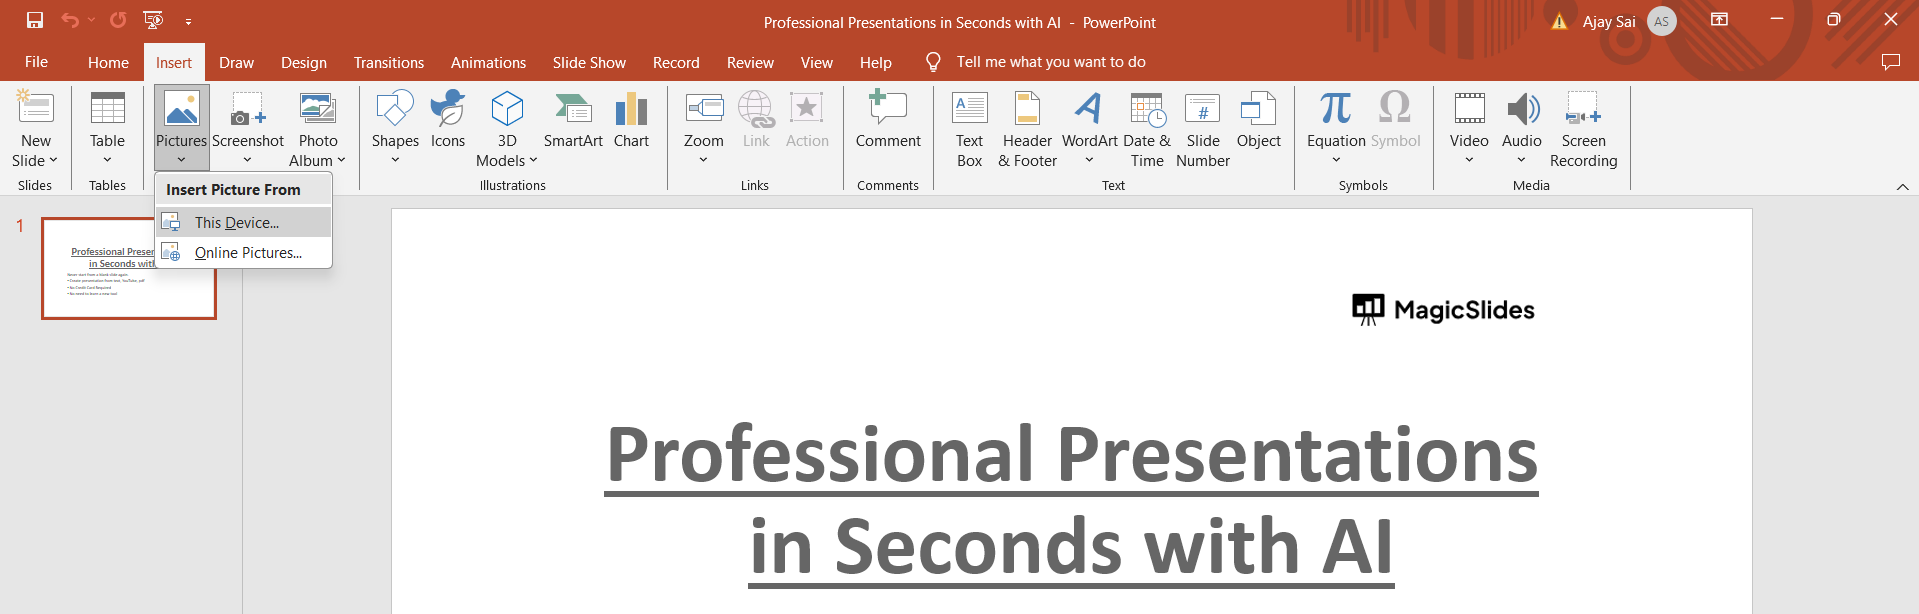
Step 1: Insert Your Picture
Begin by opening your PowerPoint presentation and navigating to the slide where you want to change the picture's shape.
Click on the "Insert" tab in the PowerPoint ribbon, then choose "Pictures" to insert an image from your computer or online source.
Step 2: Select the Picture
Once the picture is inserted, click on it to select it. You should see selection handles around the picture indicating that it's selected and ready for editing.
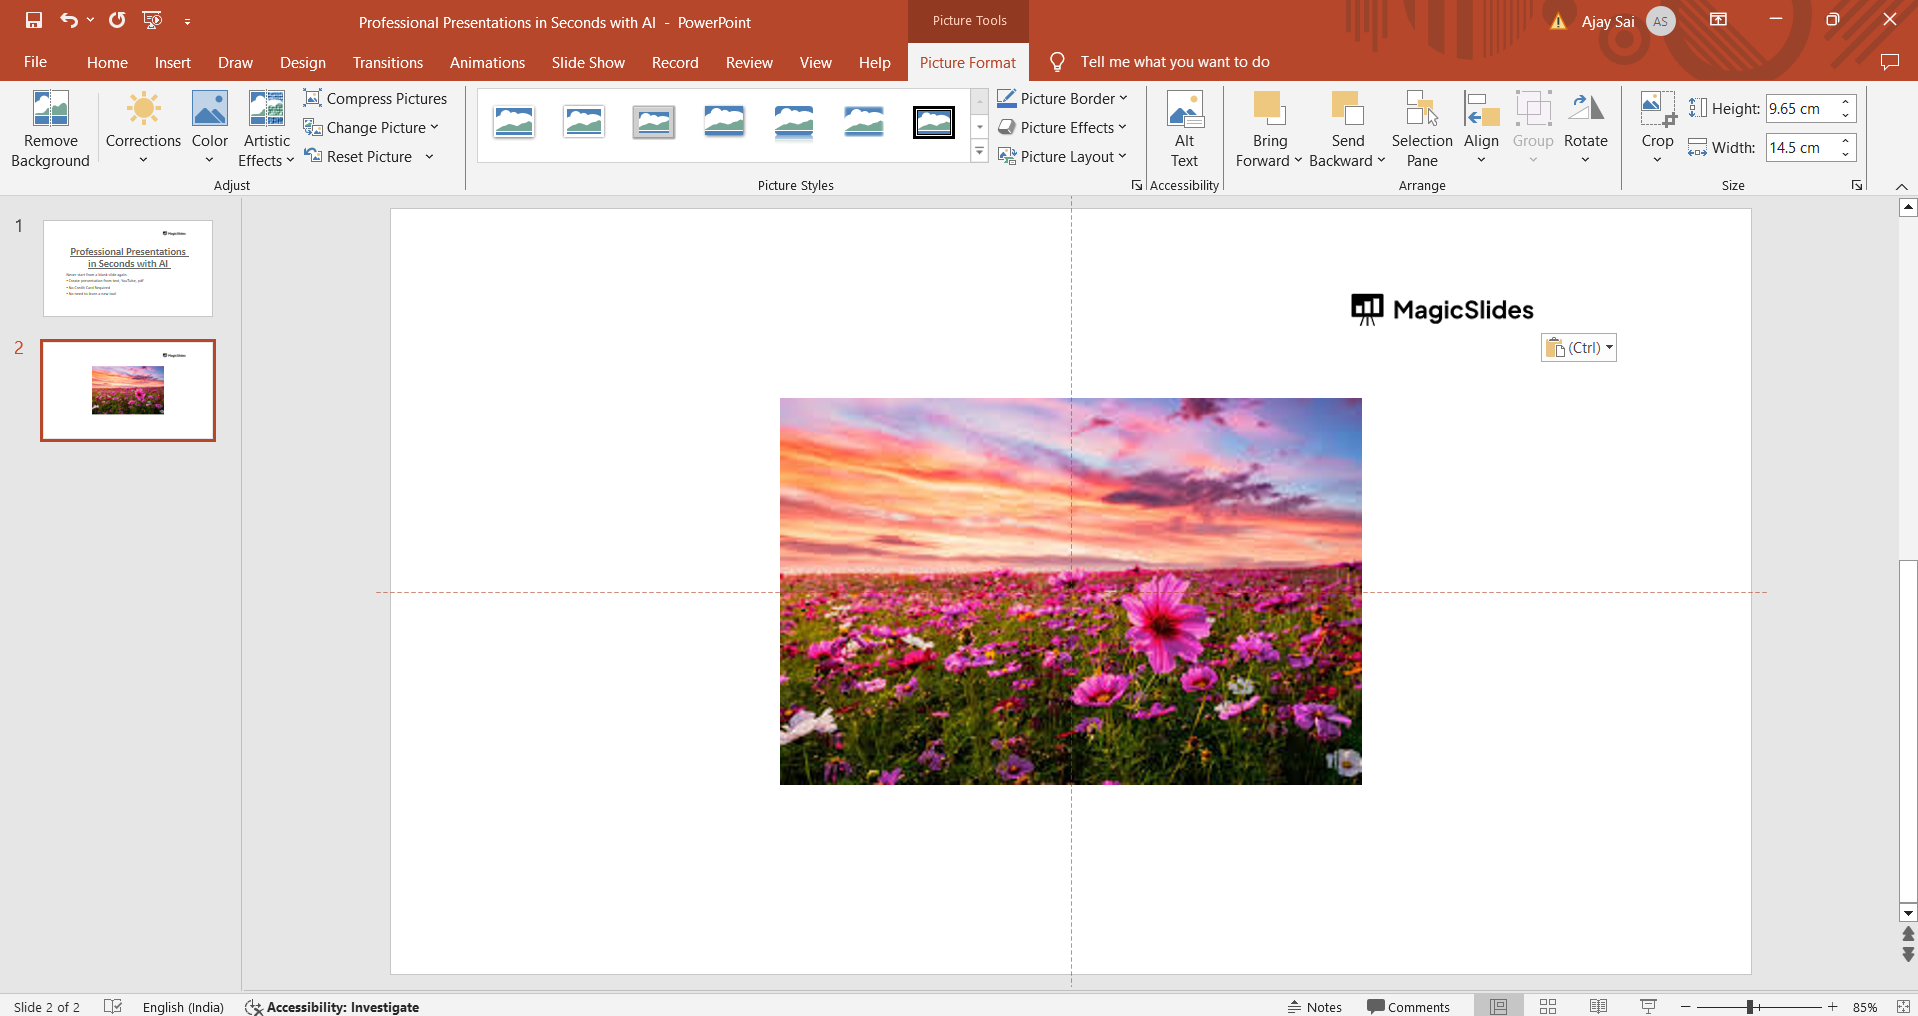
Step 3: Access the Picture Format Options
With the picture selected, a new tab called "Format" will appear in the PowerPoint ribbon. Click on this tab to access various formatting options for your picture.

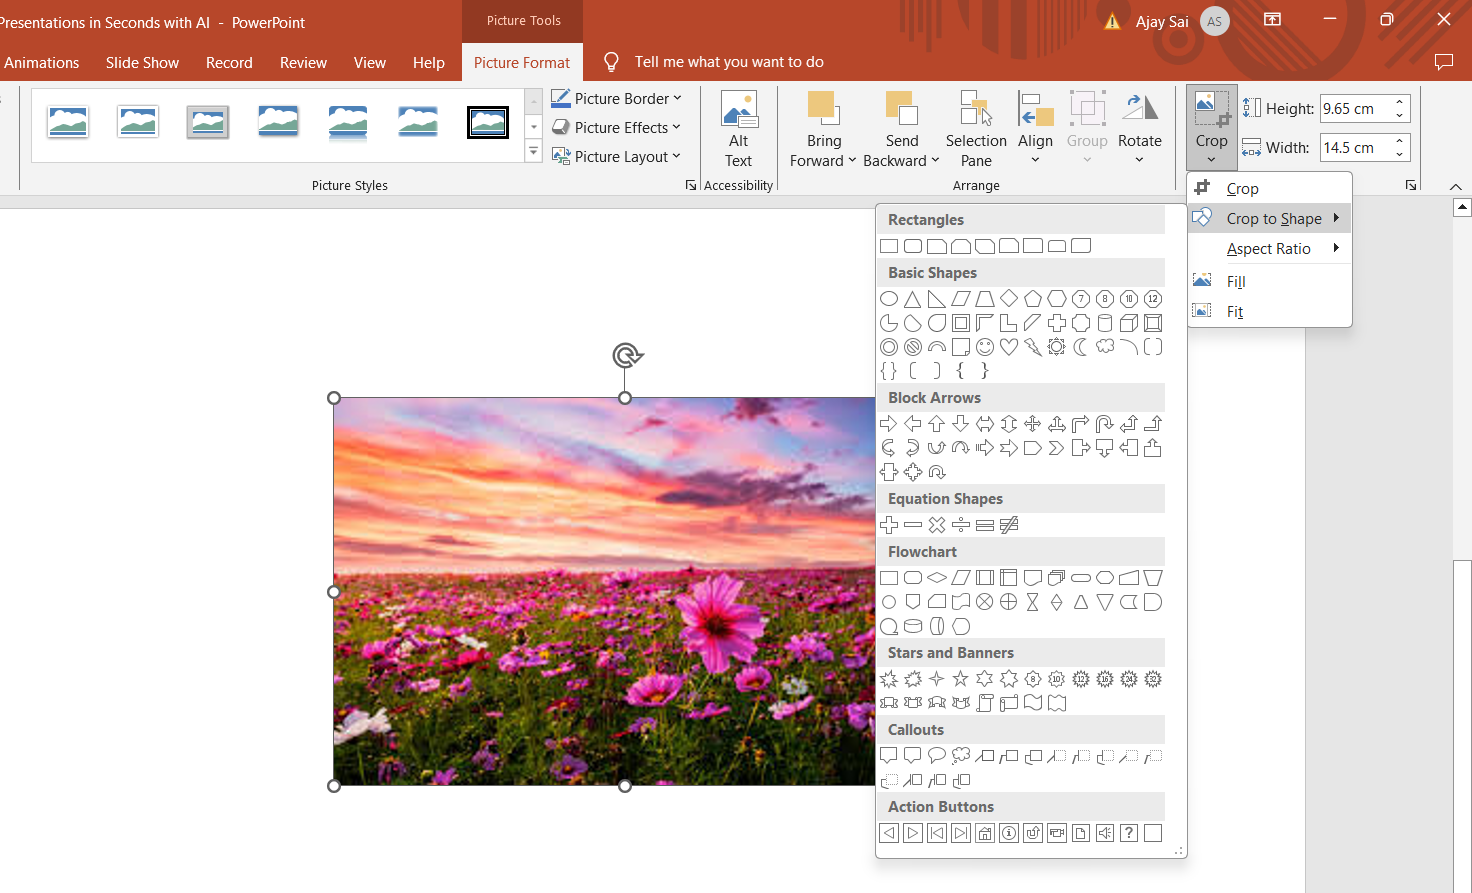
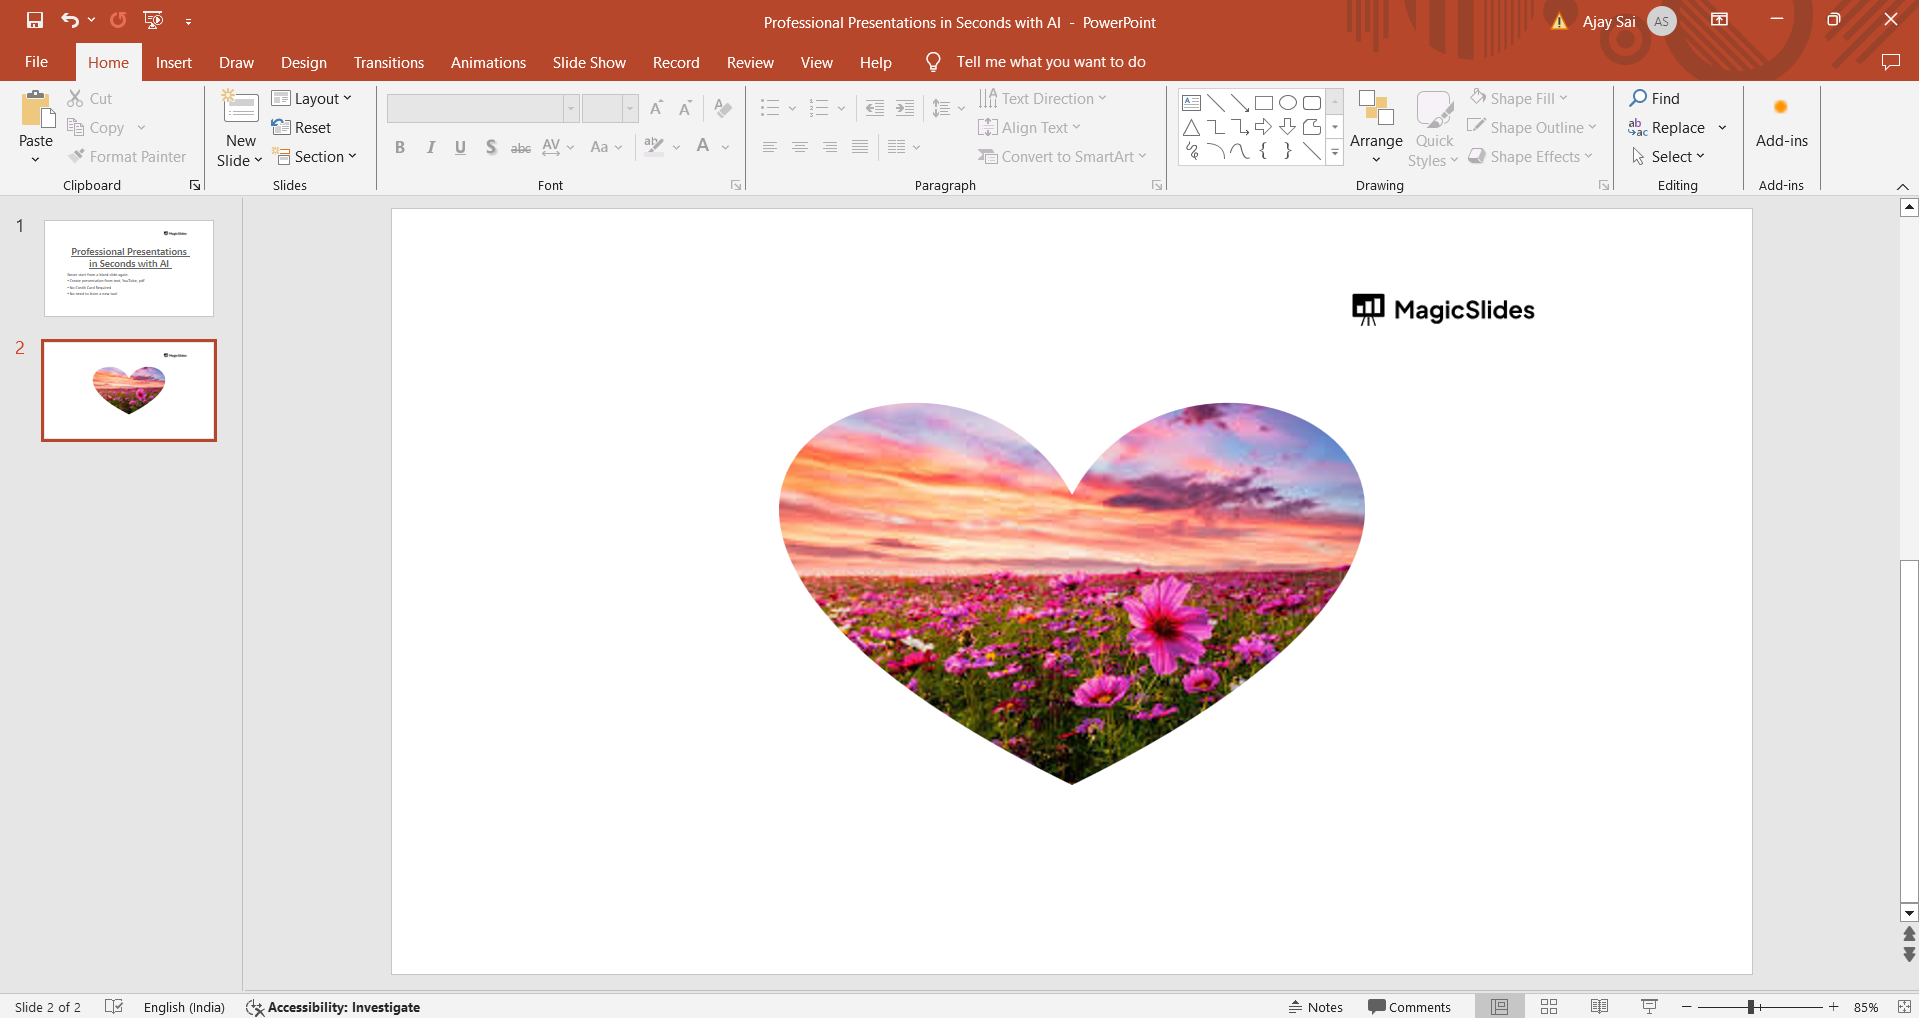
Step 4: Choose a New Shape
Within the "Format" tab, locate the "Picture Styles" group. Click on the "Edit Shape" dropdown menu, which typically shows options like "Rectangle," "Oval," "Rounded Rectangle," and more. Choose the desired shape for your picture from this menu.
Step 5: Adjust the Picture as Needed
Once you select a new shape, PowerPoint will automatically apply that shape to your picture. You can click and drag the selection handles to resize and reposition the picture within the shape as desired.
Conclusion:
Changing the shape of a picture in PowerPoint is a simple yet effective way to enhance your presentation slides. By following the step-by-step guide outlined above, you can seamlessly transform the appearance of your pictures, adding creativity and visual appeal to your slides. Experiment with different shapes and combinations to create engaging and professional presentations that captivate your audience. Unlock the power of visual storytelling in PowerPoint by mastering these easy-to-follow techniques.
→ Once you’ve changed the shape of picture it’s good to know to how to group them for more controlled slide making, from here: https://www.magicslides.app/blog/how-to-group-shapes-in-google-slides
Frequently Asked Questions:
Can I change the shape of any picture in PowerPoint?
Yes, you can change the shape of any inserted picture in PowerPoint using the "Edit Shape" feature.
Will changing a picture's shape affect its quality?
No, changing the shape of a picture in PowerPoint does not affect its quality or resolution.
Can I revert to the original picture shape after editing?
Yes, you can revert to the original shape by selecting the picture and choosing "Reset Picture" from the "Format" tab.
Are there limitations to the shapes I can apply?
PowerPoint offers a variety of shapes like rectangles, circles, arrows, and more, providing versatile options for picture editing.


