How to Clip Mask in Canva


Master clip masking in Canva to create stunning, custom-shaped visuals for your design projects
Clip masking, also known as masking, is a powerful feature in Canva that allows you to shape your images into specific frames or designs.
Whether you're creating a standout social media post or a unique design project, clip masking can elevate your visuals.
In this step-by-step guide, learn how to effectively apply clip masking in Canva to create eye-catching designs.
How to Clip Mask in Canva | Steps to Clip Mask in Canva
Step 1: Open Canva and Start a Design
Log in to Canva and open an existing project or create a new one.

Choose a design type (e.g., poster, presentation, or Instagram post) to set the canvas dimensions.
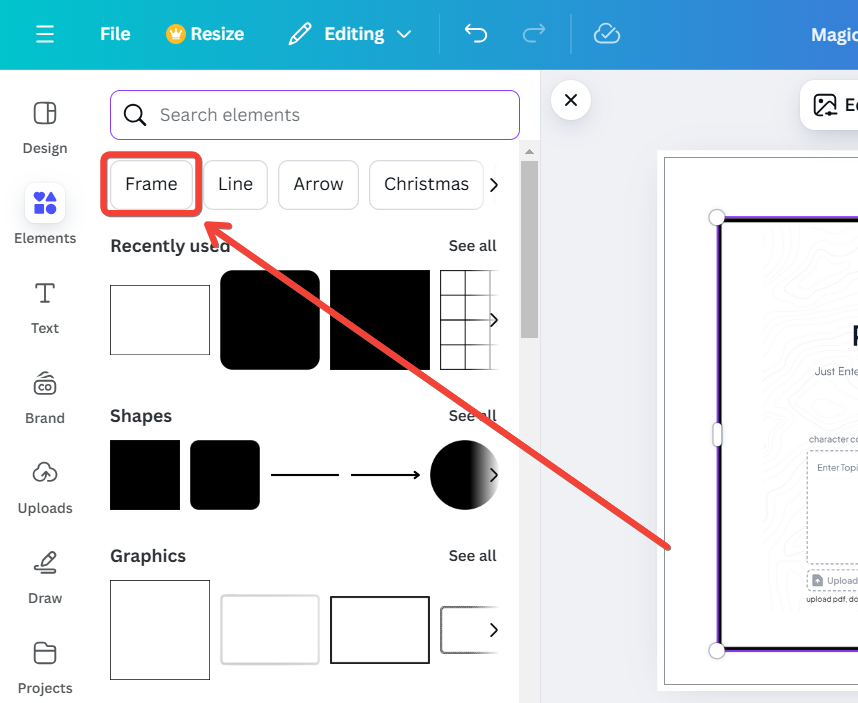
Step 2: Access the Elements Tab for Frames
On the left toolbar, click on “Elements.”

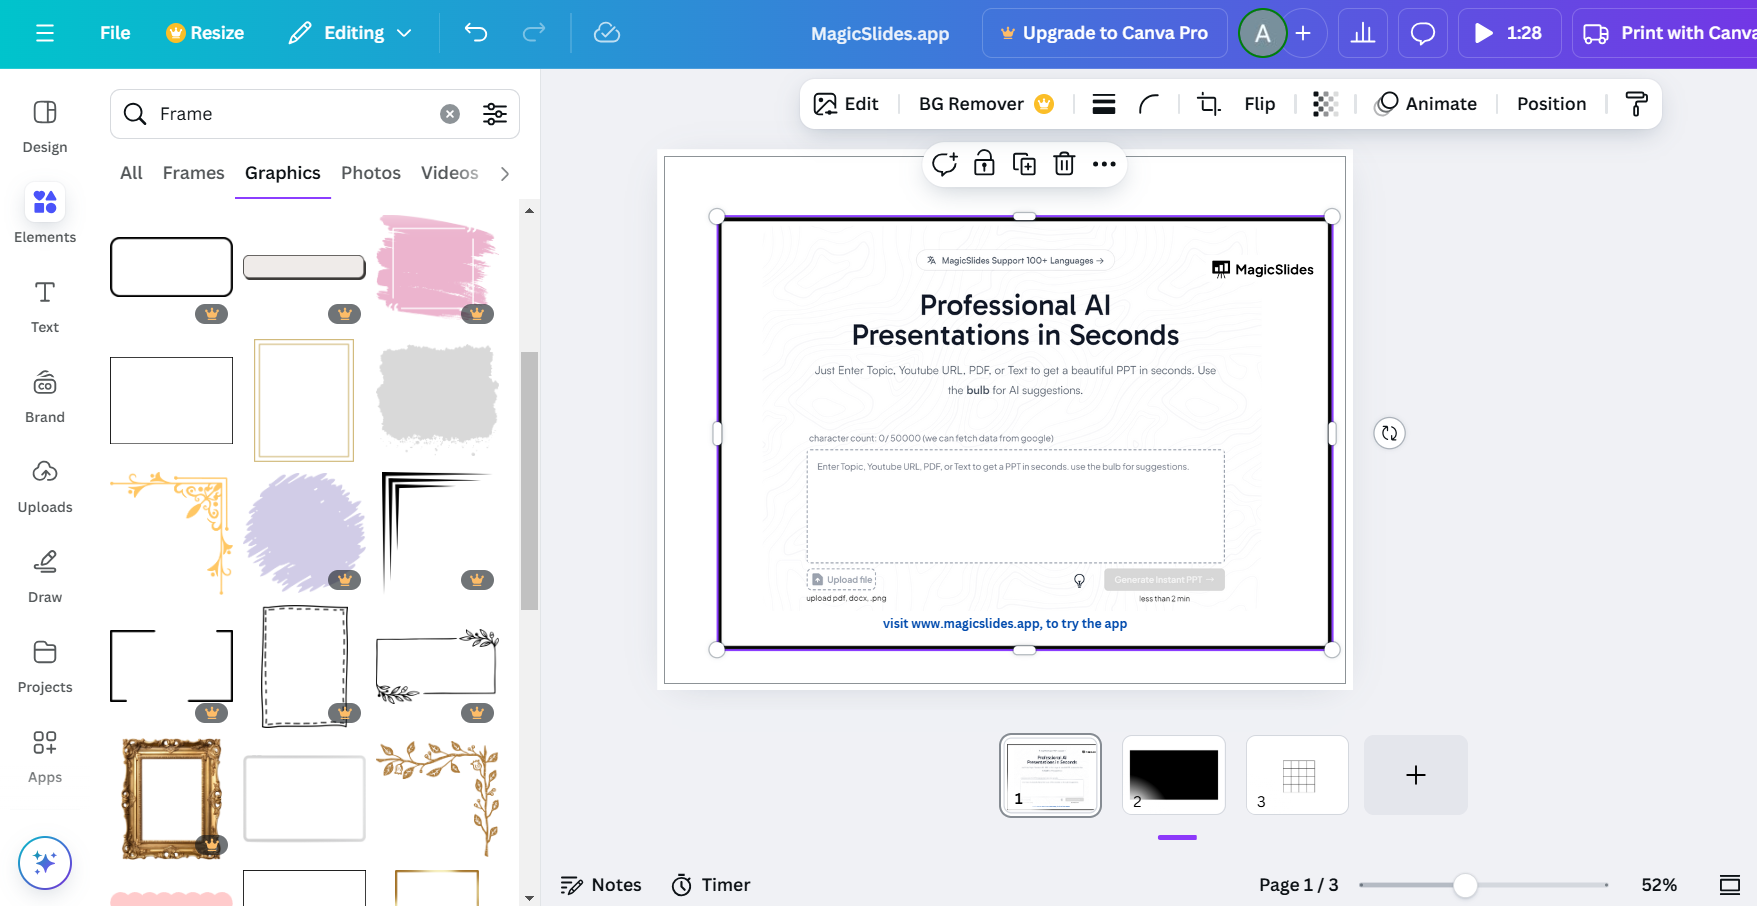
Scroll down or search for “Frames” in the search bar.
Browse the available frame options, including circles, squares, letters, and custom shapes.
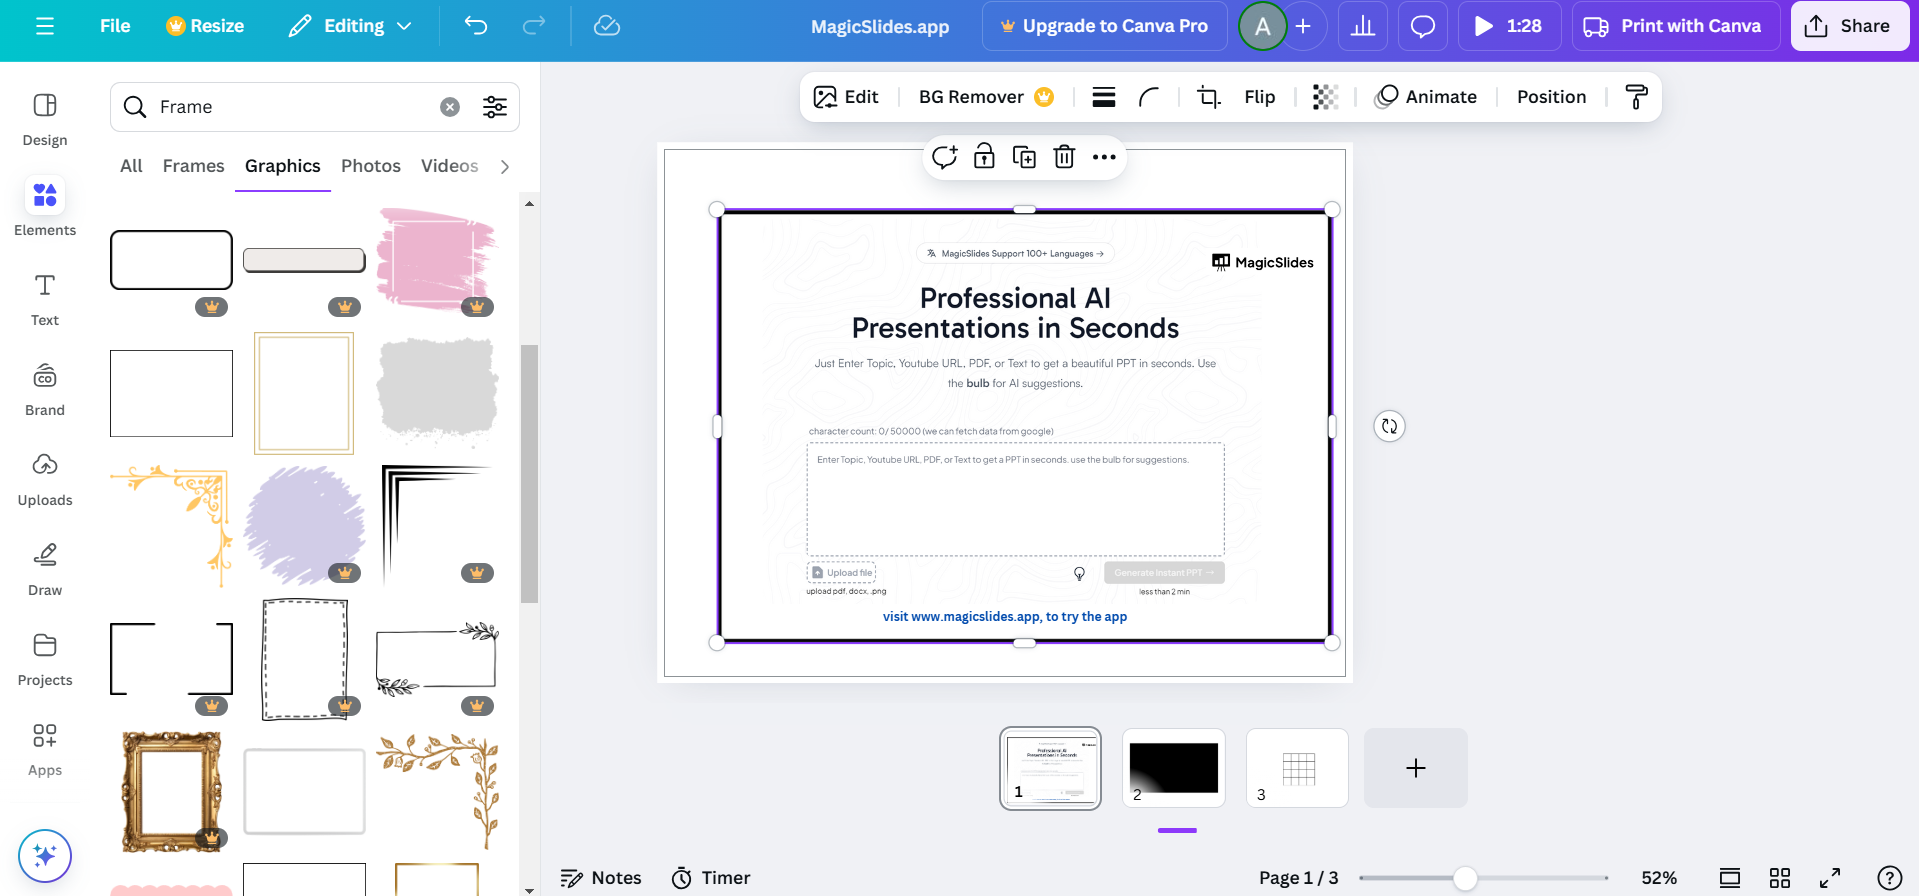
Step 3: Add a Frame to Your Canvas
Click on a frame to add it to your canvas.
Resize and position the frame on the canvas to match your design’s layout.
Step 4: Insert Your Image into the Frame
Go to the “Photos” tab or “Uploads” to select an image.
Drag the image directly onto the frame. Canva will automatically clip the image to the shape of the frame.
Step 5: Adjust the Image Inside the Frame
Double-click on the image inside the frame to adjust its position or zoom level.
Drag the image to reposition it or use the resizing handles to zoom in and out.
Click “Done” when you’re satisfied with the adjustments.
Step 6: Add Final Touches
Enhance your masked image by adding text, graphics, or effects to complete your design.
Use Canva’s editing tools to adjust colors, brightness, or contrast for better integration.
Step 7: Save Your Design
Once your design is ready, click “Share” in the top-right corner and choose “Download.”
Select the file format (e.g., PNG or JPG) and save your project to your device.
Conclusion
Clip masking in Canva is an excellent way to add creativity and depth to your designs.
By utilizing frames and adjusting images seamlessly, you can create visually appealing projects that stand out.
Whether for personal or professional use, mastering clip masking will unlock endless design possibilities in Canva.
FAQs on Clip Masking in Canva
Can I use custom shapes for clip masking in Canva?
Yes! Canva’s frames library offers a wide variety of shapes, including letters and custom designs, perfect for clip masking.
Can I edit the image after applying the clip mask?
Absolutely! You can double-click the image in the frame to adjust its position, size, or zoom level.
Is clip masking available in Canva's free version?
Yes, clip masking is available for free users, though some premium frames and images may require Canva Pro.
With this guide, you can confidently use clip masking to enhance your Canva projects with professional-looking designs.


